Been living in this home for 5 years but if you visited, you’d think we just moved in. I say this because we have so many – too many – empty walls. Empty walls in the playroom, daughter’s room, dining room, the entry and more. It’s a sad case! A home can be beautifully furnished, but it really warms up when you add family photos or art to the walls. Wall hangings totally change the look and feel of your home while also making echoes disappear. And to me they make home feel like home.
I have no excuse because I snap lots of “wall-frame quality” photos but once transferred from my camera to the computer, they sit on the hard drive and wait to be printed. Sound familiar?
Mom’s are busy. This is life.
One of my household goals is to update all of the photos throughout the house – both snapshots and professional.
I’ve always admired homes with beautiful gallery walls and dream of having the same. A gallery wall is for sure down the pipeline, but for now was thinking about adding photo ledges. Something that would allow me to prop up tabletop photos as well as showcase seasonal art or trophies taking up precious space on the shelves in my 7 year old’s bedroom…

Something finally inspired me to get this done…and that something was discovering these easy to make wall ledges on the Ana White website…

The woman is seriously talented…and all of her projects look easy. I’ve been itching to create furnishings / decor for a long time and this project was the perfect one to re-spark my love of building – easy plans, inexpensive, had most of the items on hand (other than wood) and it would solve an issue in the house. Yay!
So I hit up Home Depot and got busy building!
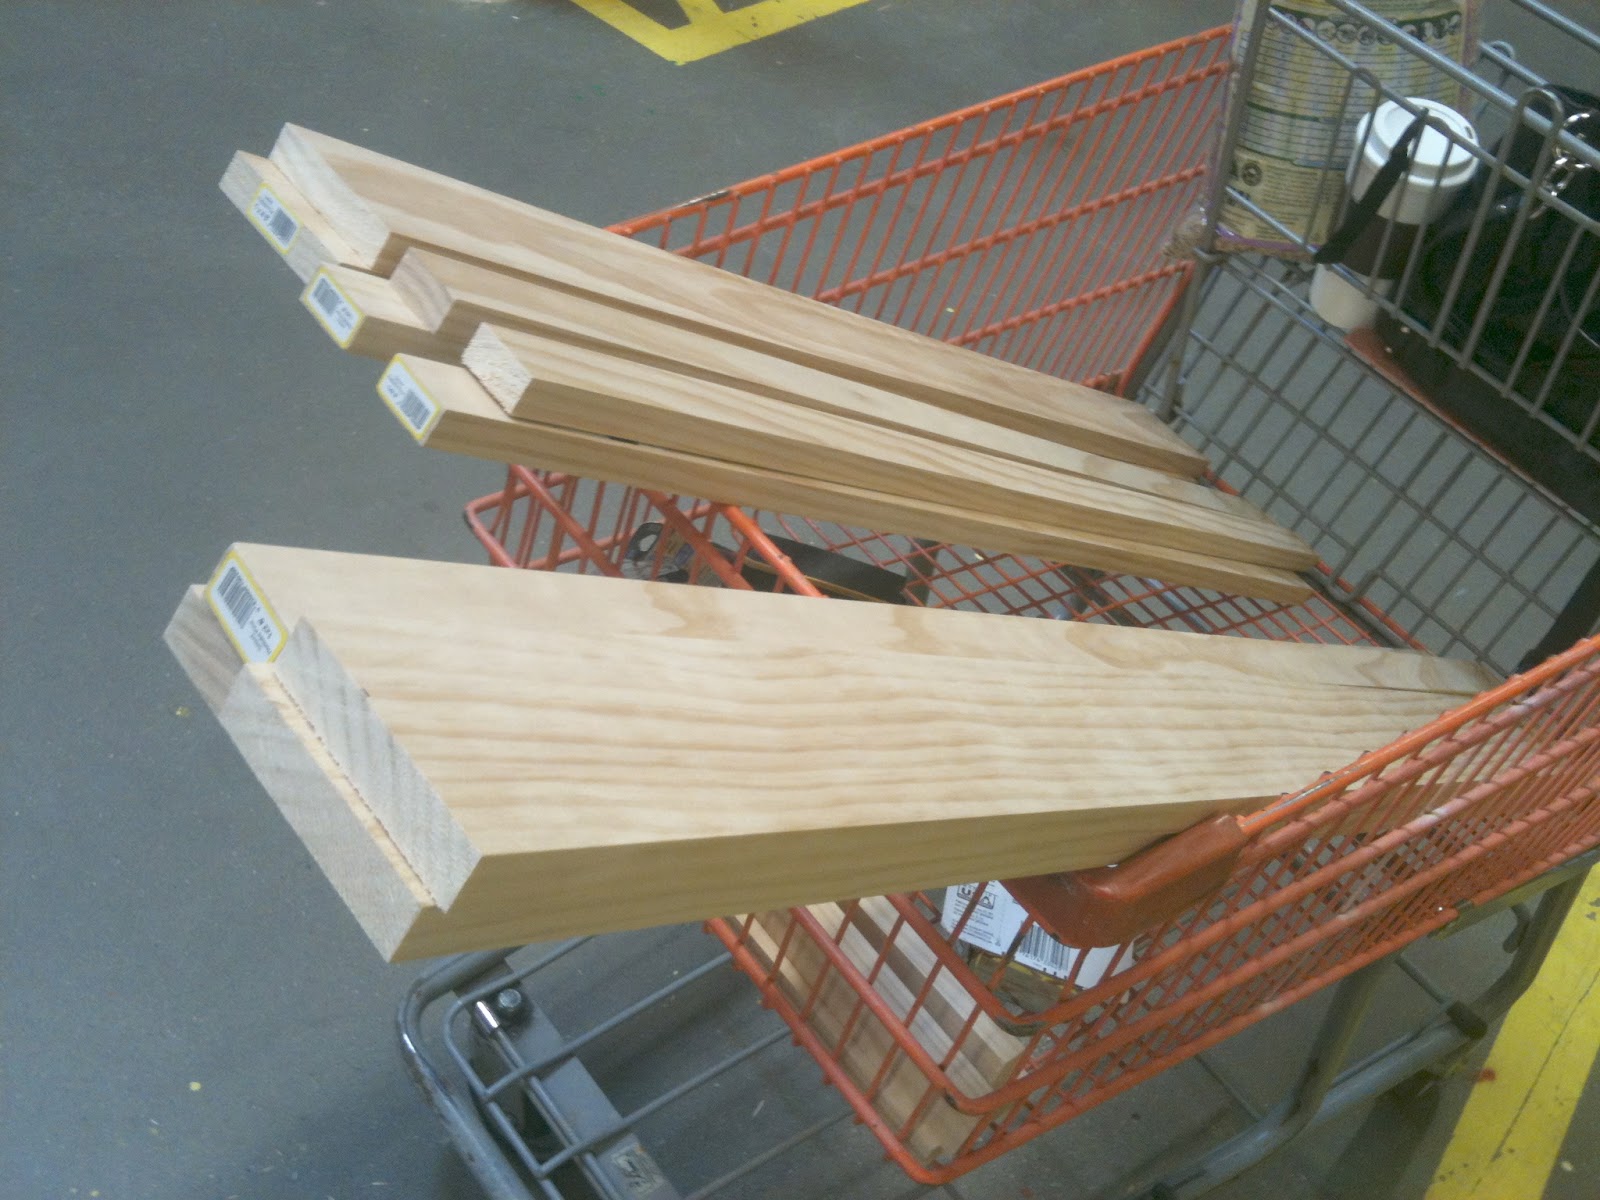
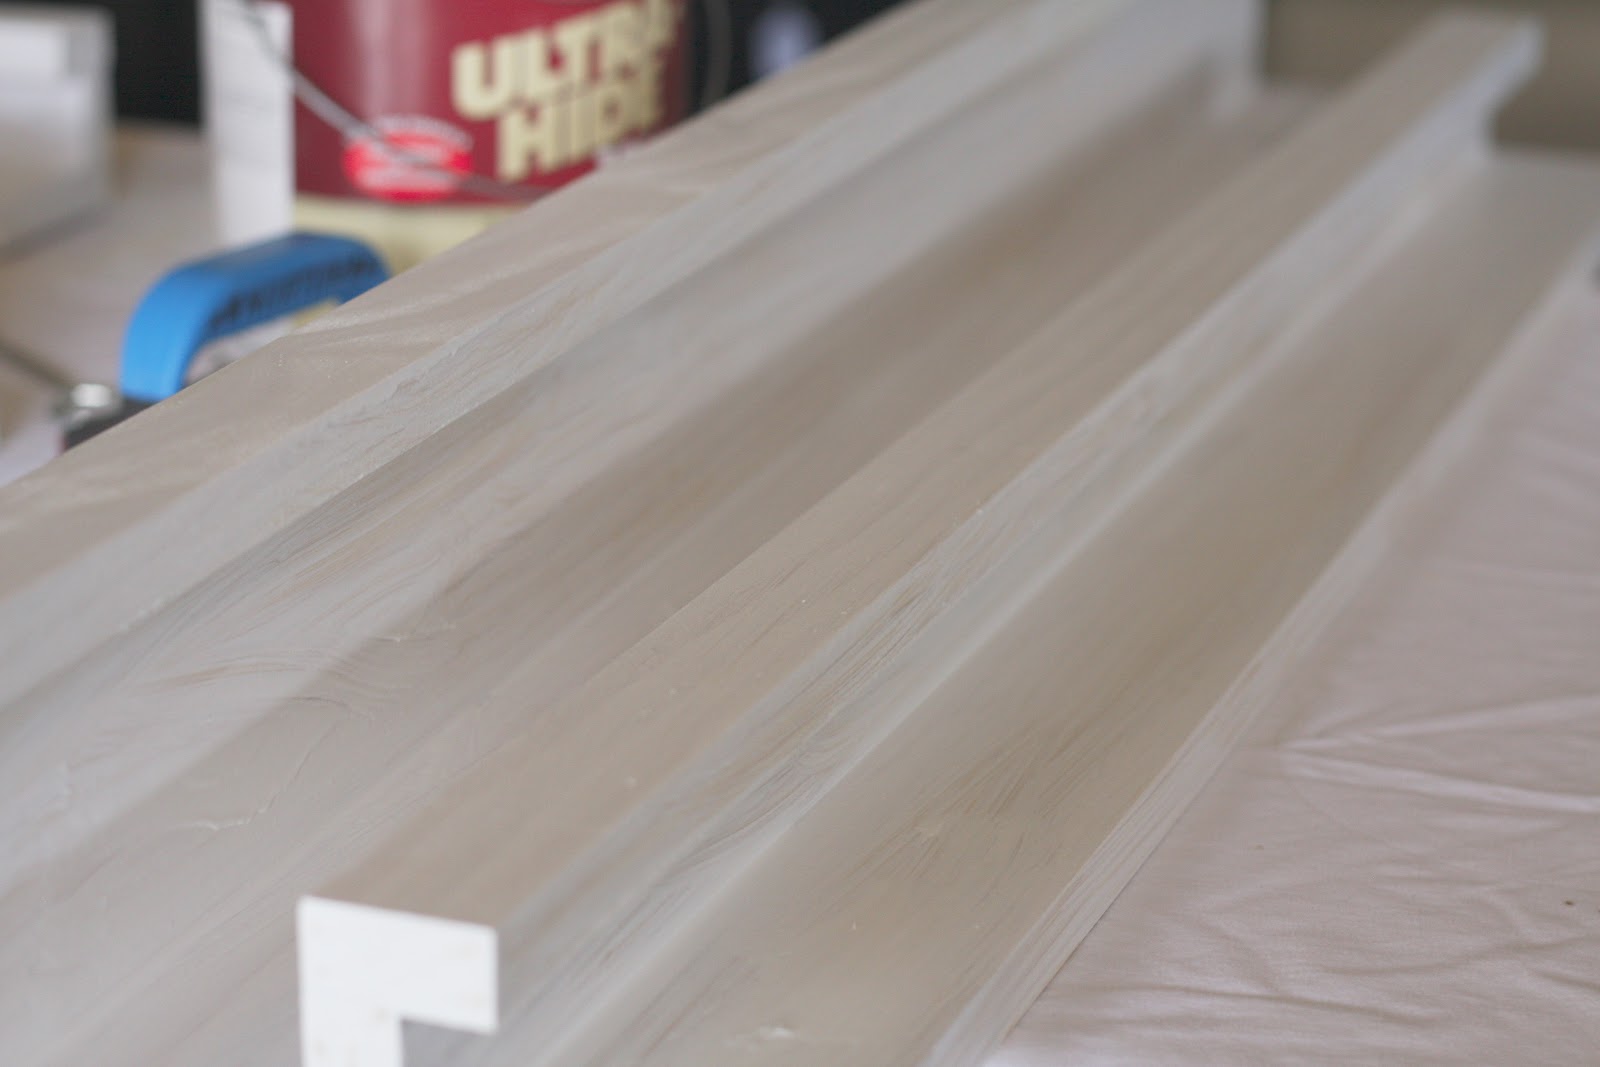
Here is an example of the shallow ledge…

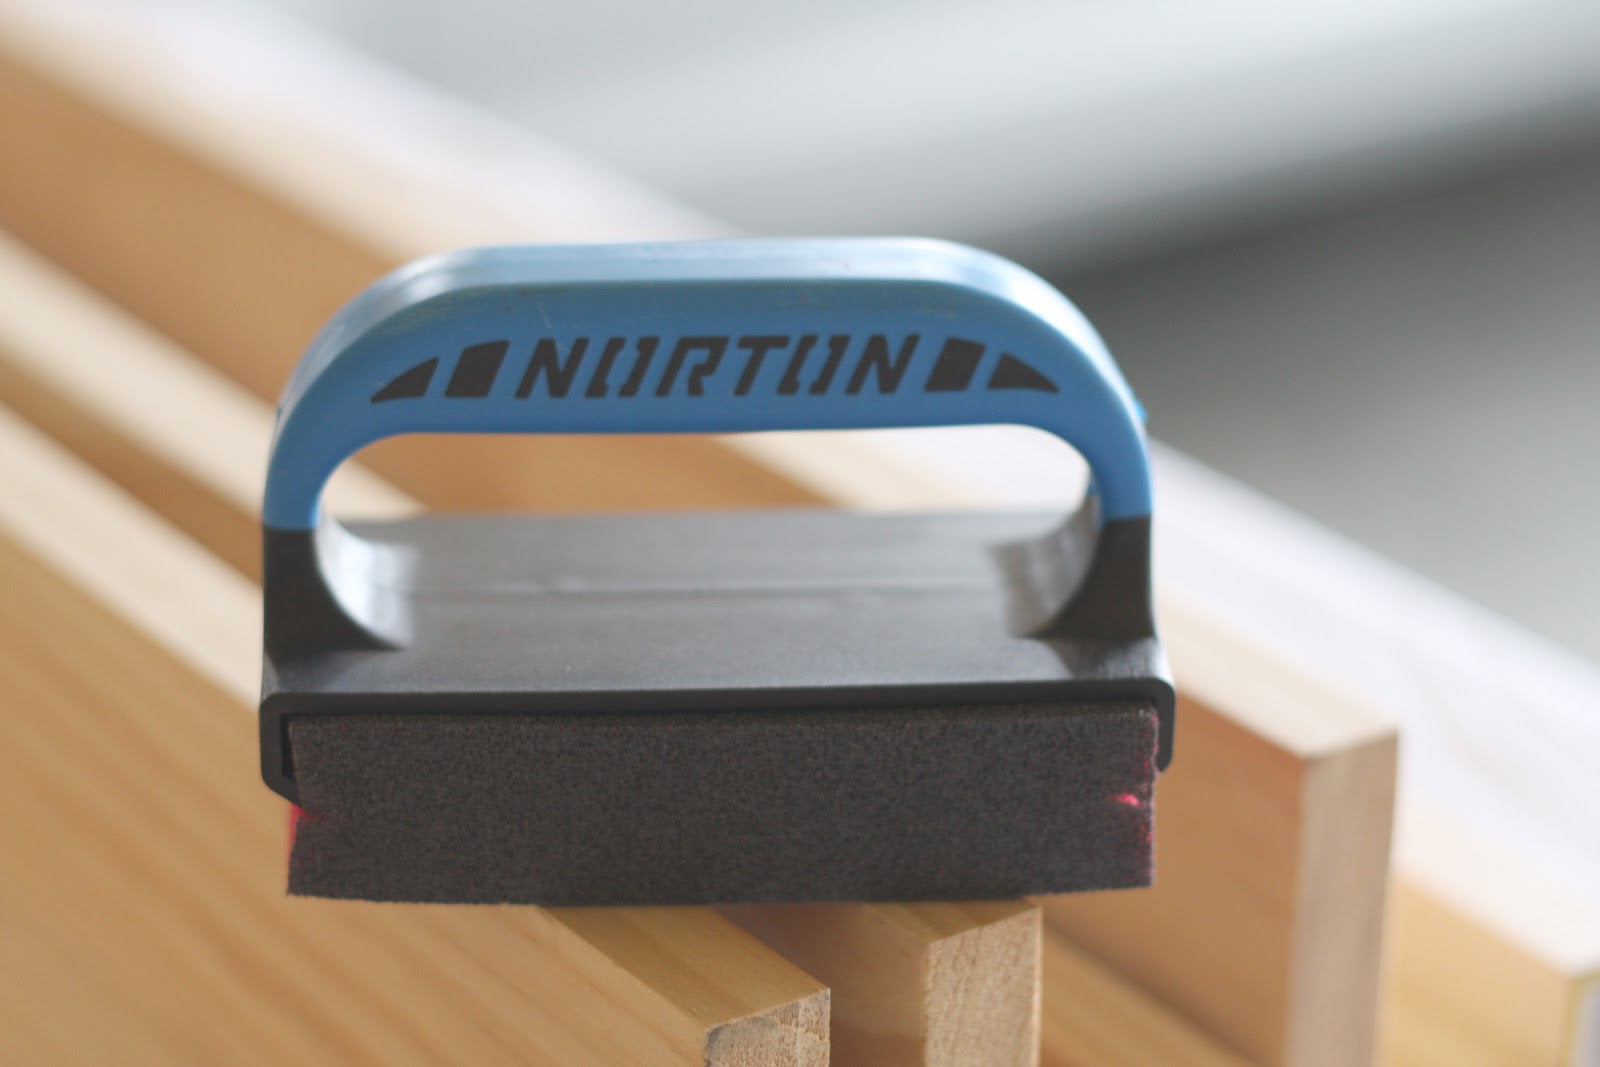
Once assembled (just follow her simple instructions), I sanded them with 120-grit sandpaper…
And used wood filler to cover a few nail holes…

When the filler was dry, I sanded it to a smooth finish and got started on the fun part – priming and painting. I used Zinsser primer because I already had some. My 7 year old had fun helping…
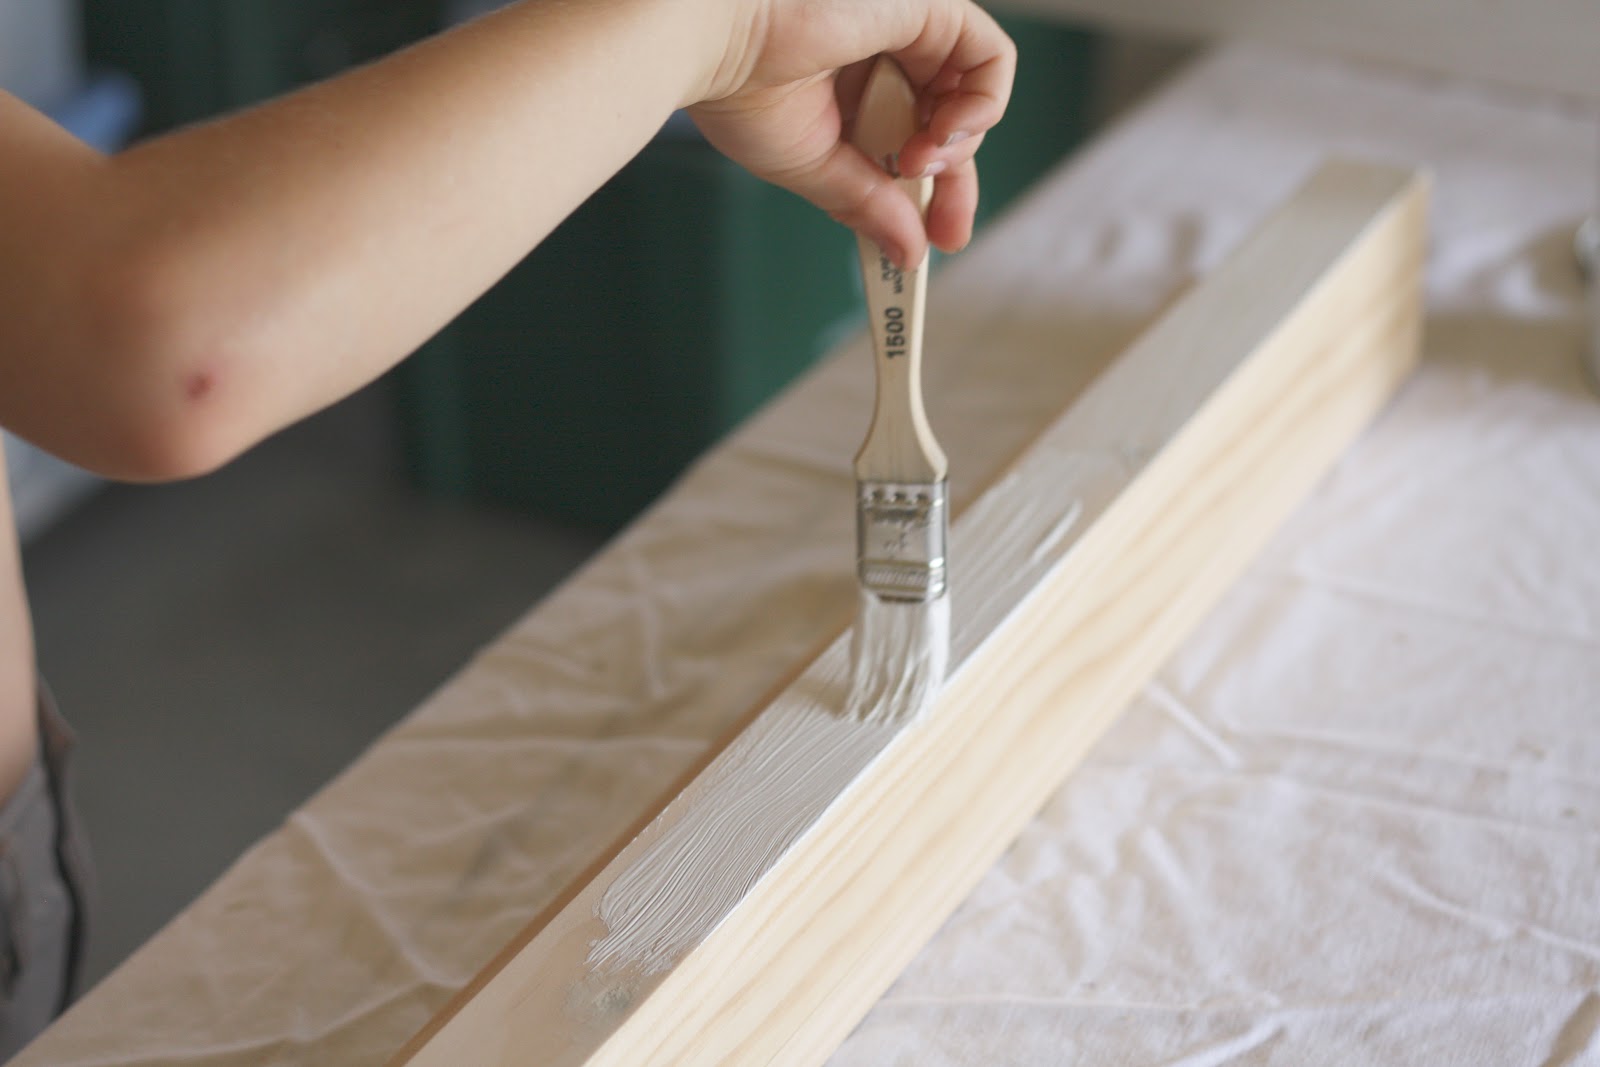
Then I painted when he lost interest…
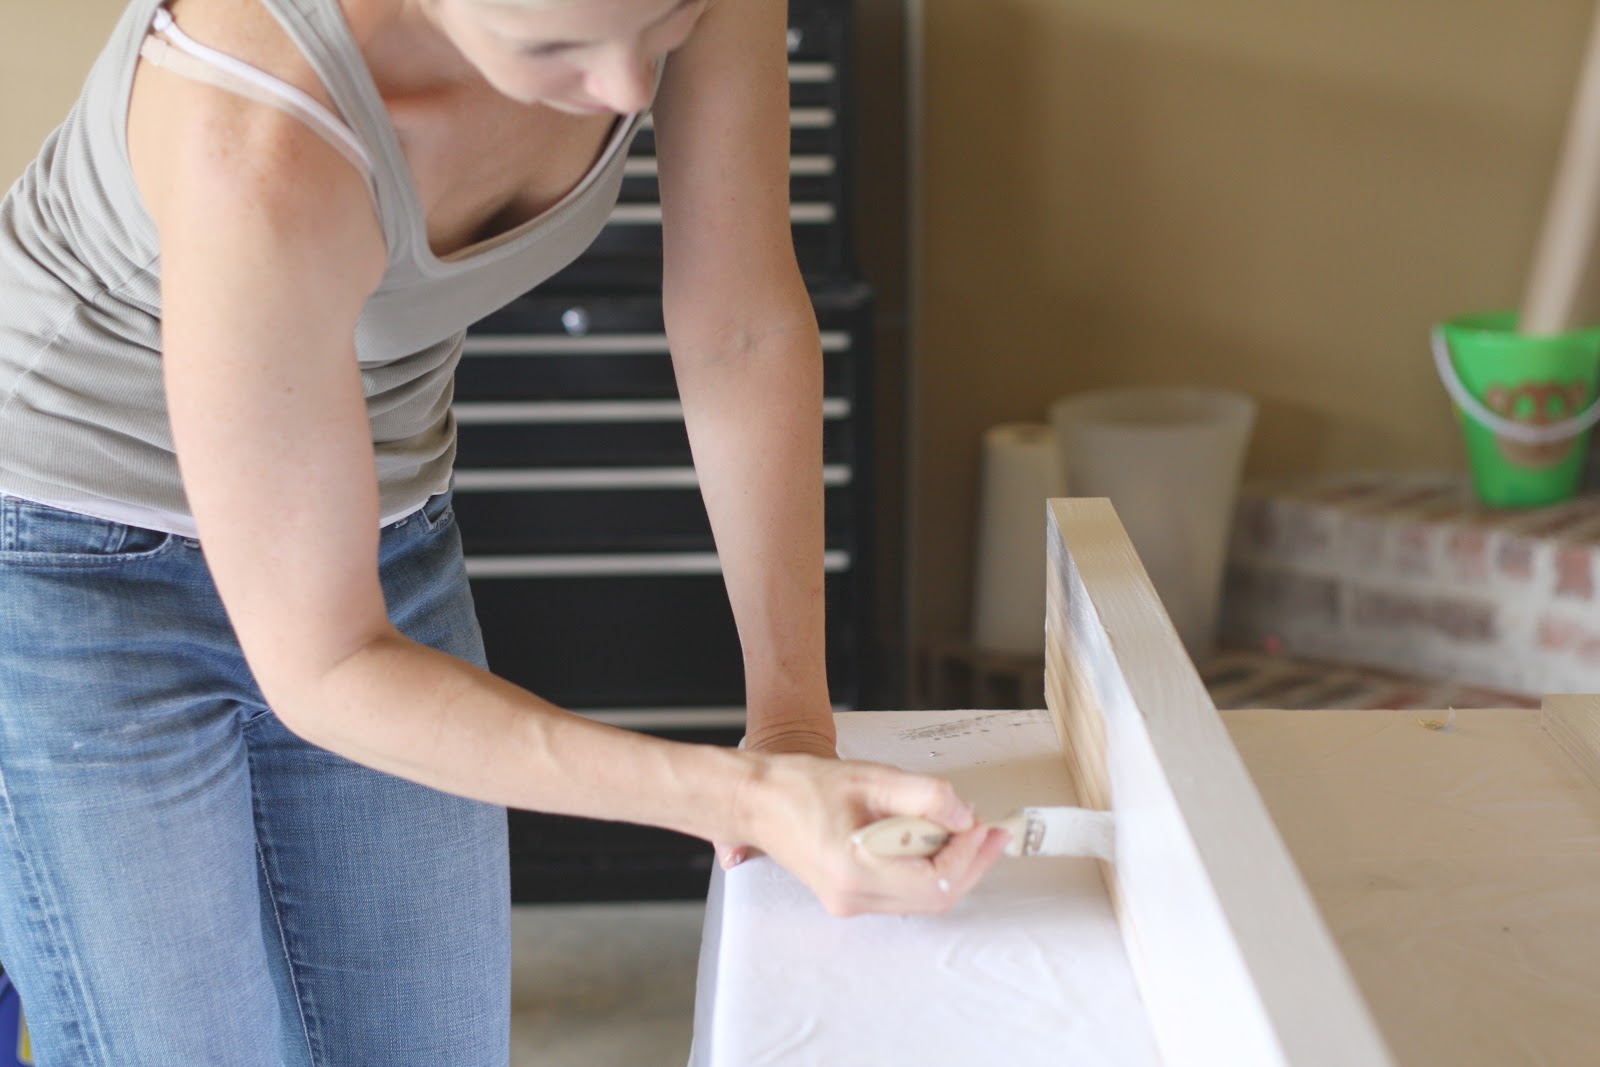
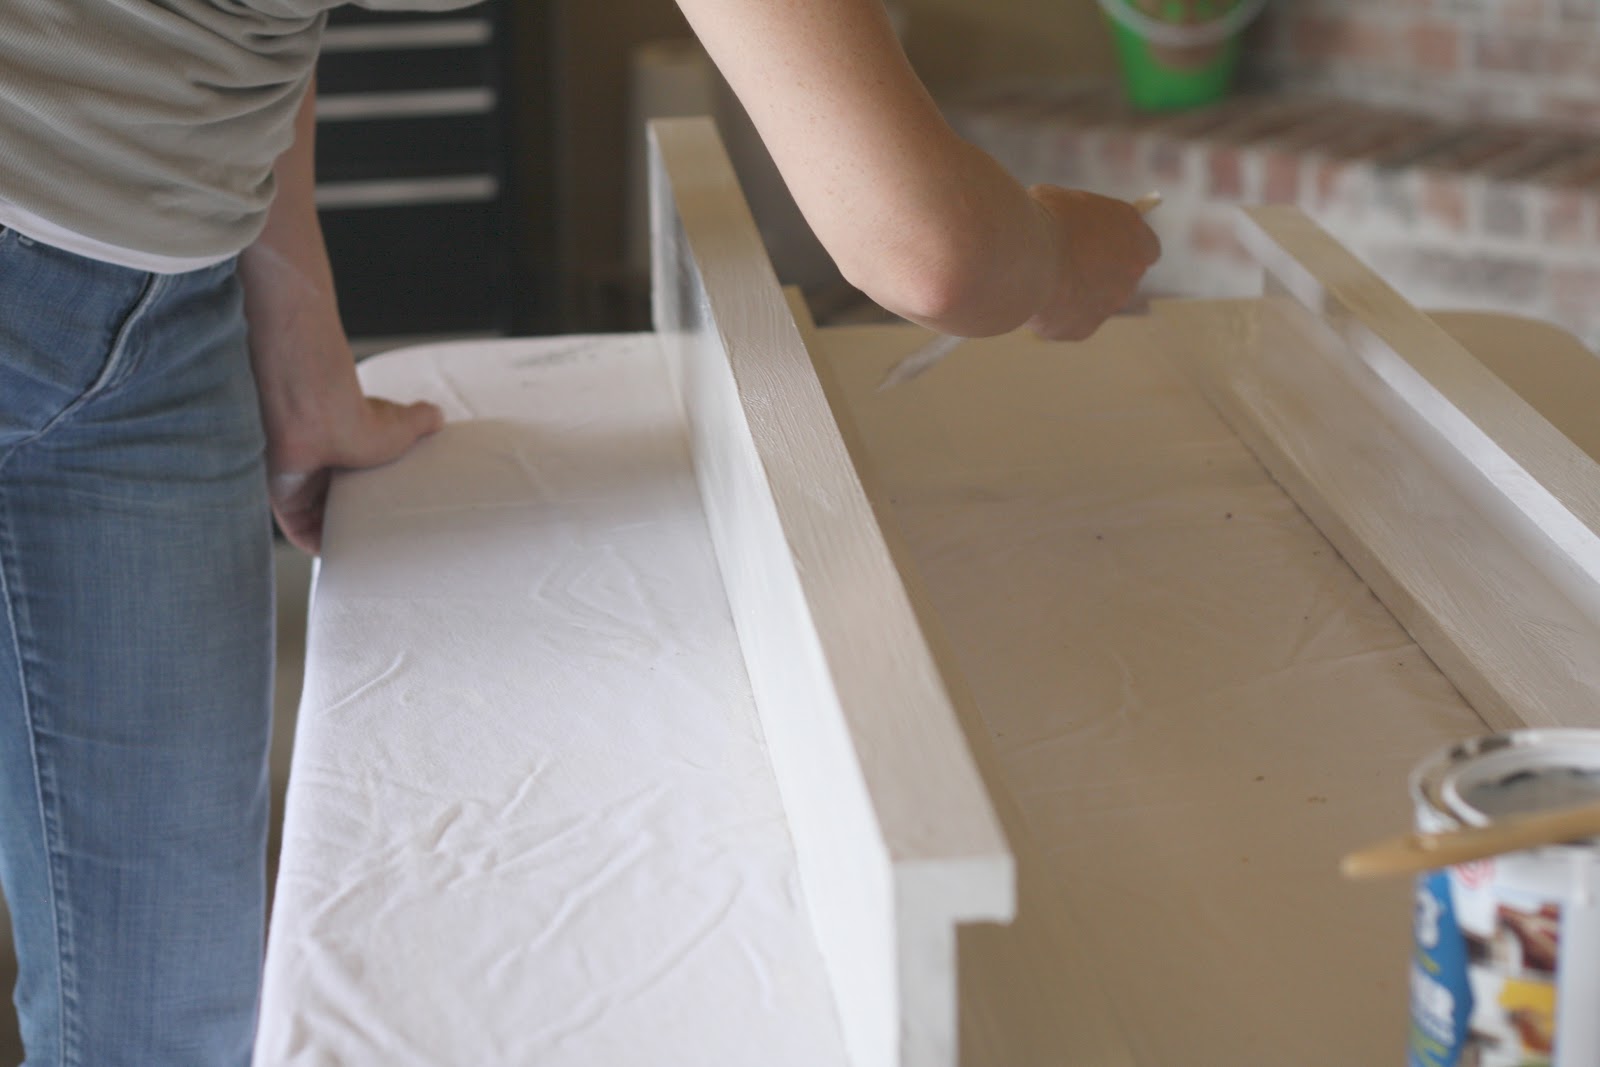
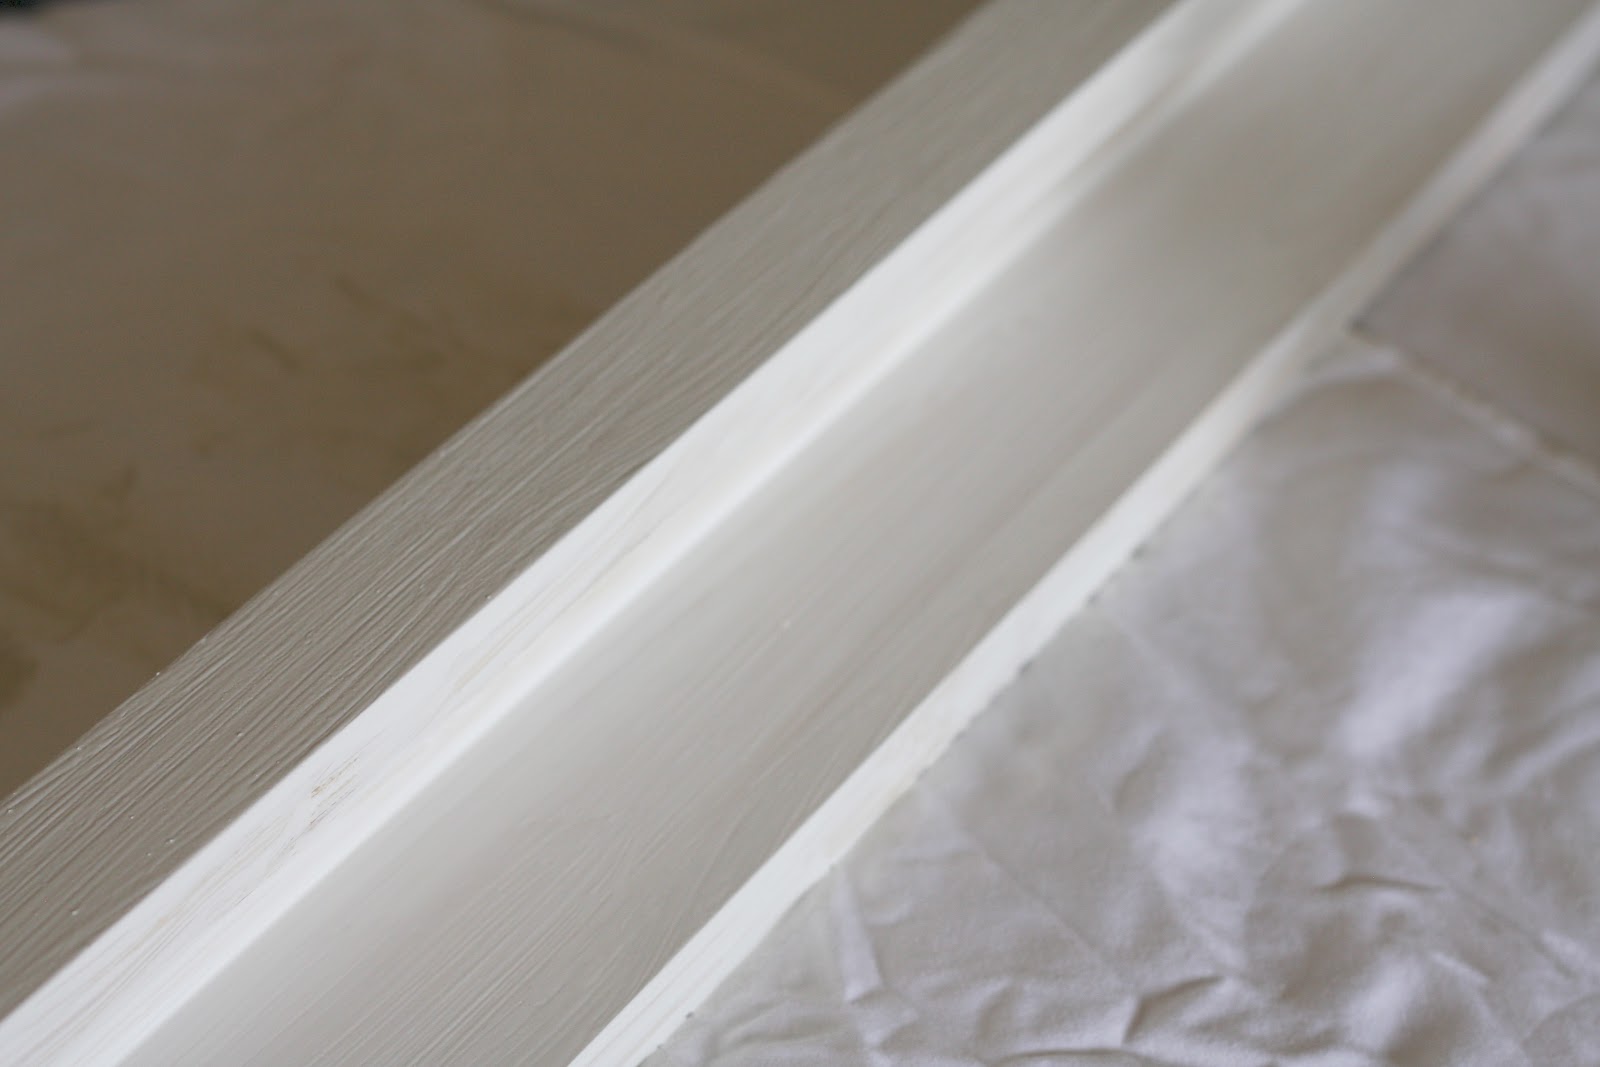
I painted the ledges the same color as the interior house trim…
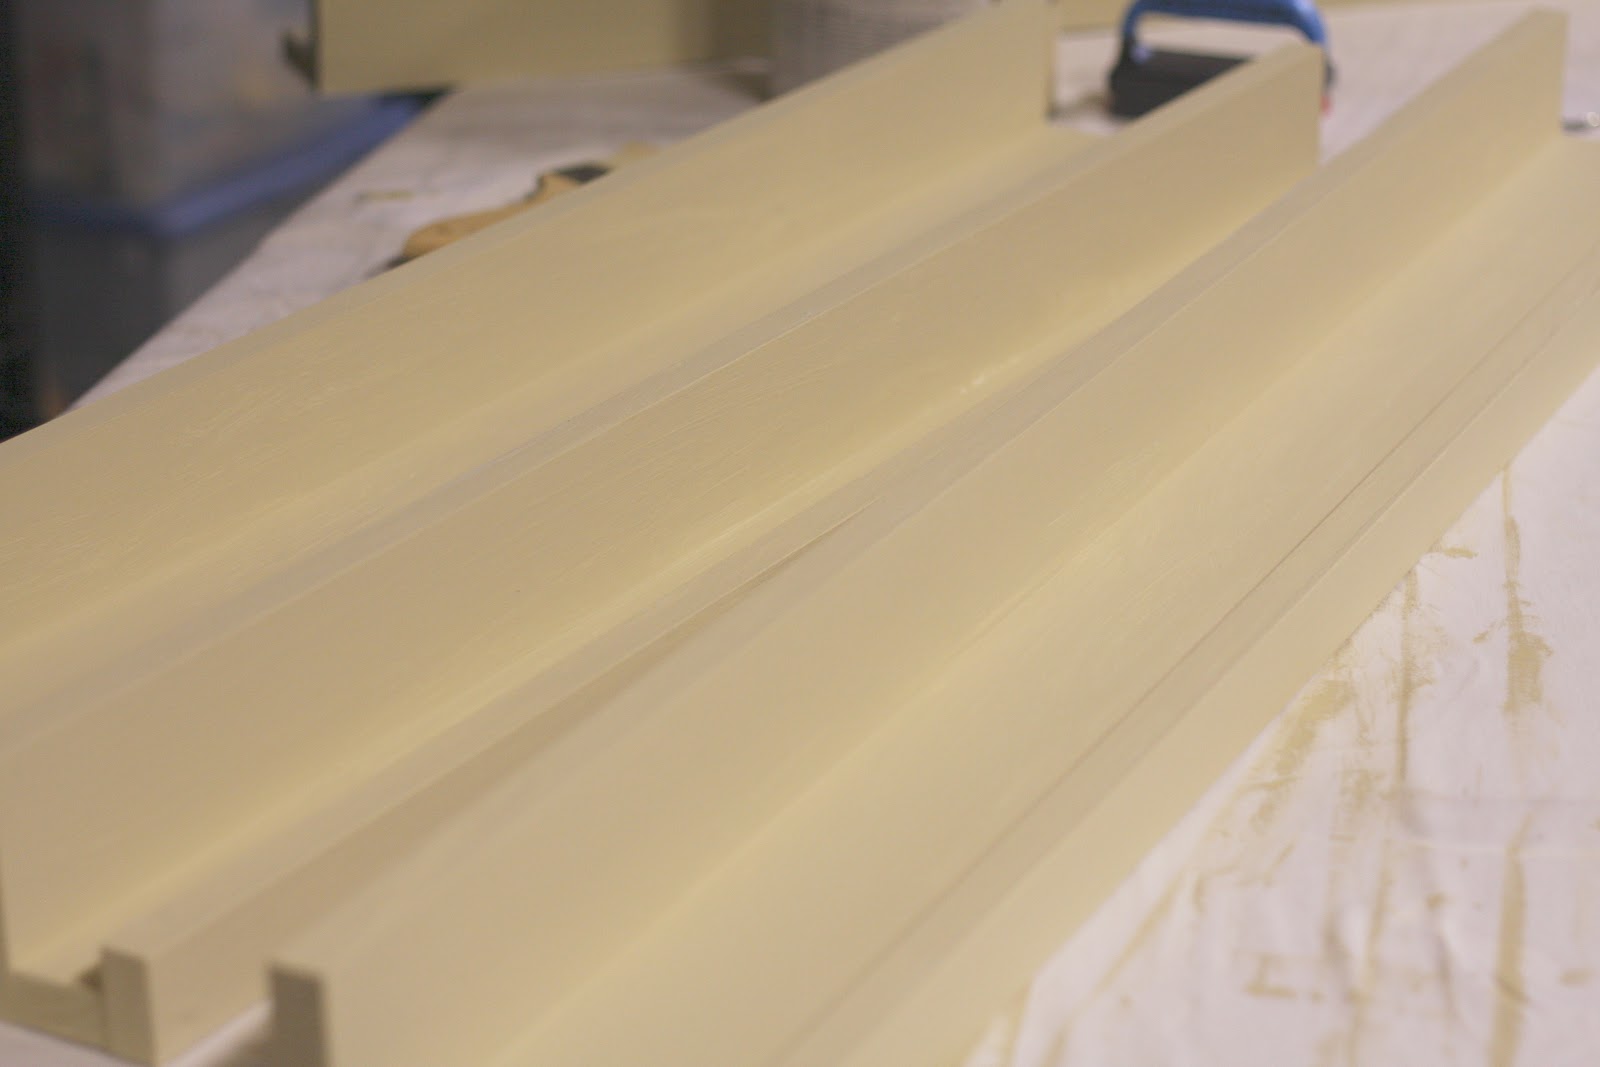
The trim looks creamy white, but it’s actually light tan. I wanted the ledges to look as if they were meant to be in the house…and if we ever move, they will stay as a built-in.
All that remains is hanging and decorating – can’t wait!
I LOVE this idea. I have seen it before but no one has broke it down like you did. I read a lot of blogs, (I love yours.) I love organization and cleaning! Everyone talks about how Home Depot cuts the wood they are buying. I have gone to a couple of H.D. where I live and neither one will cut the wood for me. 🙁 It would make this project so much easier. I plan on doing this very soon. Thanks for the post! I can't wait to see how it turns out!
hi there,
thank you SO much! you're so sweet! i didn't go into too much detail…although you said i did. humm, maybe i should add more detail – let me know. 🙂
i wonder why your HD won't cut the wood for you? are they simple cuts? the cuts for this project are very simple and the guy had no trouble cutting them. he did say they usually charge for everything after the 2nd cut, but he wasn't going to charge me b/c it was quiet and he wanted something to do. i didn't even know they charged for cutting. watch – next time, they will charge me! haha!
i'll be sharing the end result tomorrow – i love them!
sam 🙂
Good for you! The only reason I don't have that much open wall space is I don't have that much wall space…period. Except the hall, and I'm trying to figure a way to have things there securely–not to be falling off when 3 large dogs, 3 adults (one with a walker) go up the hall. I'm the one with the walker and the dog seems to make a game over trying to knock my knees out! So I hit the wall a lot. Your plan might work, even here :-).'
Janet
janet – you are making me laugh out loud! you have created quite the visual for me! but i can relate with 3 little people under my feet all day…and 1 cat. worst case, put up the ledges and use them to hold yourself up when the dogs stampede you :-). i drilled ours into the studs in the wall and i could literally hang from them, that is how sturdy they are!
i love dogs!!!!
all the best,
samantha
Hi, Just wanted you to know that I have been here on your website so I thought I better leave a comment. I am more of a "Mary" than a "Martha" so this is something that will help me a lot! Thank you for taking the time to write and share especially since you have little ones!
Hugs
I am so glad I stumbled upon this blog! I was actually in the process of buying some ledges online from The Container Store, browsed google for inspirational design photos and VIOLA! I ended up here. Now I will be going to Home Depot tomorrow instead. Only question, I saw on Ana White's that she just screwed the ledges directly onto the wall into a stud, did you do the same? Or did you put some sort of backing for hanging the ledges?
Attempting to do this as a housewife with little handyman experience. hahah
Thank you!
-Alana XoXo
I'm curious whether you used finish nails on this entire project, or if you inset screws as Anna's video shows? They are awesome shelves!! I have all my material bought, and am ready to construct.
Thanks for your blog!:)