“Sam, I wanted to let you know that I scored (insert our son’s name) evaluation tests this weekend and he has tested out of therapy! I am so proud and excited for him! He has worked so hard and made such amazing progress over the past two years. It has been such a joy to work with him and get to know you and your family over the past two years. I know he will continue to make amazing progress with the commitment you all have to working with him and always seeking out the best for him. Please feel free to email me anytime, even after the move, if there is ever anything I can ever help with or try to problem solve and I would love to keep in touch to hear about how he is doing, as well! Thanks!”
Yup, I fell over.
Well, actually, first I had to re-read the e-mail a few times. Then I picked my jaw up off the desk. Then I quickly forwarded the e-mail to my husband and family members/friends who have been some of his biggest cheerleaders. Then I got up and danced around a bit. Then I cried a little. Then I wanted to drive to school, pull my son out for the day and take him to disneyworld. Then I replied to her e-mail. Then I fell over.
And then…
It hit me.
While we are SO thrilled for this amazing news and progress, it’s bittersweet. This therapist has been an integral part of our lives for the last 2 years. Each and every season we would walk into the building to be greeted by her warm, inviting smile and she truly loves our little boy. Yes, our son did most of the work himself. But she has been 100% dedicated to his growth and reaching all of his goals in order to test out of OT completely. Our son has a brighter future because of her dedication, love and hard work.
Since the great news also came out of nowhere, we had to quickly swallow the reality that we weren’t seeing her anymore. When you test out of therapy, it ends immediately. So sad – we will miss her terribly. We wanted to thank her and show our appreciation, so this week we poked around at school and tracked down a few close friends that shared some of her favorite things with us….
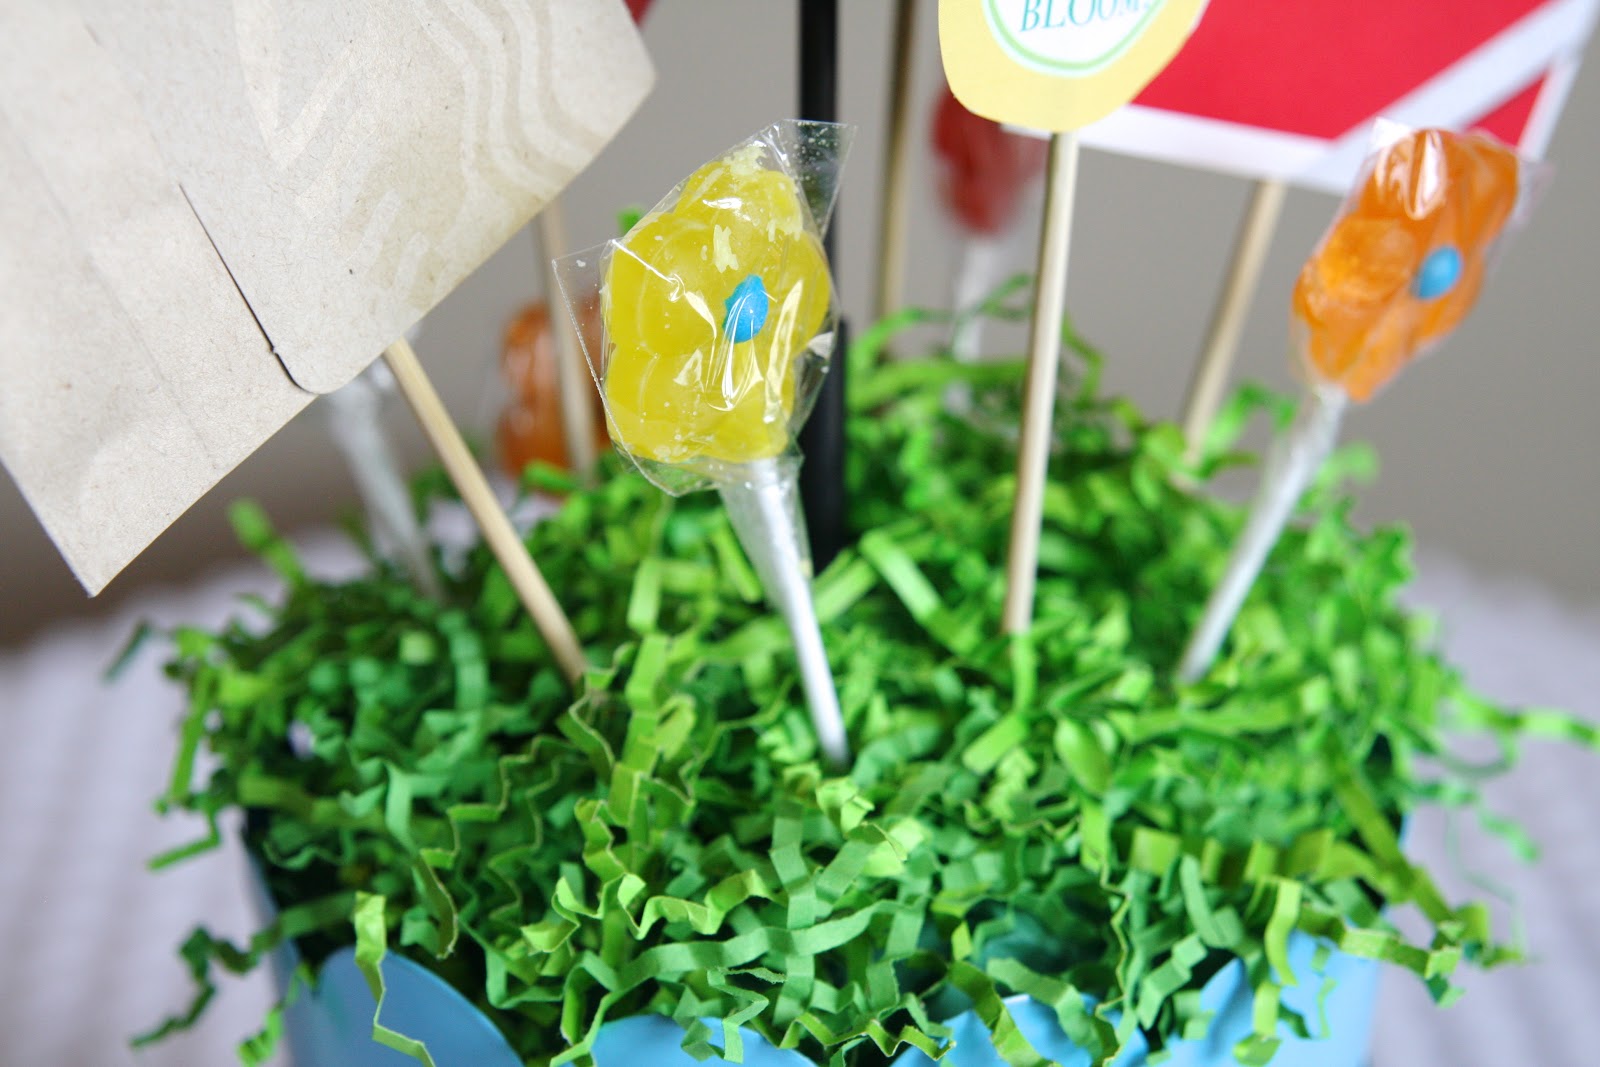
* The color blue
* Gardening and spring
* Starbucks
* She needs a new laptop bag
* Candy
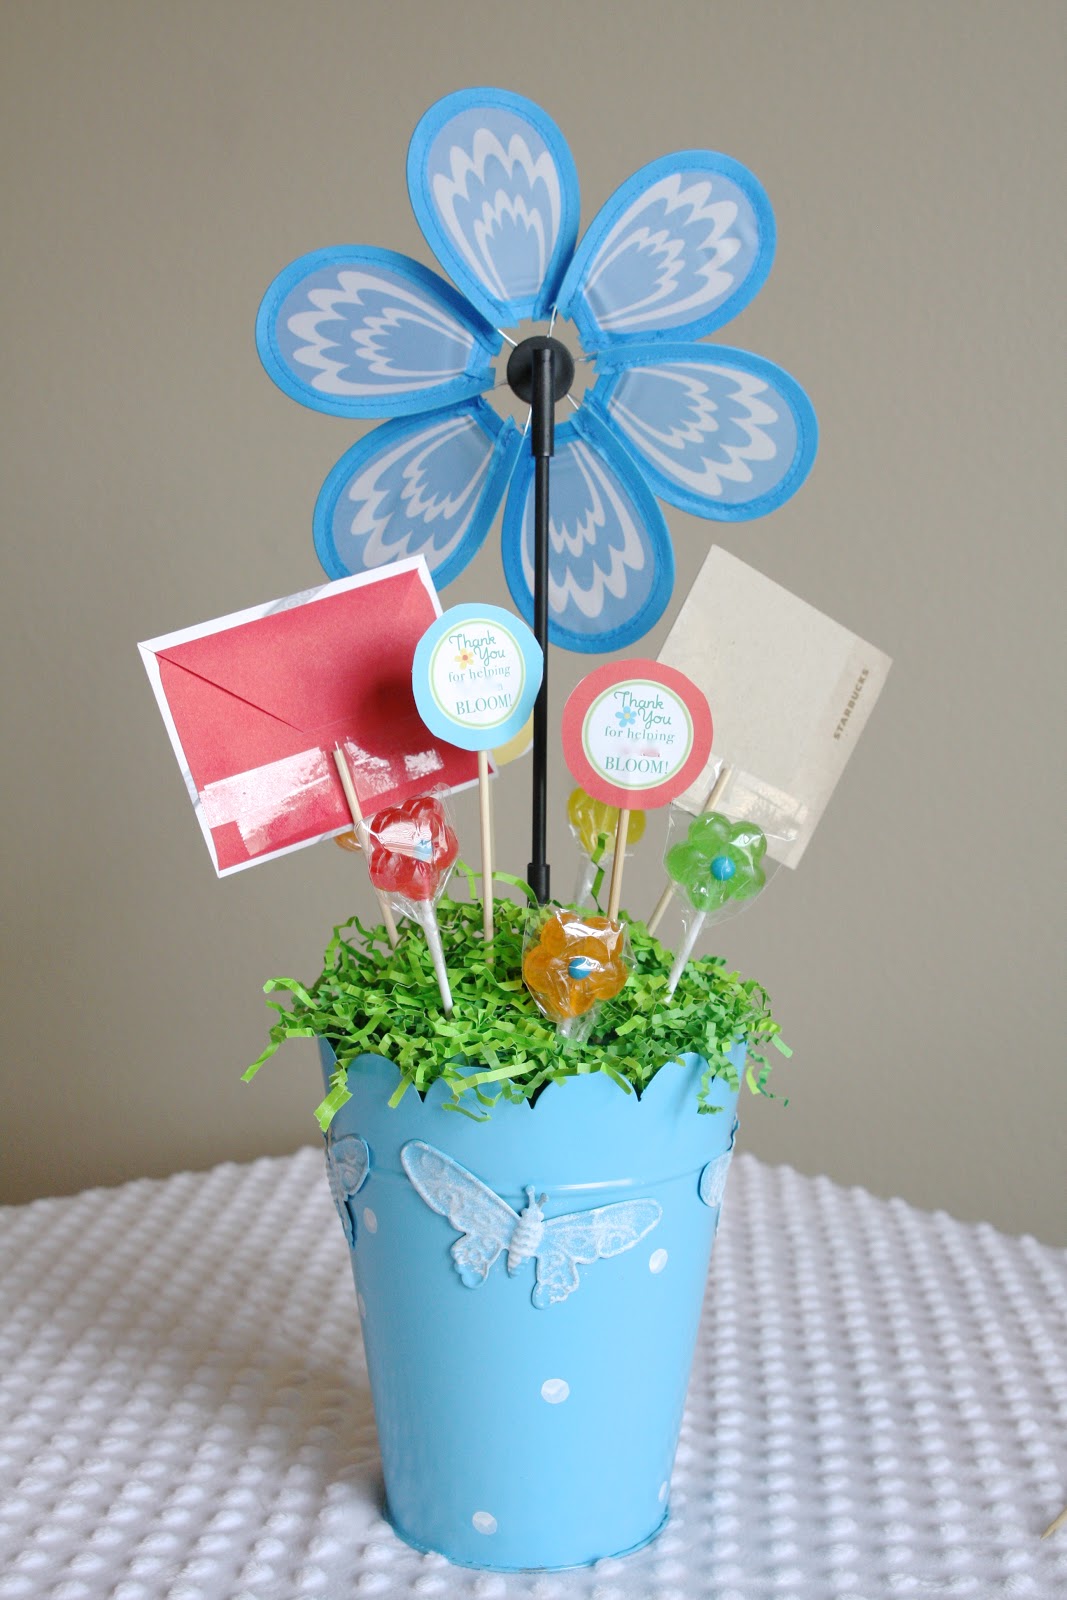
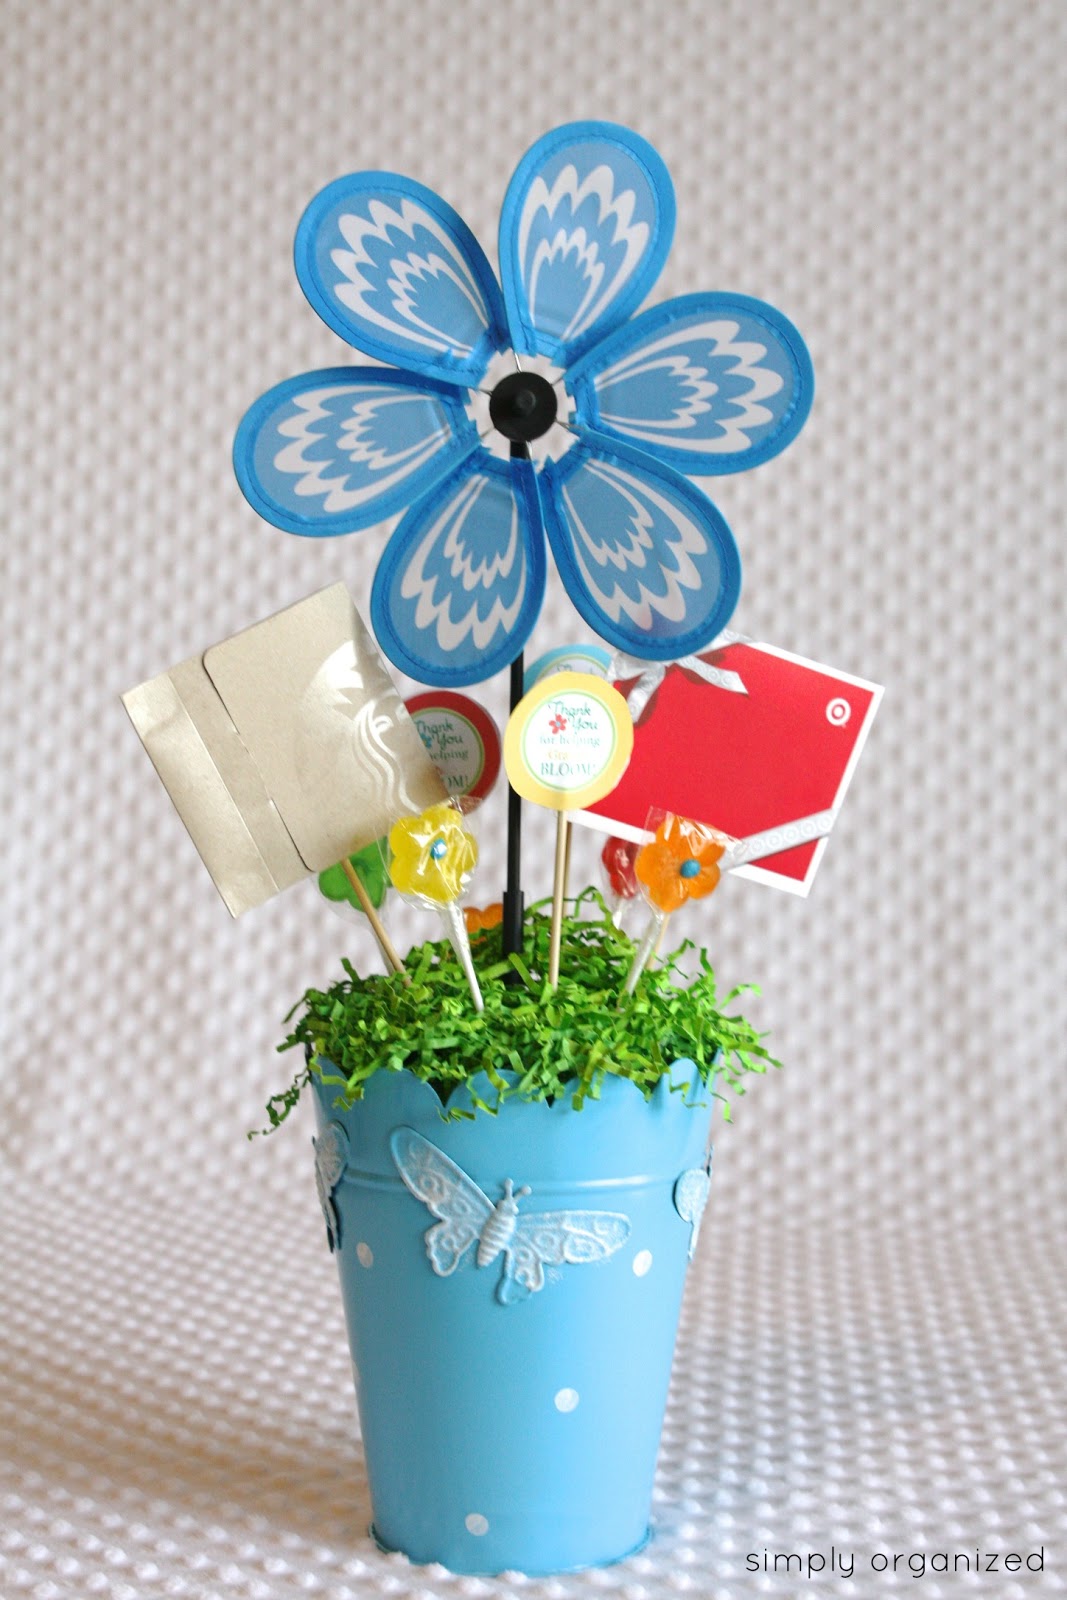
We combined all of her favorite things together to create this…

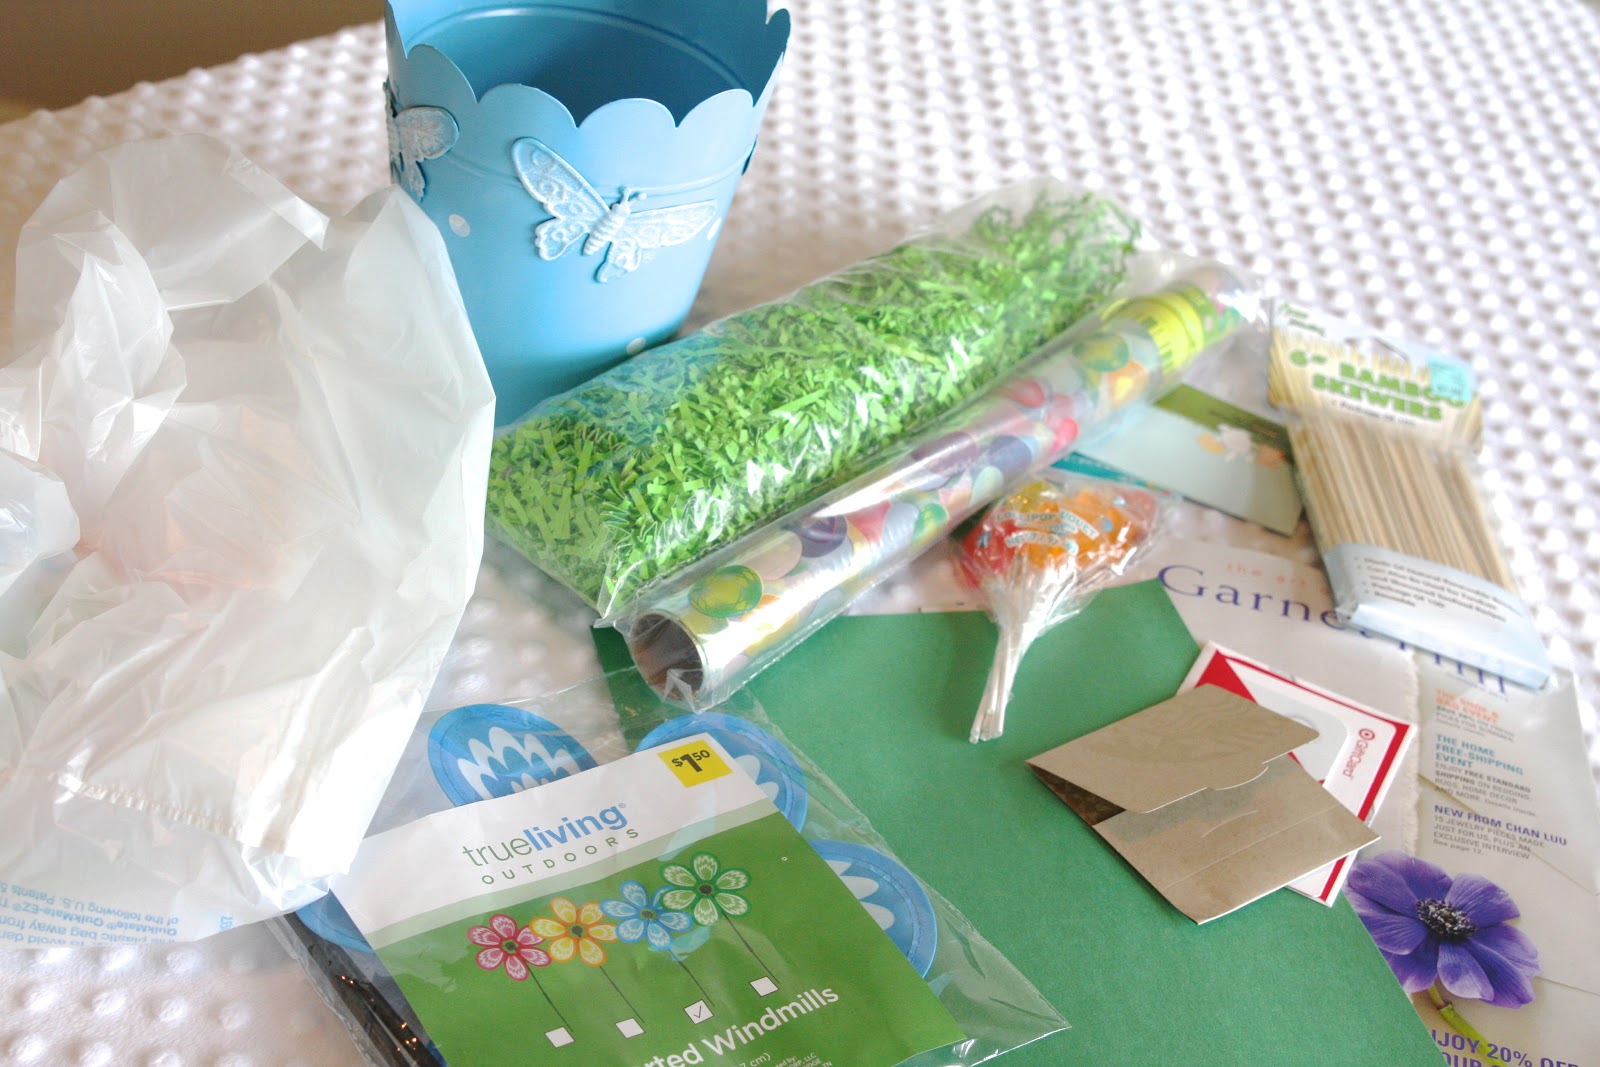
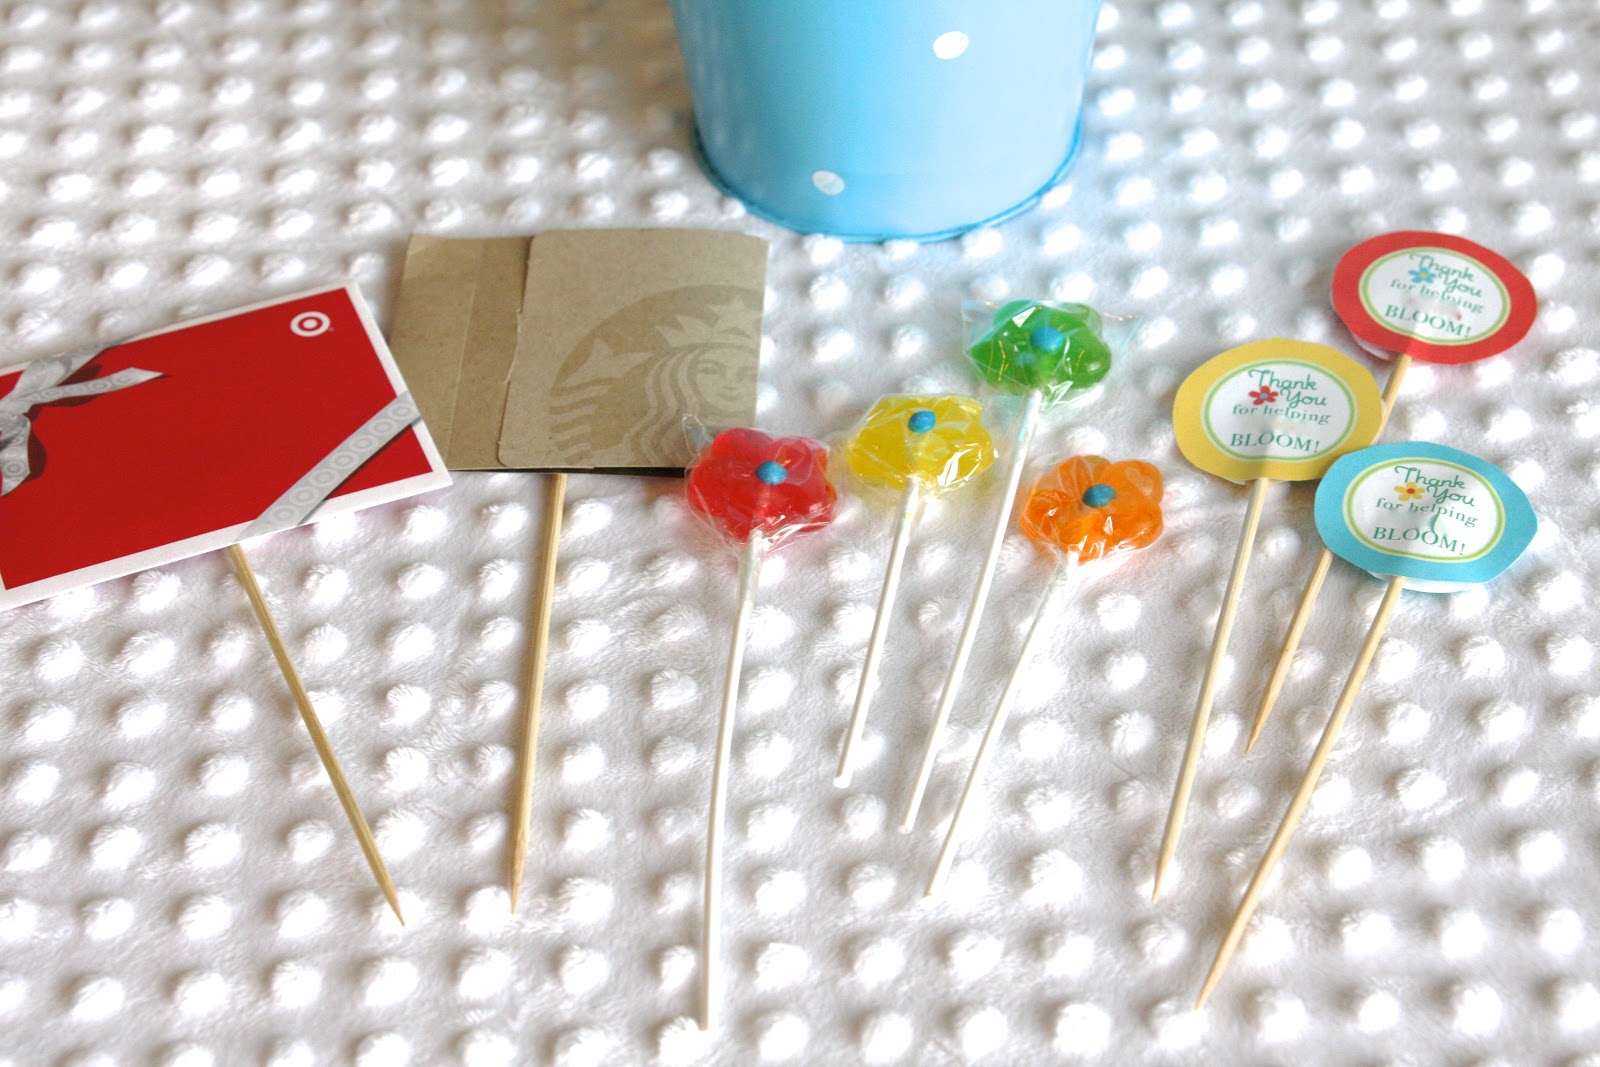
Here’s what I used/purchased:
* Blue pail from dollar general = $3.00
* Flower pinwheel from dollar general = $1.50
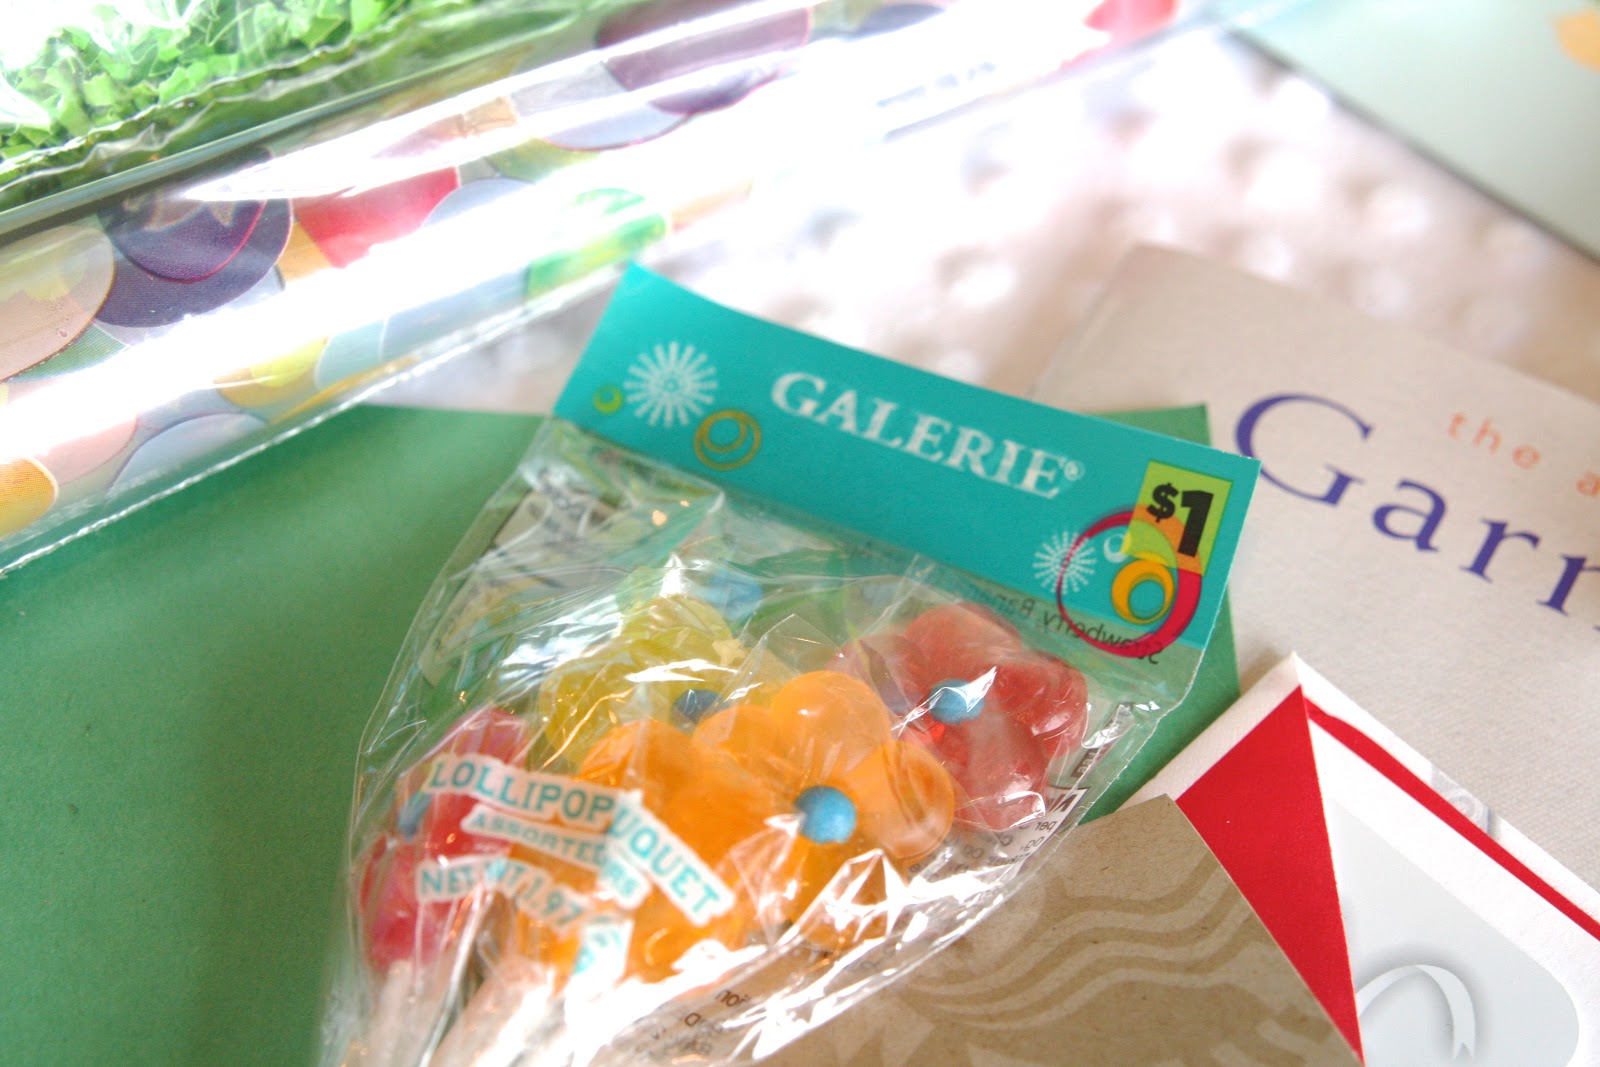
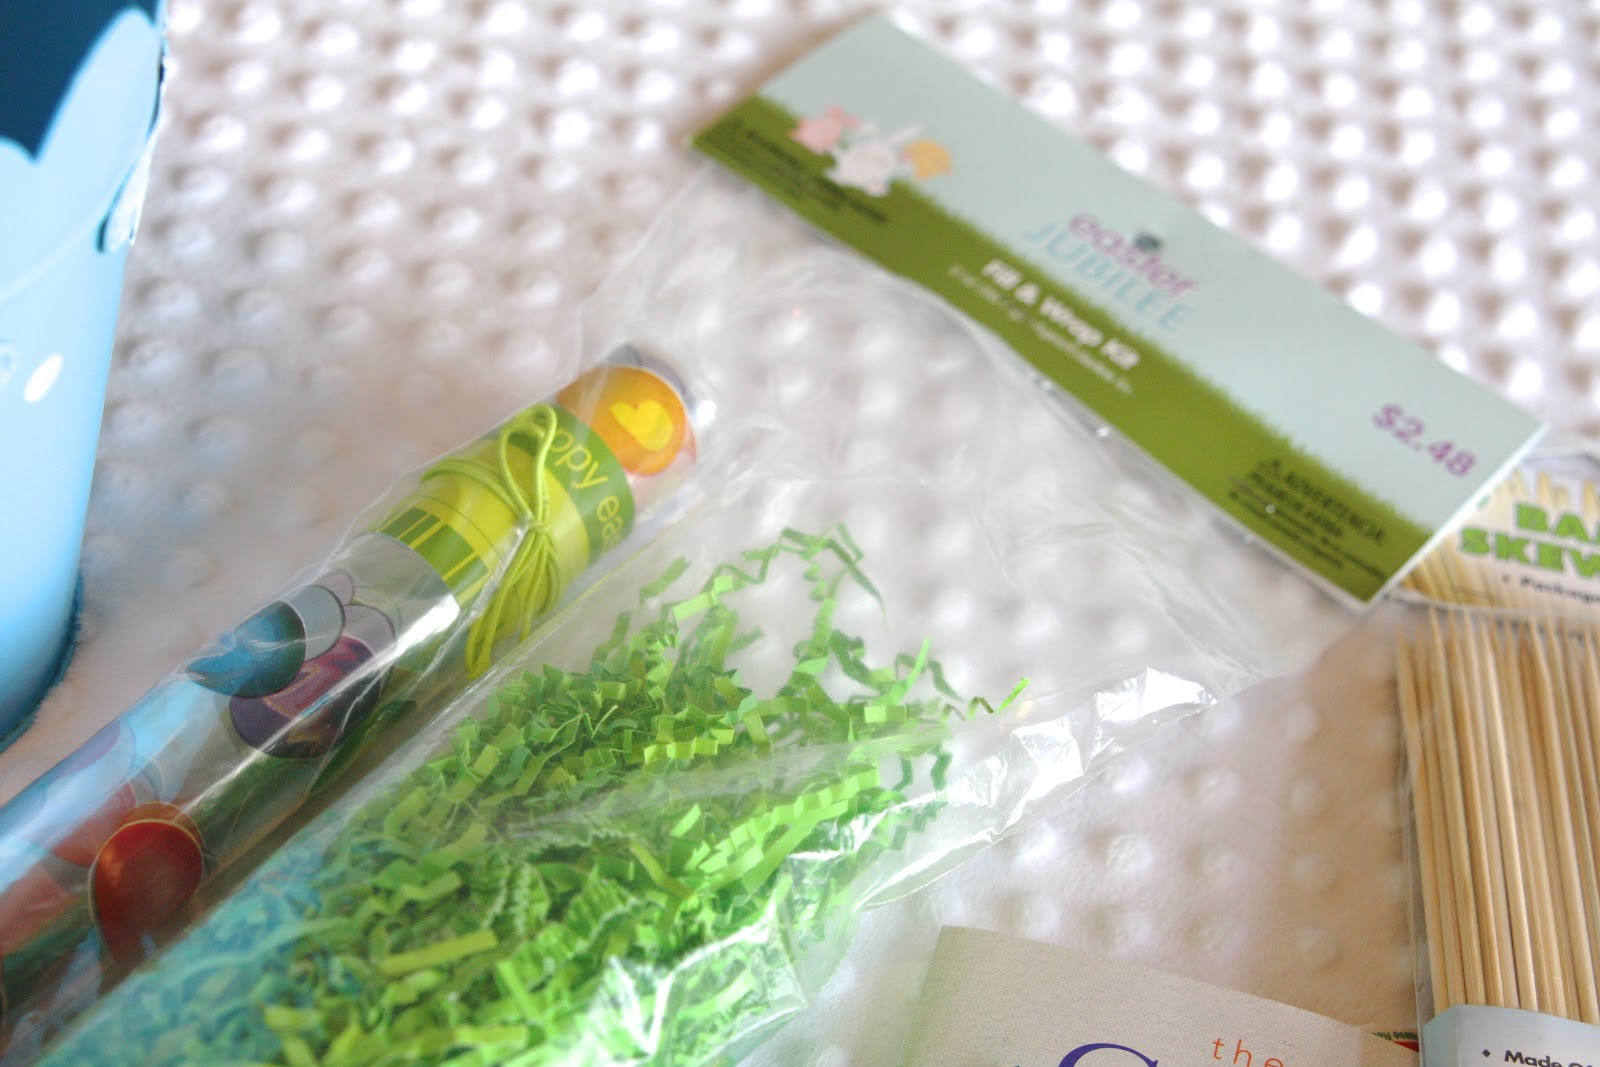
* Flower lollipops from dollar general = $1.00 for 7
* Skewers = had them already
* Fake grass = $1.25 on sale at kmart
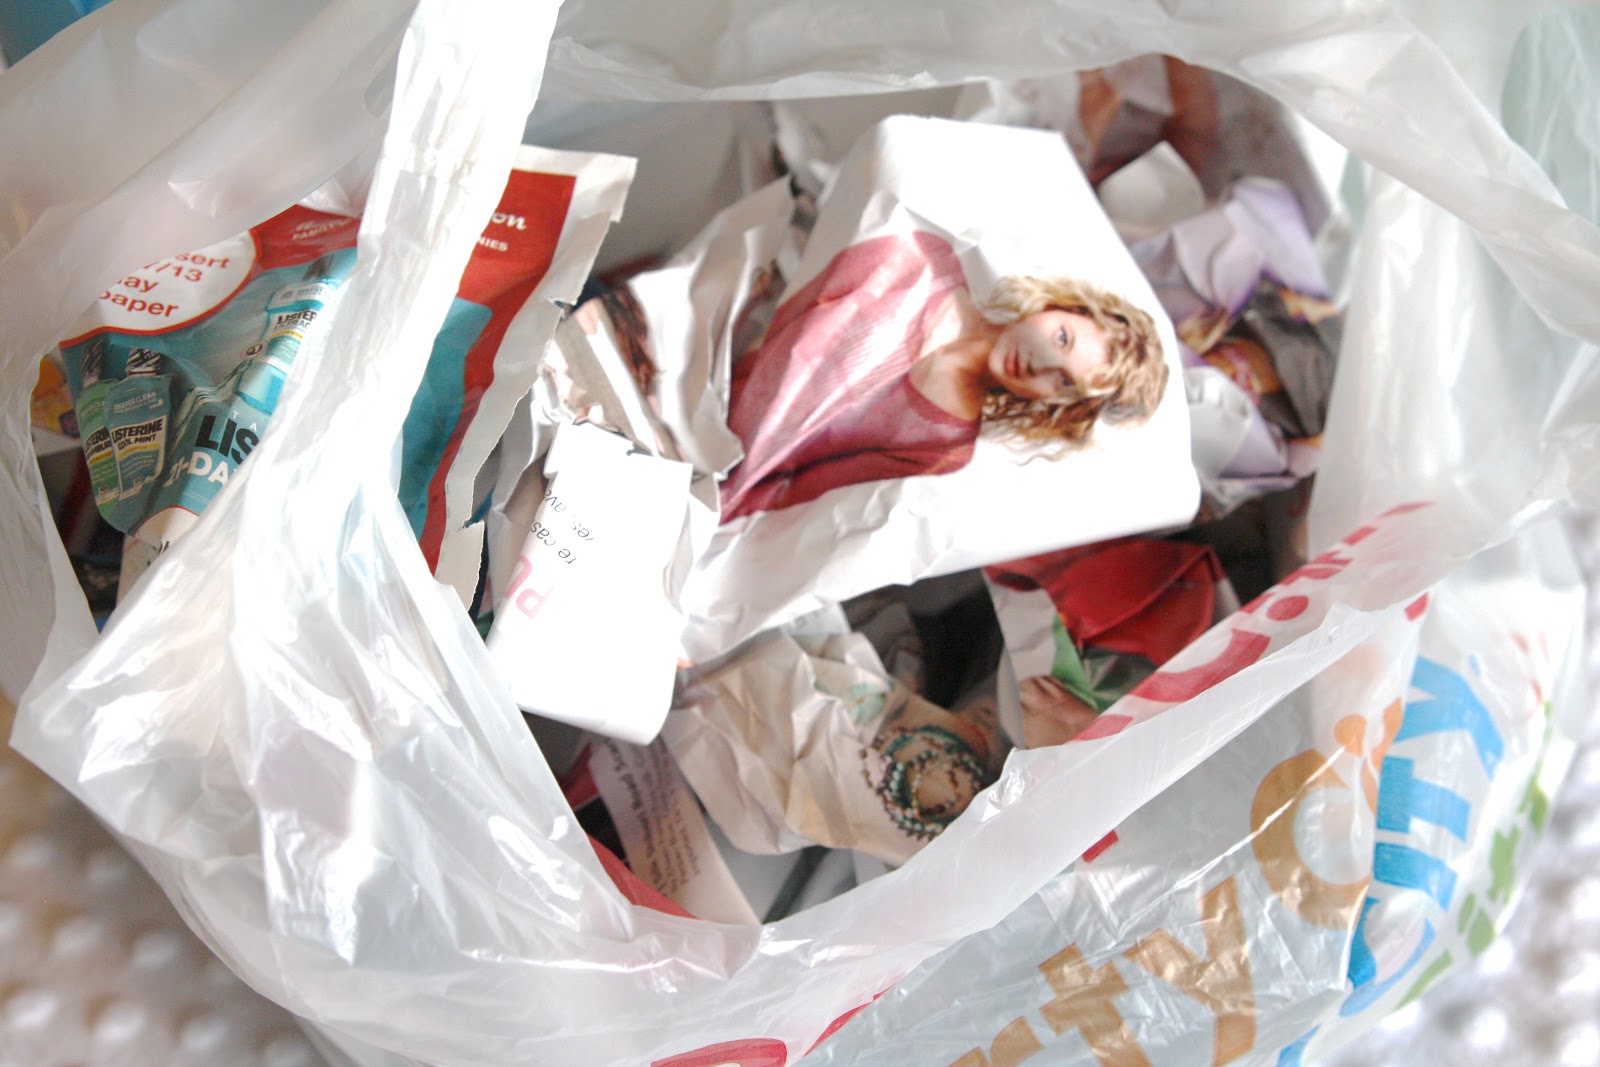
* Plastic grocery bag = free
* Scrap paper for filler = free
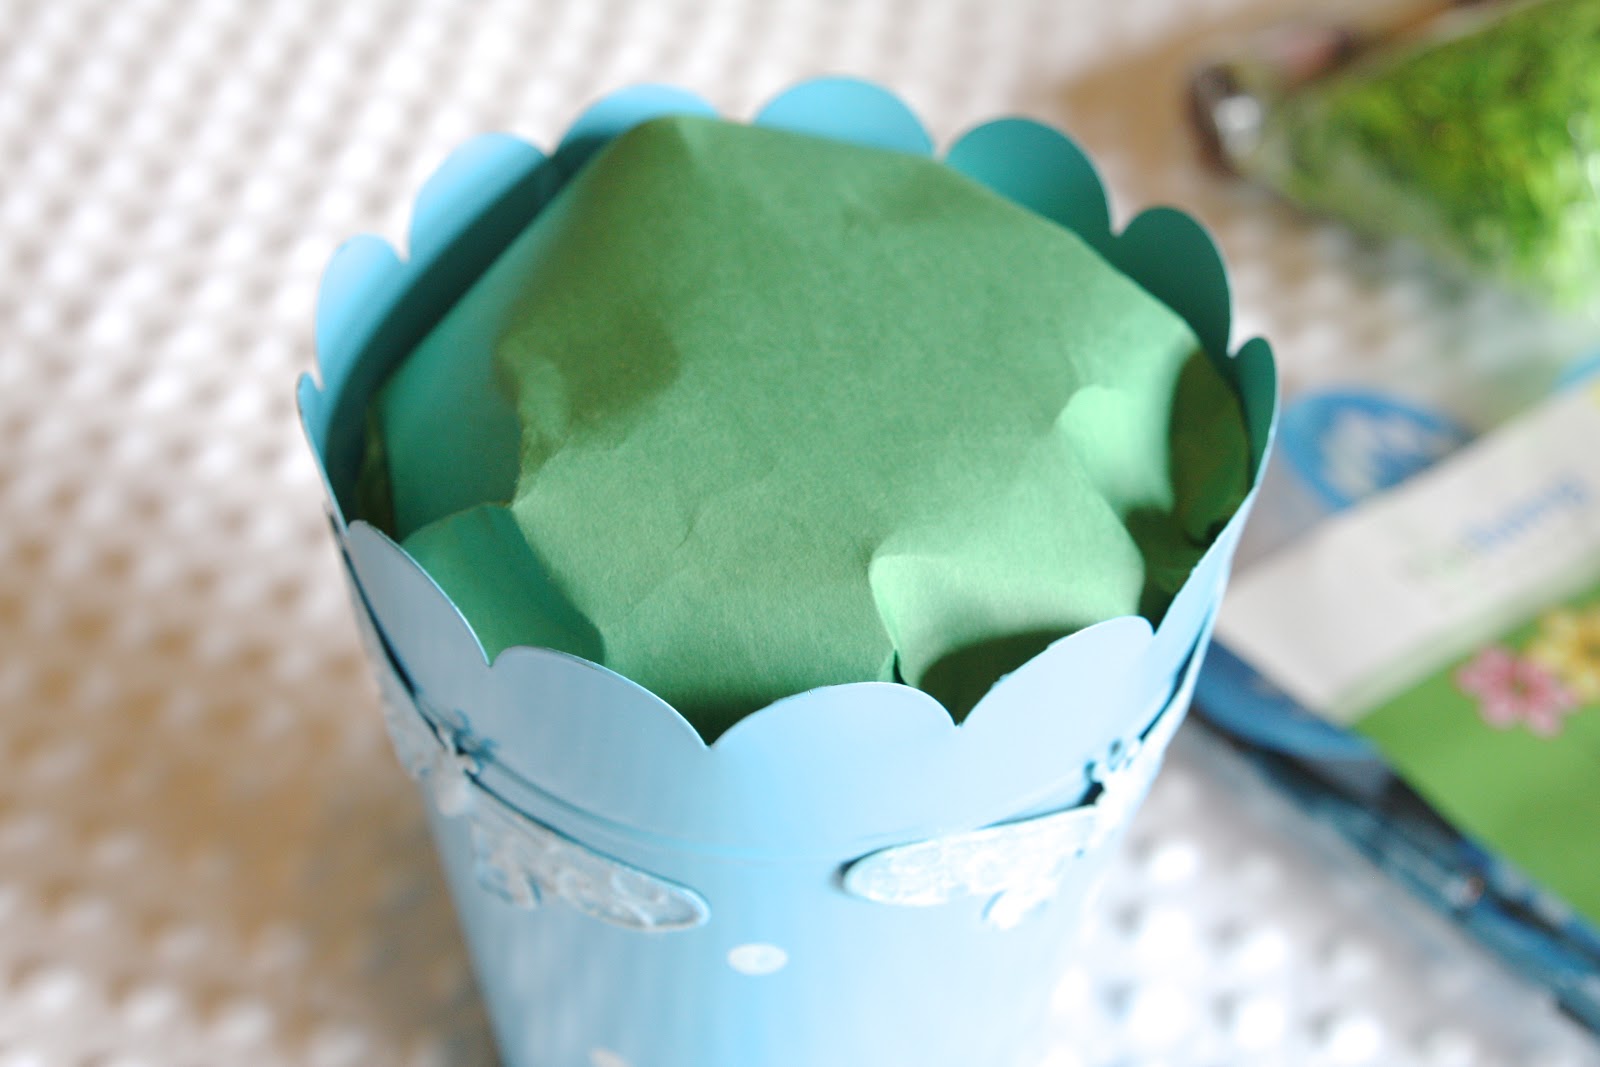
* 1 sheet of green construction paper = had on hand
* Gift cards of your choice
* Printable flowers = free and link is shared below
* Glue gun
* Scissors
* Scotch tape
And here’s how I made it!
First I gathered up all of the supplies…
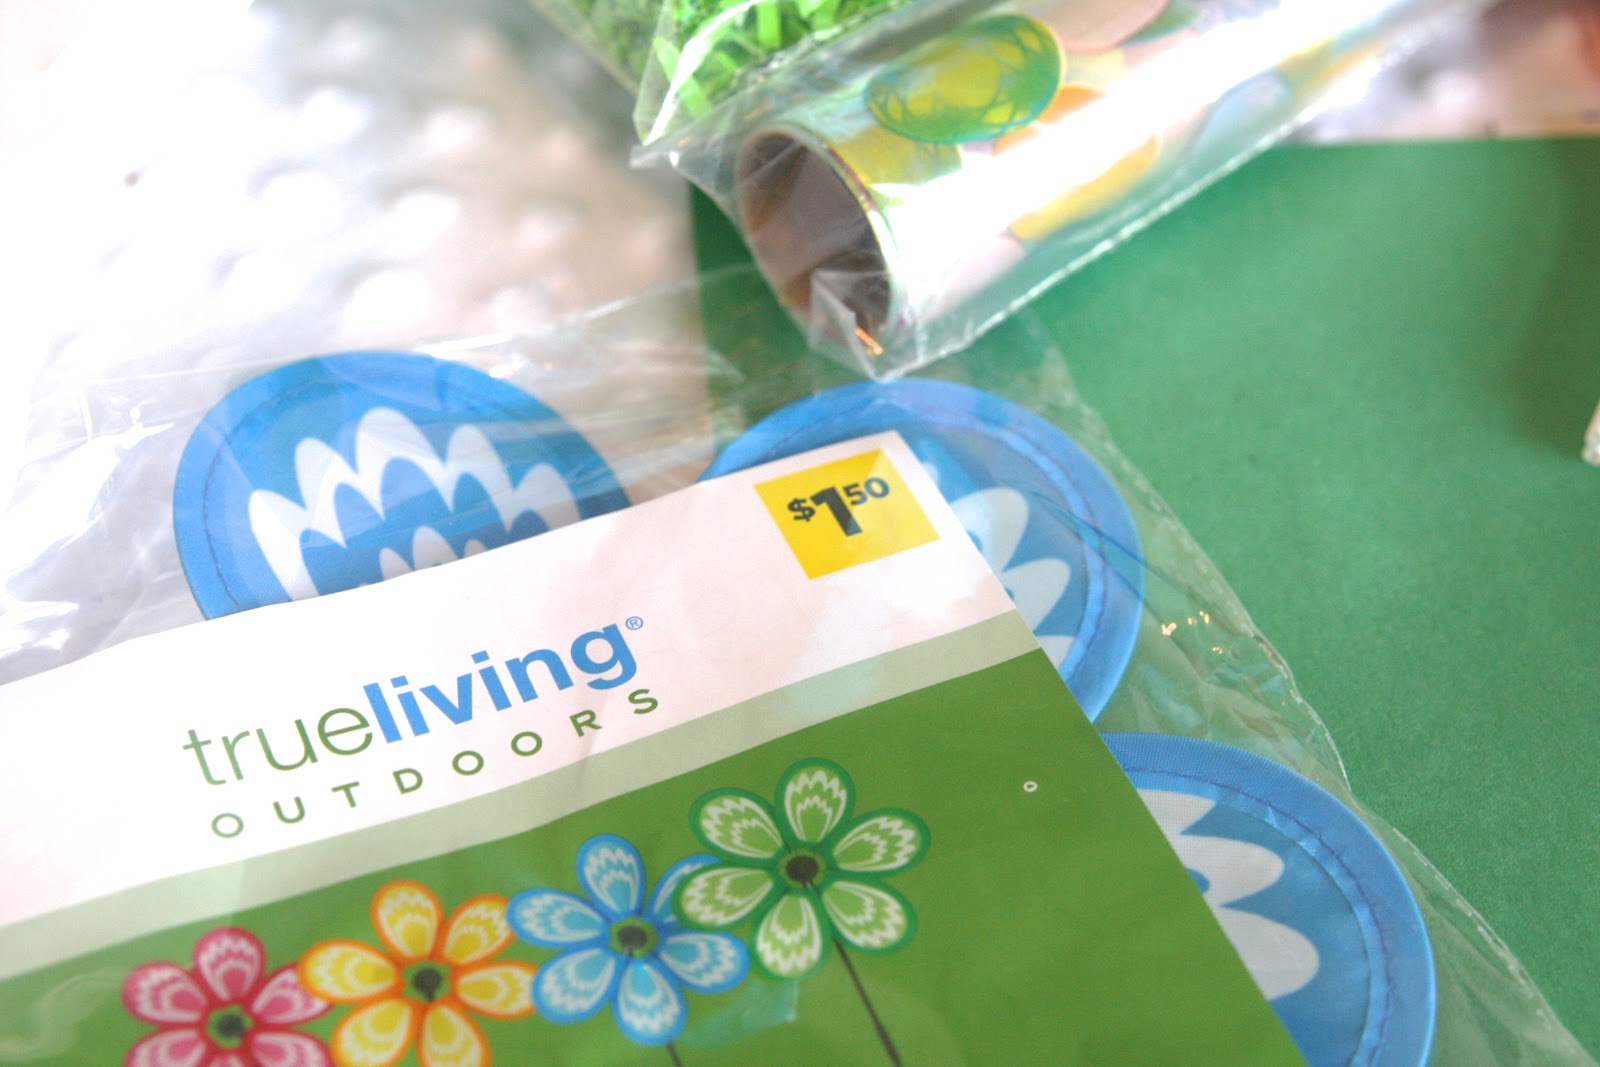
kmart is selling their Easter inventory for 50% off right now. I grabbed the green grass and paper in one package for just $1.20!…
I love this pretty blue pail from dollar general…
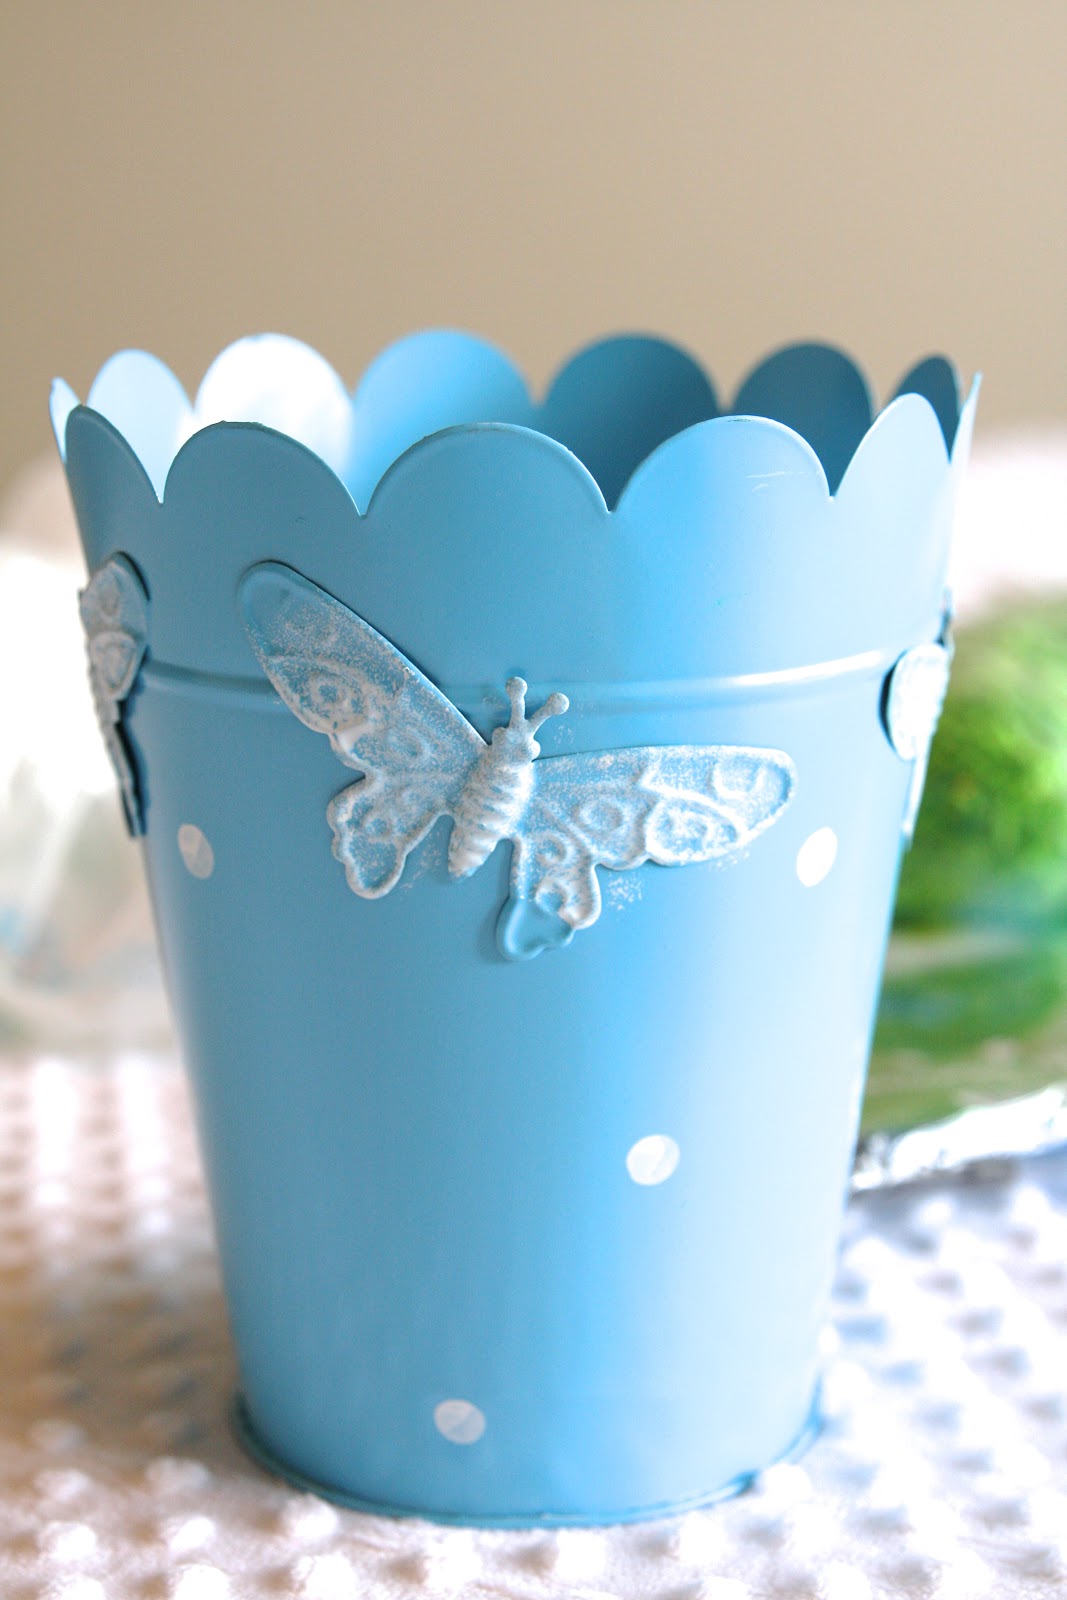
Only $3 too!…

It’s cute enough for her to re-purpose in her garden or home.
I crumpled up the scrap paper and already read magazine pages and put them into the plastic shopping bag…
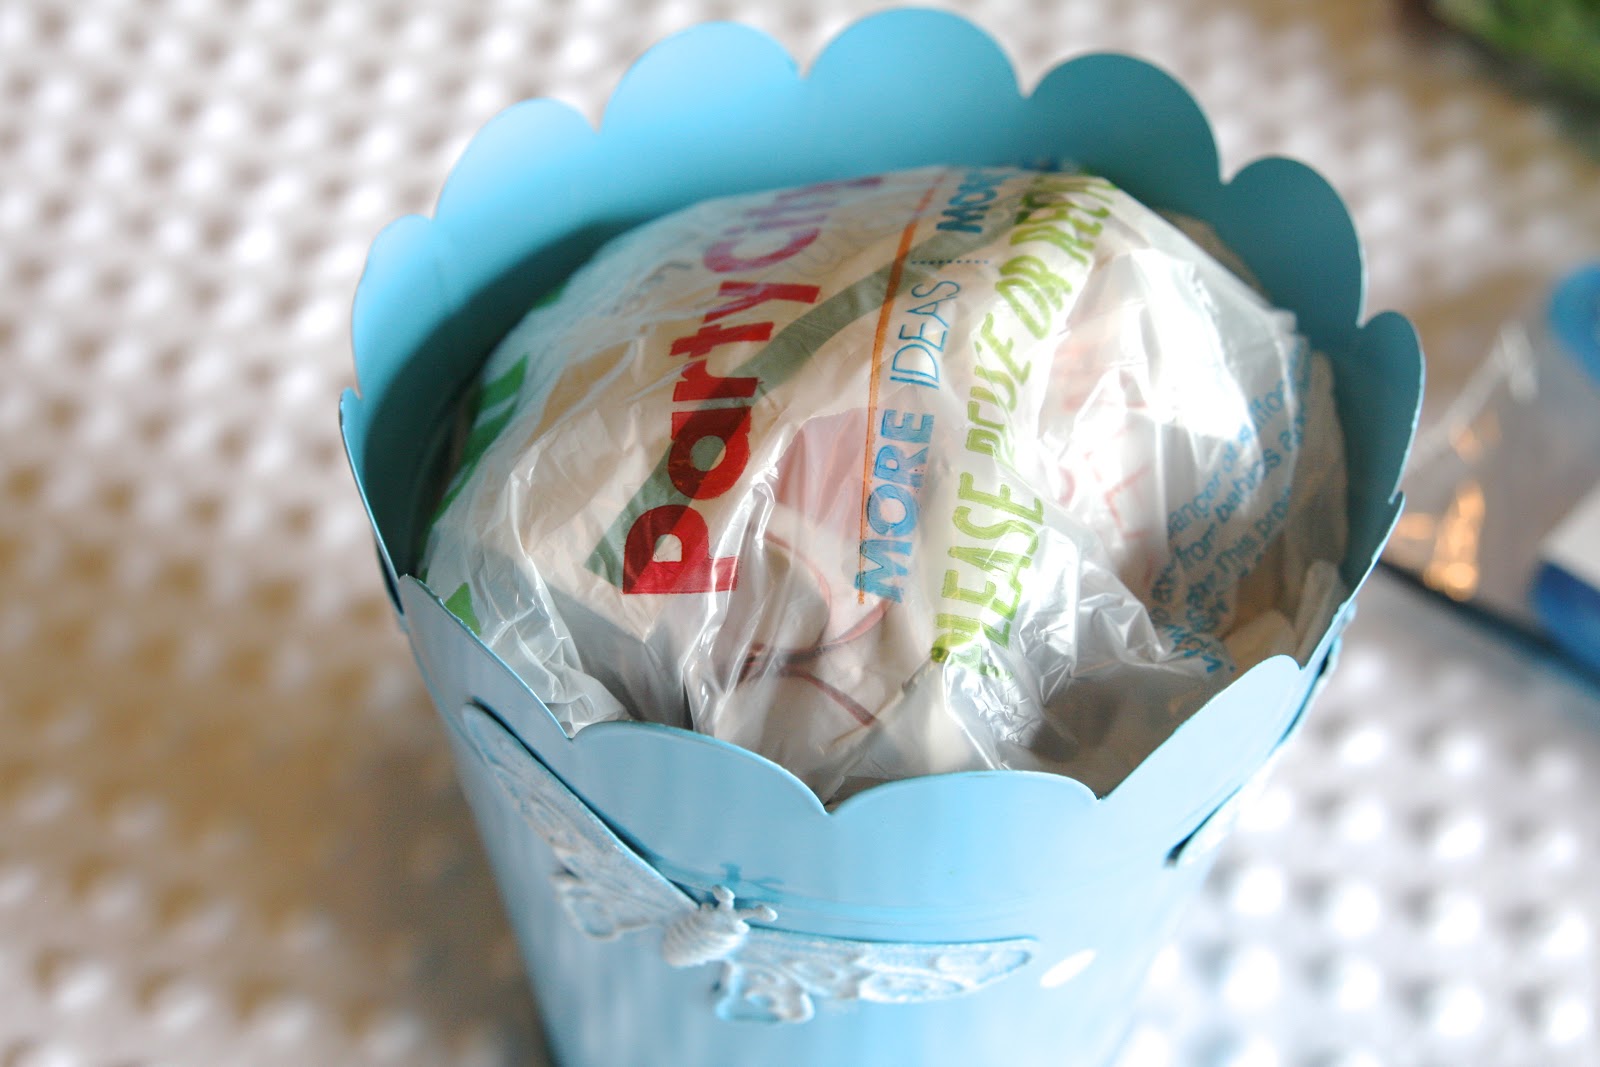
Then I squished it into the pail. I made sure it was firm enough to hold the items I would be sticking into the “garden”…
Once it felt firm enough, I covered the plastic shopping bag with a piece of green construction paper. This disguises the unsightly bag and helps keeping the grass looking greener…
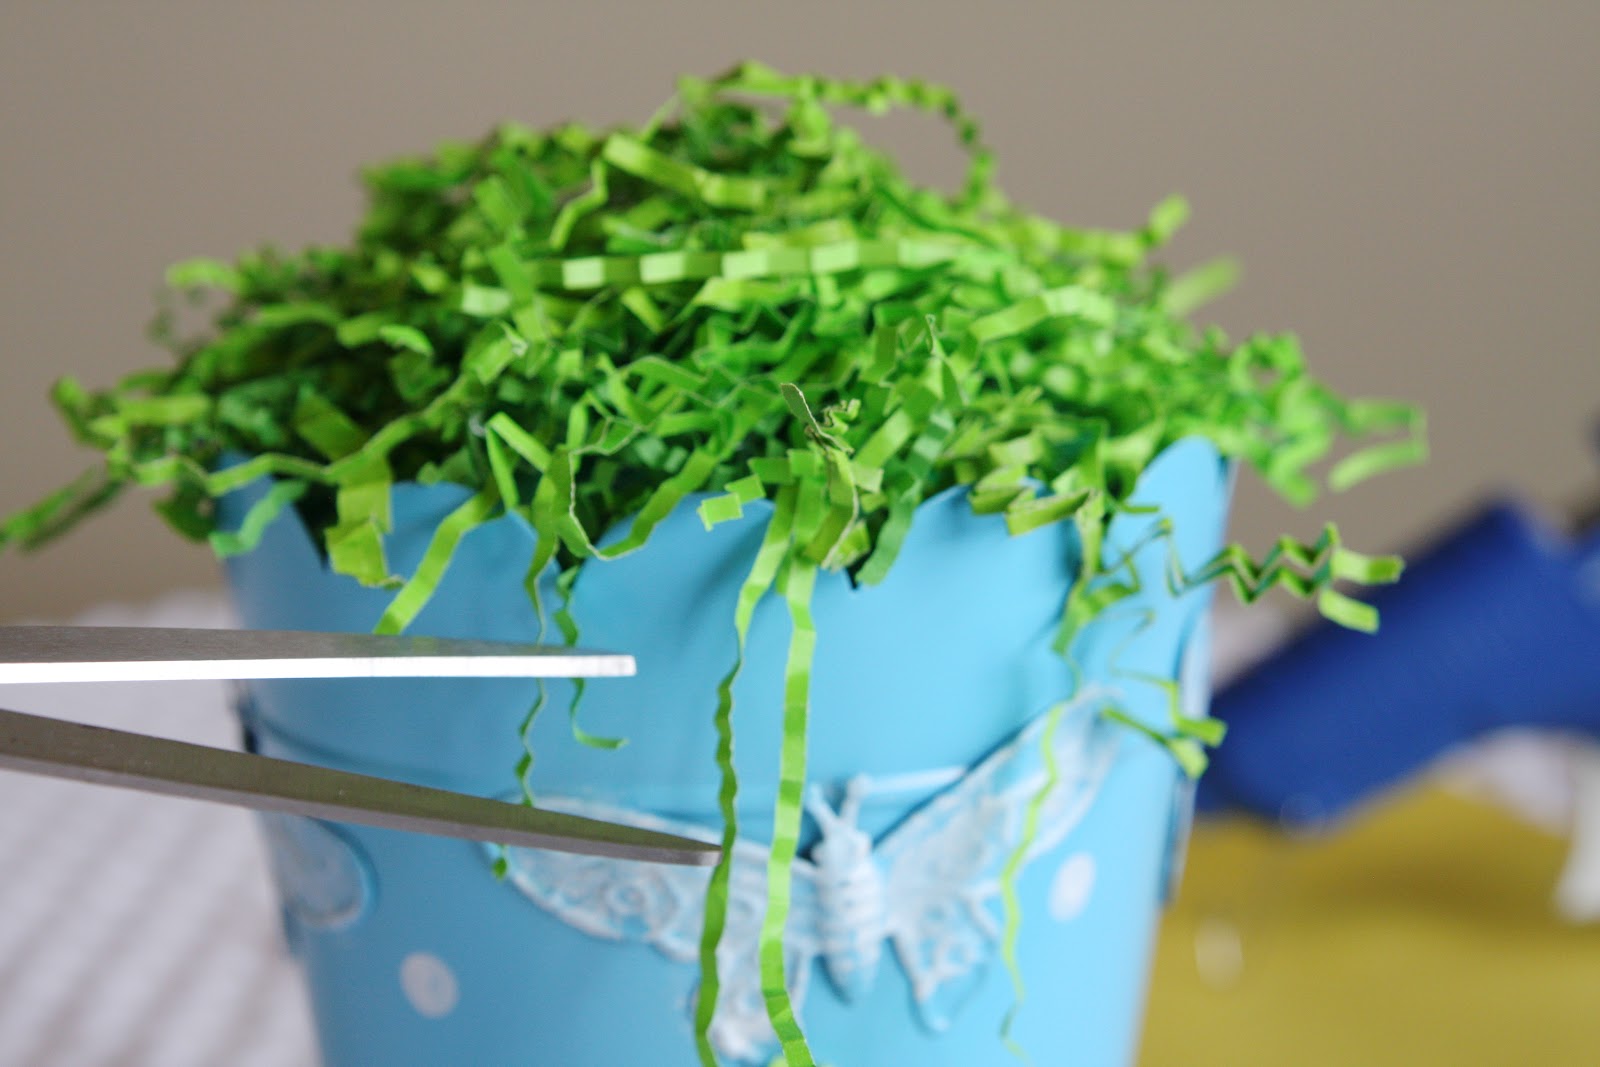
Before I glued down the grass, I poked a hole into the middle as a mold for the big flower pinwheel. I worried that the pinwheel wouldn’t poke through after the grass was on…And the bottom of the pinwheel stick doesn’t have a sharp end…
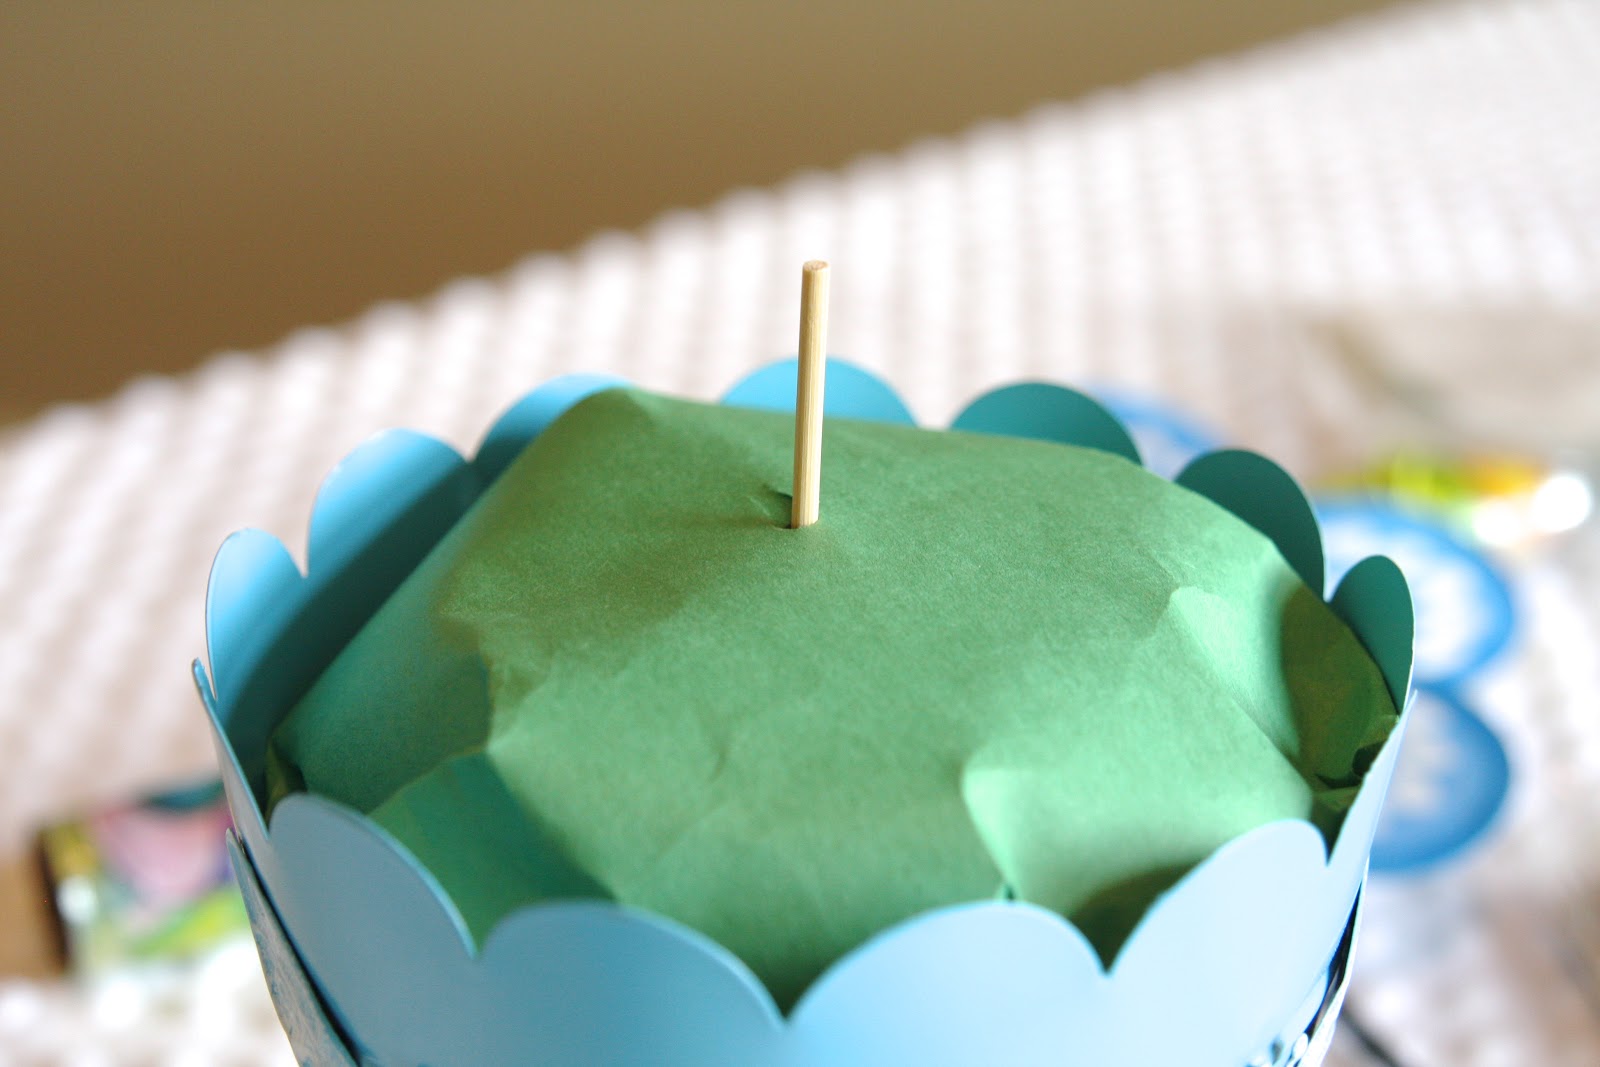
I made sure the pinwheel would be secure once it was put inside the pail later…Looks pretty good!…
Next, I drizzled hot glue over the green paper…
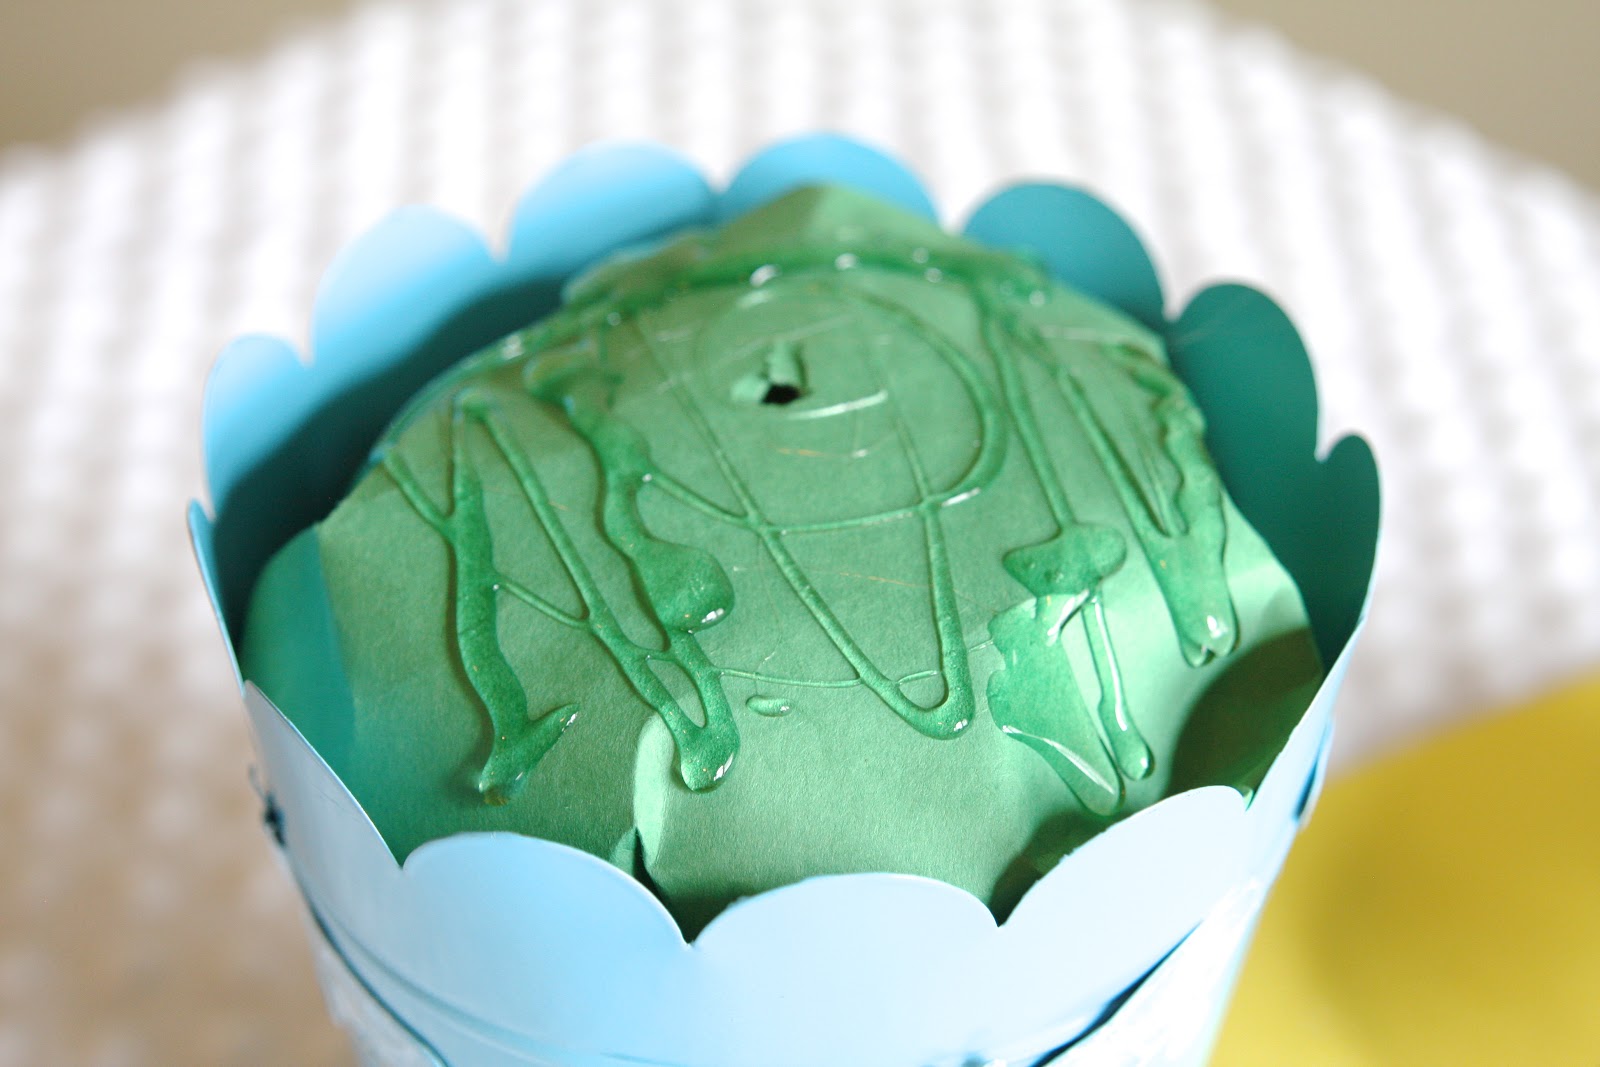
And adhered one layer of grass…
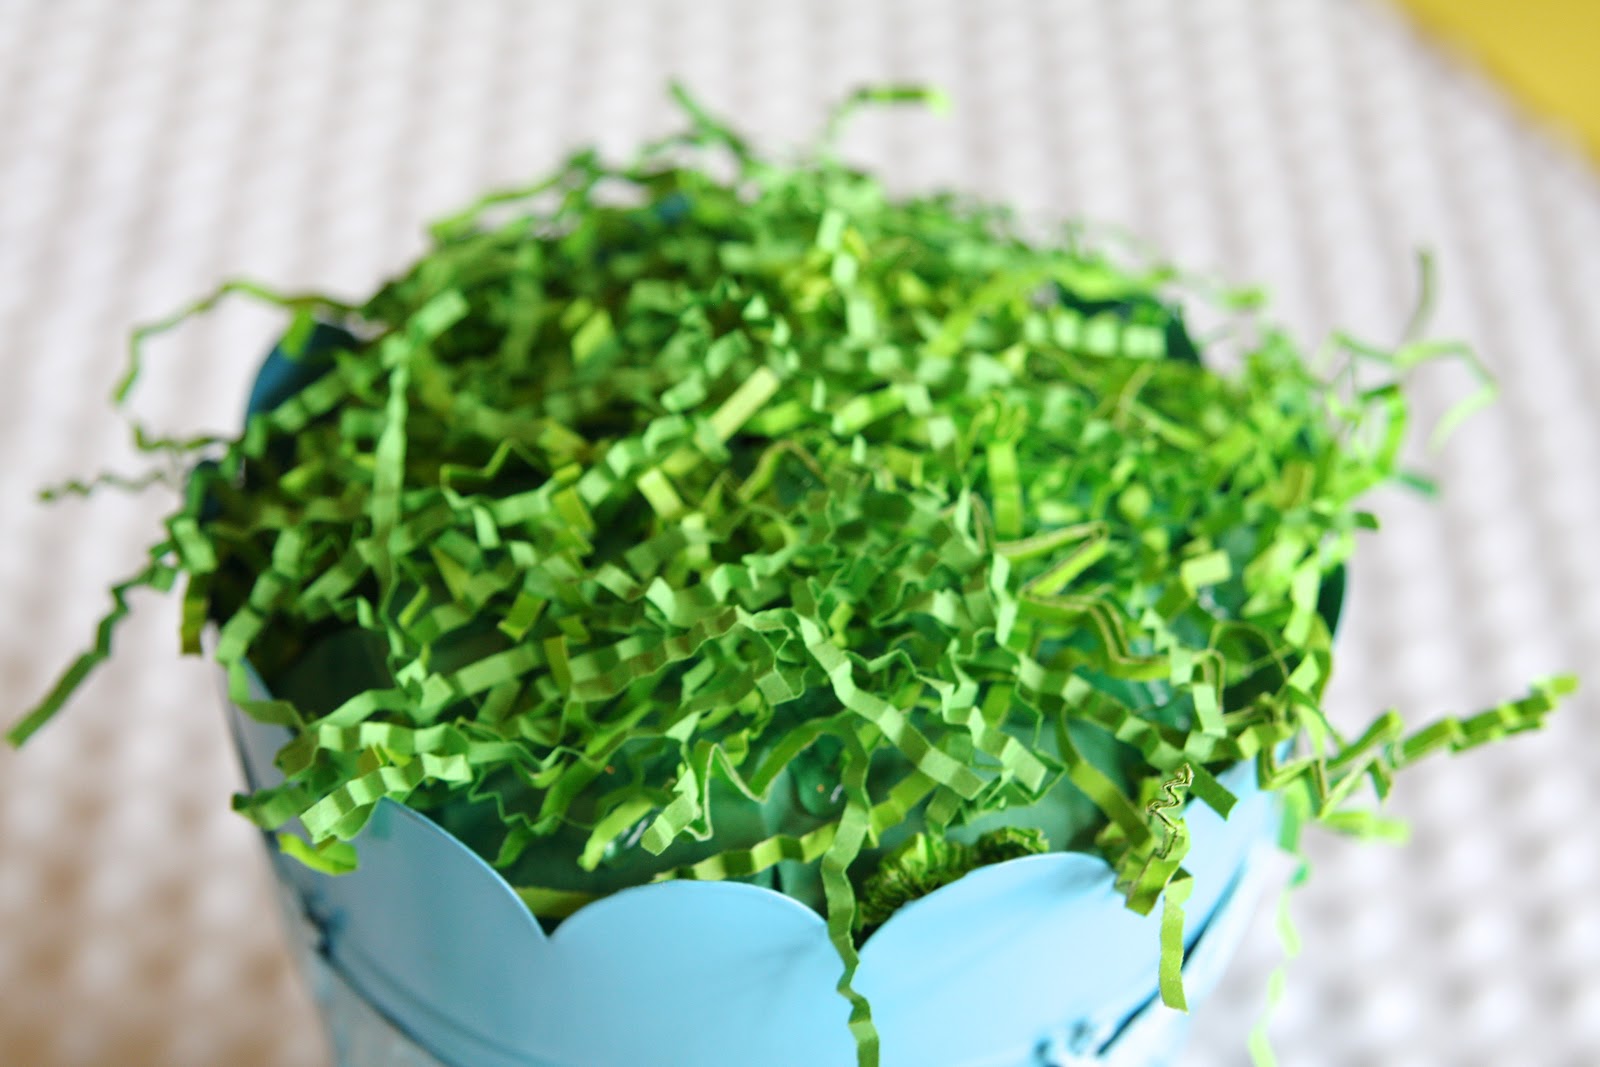
I drizzled more glue on top of that layer to add a second layer of grass. Don’t worry about placing the grass on perfectly, because you can always trim it to the length you prefer…
Once the grass was attached, I popped the flower pinwheel into the middle…
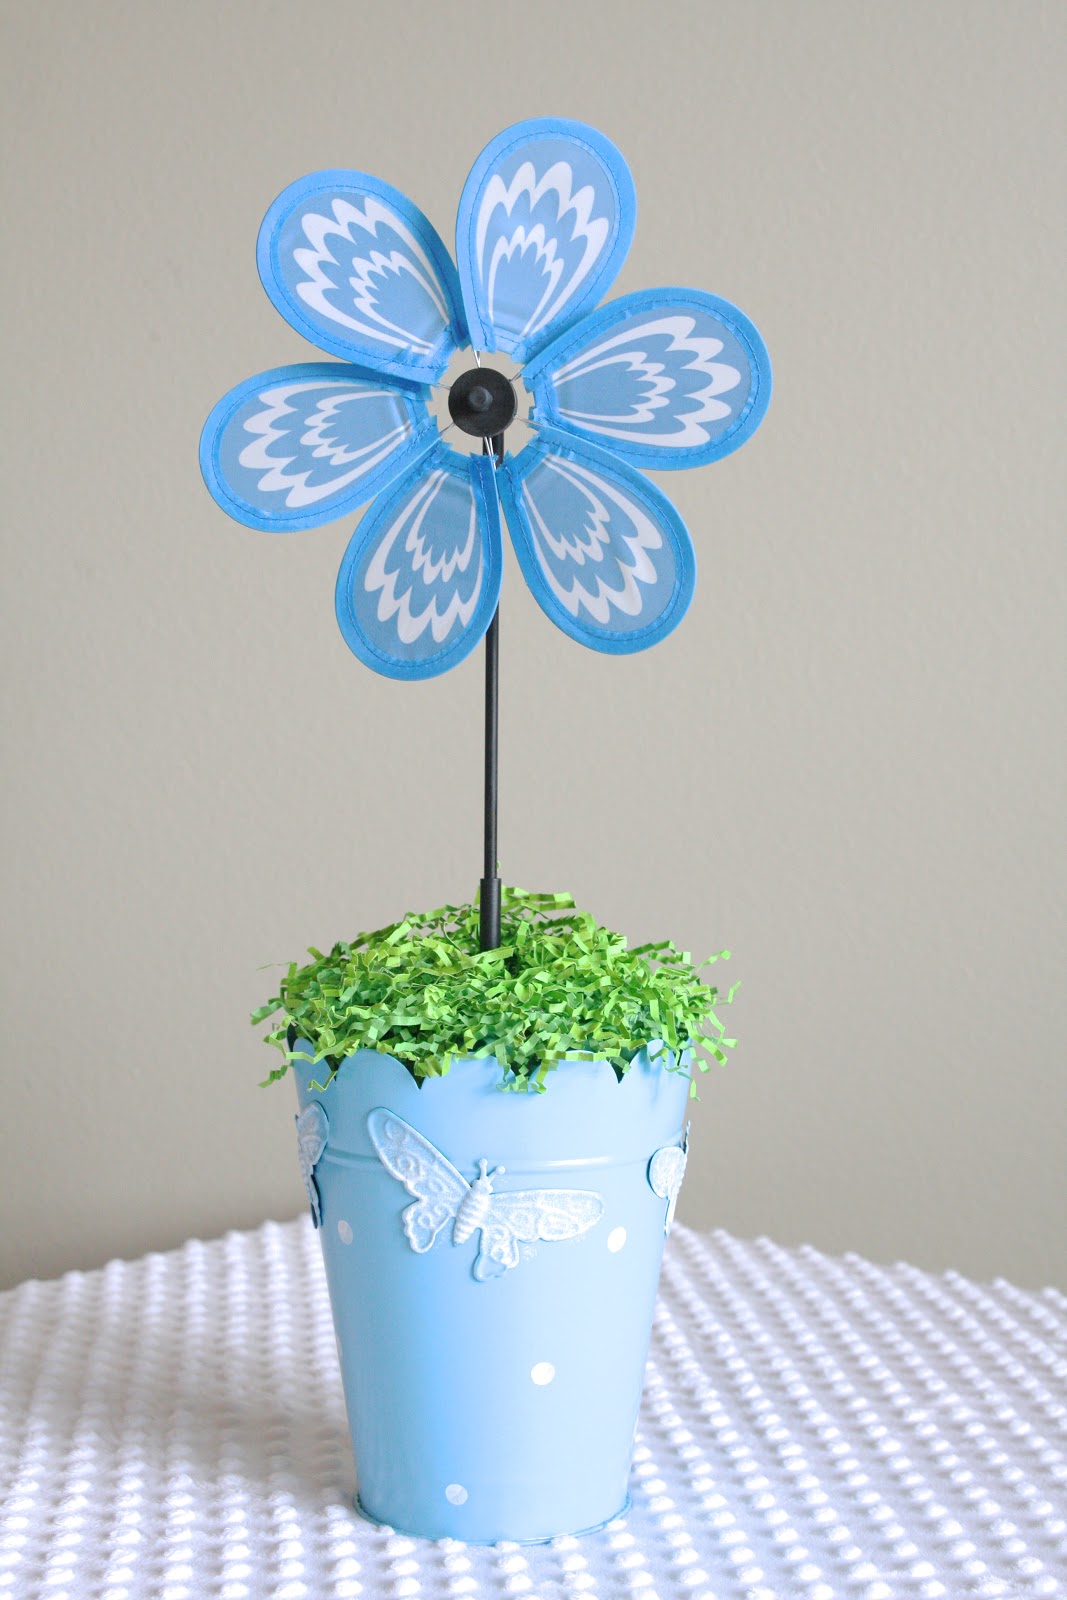
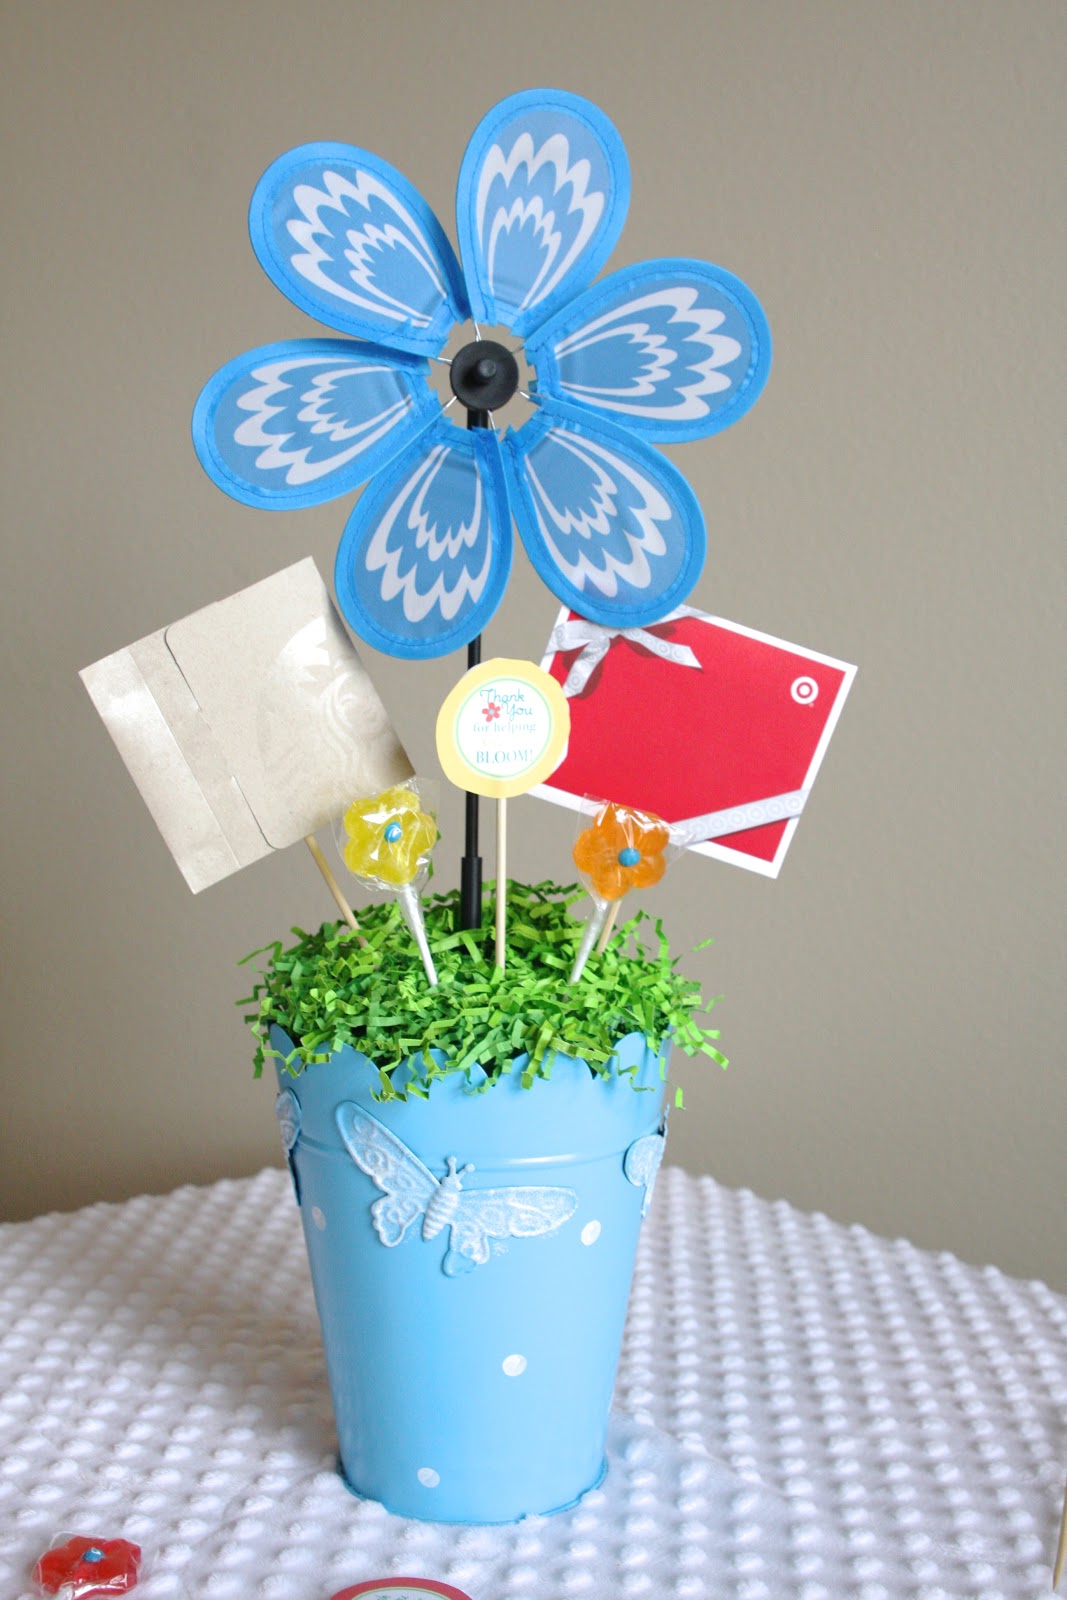
So cute already!! This alone is less than $5! You can take this and pretty much go anywhere with it.
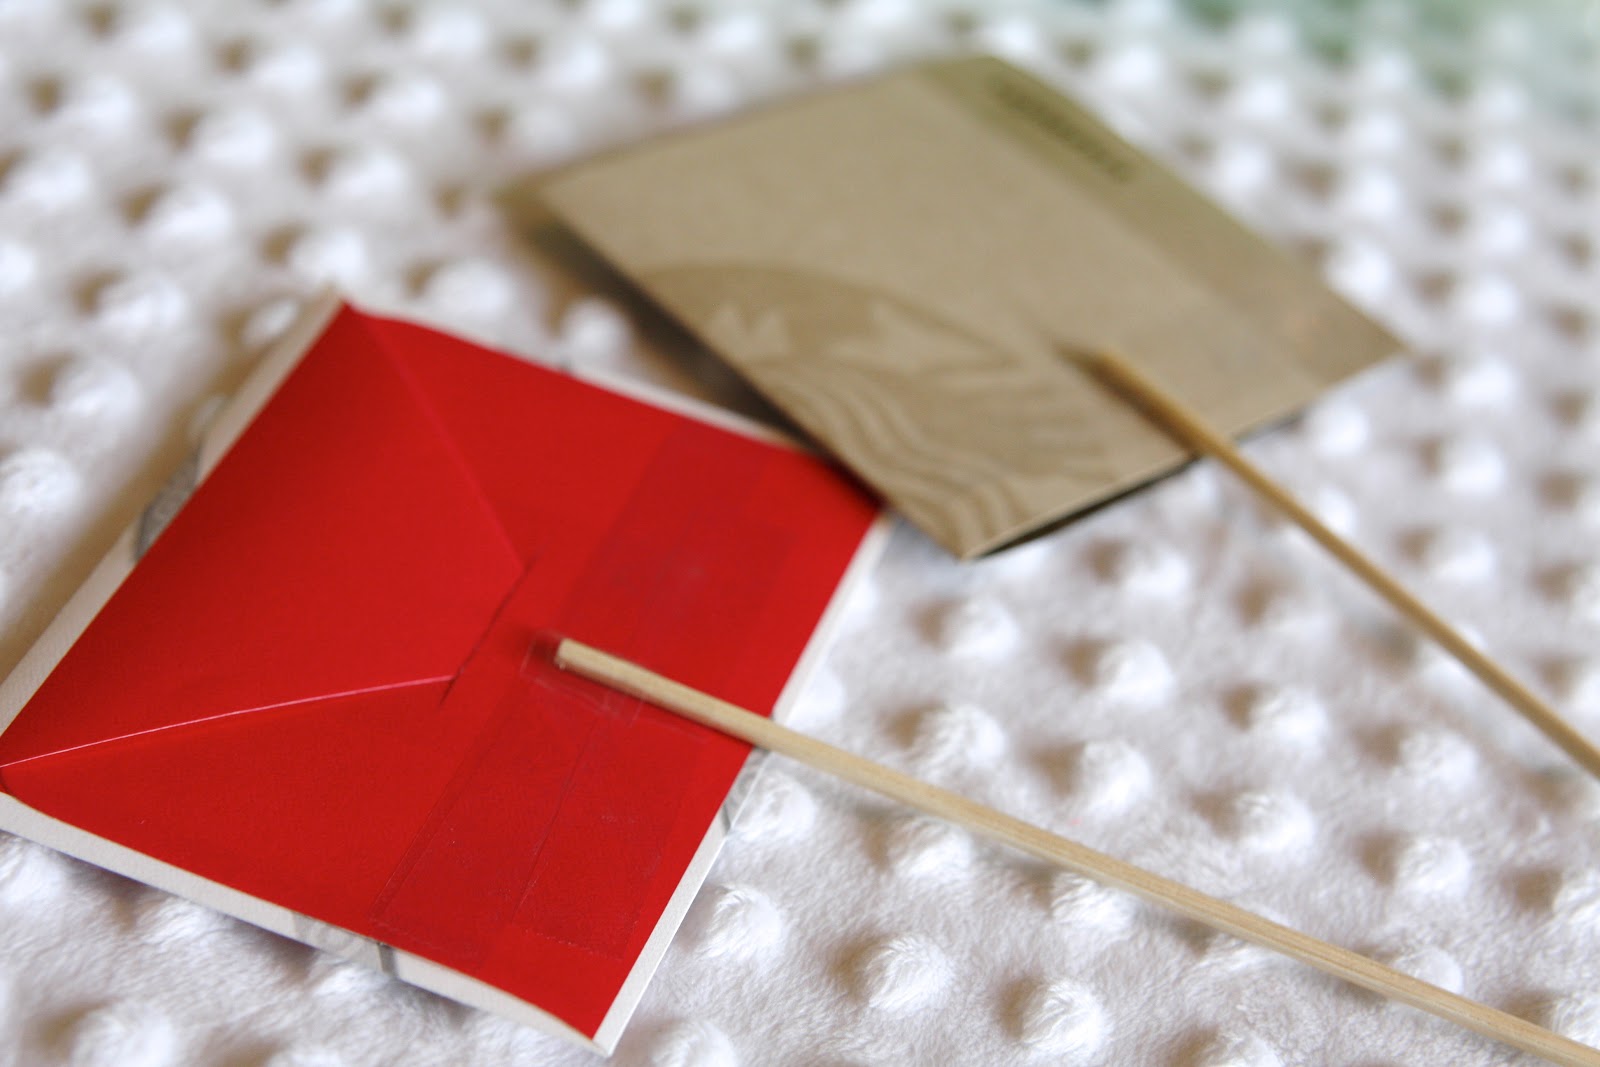
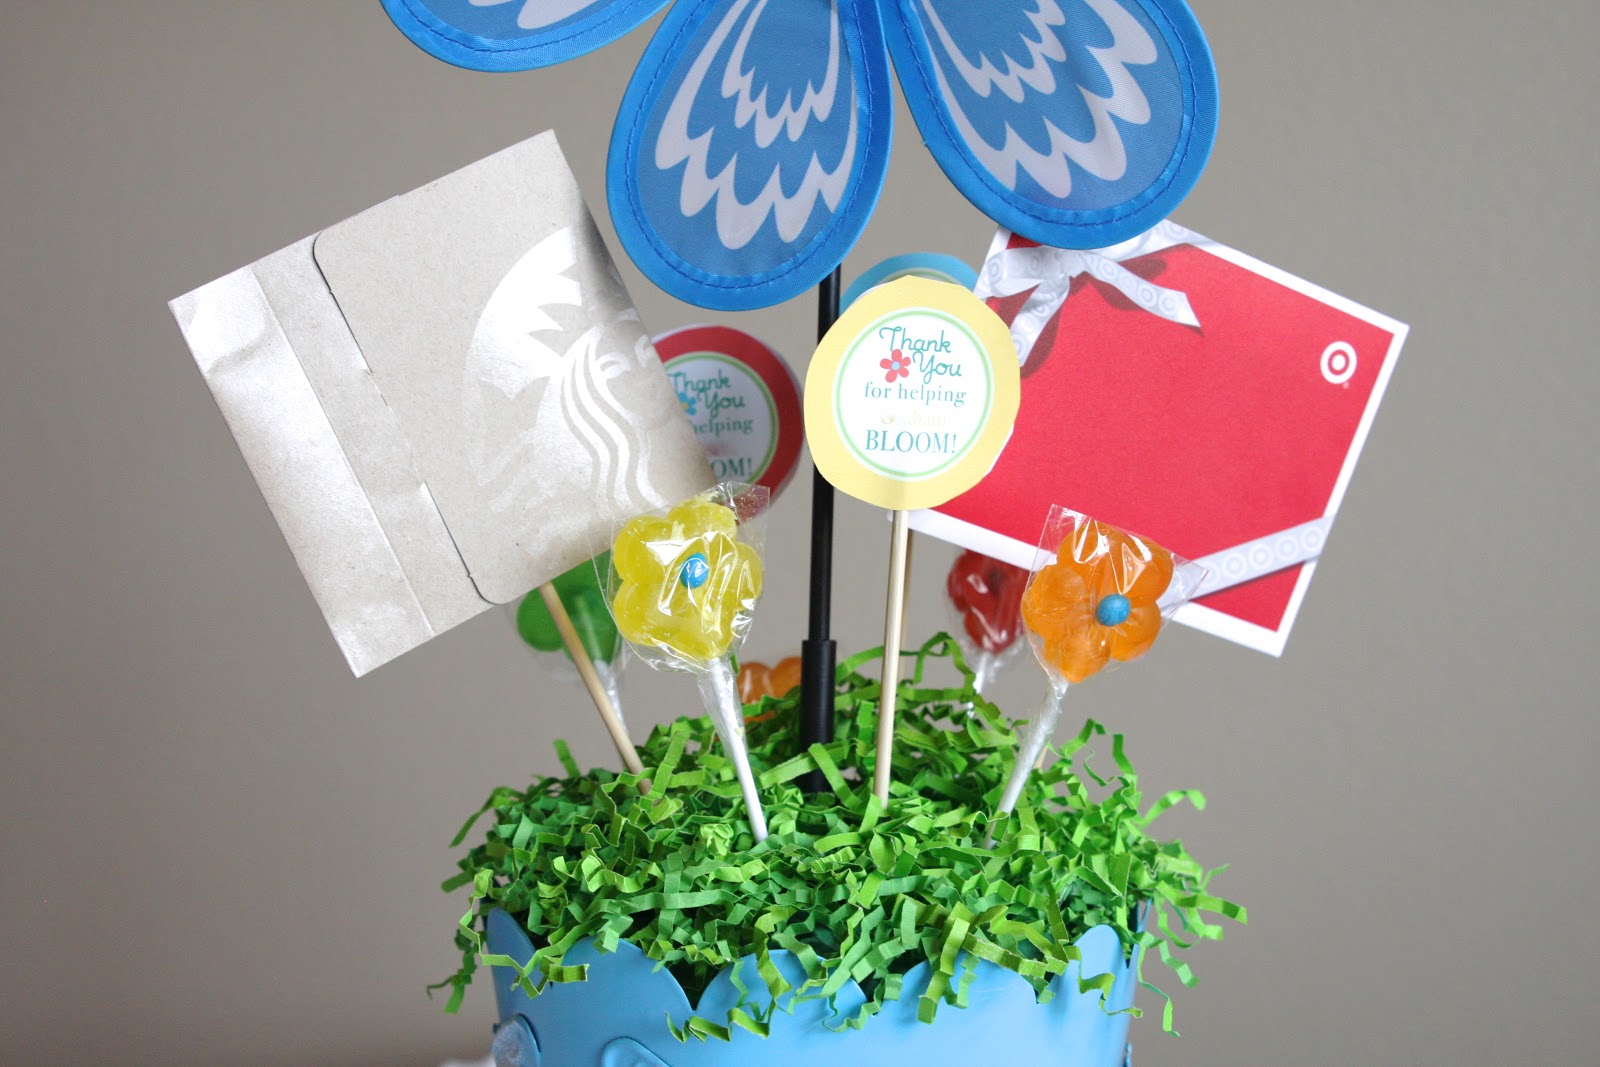
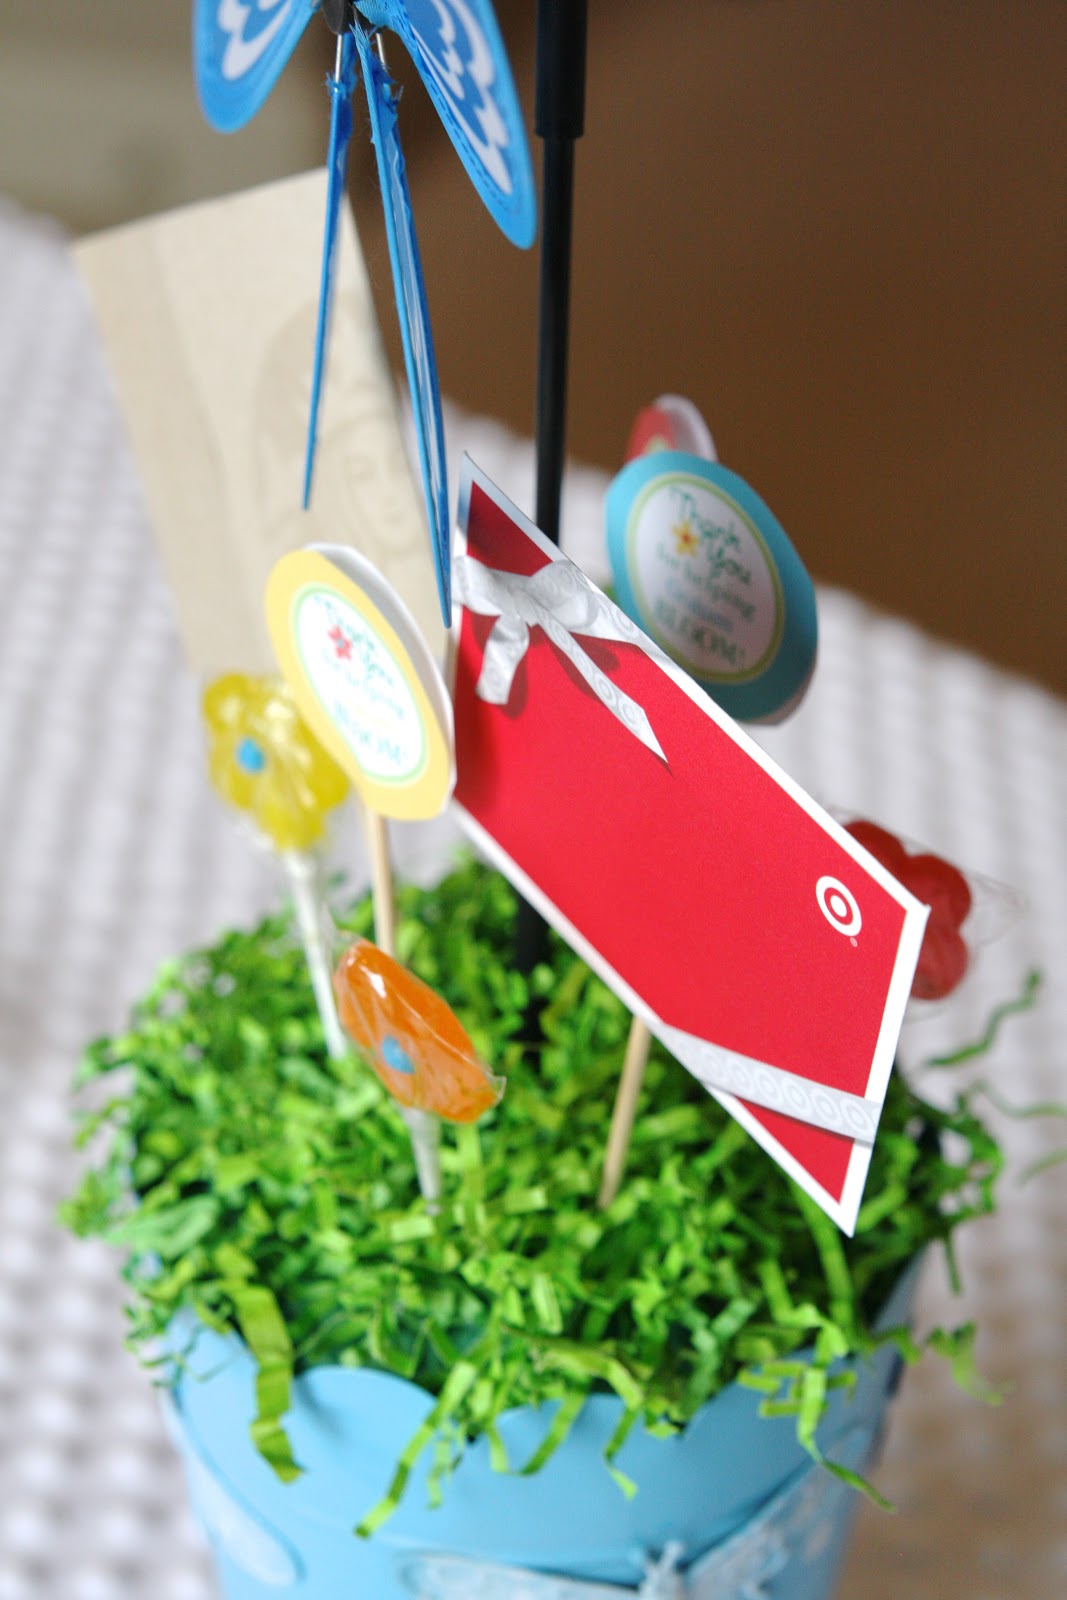
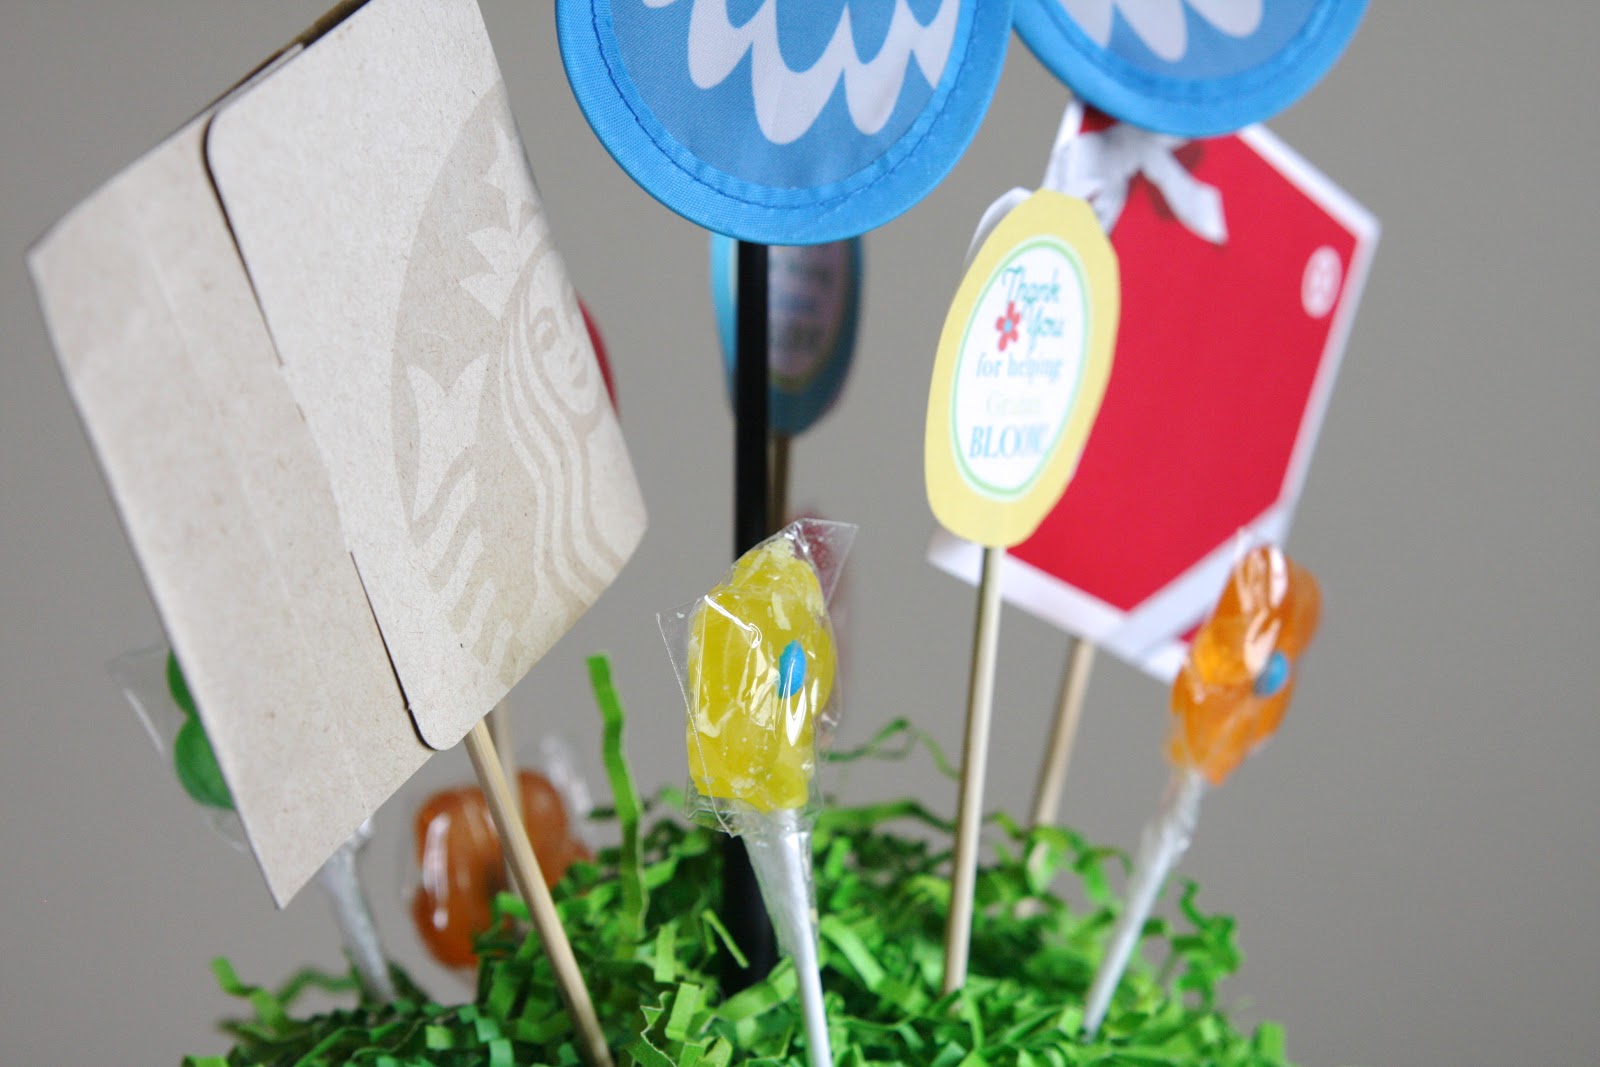
The word from her friends is that she loves starbucks and needed a new laptop bag. I wanted this gift to be inexpensive on the decor yet heavy on the gift card. so most of my expense went into getting her 2 generous gift cards.
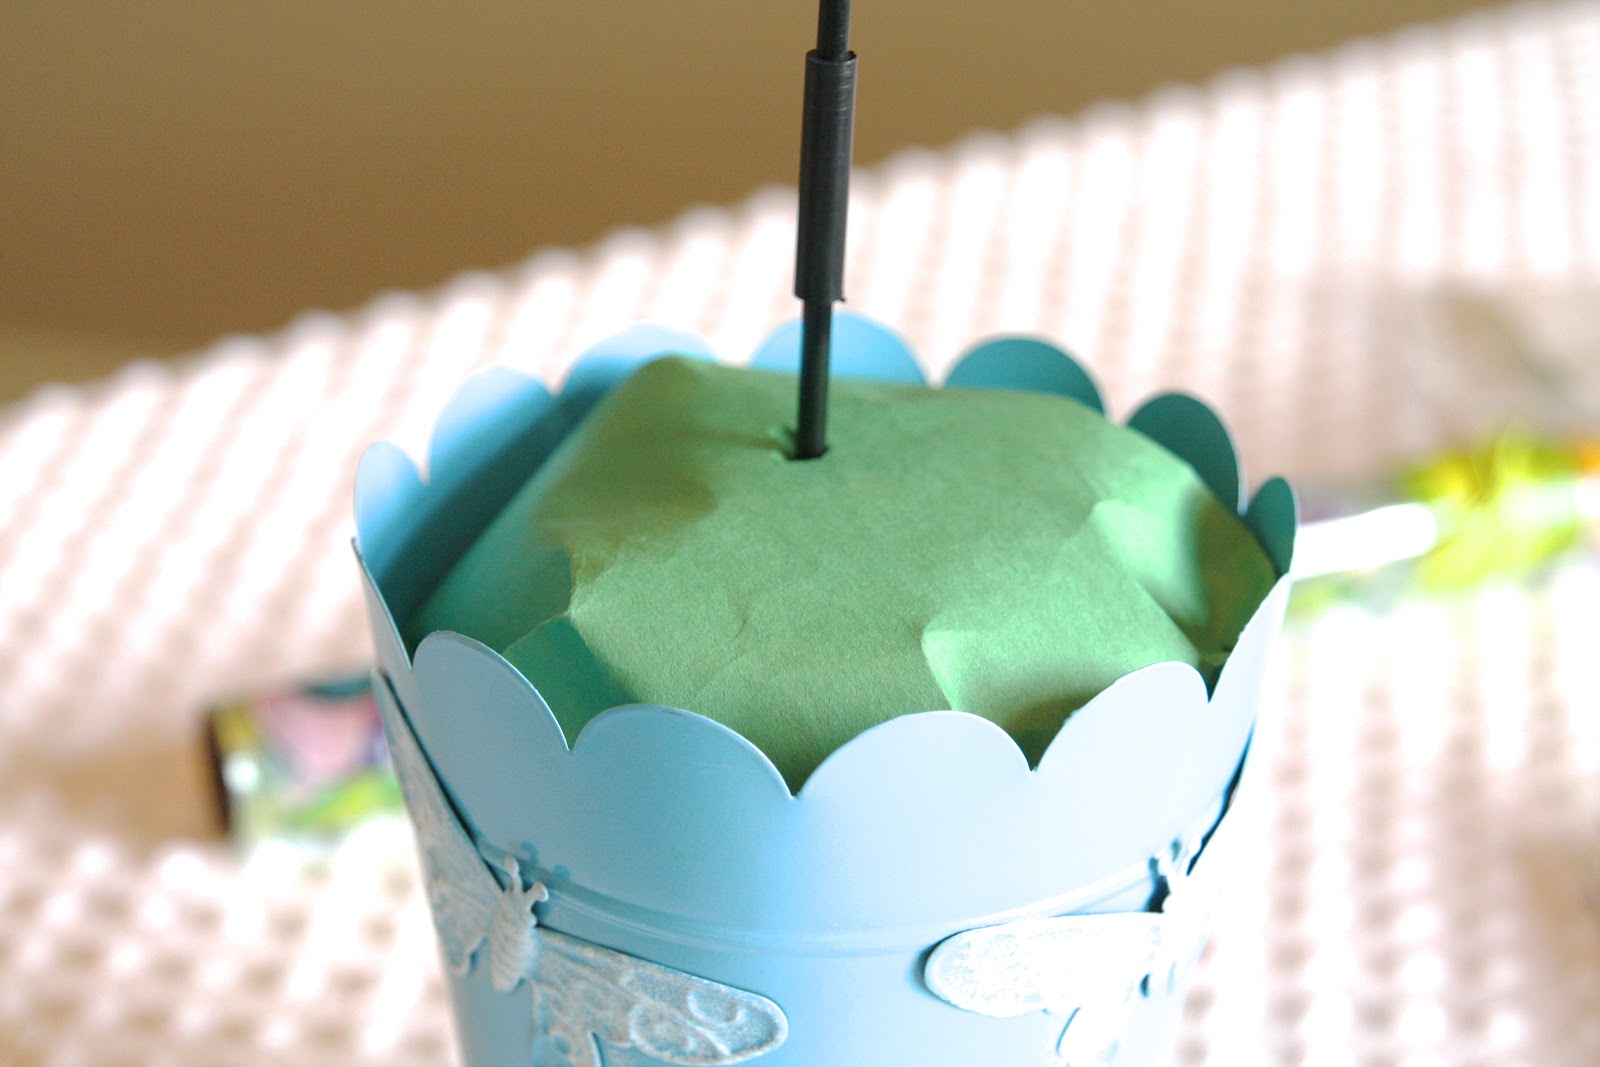
To attach the cards all I did was tape them to a wooden skewer…
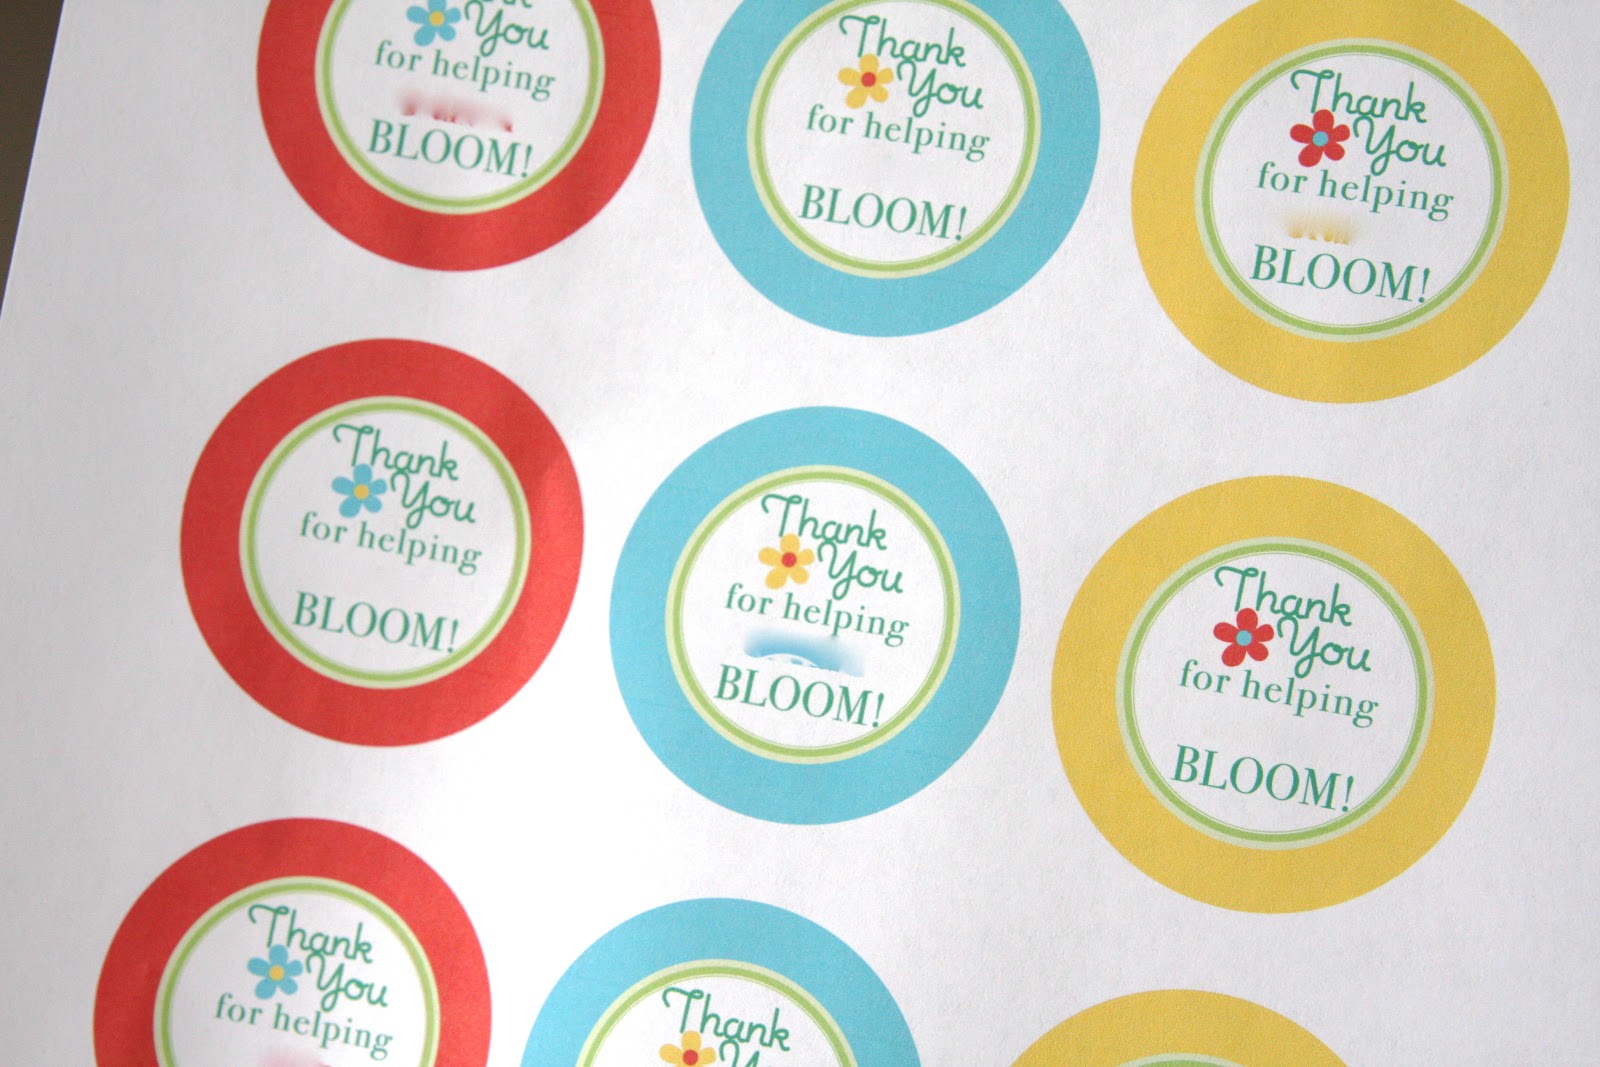
I wanted to add some sweet words to the garden for her, so I played around on the internet and found these adorable printable flowers from skip to my lou…

Then I set out everything that needed to be placed in the pail…
And just played around until i had them placed the way I liked. A good tip when adding the sticks to the pail is to use another empty skewer to help you guide in your items…

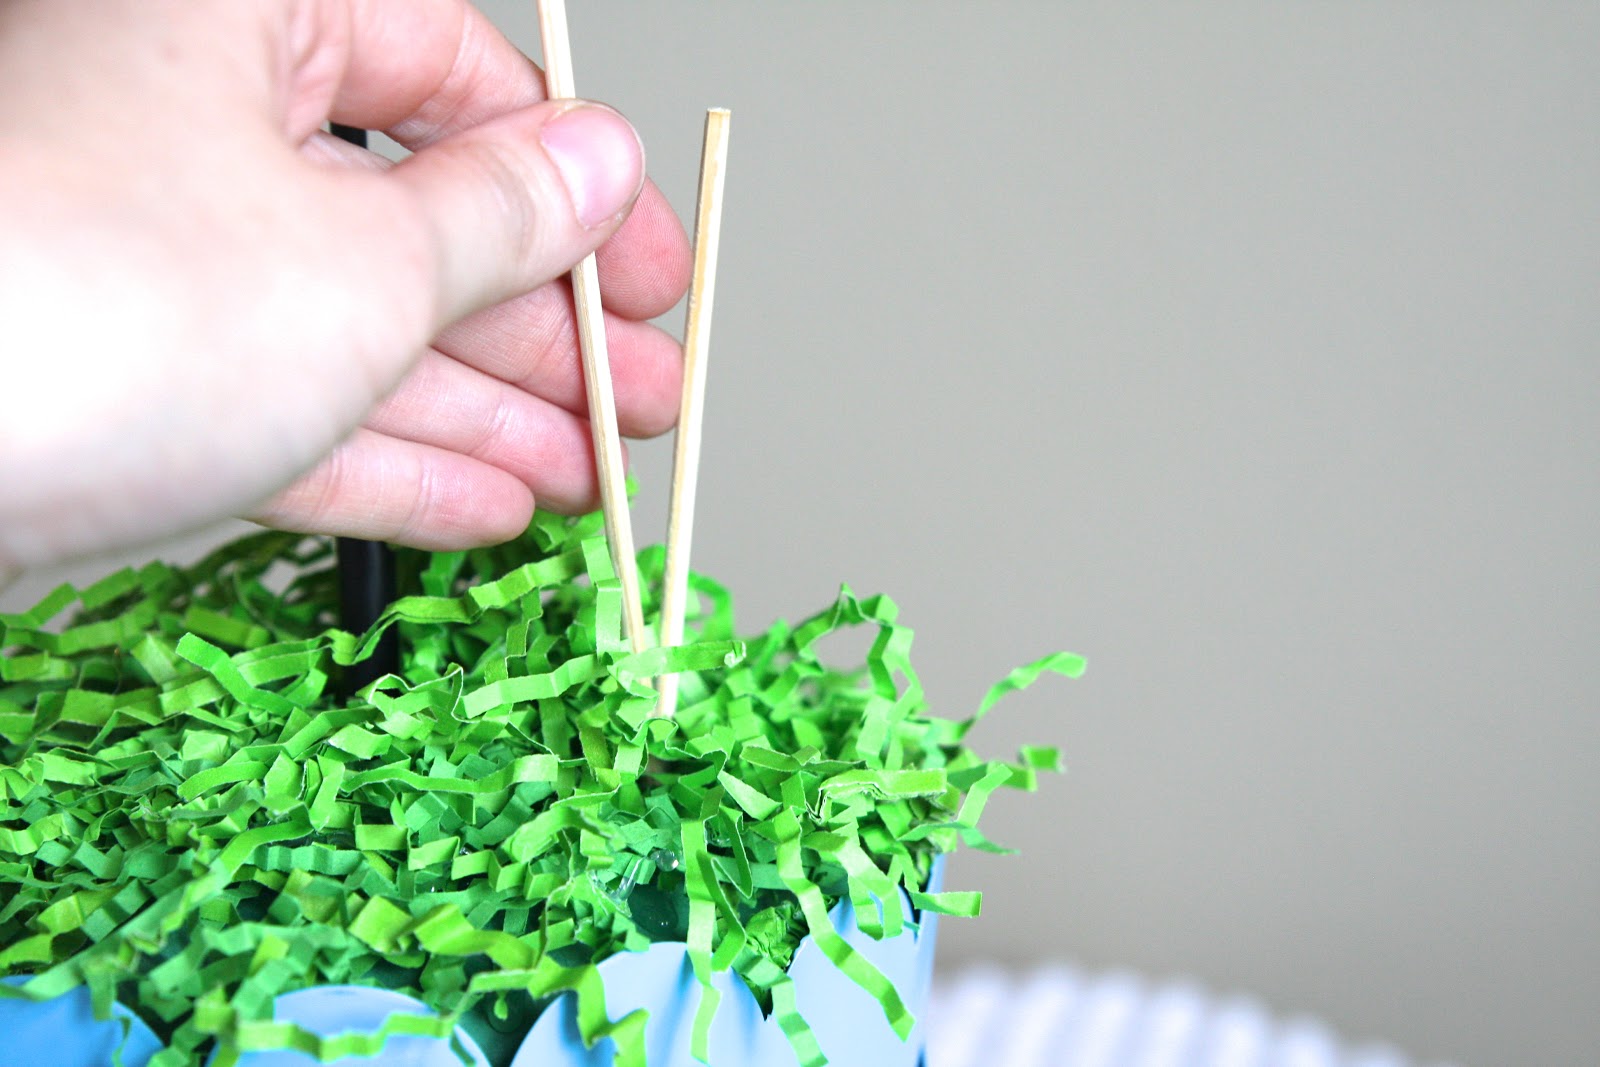
I found that when i would make the hole and then try to put my item in, it wasn’t easy finding the hole under all the grass. 🙂 So that tip will help you out.
First gift card in…

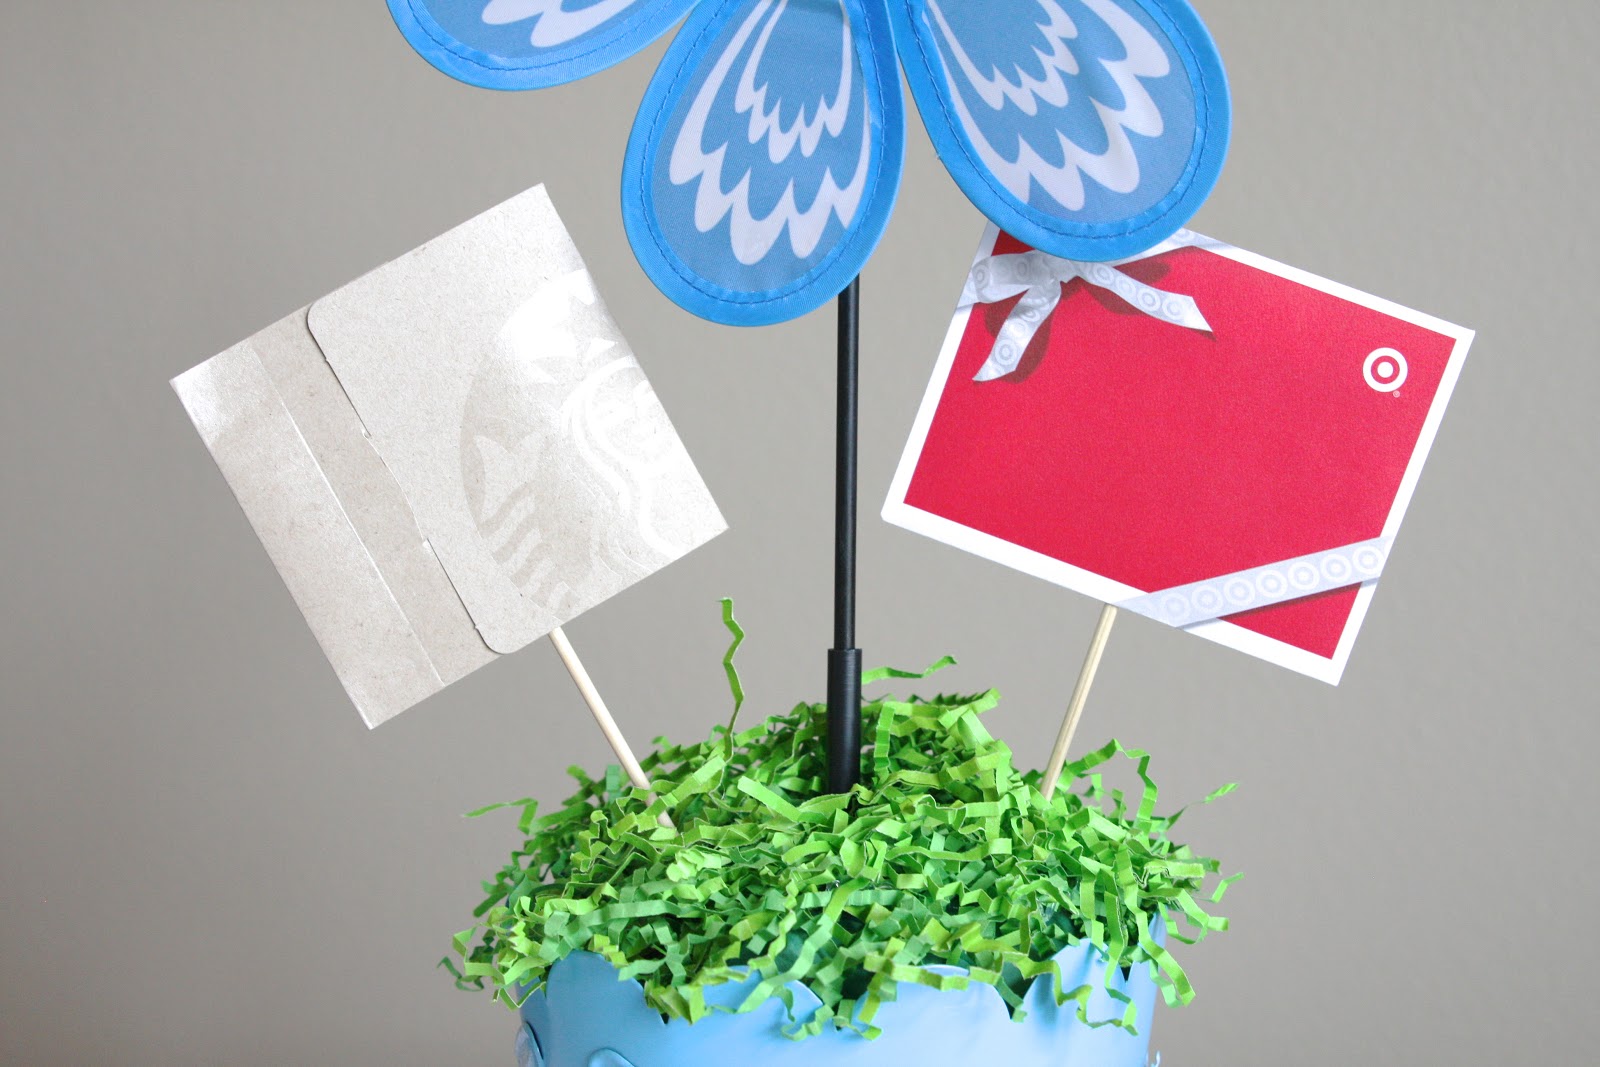
Front….

Back…
I think she is going to love this…
But not as much as the scooby-doo drawing our son made for her to go along with the pail…
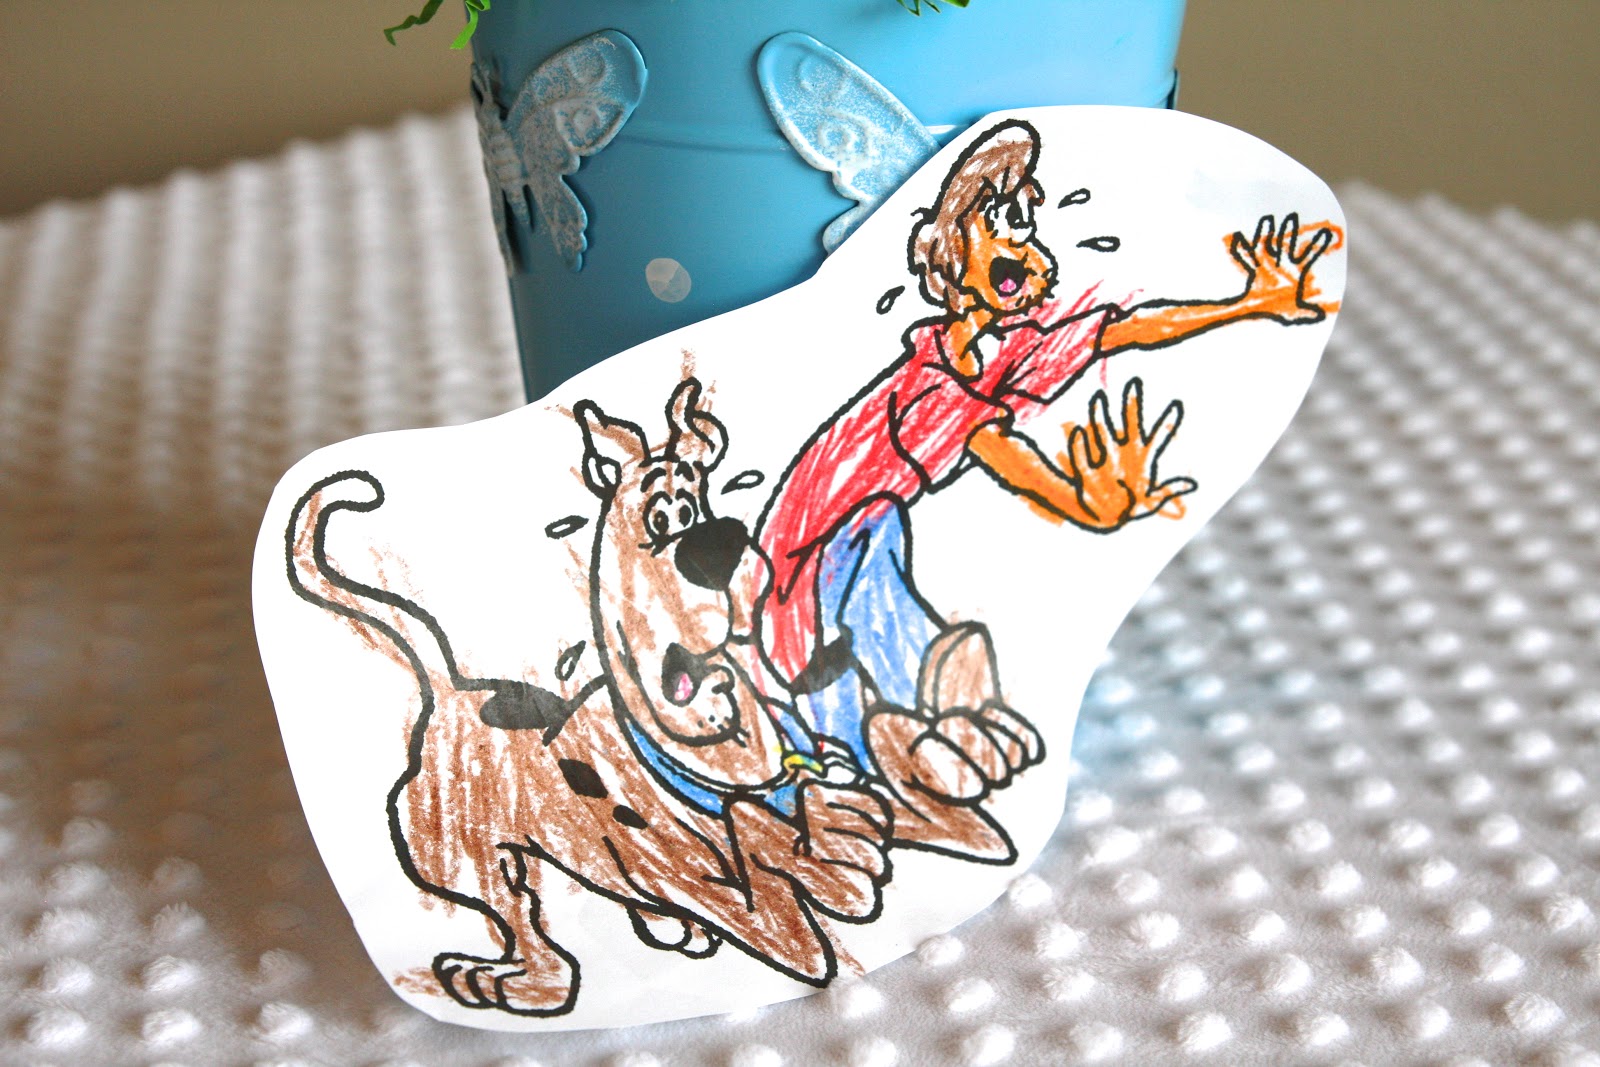
We’re dropping it off this afternoon and can’t wait to see her smile. She will love this!
If you’re thinking about appreciation gifts for teachers or therapists (or anyone!) as this school year comes to a close, I hope this simple and personal gift idea inspires you. Offf to hug our therapist…And shed a few tears, I’m sure….
P.s. for my reader friends that have reached out to me regarding your children and your travels down the PDD-NOS road, believe me when I say there is hope! our son still has work to do in speech and pragmatics, but we are always making forward progress in therapy.
Oh wow this looks amazing!! What a great job you've done!
Congrats on your little boy testing out of therapy – that's fantastic news!
xx
thank you!!!!
Congrats on your son. Keep the faith. My little guy with PDD NOS is now 8, main streamed in 2nd grade and last spring the county removed his autism diagnosis from his file and they Did away with his IEP. He's doing great
OH Sam, I am so very happy. That is wonderful news. My nephew has aspergers. He is so smart. My sister has not left one rock unturned. It has proven to help. Your son is going to shine brightly. Congrats. Our Priest at Mass spoke about Autism recently during the gospel. I will continue to pray for your son.
I love the gift idea. I will be making something like that for a special teacher. Thanks for the tutorial.
Cathy
I'm so excited for you!! That's awesome news about your son!! Also, the gift idea is so cute!! I love it! Thanks so much!!
good news about your son! love the gift bucket- I'd be thrilled to get something like this!