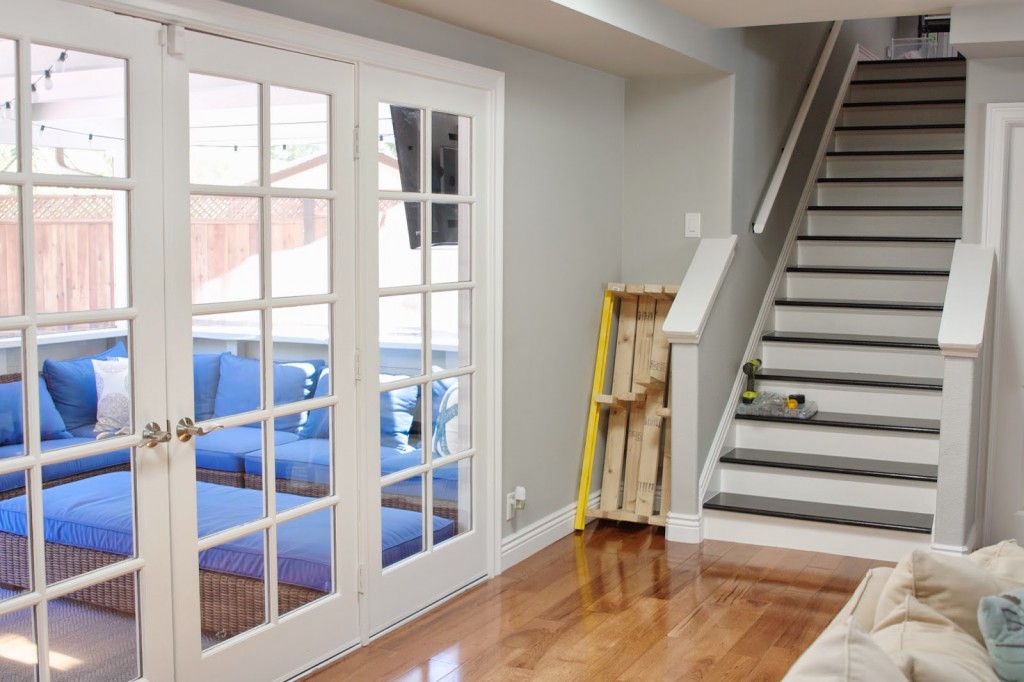
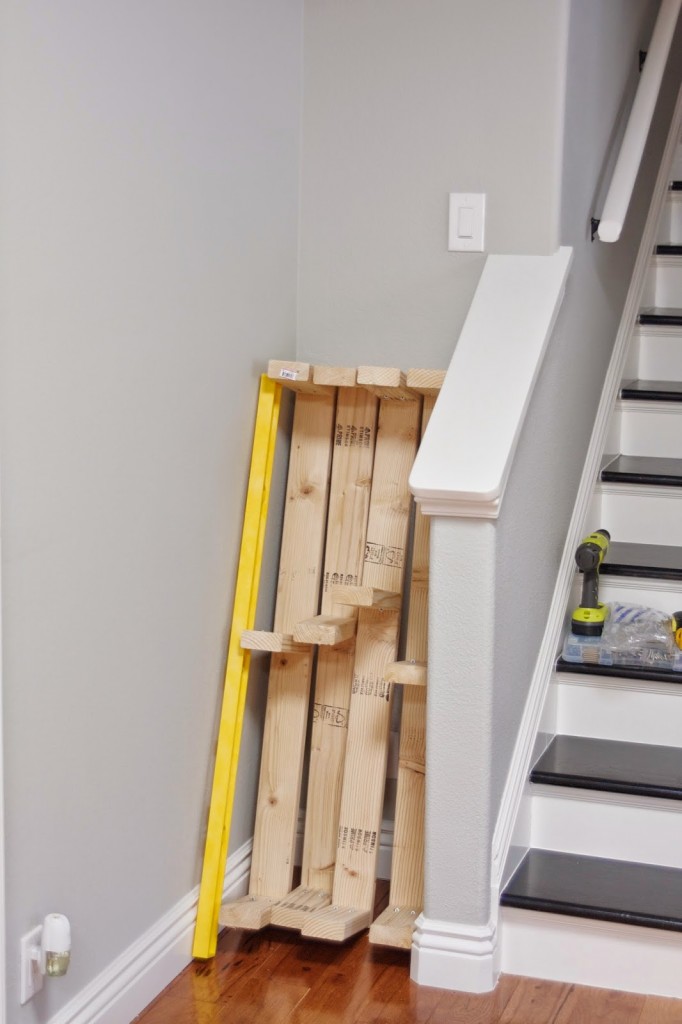
In our home there’s a space at the base of the stairs that’s a little awkward. There’s not enough floor space to add a standing piece of furniture, but there’s plenty of wall space. This would be the great spot for a storage piece because it’s just inside the house from the garage, which is where we come and go. It’s at the base of the stairs that lead to the master bedroom, meaning it would be a nice landing spot for personal items like keys, wallets or loose change. And it can be seen from most view points in the house because it’s connected to the playroom, seen from the kitchen and situated in the main walk through area. Point is – I wanted to add something functional and beautiful. Turns out floating shelves made the most sense.
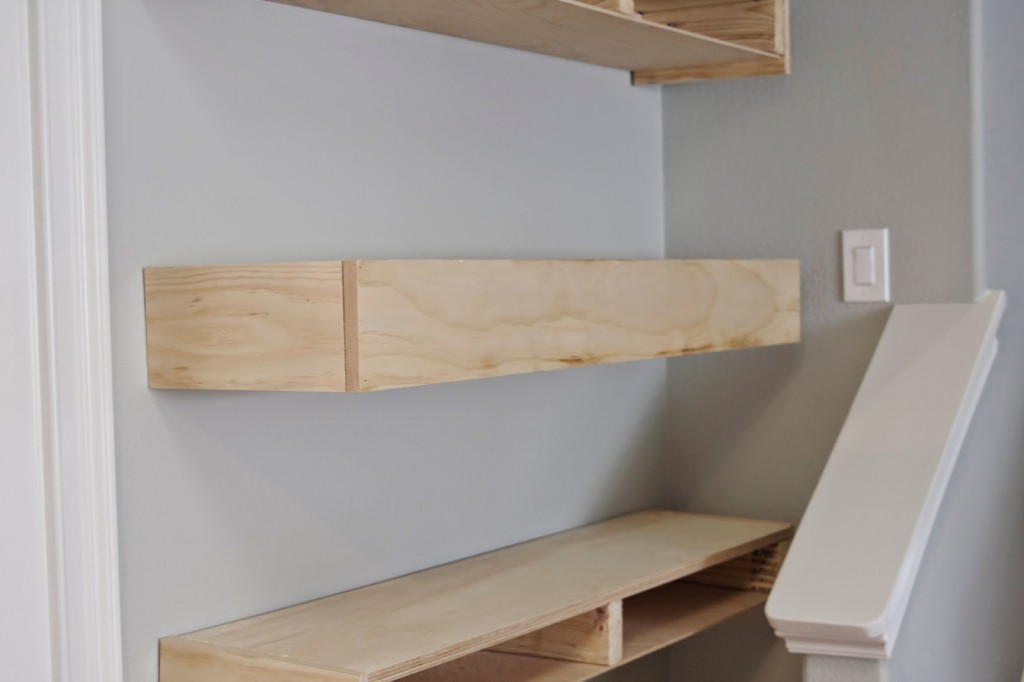
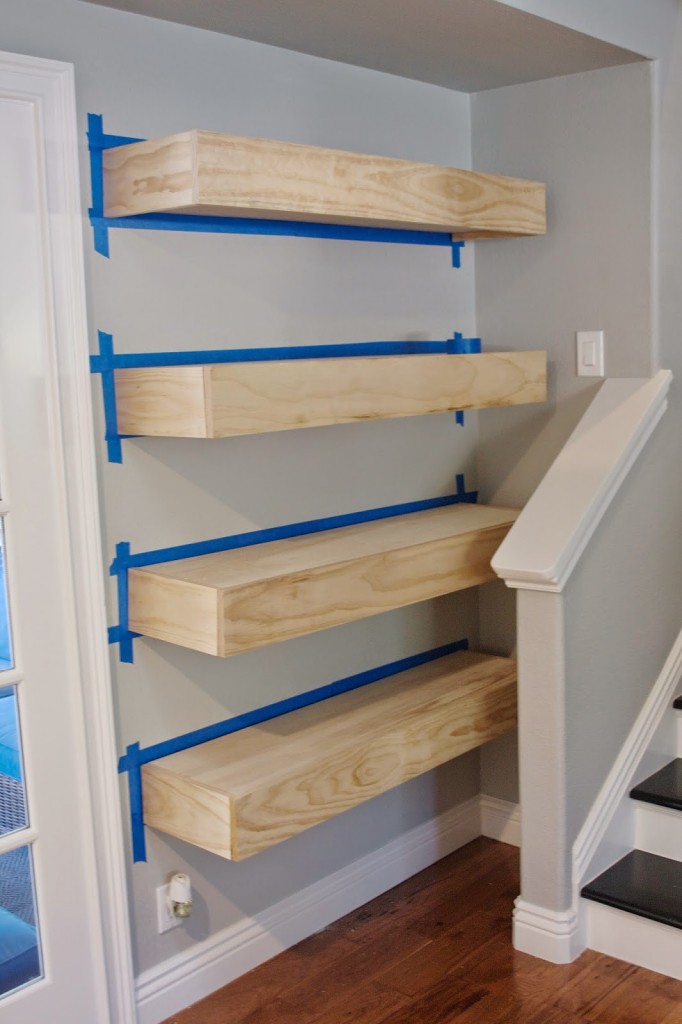
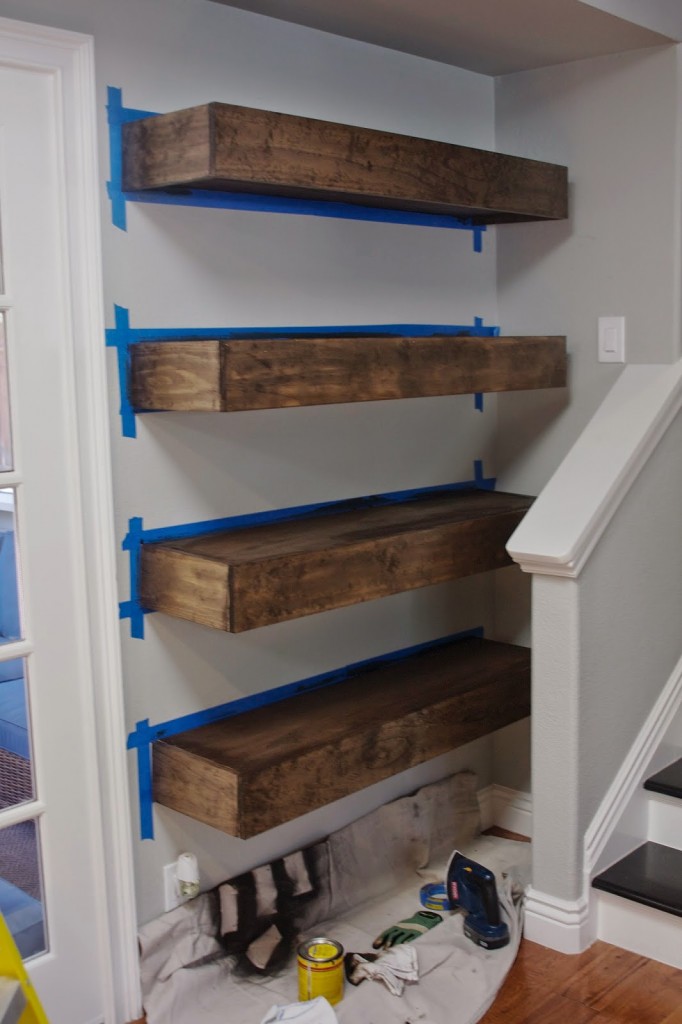
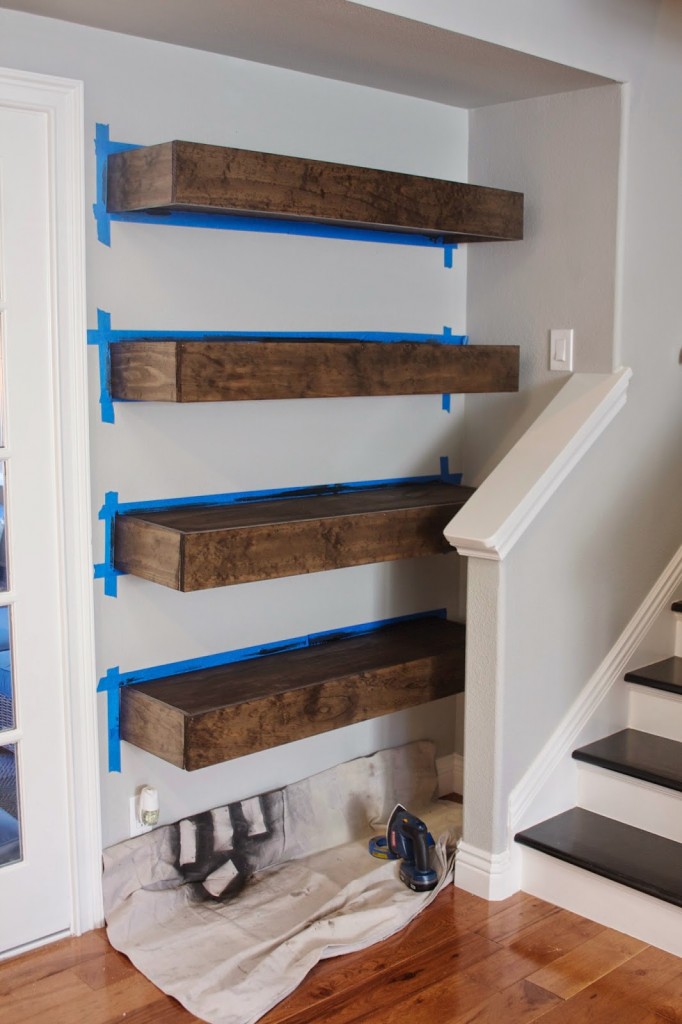
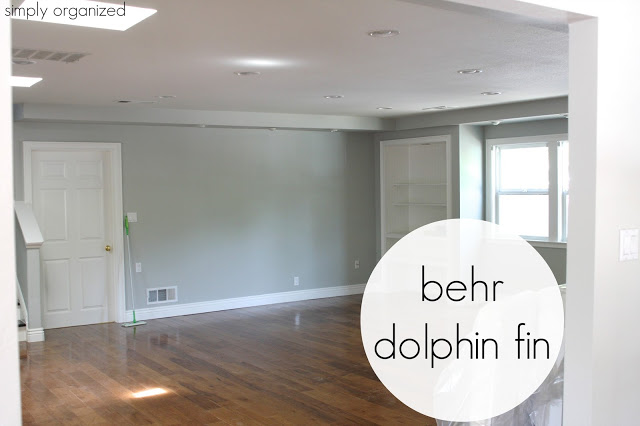
So I’m sharing with you how the space went from this…
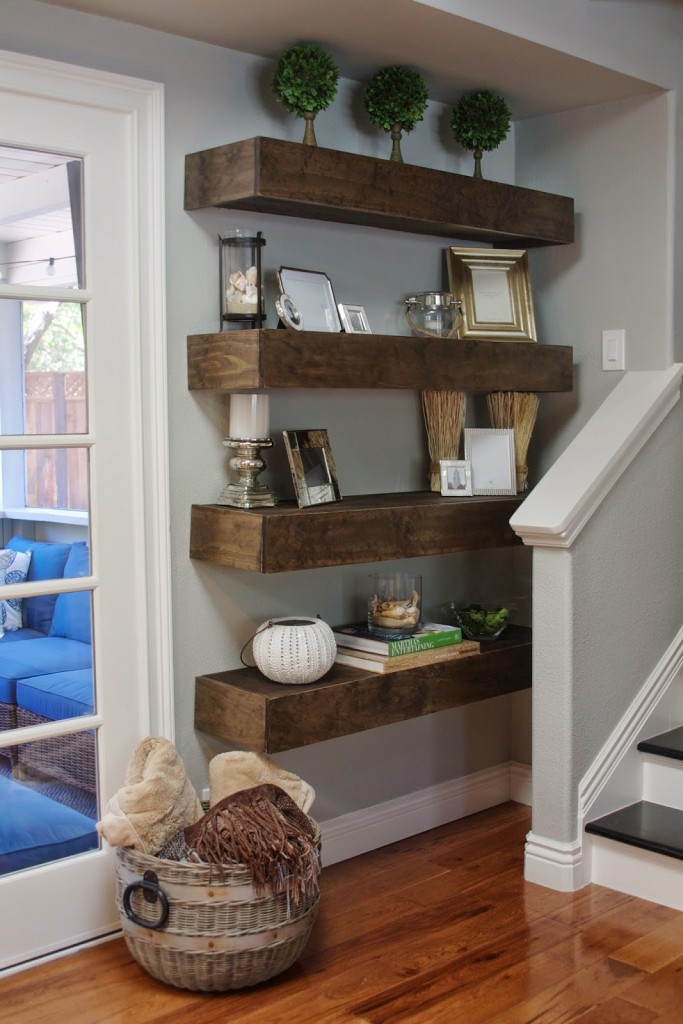
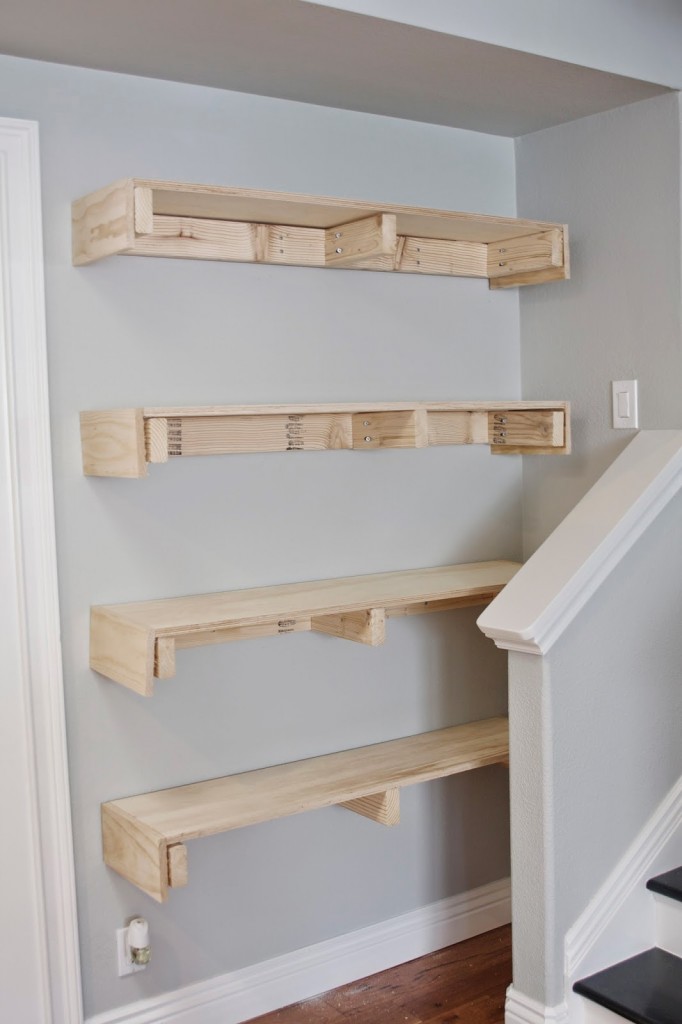
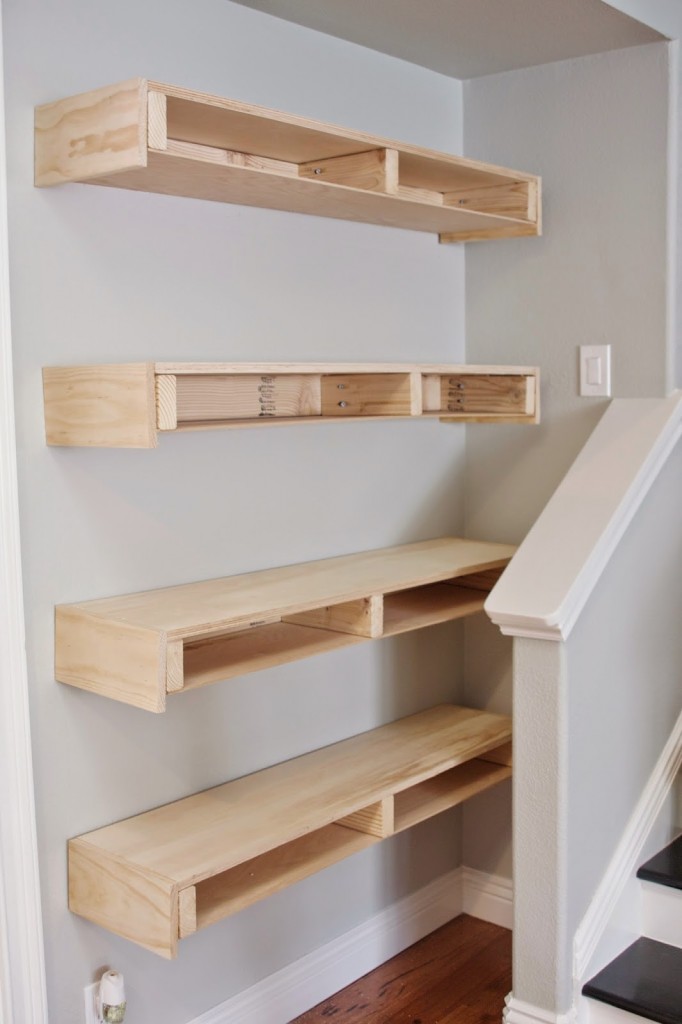
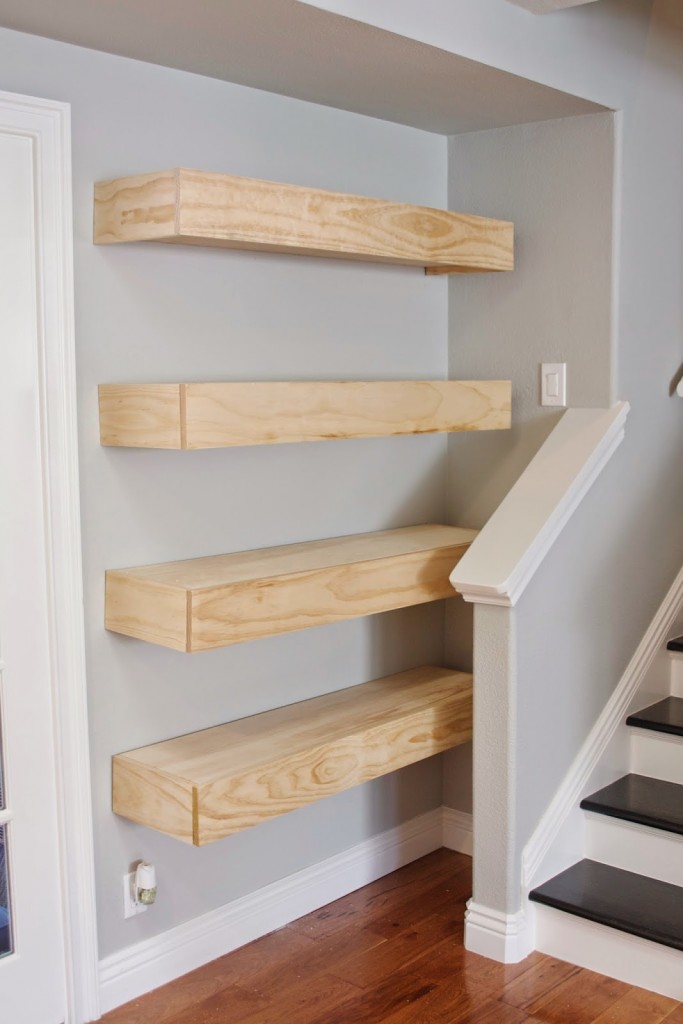
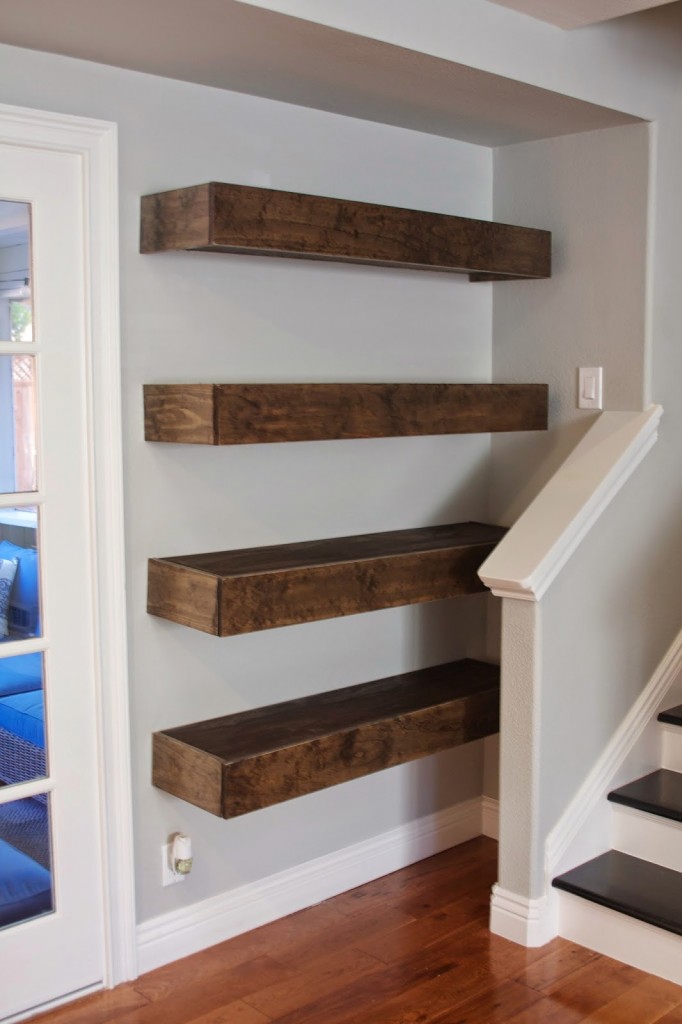
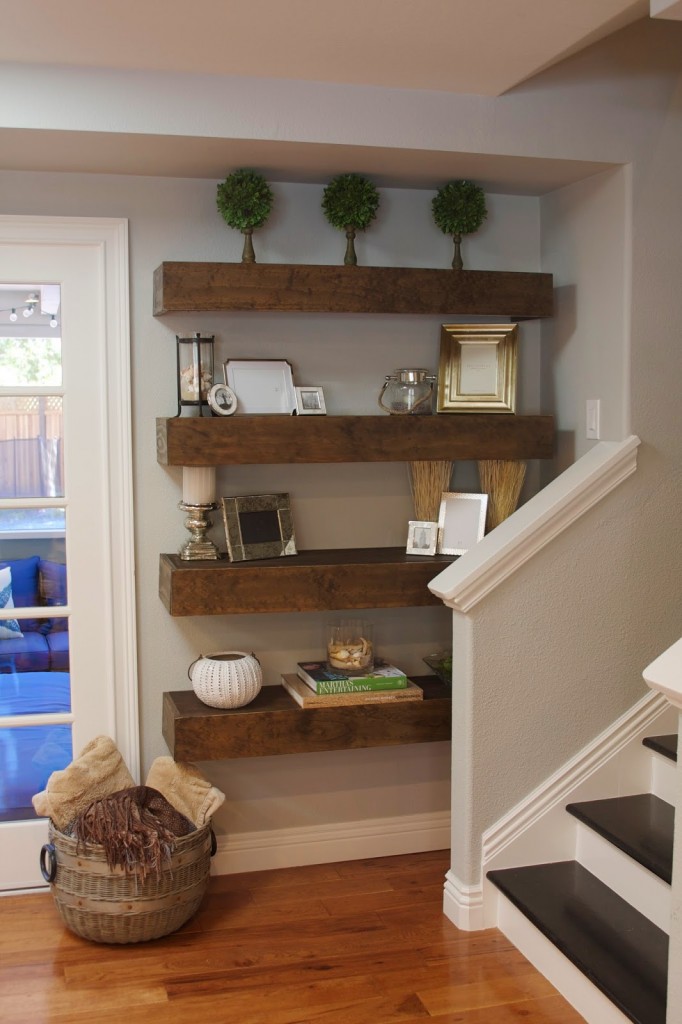
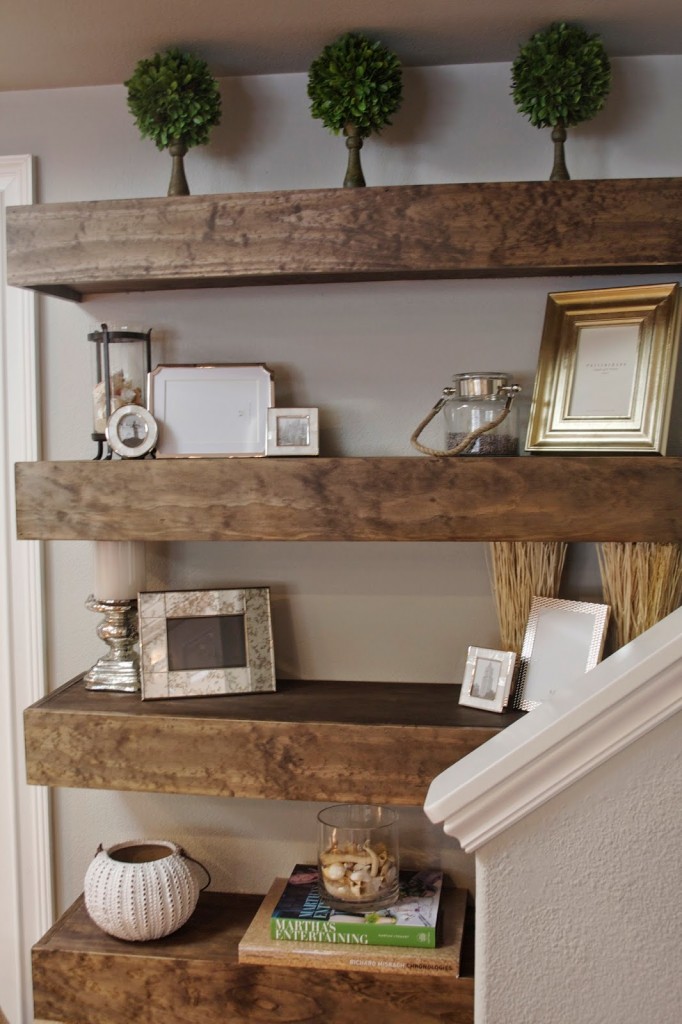
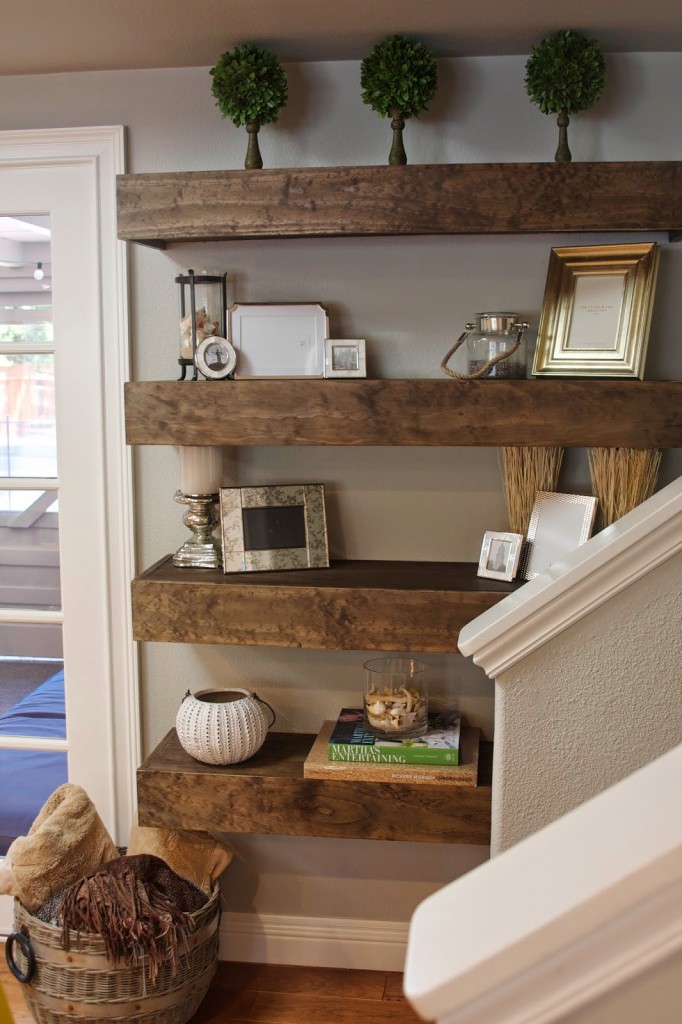
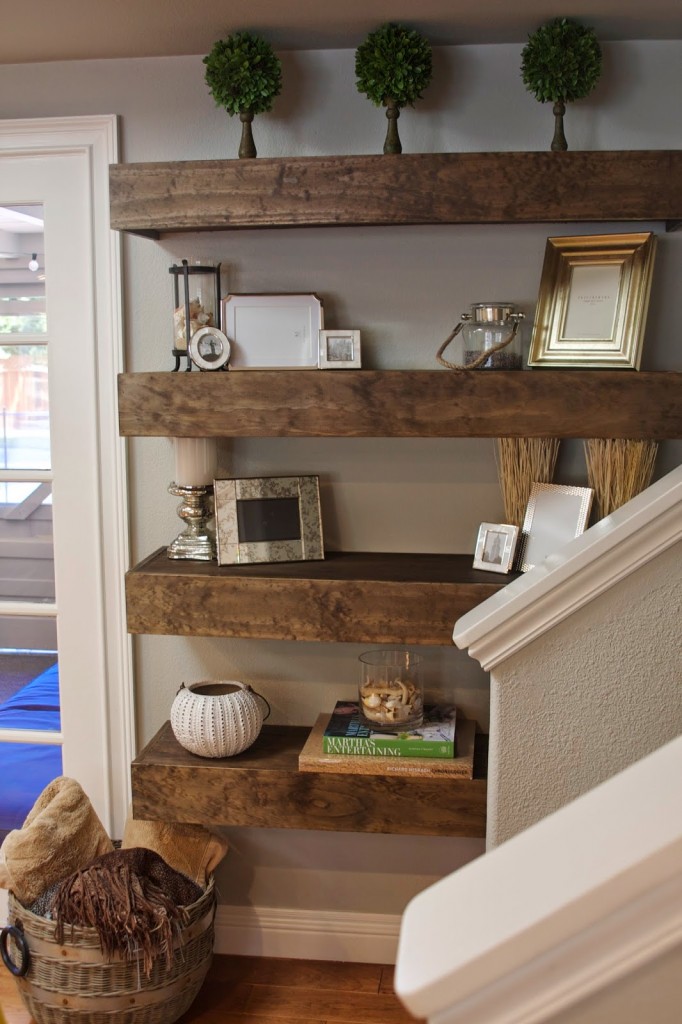
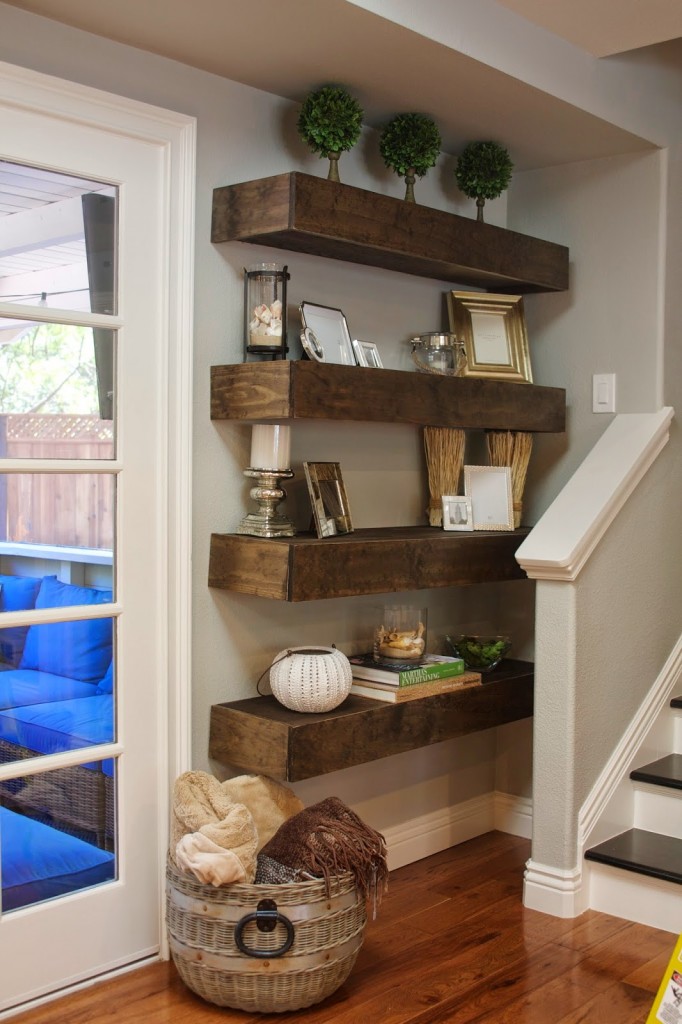
To this…
Yes, I built these on my own and I love them! They were so easy to make and customize.
Now wait a second. Before you say, “I love this look, but no way can I build this!”…I promise, if I can build these…you can too!
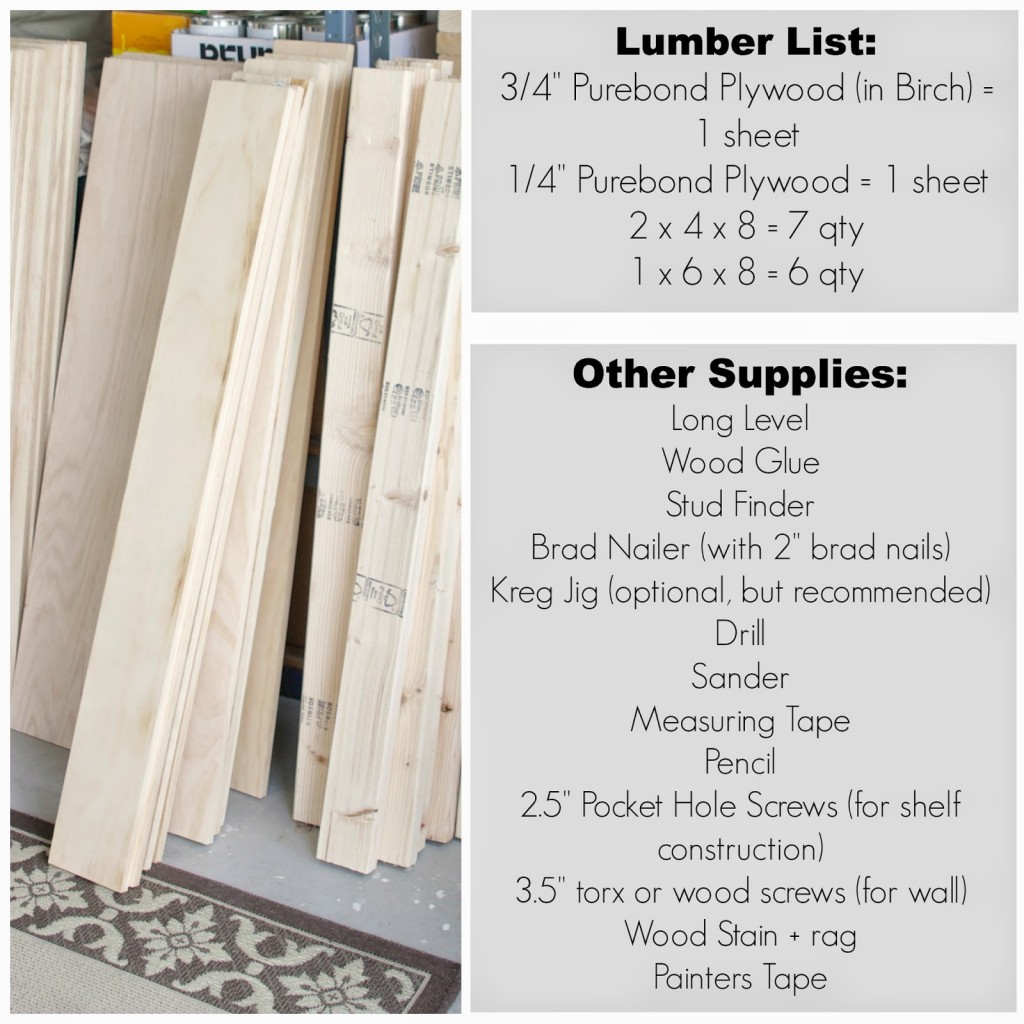
PROJECT SHOPPING LIST
First, let’s start with the supply list…
A few things…
The above supply list is enough product to build 8 shelves. So if you only want to build 4, cut this list in half.
This is only a recommend supply list and based on the products / brands I own. You may have something else that works well for you or have a different brand you prefer. Great, go with that! Just sharing what I used.
The lumber for 8 shelves was about $180. So figure it will cost about $22 per shelf. Unless you need to buy items like wood glue, brad nails, or big gun equipment you don’t already own.
HOW TO BUILD THE SHELVES
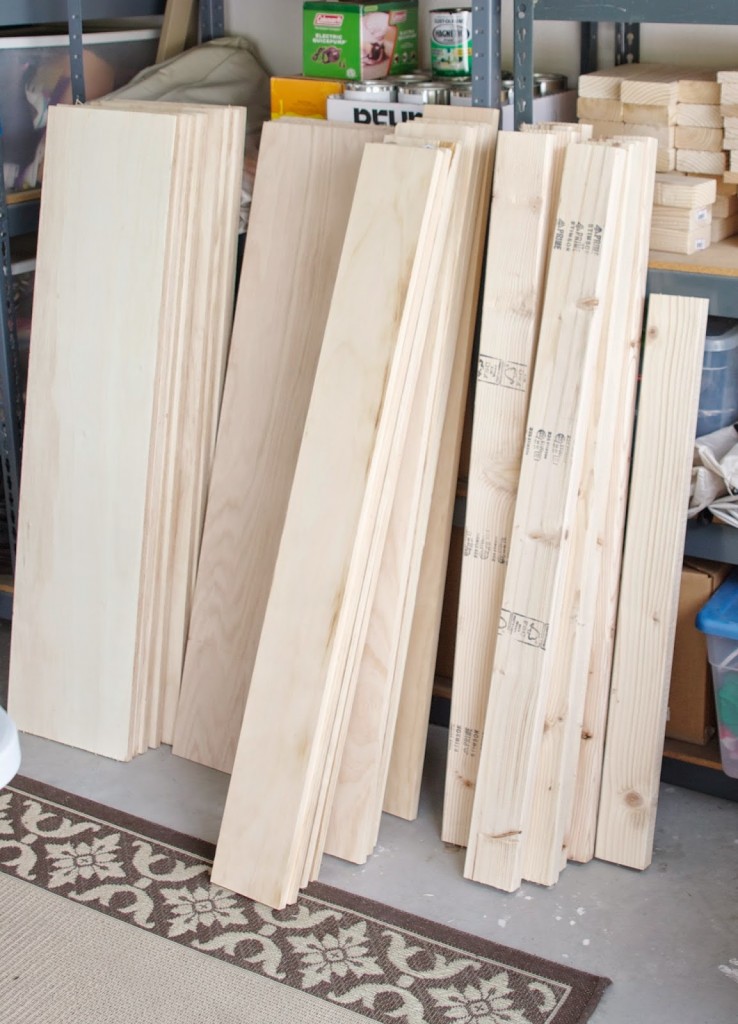
Lumber and cut list
If you don’t own a saw, most home improvement stores offer cutting services. Sometimes there is a small fee involved, sometimes this is complimentary. So don’t worry if you don’t have a saw.
This is how I cut my lumber…
3/4″ Plywood:
First cut into 4 11 1/4″ boards.
Then each board is cut into 46.5″ pieces.
This gave me 8 boards that are 46.5″ long and 11 1/4″ deep.
(These make your shelf top boards)
1/4″ Plywood:
First cut into 4 11 1/4″ boards.
Then each board is cut into 46.5″ pieces.
This gave me 8 boards that are 46.5″ long and 11 1/4″ deep.
(These make your shelf bottom boards)
2 x 4 x 8:
8 pieces are 46.5″ long
24 pieces are 9.75″ long.
This took a total of 7 2×4’s.
I came home with 1 long scrap piece which my 9 year old gladly took on as a project.
(All of these pieces make up your base for the floating shelves)
1 x 6 x 8:
16 pieces are 11 1/4″ long
8 pieces are 48″ long
(These make up your shelf fronts and sides)
Building the shelf bases
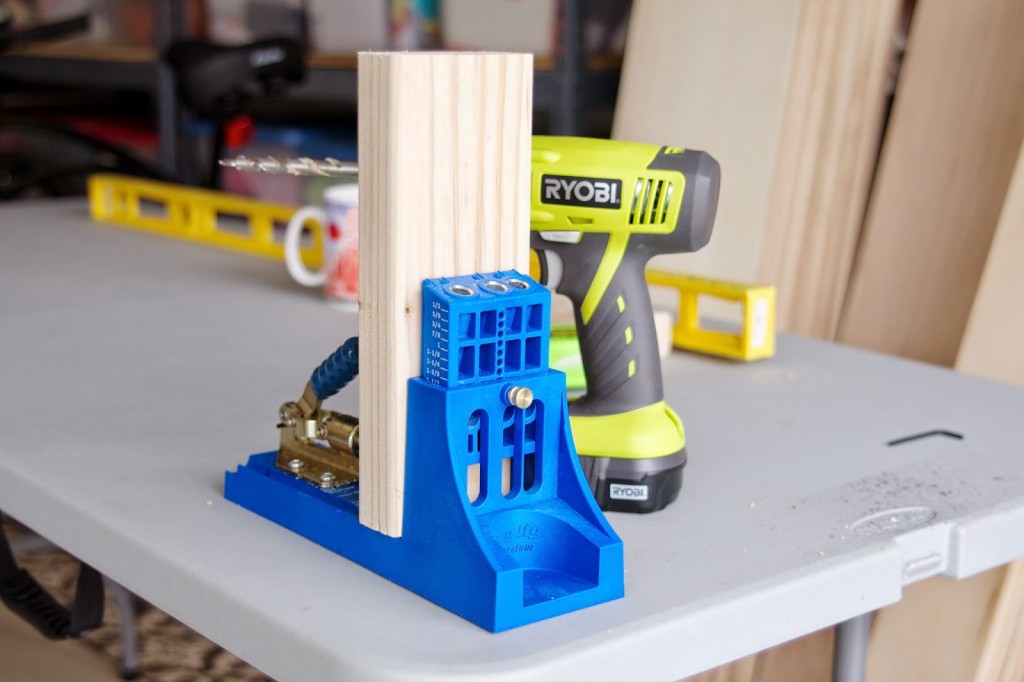
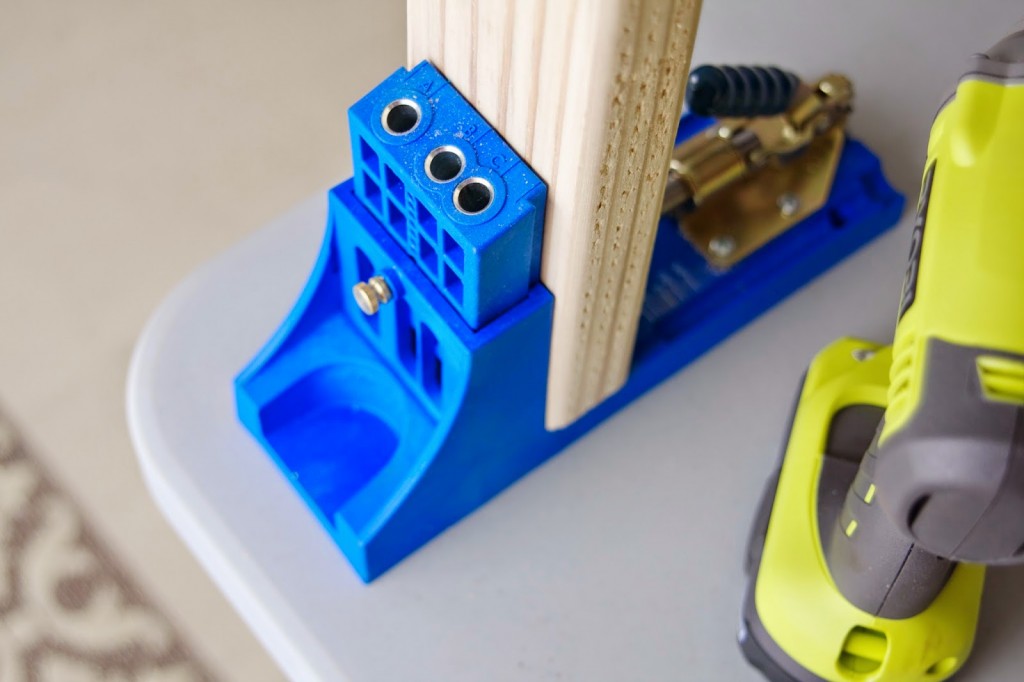
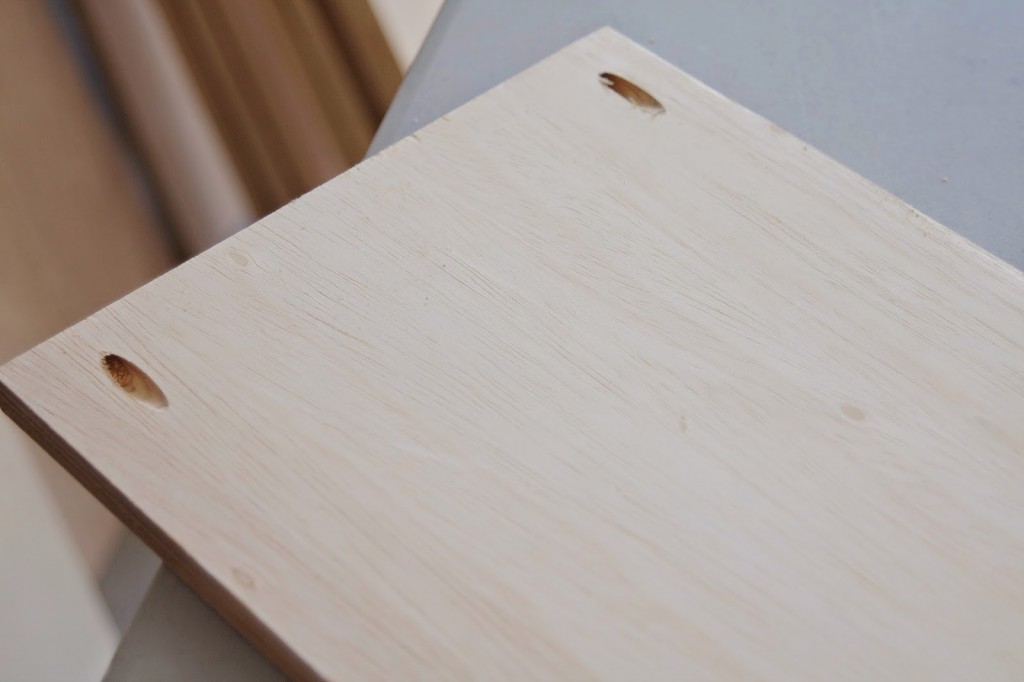
With your cuts ready for assembly, it’s time to build the shelf bases. This is what will support your floating shelf. I used a Kreg to make 2 pocket holes in each. You can find all kinds of great online video tutorials for using a Kreg Jig. It’s easy and this tool is definitely handy and can be a benefit in many ways for your building projects!
For a quick overview, you first place your wood into the Jig…
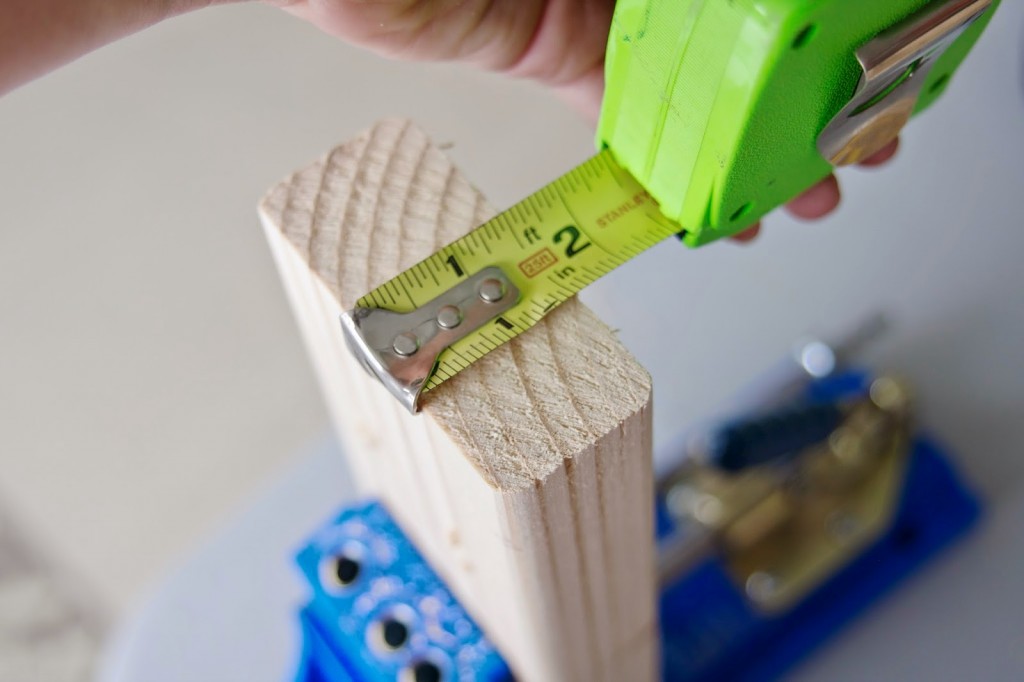
Then measure the thickness of your wood…
Since my wood is about 1.5″ thick, I set my drill bit to 1.5″…
As well as the top of the Jig. You can see the measurements on the side here too…
Then easily drill your pocket holes…
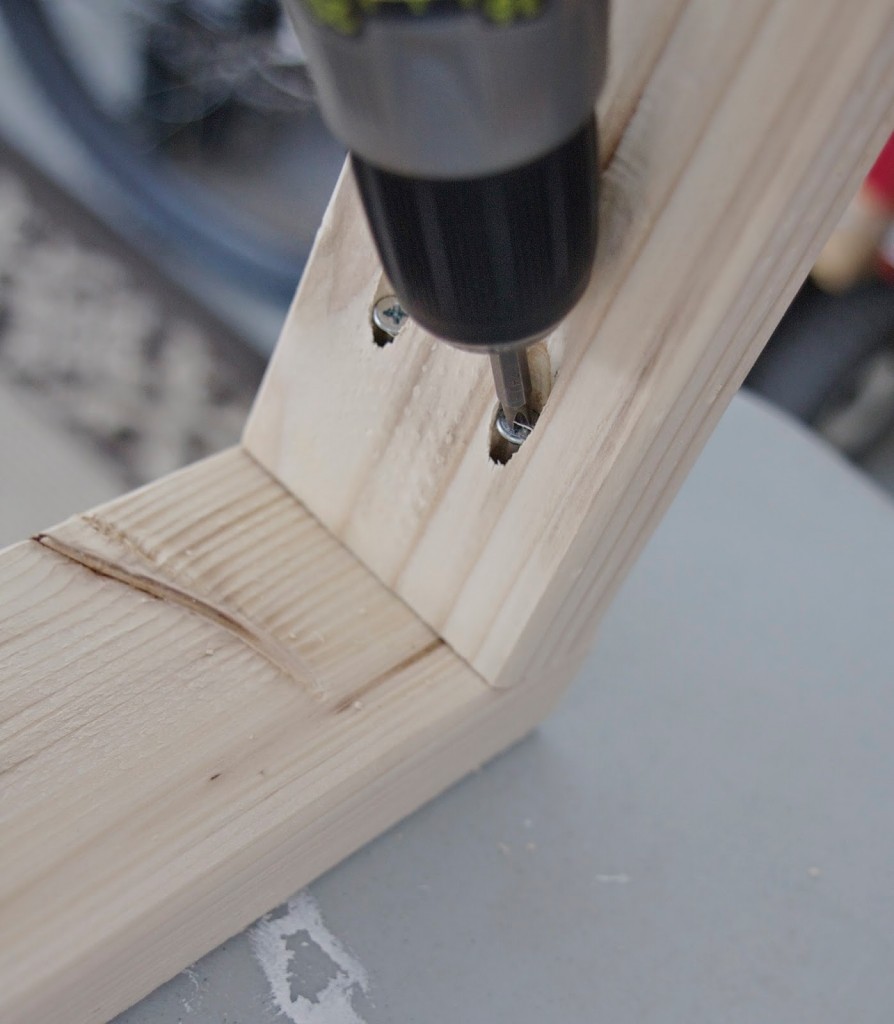
Since I was building 4 shelves, I pre-drilled pocket holes into all 12 2×4’s…
Then used my 2.5″ screws to attach them to my longer 2×4…
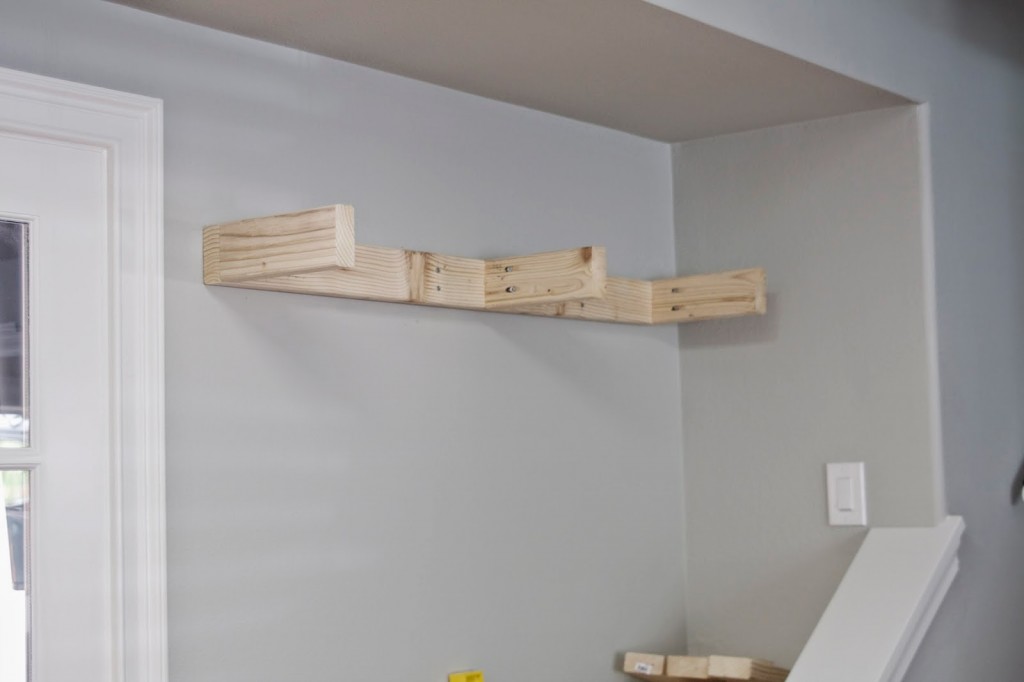
It’s going to make an E like this…
Measure the wall & hang your shelf bases
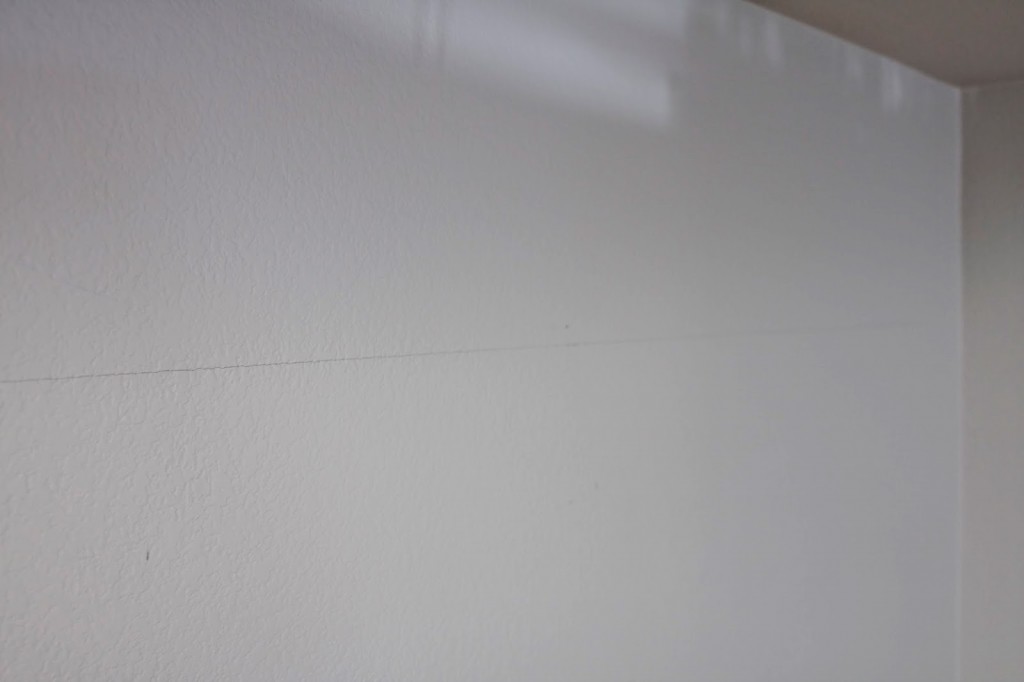
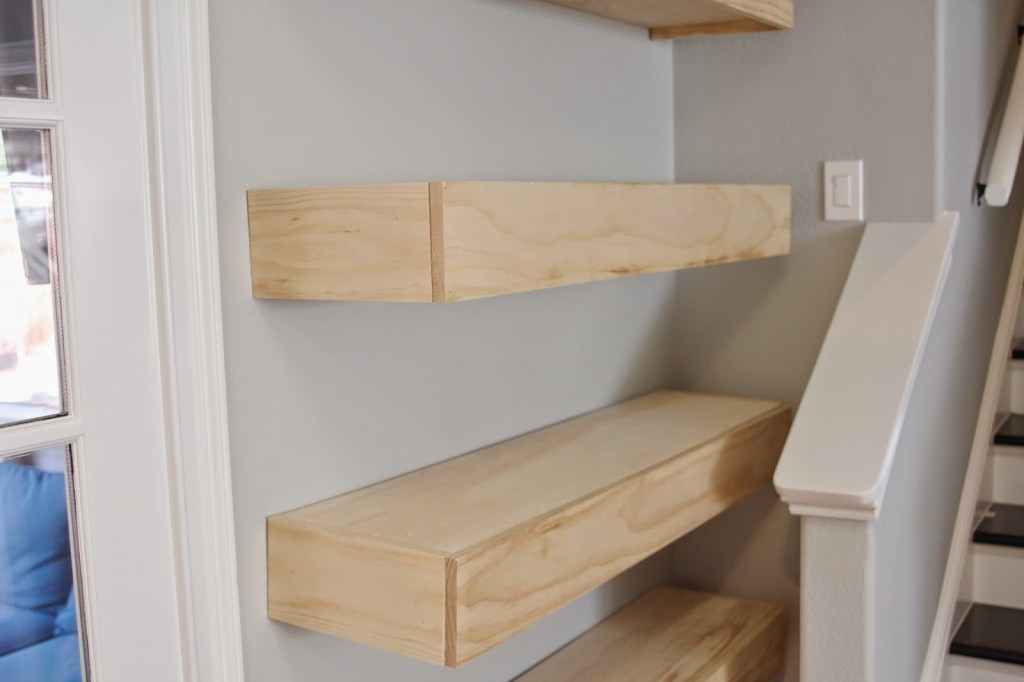
Once the E’s are completed, it’s time to hang. Your shelf placement will depend on how tall your wall is and your own preference. I wanted mine placed about 12″ apart so I started by measuring 12″ down from the ceiling to make the first line…
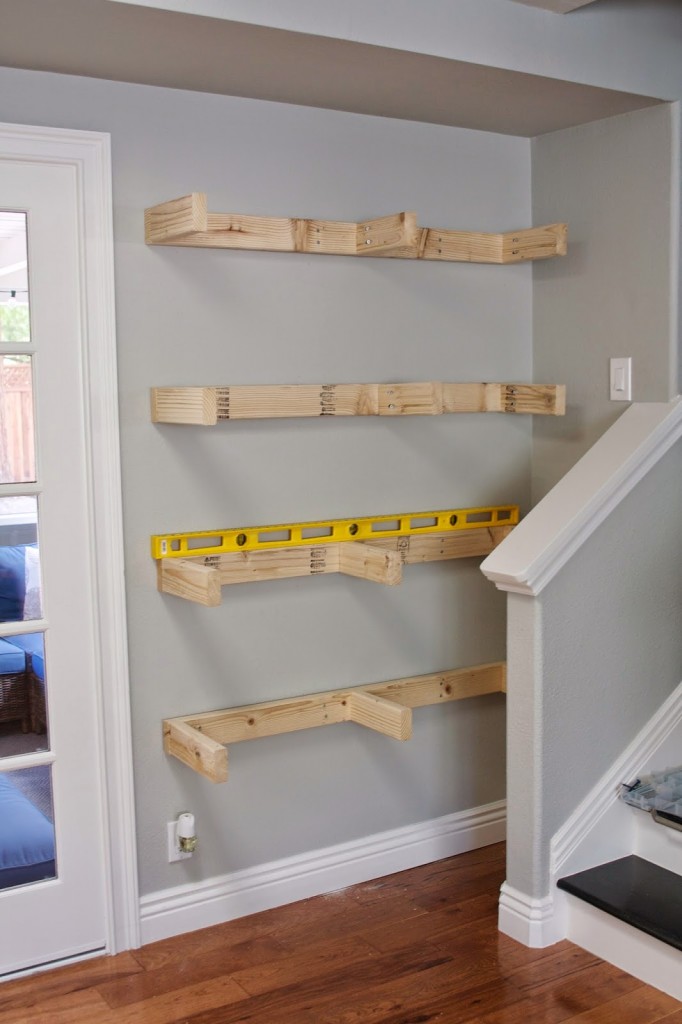
My long level is 4′ long, so it worked perfectly for drawing a level line in pencil.
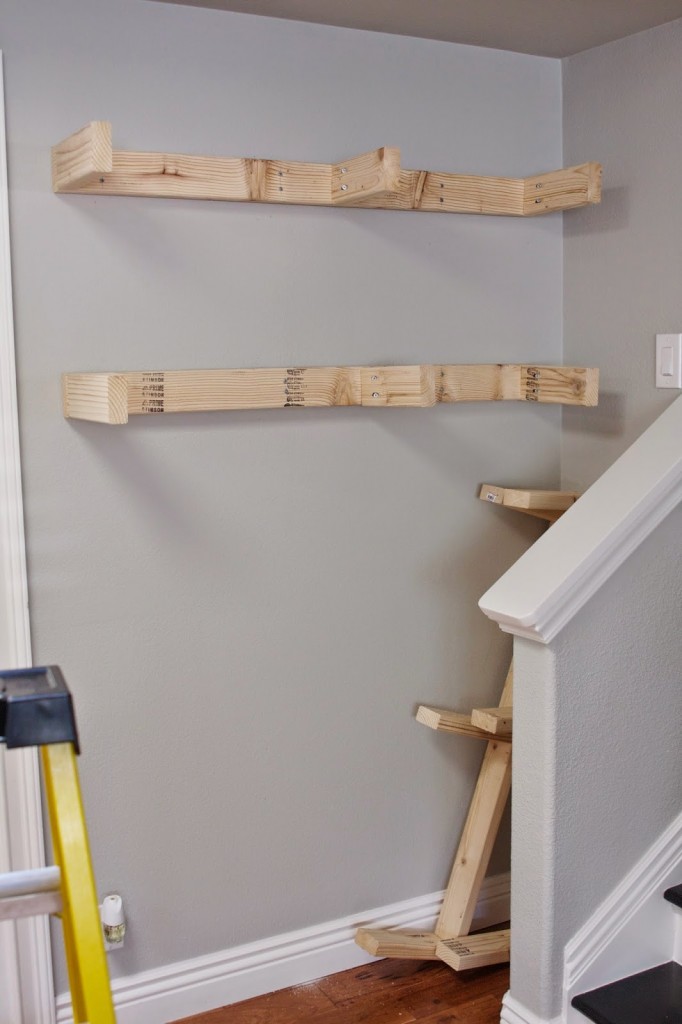
Each shelf is about 5.5″ tall, here is how I measured down my wall…From the ceiling I measured 12″ down, then 5.5″ down (to accommodate entire shelf height), then from the top of that 5.5″, I measured 3/4″ down (this accommodates the top shelf piece). Make sense? I hope so! Basically, I wanted my base pieces to be placed 3/4″ below the top of my 5.5″ line. I continued down the wall making sure to accommodate the 3/4″ space where that top shelf piece would be sitting.
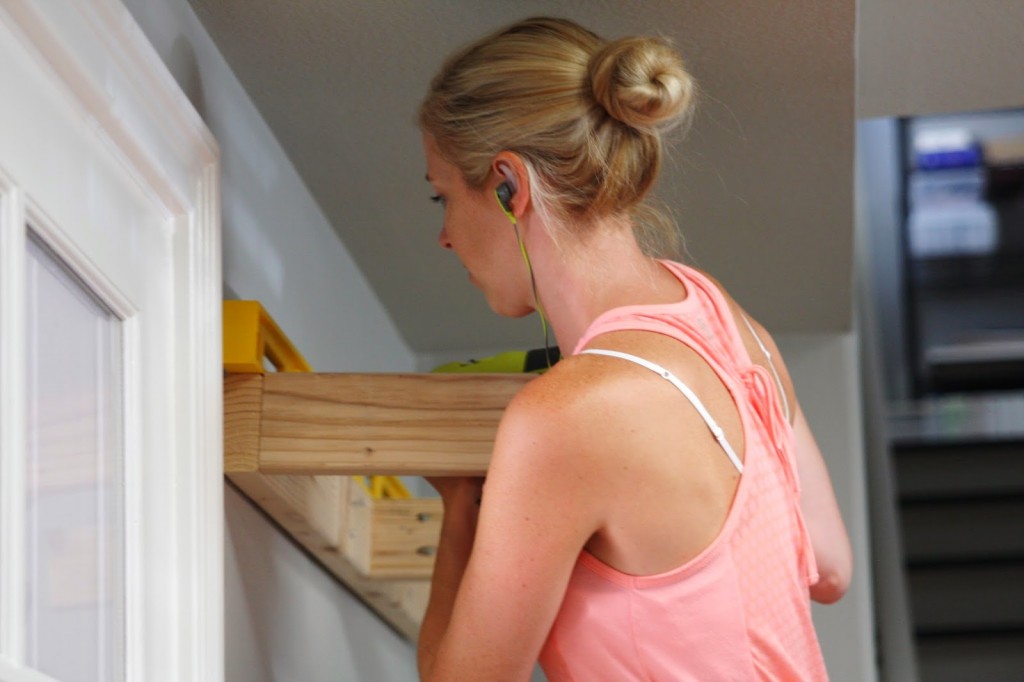
Once your wall is measured, you’ll want to locate the studs. The easiest way to do this is with a stud finder. You’ll want to drill these E’s into a stud because the shelf is heavy, sturdy and chunky…and you’ll likely be loading them up with all kinds of pretty things or books. So – take that critical step to your studs…
I also made sure I had everything needed for this job in place before beginning…
Photos courtesy of my 9 year old….I started at the top…
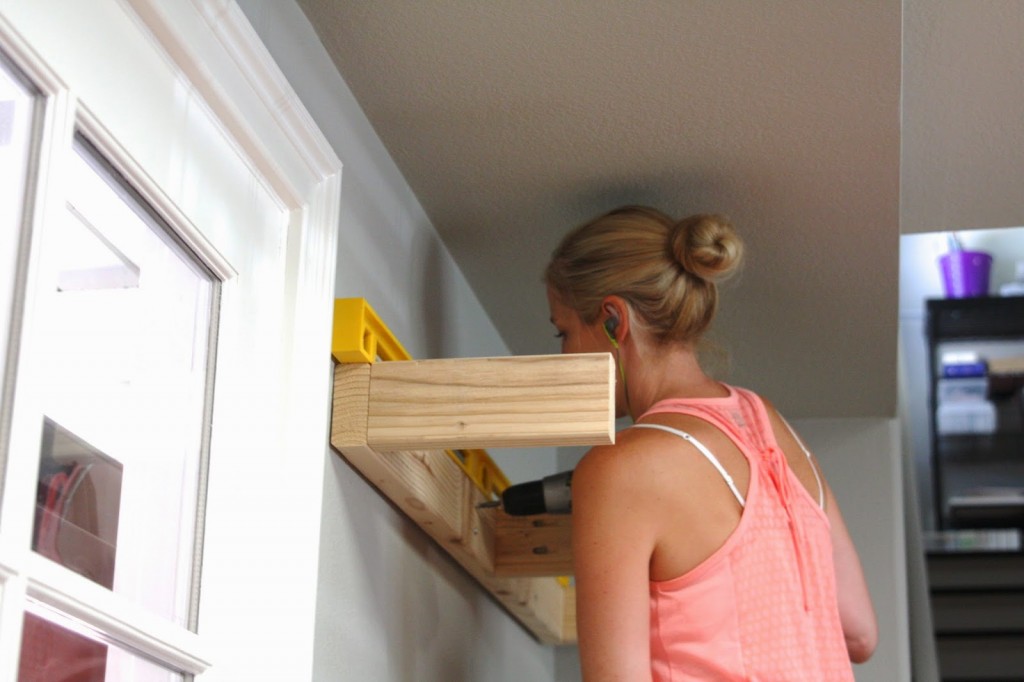
Each of the bases, or E’s, is drilled in with 6 3.5″ wood screws. This baby ain’t going anywhere!…
I continued down the wall, making sure to double-check measurements, wall studs and levelness (is that a word?!)…
Build shelf tops
Once the shelf bases were up, I headed back out to the garage to assemble the 4 shelf tops. Essentially you are building this…
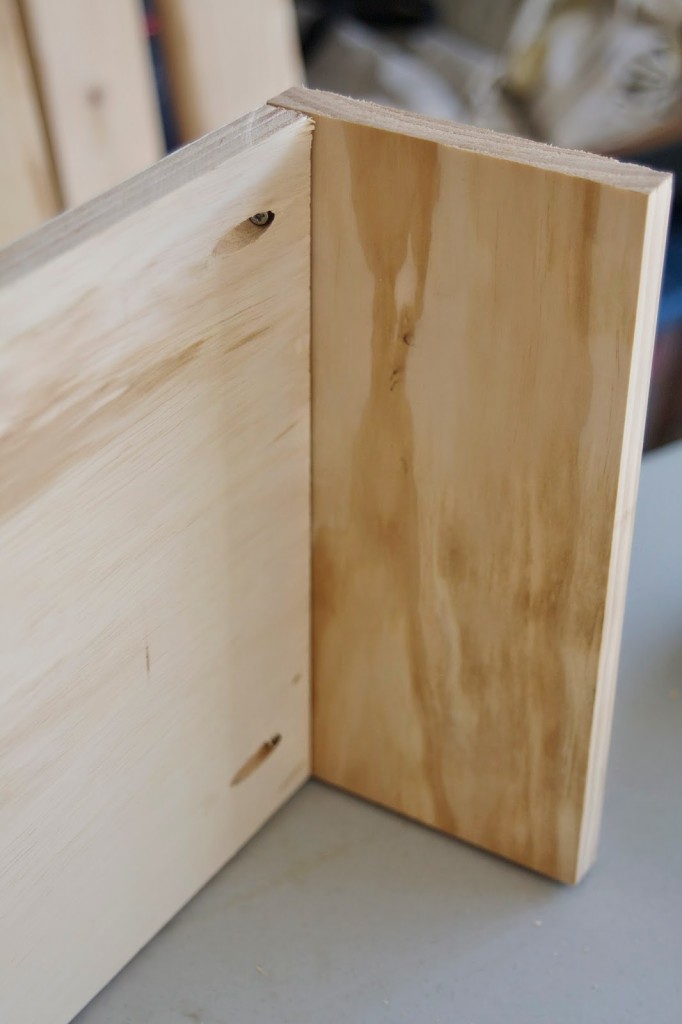
You’ll attach the sides of your floating shelf to the top. I did this by drilling 4 pocket holes into the top piece for my shelves…
And attaching them to the sides…
Easy!
Install shelf tops
Once complete, I added wood glue to the top of my shelf bases…
And sat the shelf top / sides right on top…
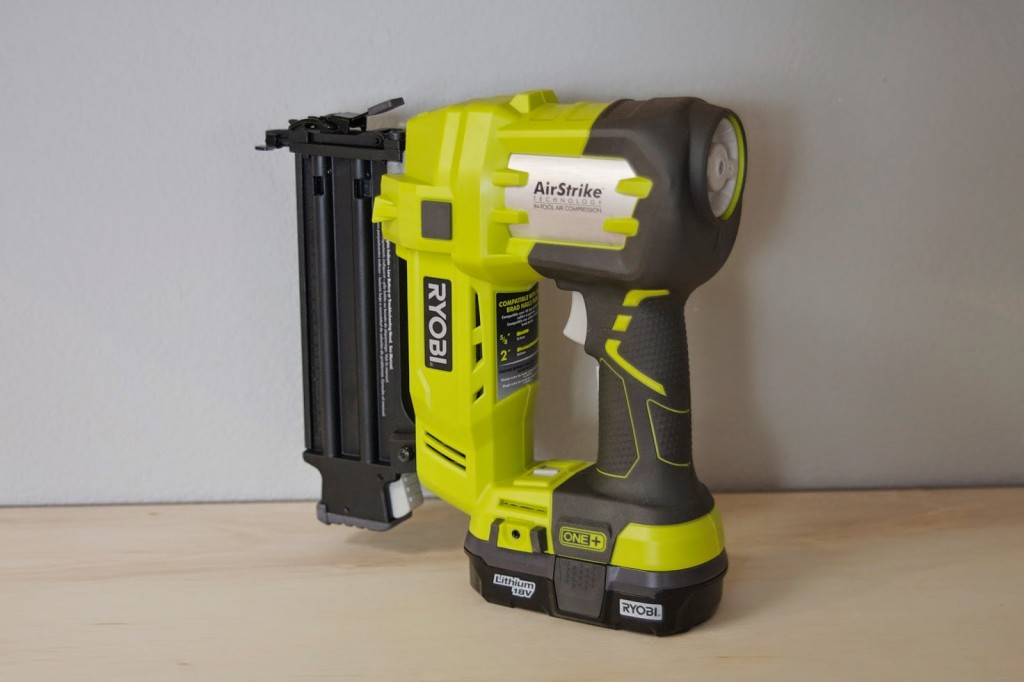
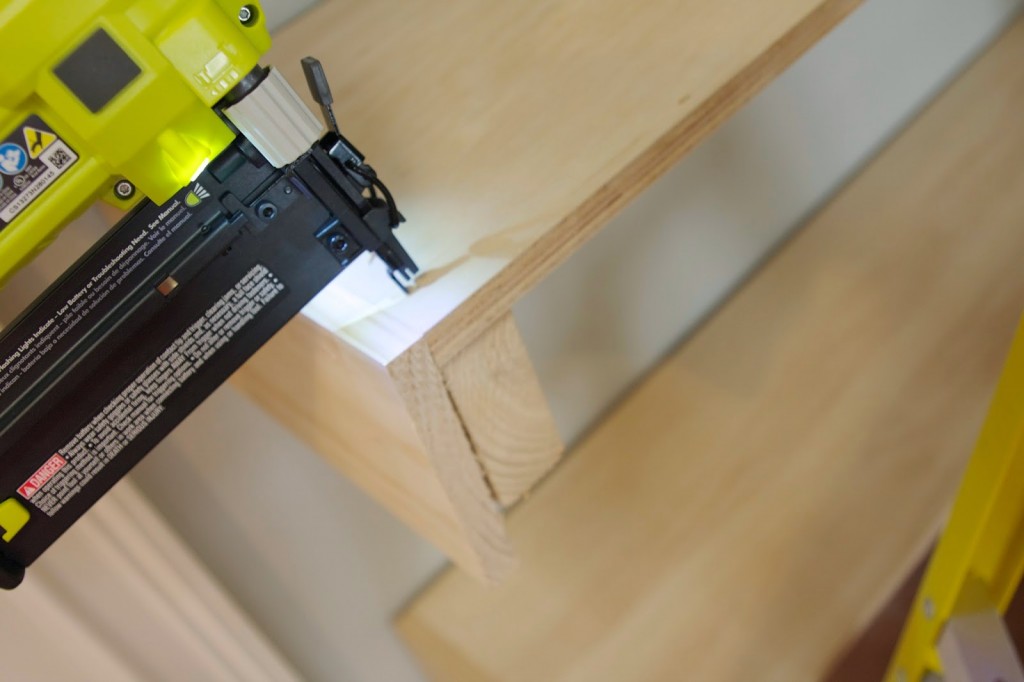
Then used my air strike brad nailer to punch nails into the top and sides…
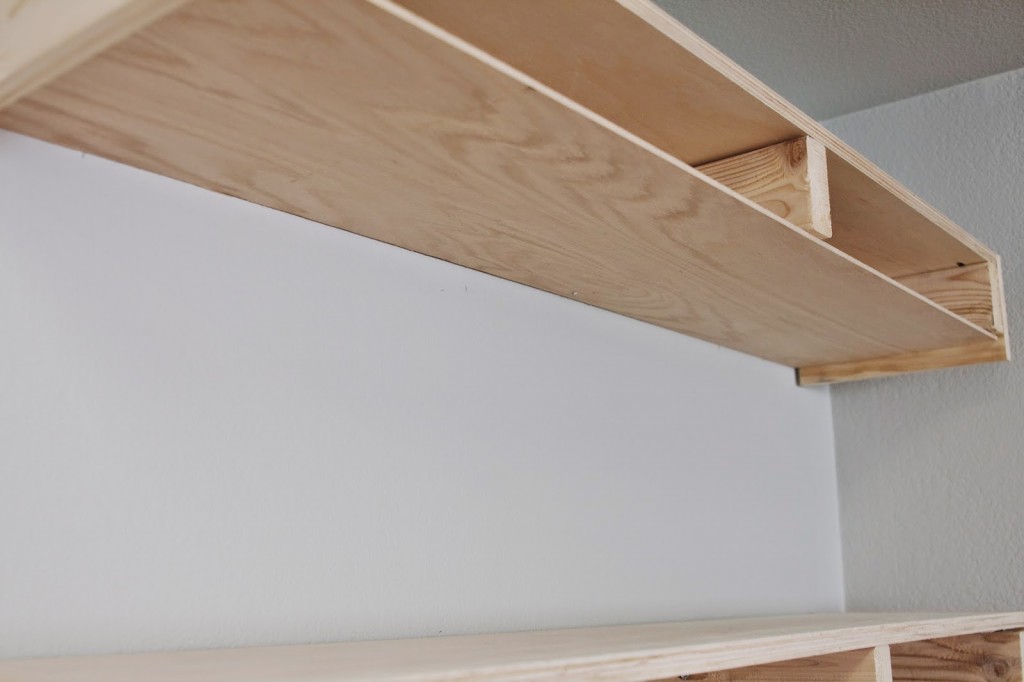
Install bottom of shelf
Next you’ll bring in the 1/4″ plywood pieces for the bottom of the shelves and add those with your nail gun…
Completed bottoms…
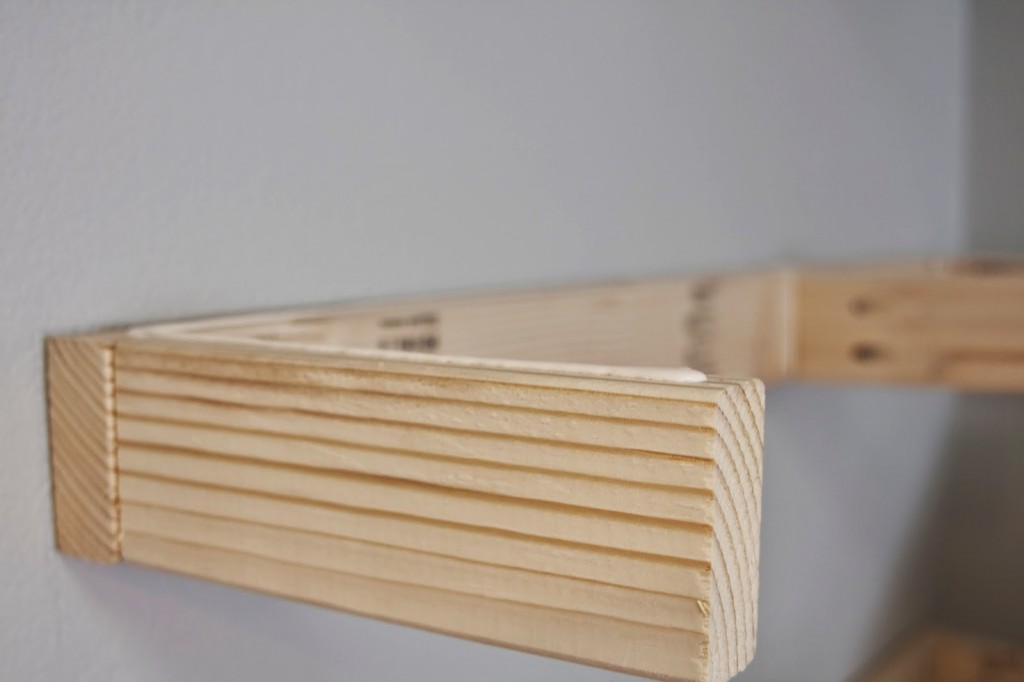
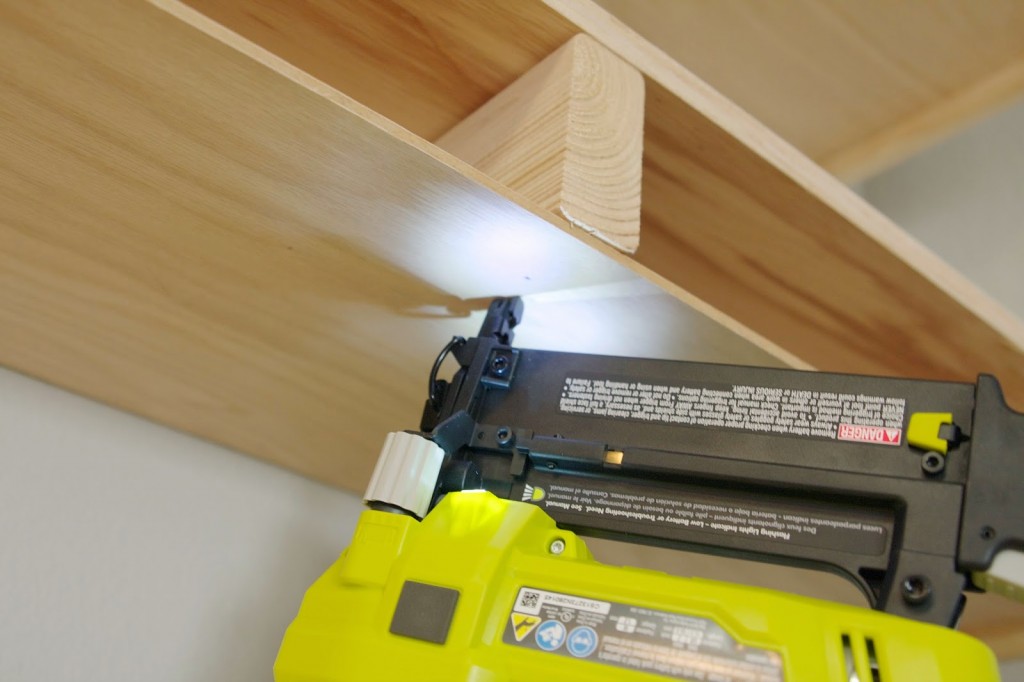
Install shelf front
Next, add the shelf fronts with your brad nailer…
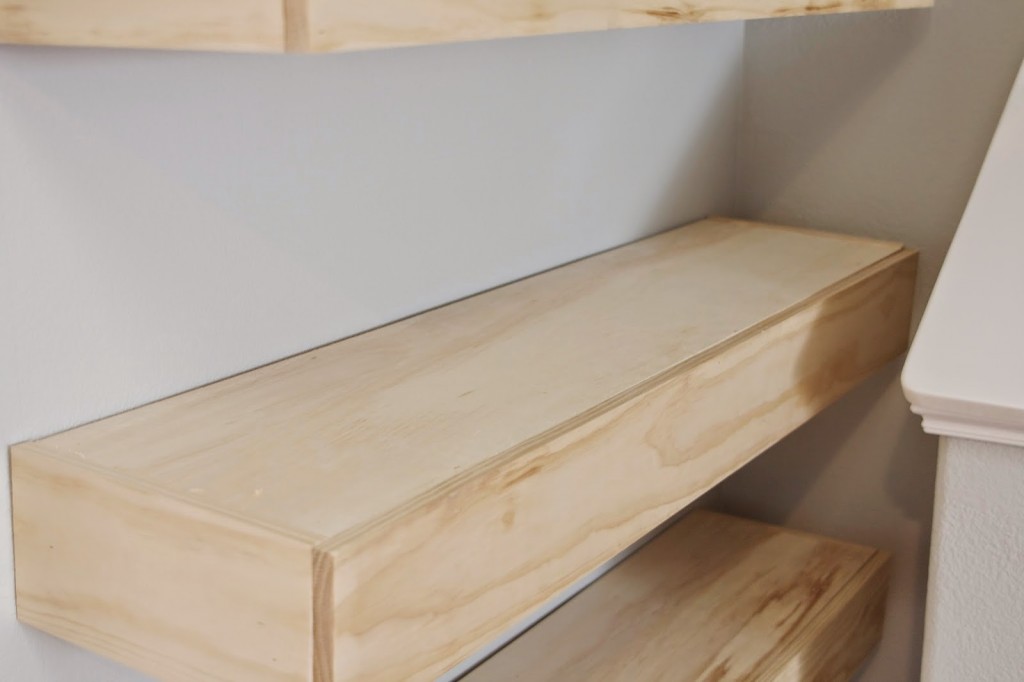
So so pretty just like this!…
Lightly sand edges
Before staining, I lightly ran a sander over any splintered edges…
Prep for staining or painting
Whether staining or painting next step is taping off the shelf edges. I waited until day 2 for sanding because it’s summer and my kiddos are home. I had to break up my project into 2 days, but if you are kid-free and looking for a fun day project, this is the one for you!
On day 2 I made sure my painters tape was secure…
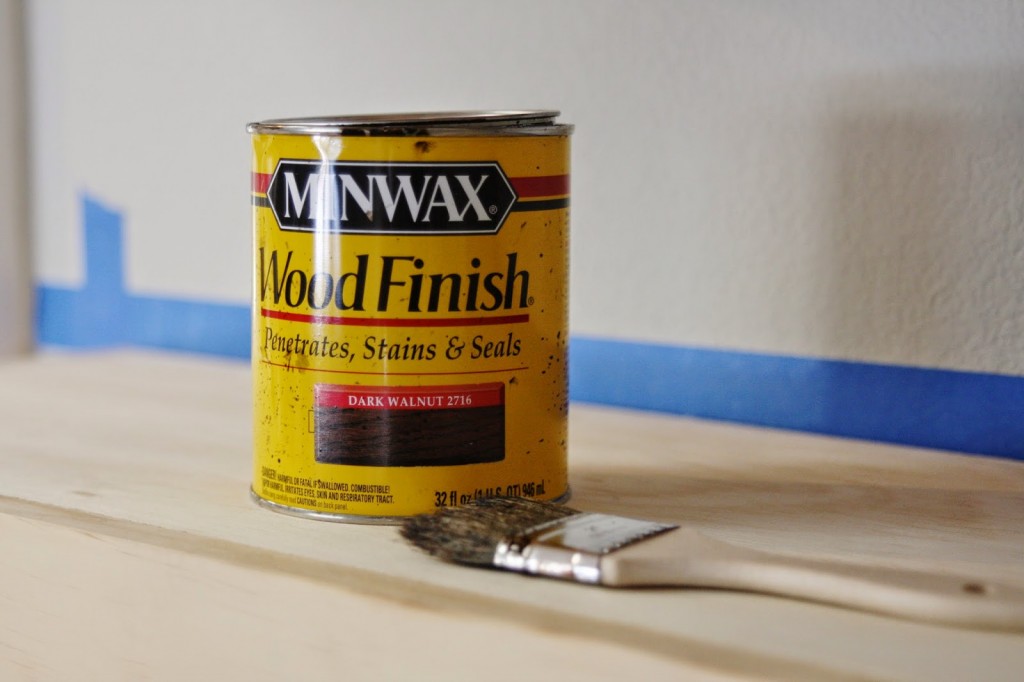
And stained the shelves in 2 coats with the same Dark Walnut stain I used on the mantle…
In case you haven’t see my DIY mantle, here it is…
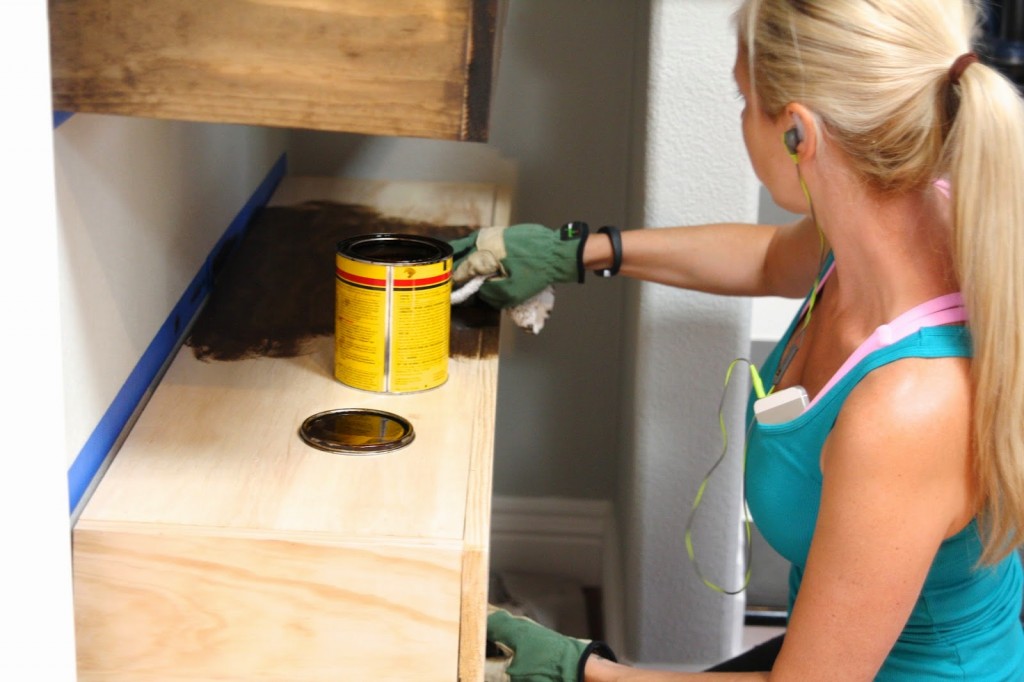
I started by using a paint brush, but quickly realized a rag would do the job better. Get a few that can be tossed!…
And make sure you’re getting air flow in this space because the smell is strong…
After coat 1…
After coat 2…
I waited about 45 minutes between coats…
Then let it dry overnight (or longer)…
I only slightly touched the edges of my shelves with a sander…
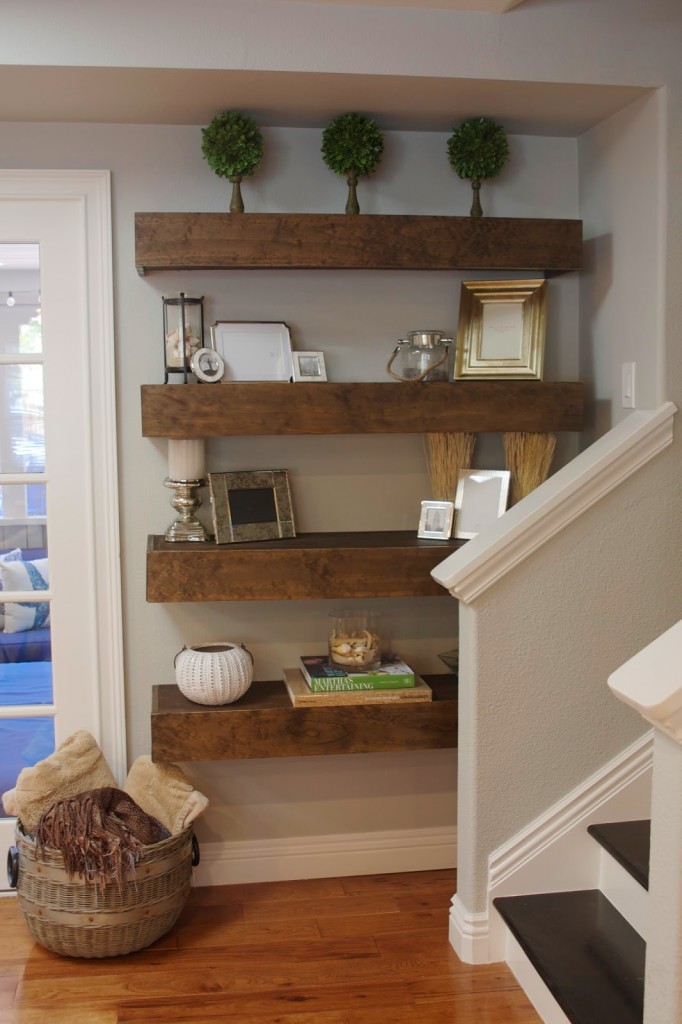
Now that you’re done – let’s decorate!
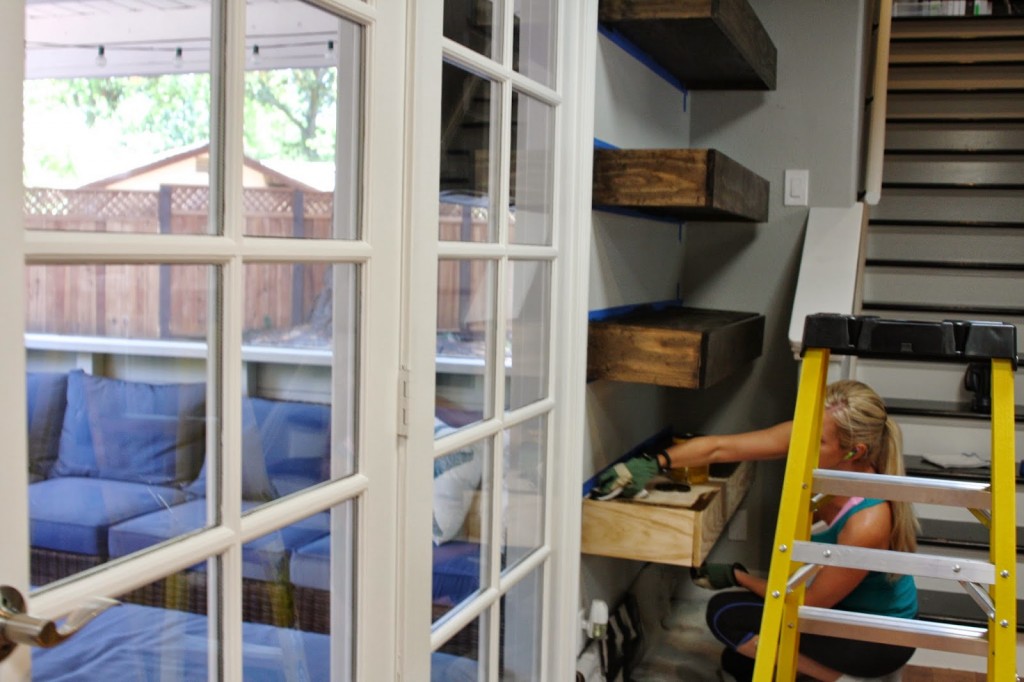
Next was the fun part – adding the decor! I shopped around the house and also treated myself to a few new things. Here’s how it all came together!…
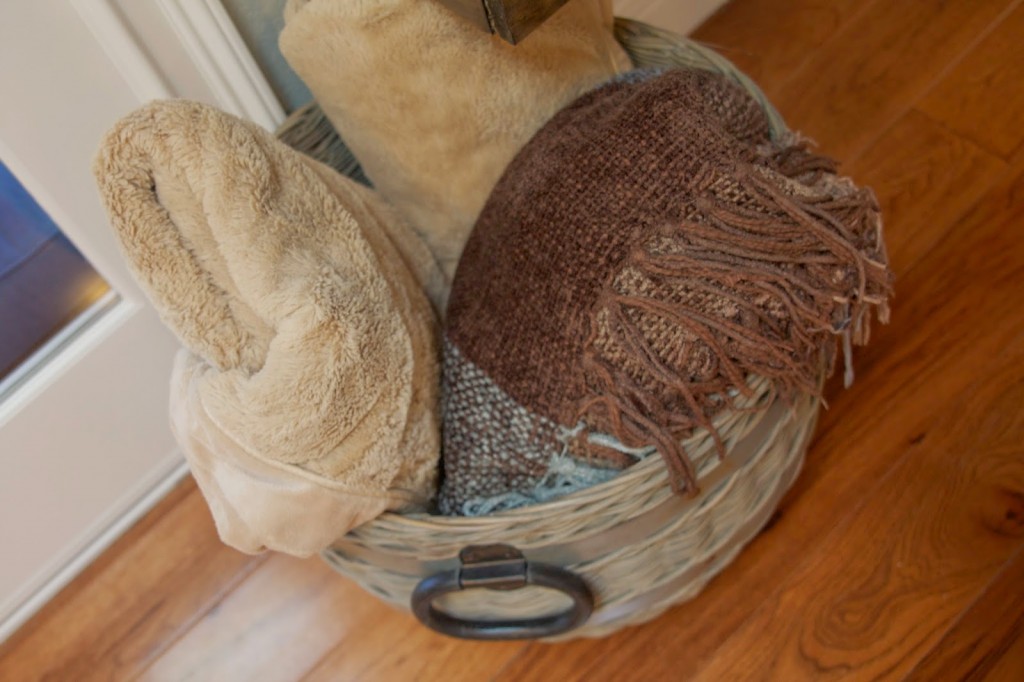
This shelving was perfect for this odd nook. And it doesn’t affect the french doors to the left from fully opening. It also created a landing pad for the playroom blankets the kids love to cuddle up with…
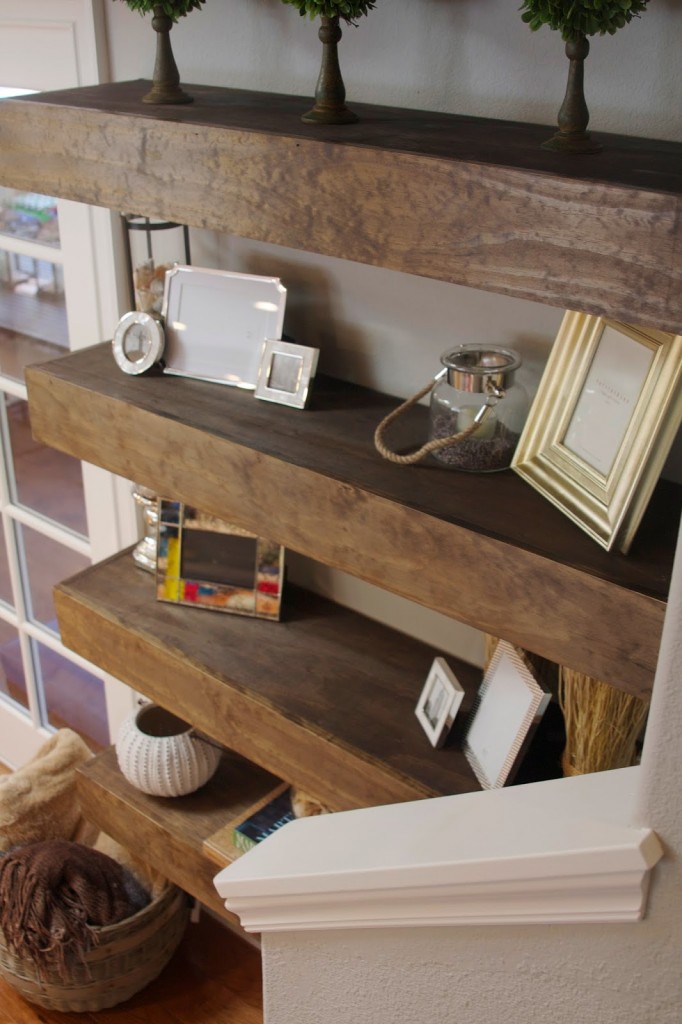
As far as what’s on the shelves, various (currently empty but soon to be filled) standing frames and something green…
Vases with potpurri, candle holders, special books…
Most of my decor is from Pottery Barn or older items I had on hand. Here are some items and similar if you’re looking to replicate this look…
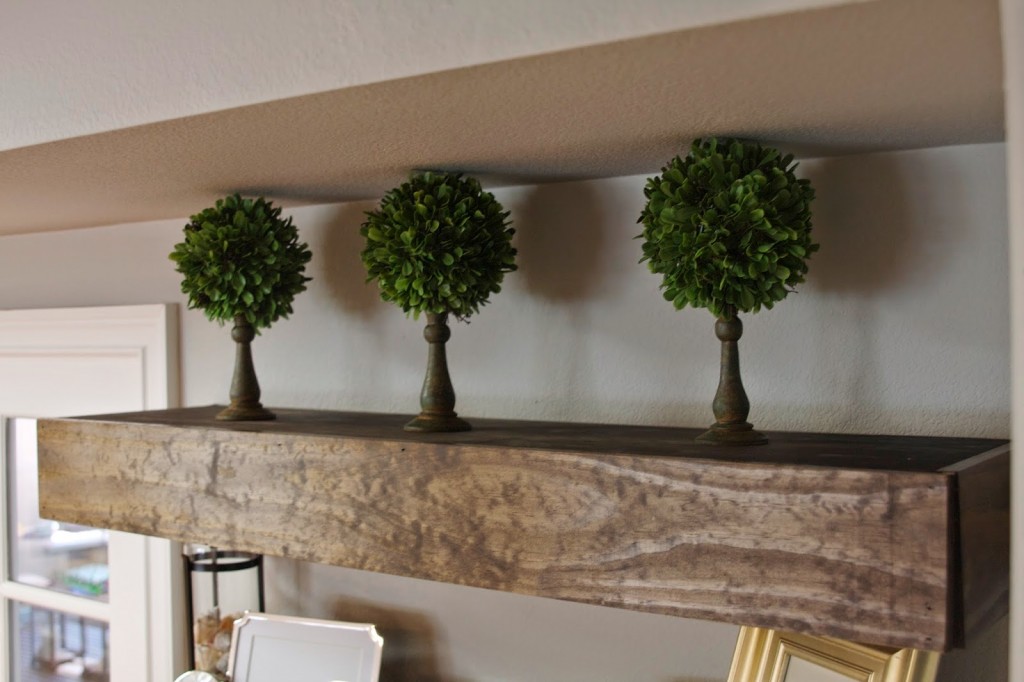
With the shelves being on the darker side, I tried to mix in some green (although faux) elements like the 3 topiaries on the top shelf, the vase full of sand and beach shells, and another small decor bowl full of faux moss. Then I added brighter items like the shiny silver frames, mother of pearl frames, and white candle holder…
I’ve been asked numerous time about the wall color – it’s Dolphin Fin and one of my favorite colors in the house…
Our previous home had a lot of browns and dark tones so in this house I wanted to brighten it up. Most of my wall colors are light gray tones. There is not ONE gray tone in my home I don’t love. You can see all of my wall colors in detail right here!…
Hard to believe how far this room has come since it was painted…only 1 year ago this month!
I truly hope this floating shelf tutorial was easy to follow.
I LOVE this!! I am so inspired and just want to build something! I just don't have an empty wall. BUT in my Forever home, I will be using this as a resource!
Love it and I am also a fan of the darker wood! Perfect shelving for a little nook like that! Hoping to build some of these for the bathroom. I was wondering though, why didn't you stain the wood before hanging them up?
Love these they are perfect for any wall space in ypur home which helps if you can.afford to make them. I was wondering, even though I lovevevery inch, can you leave fronts off and add bottom then use the openings, where front pieces go, as additional.storage or display space for books or blankets ?
Great idea! I suppose this could work…you’d see the “e’s” that act as a base for the entire system (those are drilled into the wall studs). Maybe if you added hinges to the fronts? Then you could hide things. 🙂
The shelves are perfect! So aggravated with my daughter who spent over $200 for only 2 of nearly the exact same shelves from Wayfair! When I told her I could have made them for an eighth of what she paid, she didn’t believe me, even though she grew up playing in the sawdust in my workshop. Now maybe she will stop and ask before she throws her money away, after I show her your great tutorial.
And yes, these are SO easy to make! Am actually thinking about making some for a client – a thinner version that will span a very long wall in her office / craft room. Should be a challenge…but definitely cost-effective!
Ahhh!!! Here’s the question that I wo I’d love to know the answer to as well!!!??? The spacing!!! We have ours all made and ready to hang. But I’m so indecisive!! 14 inches?? 15?! Ahh!! Loooove the look!!
Ack – thank you for reminding me to measure! Ok, so mine are 12″ apart. If I could have made then 14″, I would have, but then they would look too spread out on this wall. Too close to my floor, you know? So these are spaced at 12″. 🙂
Thank you for this tutorial! I’ve been itching to make shelves for my kitchen wall and so appreciate the detailed instructions! I have another off-topic question….where did you find your painting of the waves/beach on the mantal? love love it and would love to know the dimensions as well.
Thank you so much! I hope you’re able to recreate the shelves!
The piece of art is a painting but much more. A local artist here in my town created it using an old window pane, paint and broken pieces of glass. If you look at my mantle post, you’ll see it in more detail. It is absolutely amazing!! If you like it, I can connect you with the artist. Not sure she can replicate it exactly, but maybe she can. It really is a beautiful piece and I am so glad to have found it!
Hi! I’m a little confused on the side and front pieces!!! How thick are they from top to bottom of shelf?? You mentioned long pieces but how do you cut the 1 x 6 x 8??


I LOVE this!! I am so inspired and just want to build something! I just don't have an empty wall. BUT in my Forever home, I will be using this as a resource!
Beautiful shelves!
OMG!!! This is the best share this afternoon love love love it!!! Great inspiration
I really like how this turned out. This makes me want to build something. 🙂
Love love love, Sam!!
Love it and I am also a fan of the darker wood! Perfect shelving for a little nook like that! Hoping to build some of these for the bathroom. I was wondering though, why didn't you stain the wood before hanging them up?
Saw this at the TT&J link up. This is a great tutorial, thanks! They look awesome, and any excuse to get some PB stuff, right?!
I adore floating shelves. These are gorgeous =)
I LOVE THIS !
hi!
nice tutorial!
I think you could've added drawers instead of adding the shelf fronts. That would've provided some handy storage!!
WOW! That looks stunning, if i have enough space in my place I’d do something similar …. thanks for sharing with…
Thank you!!! Happy new year!
Sam
Thank you, thank you, thank you….you inspired me to make it. The tutorial is so well explained and it looks so easy to make, thank you for that!!
You’re welcome! Let me know how it turns out! I’m making more for my bathroom very soon!
xo,
Sam
Love these they are perfect for any wall space in ypur home which helps if you can.afford to make them. I was wondering, even though I lovevevery inch, can you leave fronts off and add bottom then use the openings, where front pieces go, as additional.storage or display space for books or blankets ?
Great idea! I suppose this could work…you’d see the “e’s” that act as a base for the entire system (those are drilled into the wall studs). Maybe if you added hinges to the fronts? Then you could hide things. 🙂
xx,
Sam
The shelves are perfect! So aggravated with my daughter who spent over $200 for only 2 of nearly the exact same shelves from Wayfair! When I told her I could have made them for an eighth of what she paid, she didn’t believe me, even though she grew up playing in the sawdust in my workshop. Now maybe she will stop and ask before she throws her money away, after I show her your great tutorial.
Thanks!
Awe, thank you!!
And yes, these are SO easy to make! Am actually thinking about making some for a client – a thinner version that will span a very long wall in her office / craft room. Should be a challenge…but definitely cost-effective!
xx,
Sam
Beautiful!! If I want to do 2 ft shelves instead of the 4 ft you did…what dimensions will I need? Don’t want to screw this up!
These look fab, I would have never thought to add shelving in that space but it works so well!
Thank you! I love them so much! They have given me the space to add decor to the house 🙂
So what exactly is the distance between the shelves?
I will check in the morning and get back to you!
Ahhh!!! Here’s the question that I wo I’d love to know the answer to as well!!!??? The spacing!!! We have ours all made and ready to hang. But I’m so indecisive!! 14 inches?? 15?! Ahh!! Loooove the look!!
Ack – thank you for reminding me to measure! Ok, so mine are 12″ apart. If I could have made then 14″, I would have, but then they would look too spread out on this wall. Too close to my floor, you know? So these are spaced at 12″. 🙂
xx,
Sam
These are 12″ apart 🙂
xx,
Sam
Thank you for this tutorial! I’ve been itching to make shelves for my kitchen wall and so appreciate the detailed instructions! I have another off-topic question….where did you find your painting of the waves/beach on the mantal? love love it and would love to know the dimensions as well.
Thank you!!
Thank you so much! I hope you’re able to recreate the shelves!
The piece of art is a painting but much more. A local artist here in my town created it using an old window pane, paint and broken pieces of glass. If you look at my mantle post, you’ll see it in more detail. It is absolutely amazing!! If you like it, I can connect you with the artist. Not sure she can replicate it exactly, but maybe she can. It really is a beautiful piece and I am so glad to have found it!
xx,
Sam
Hi! I’m a little confused on the side and front pieces!!! How thick are they from top to bottom of shelf?? You mentioned long pieces but how do you cut the 1 x 6 x 8??