Happy Friday! I am so missing my time in here with all of you…and that’s going to change soon! Keeping in line with my post about how to get more done, I’ve been working behind the scenes on my plan to create and implement a more balanced work/blog schedule. I’m beyond grateful that my little business has taken off, but it’s keeping me from sitting at my computer. And this special blog of mine is where it all began and where my passion is fueled. I love writing and sharing with you and couldn’t wait to pop in today with a post. Not just a post…I’m sharing a project I did in my own home. Yes! Back to basics here…back to my happy place = DIY, projecting and in my own home to boot!
Hard to believe August marked 2 years since we’ve been in this house. Before move-in I had each and every wall freshly painted. It was a beautiful clean slate…but my fellow parents out there know children aren’t going to let that be the case for long. While most of the walls are still looking great, the kid’s bedrooms are showing a lot of wear and tear. Over the next couple months I’ll be touching up their rooms – more than likely with the same paint colors I put up 2 years ago (you can see them all here). The boys are begging for a different color…we’ll see. I’ve heard one of them talk about dark red or glow-in-the-dark paint and it’s throwing my neutral palate heart into palpitations. #keepitcalmsam I love the matte paint finish I chose for the interior walls – it’s made wipe downs easy, but there are some stubborn spots and a few nail holes / dings that need repairing. This week I started in Natalie’s room and can’t wait to show you the small decor changes I’ve made.
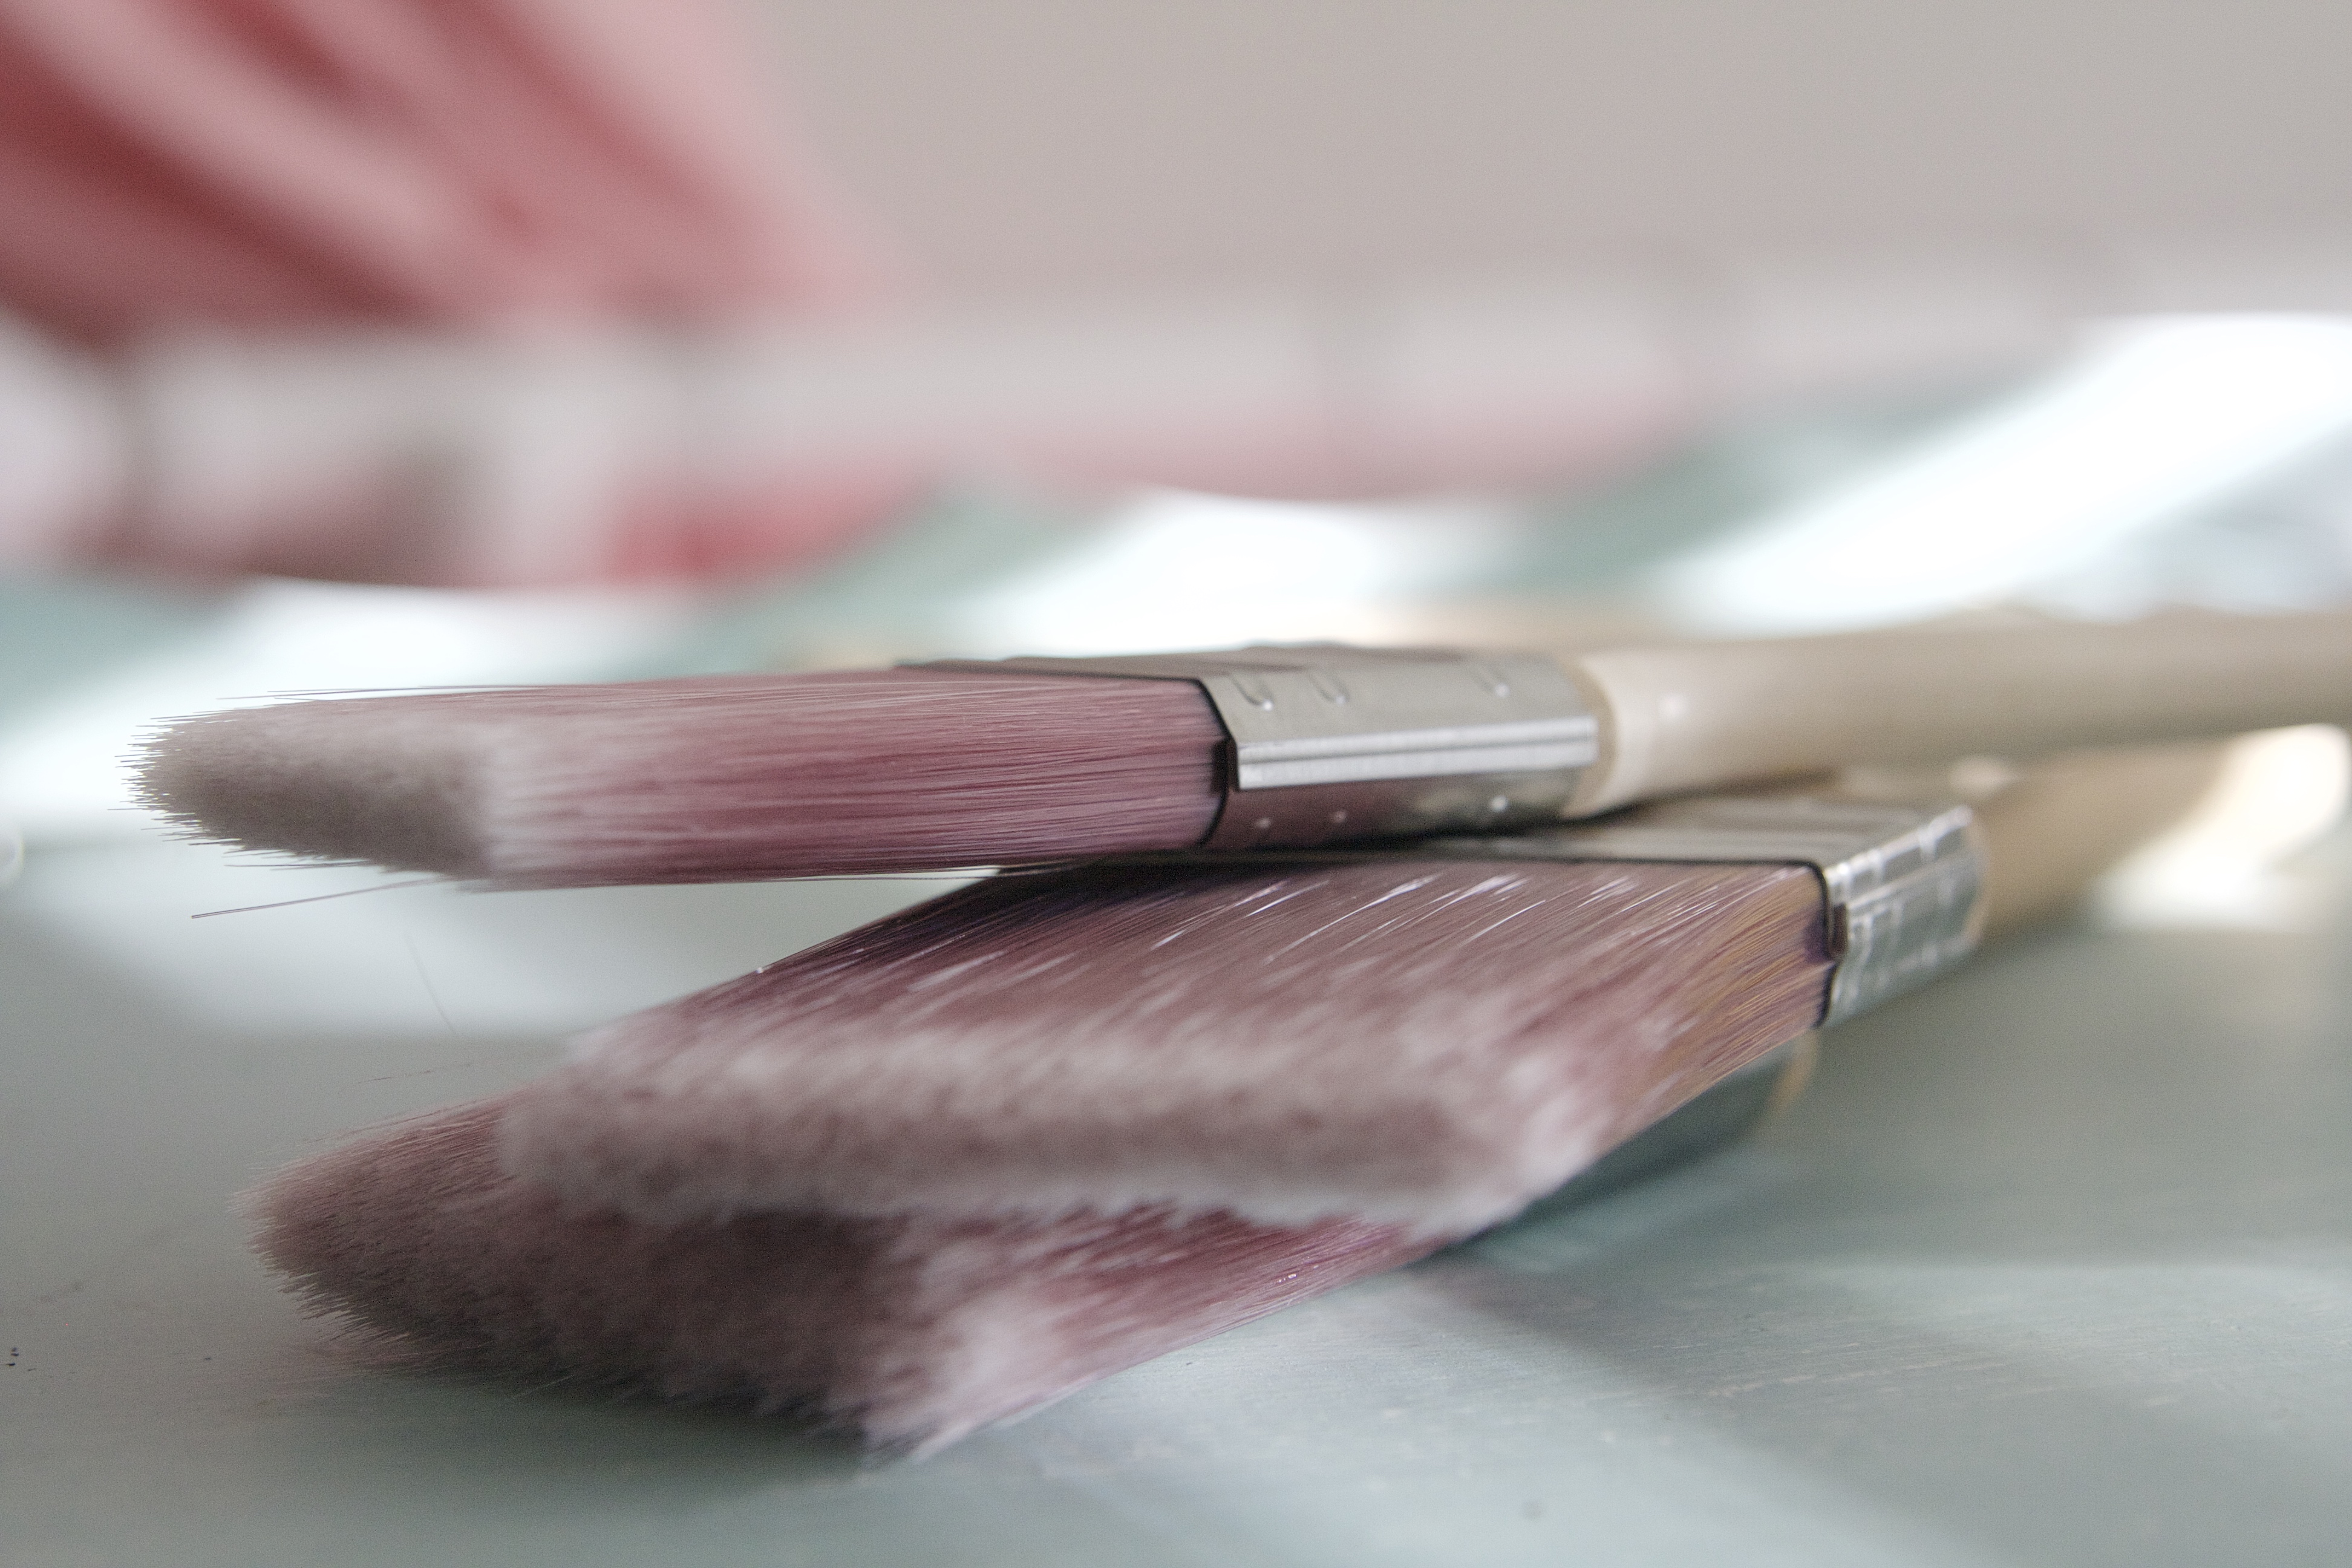
Lately when I purchase tools or products for a project, I find I’ve been more picky. Maybe this change is coming with age or maybe because I’m working in clients homes – not just my own. I find I’m being more practical, yet also investing in products that are high quality and don’t mind paying a little more because it’s going to last longer. In the past I may have grabbed a random brand because it was a good deal…and it worked fine. But I discovered those products were short-lived and found myself back in the hardware store searching the aisles to buy something again. Can any of you relate to this as well? When I purchase a product now, I’m purchasing for long-term. What I’ve learned from doing tons of home projects (for me and clients) is that quality does matter. And when it comes to painting, your brushes really matter. They can make or break the end result. And if you purchase correctly, it can cut your project time significantly…and save you money because you aren’t purchasing brushes again the next time you paint.
Don’t get me wrong, I love to paint…but I would much rather get to the fun organization part of the job. In case you were wondering (someone will ask!), the only brushes I use are Purdy brand. I’ll show you their quality below, but first I want to show you what I was dealing with in Natalie’s room.
She has the smallest room in the house so it’s been a challenge for me to find a good spot for her bed and dresser, while also giving her some floor space to play. You guys know I’m a huge fan of kids having floor space in the areas they live and play in. When we first moved in, her bed was here…
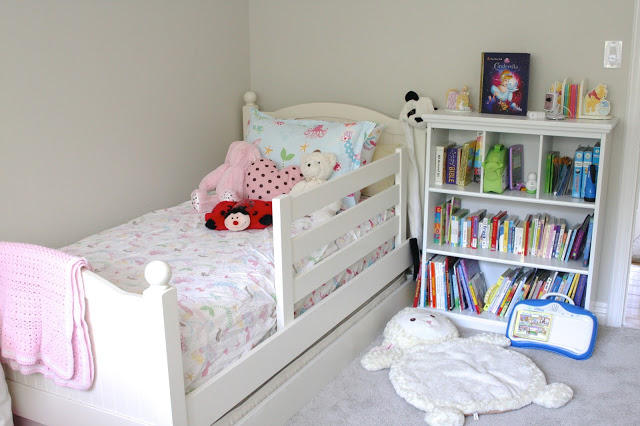
Then I moved it closer to the window…

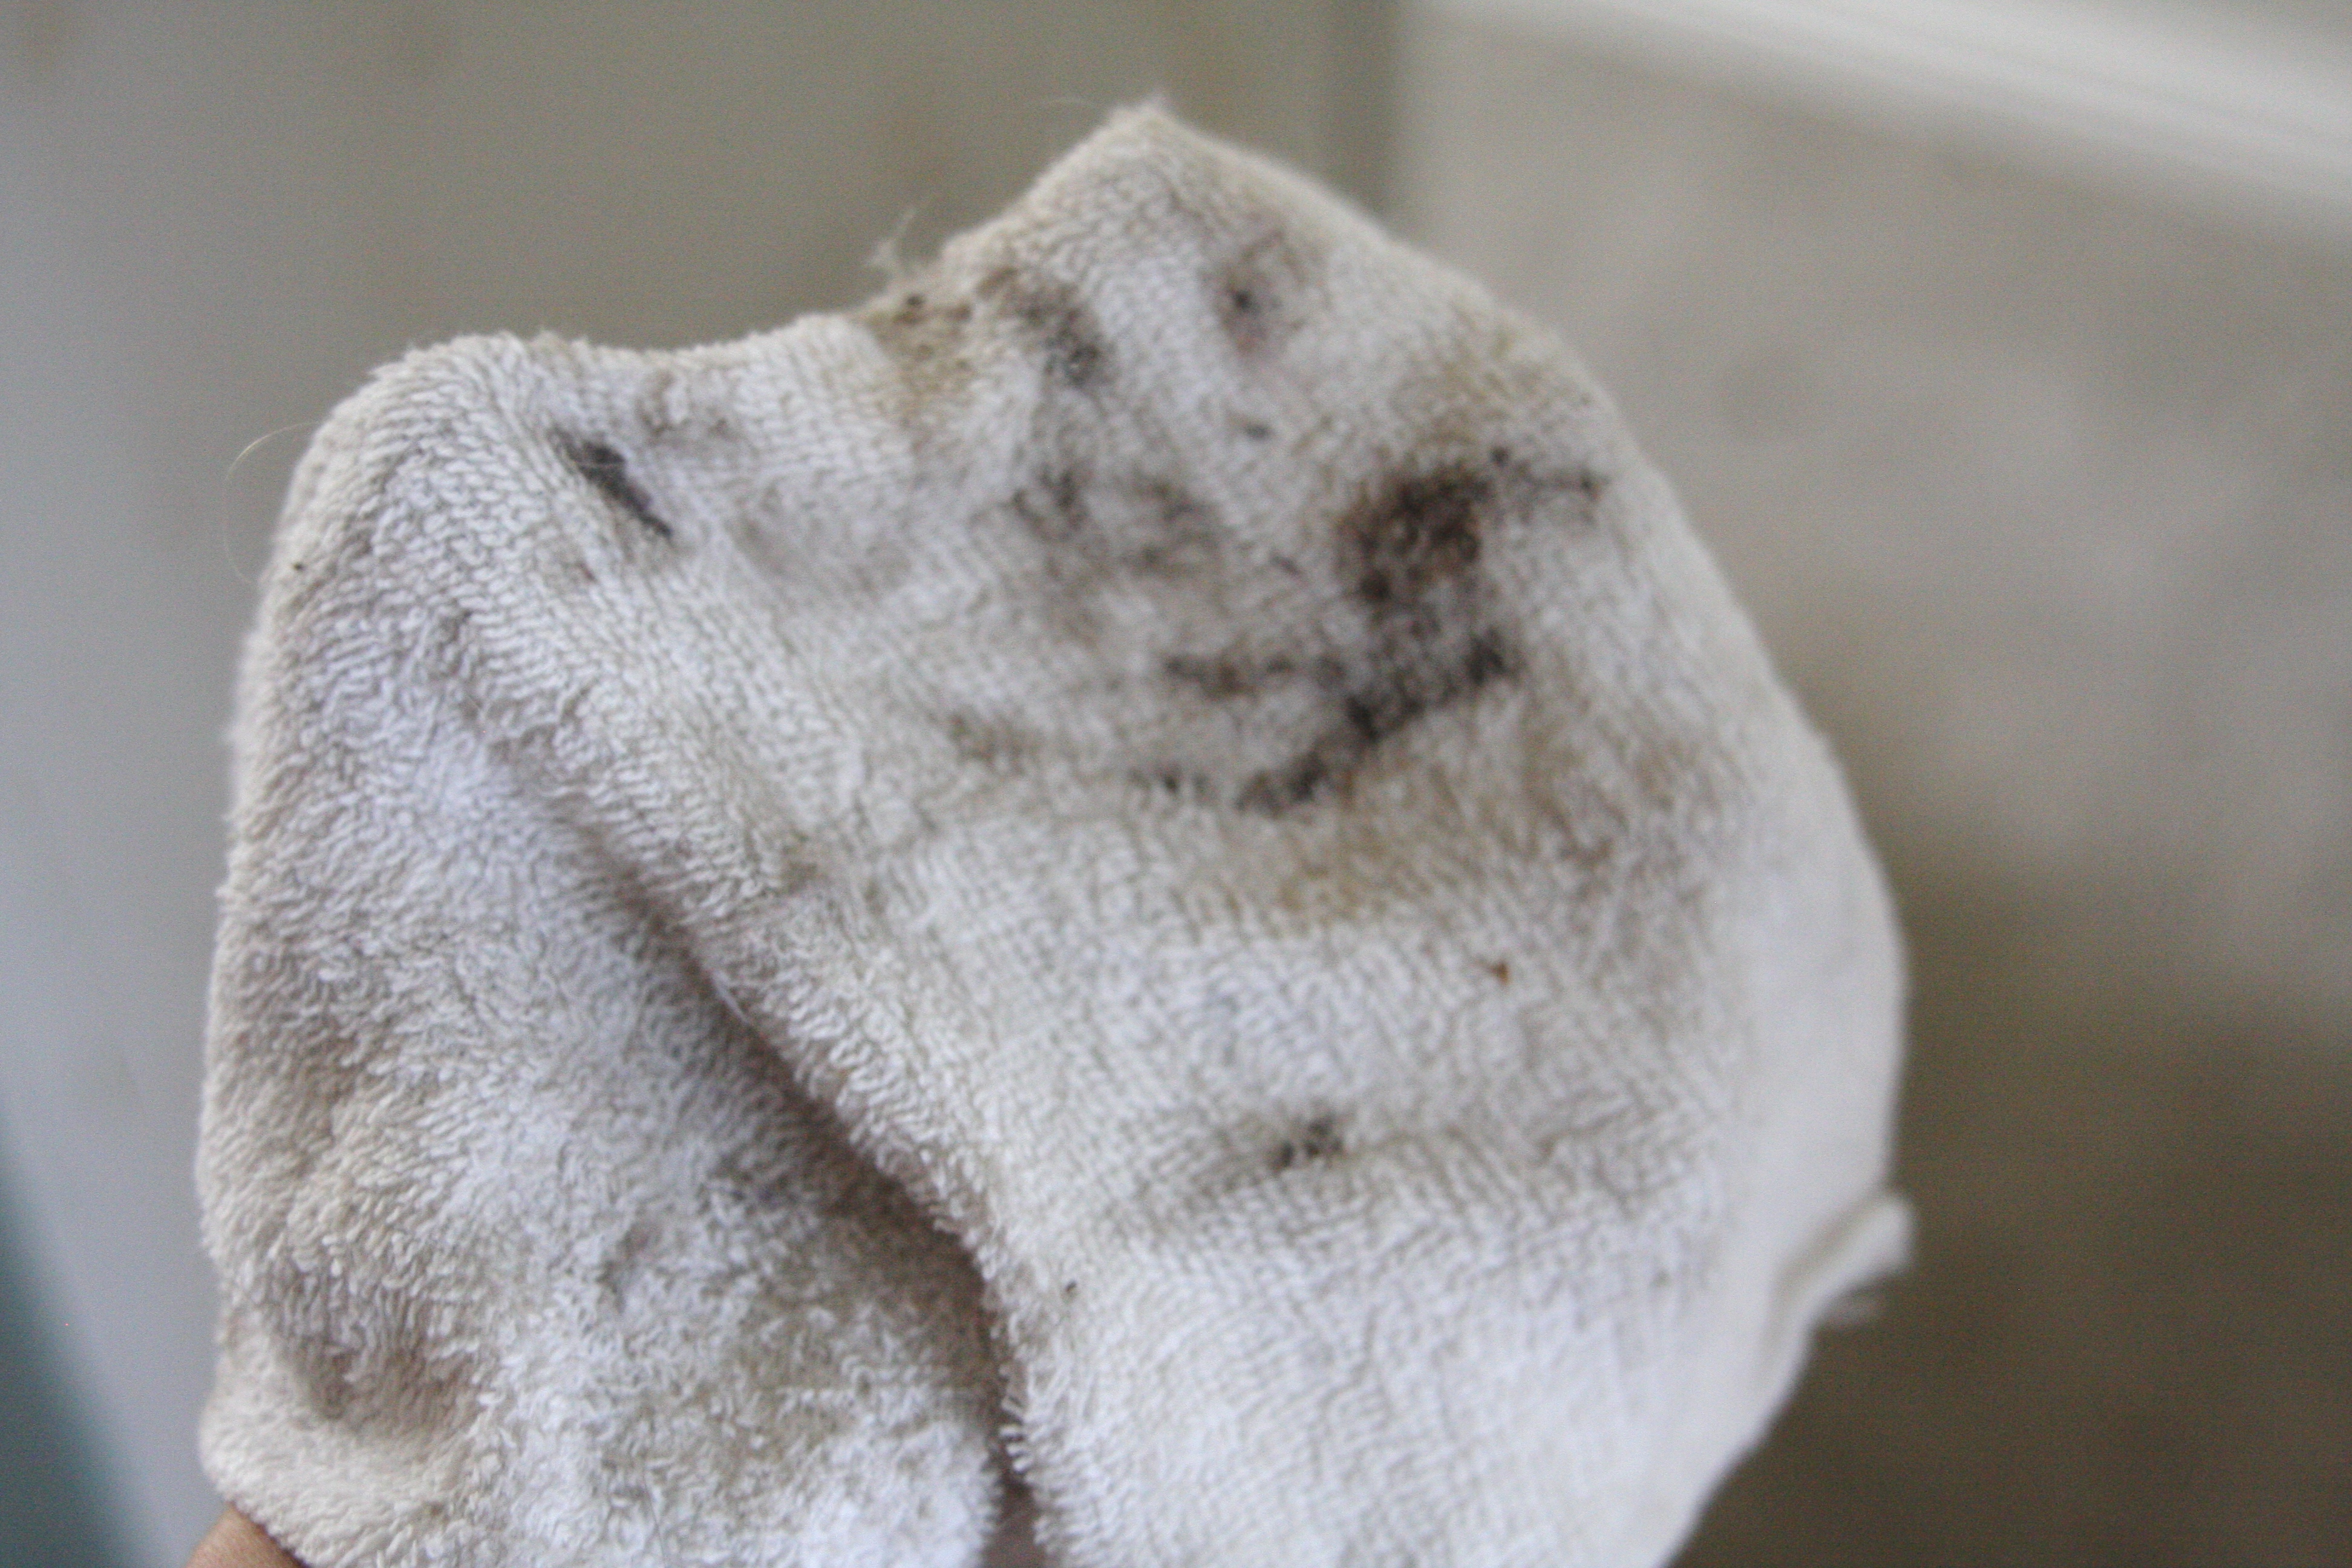
The issue in both cases was that it was difficult to make her bed, things would fall behind the bed never to be found again, it wasn’t easy to get back there for cleaning base boards or vacuuming…and most importantly, the walls were really showing the wear and tear because she would roll around, play on her bed or (let’s be honest – she’s 5 and has tantrums) lay on her bed and kick the wall. No matter how much I cleaned the wall, marks returned each week…

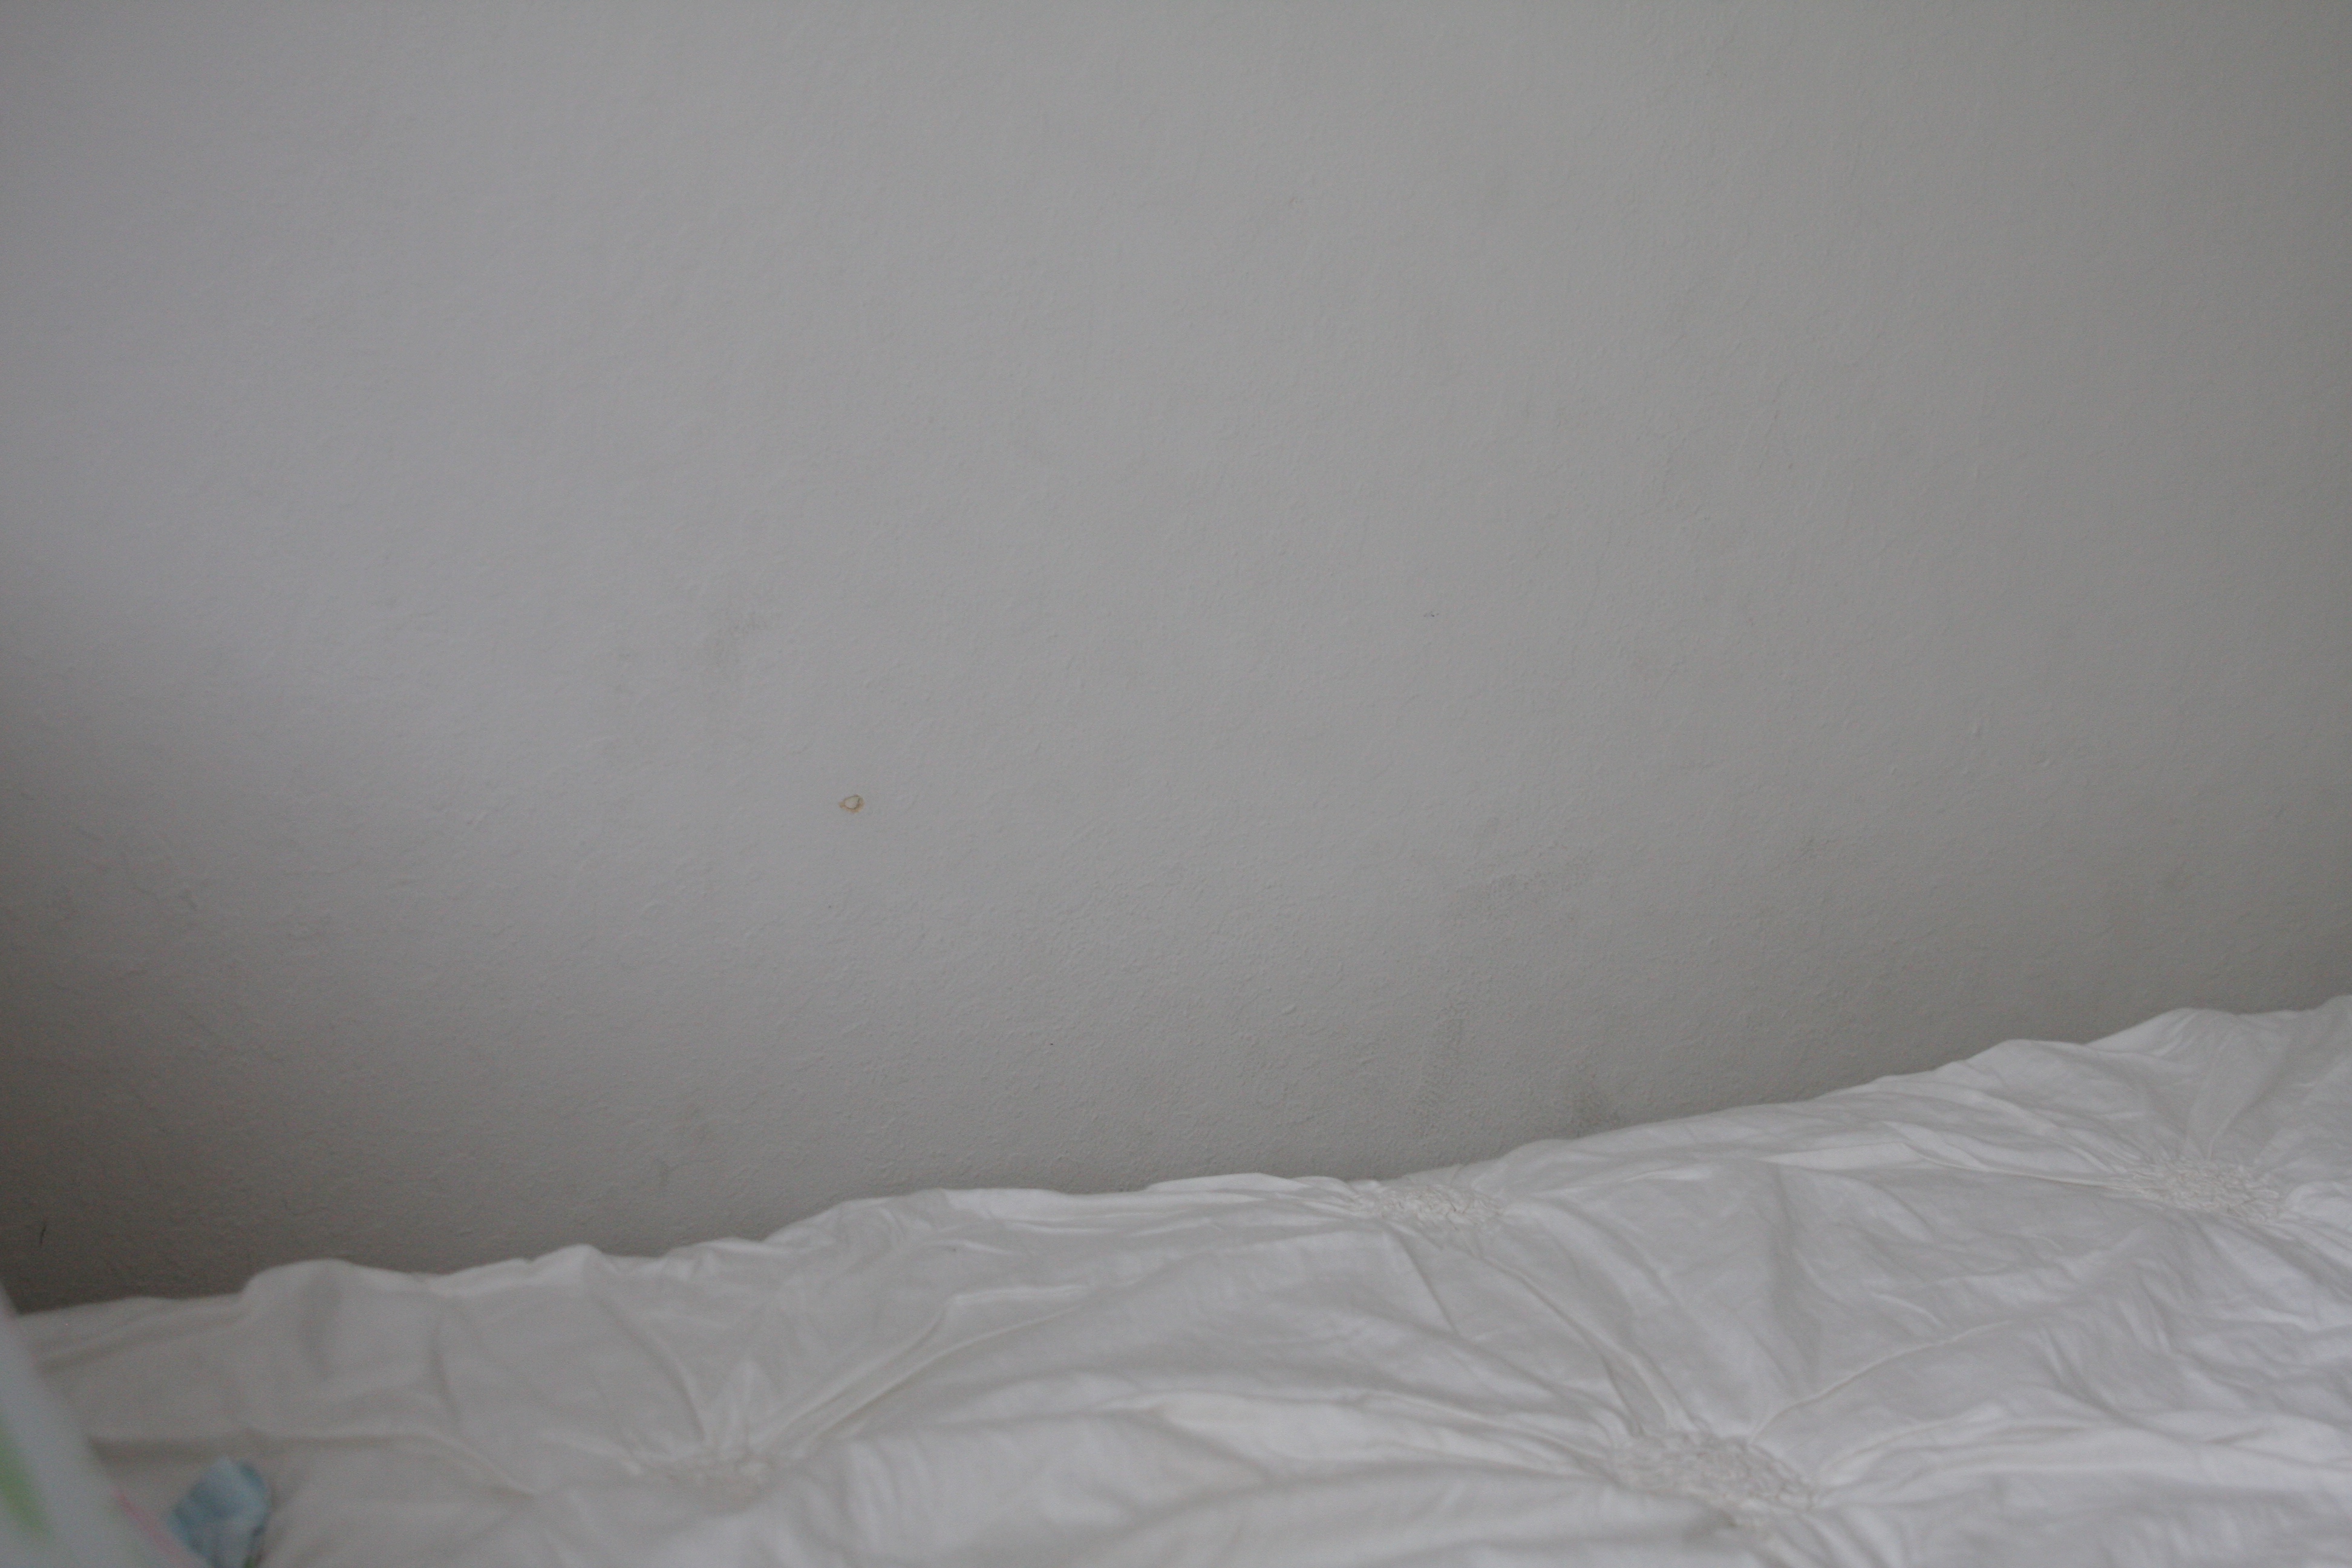
There were some nail holes to patch up as well on the other side of her room. And yes, she did put stickers on the wall. Again, she’s 5 and this is what little girls do – decorate!…

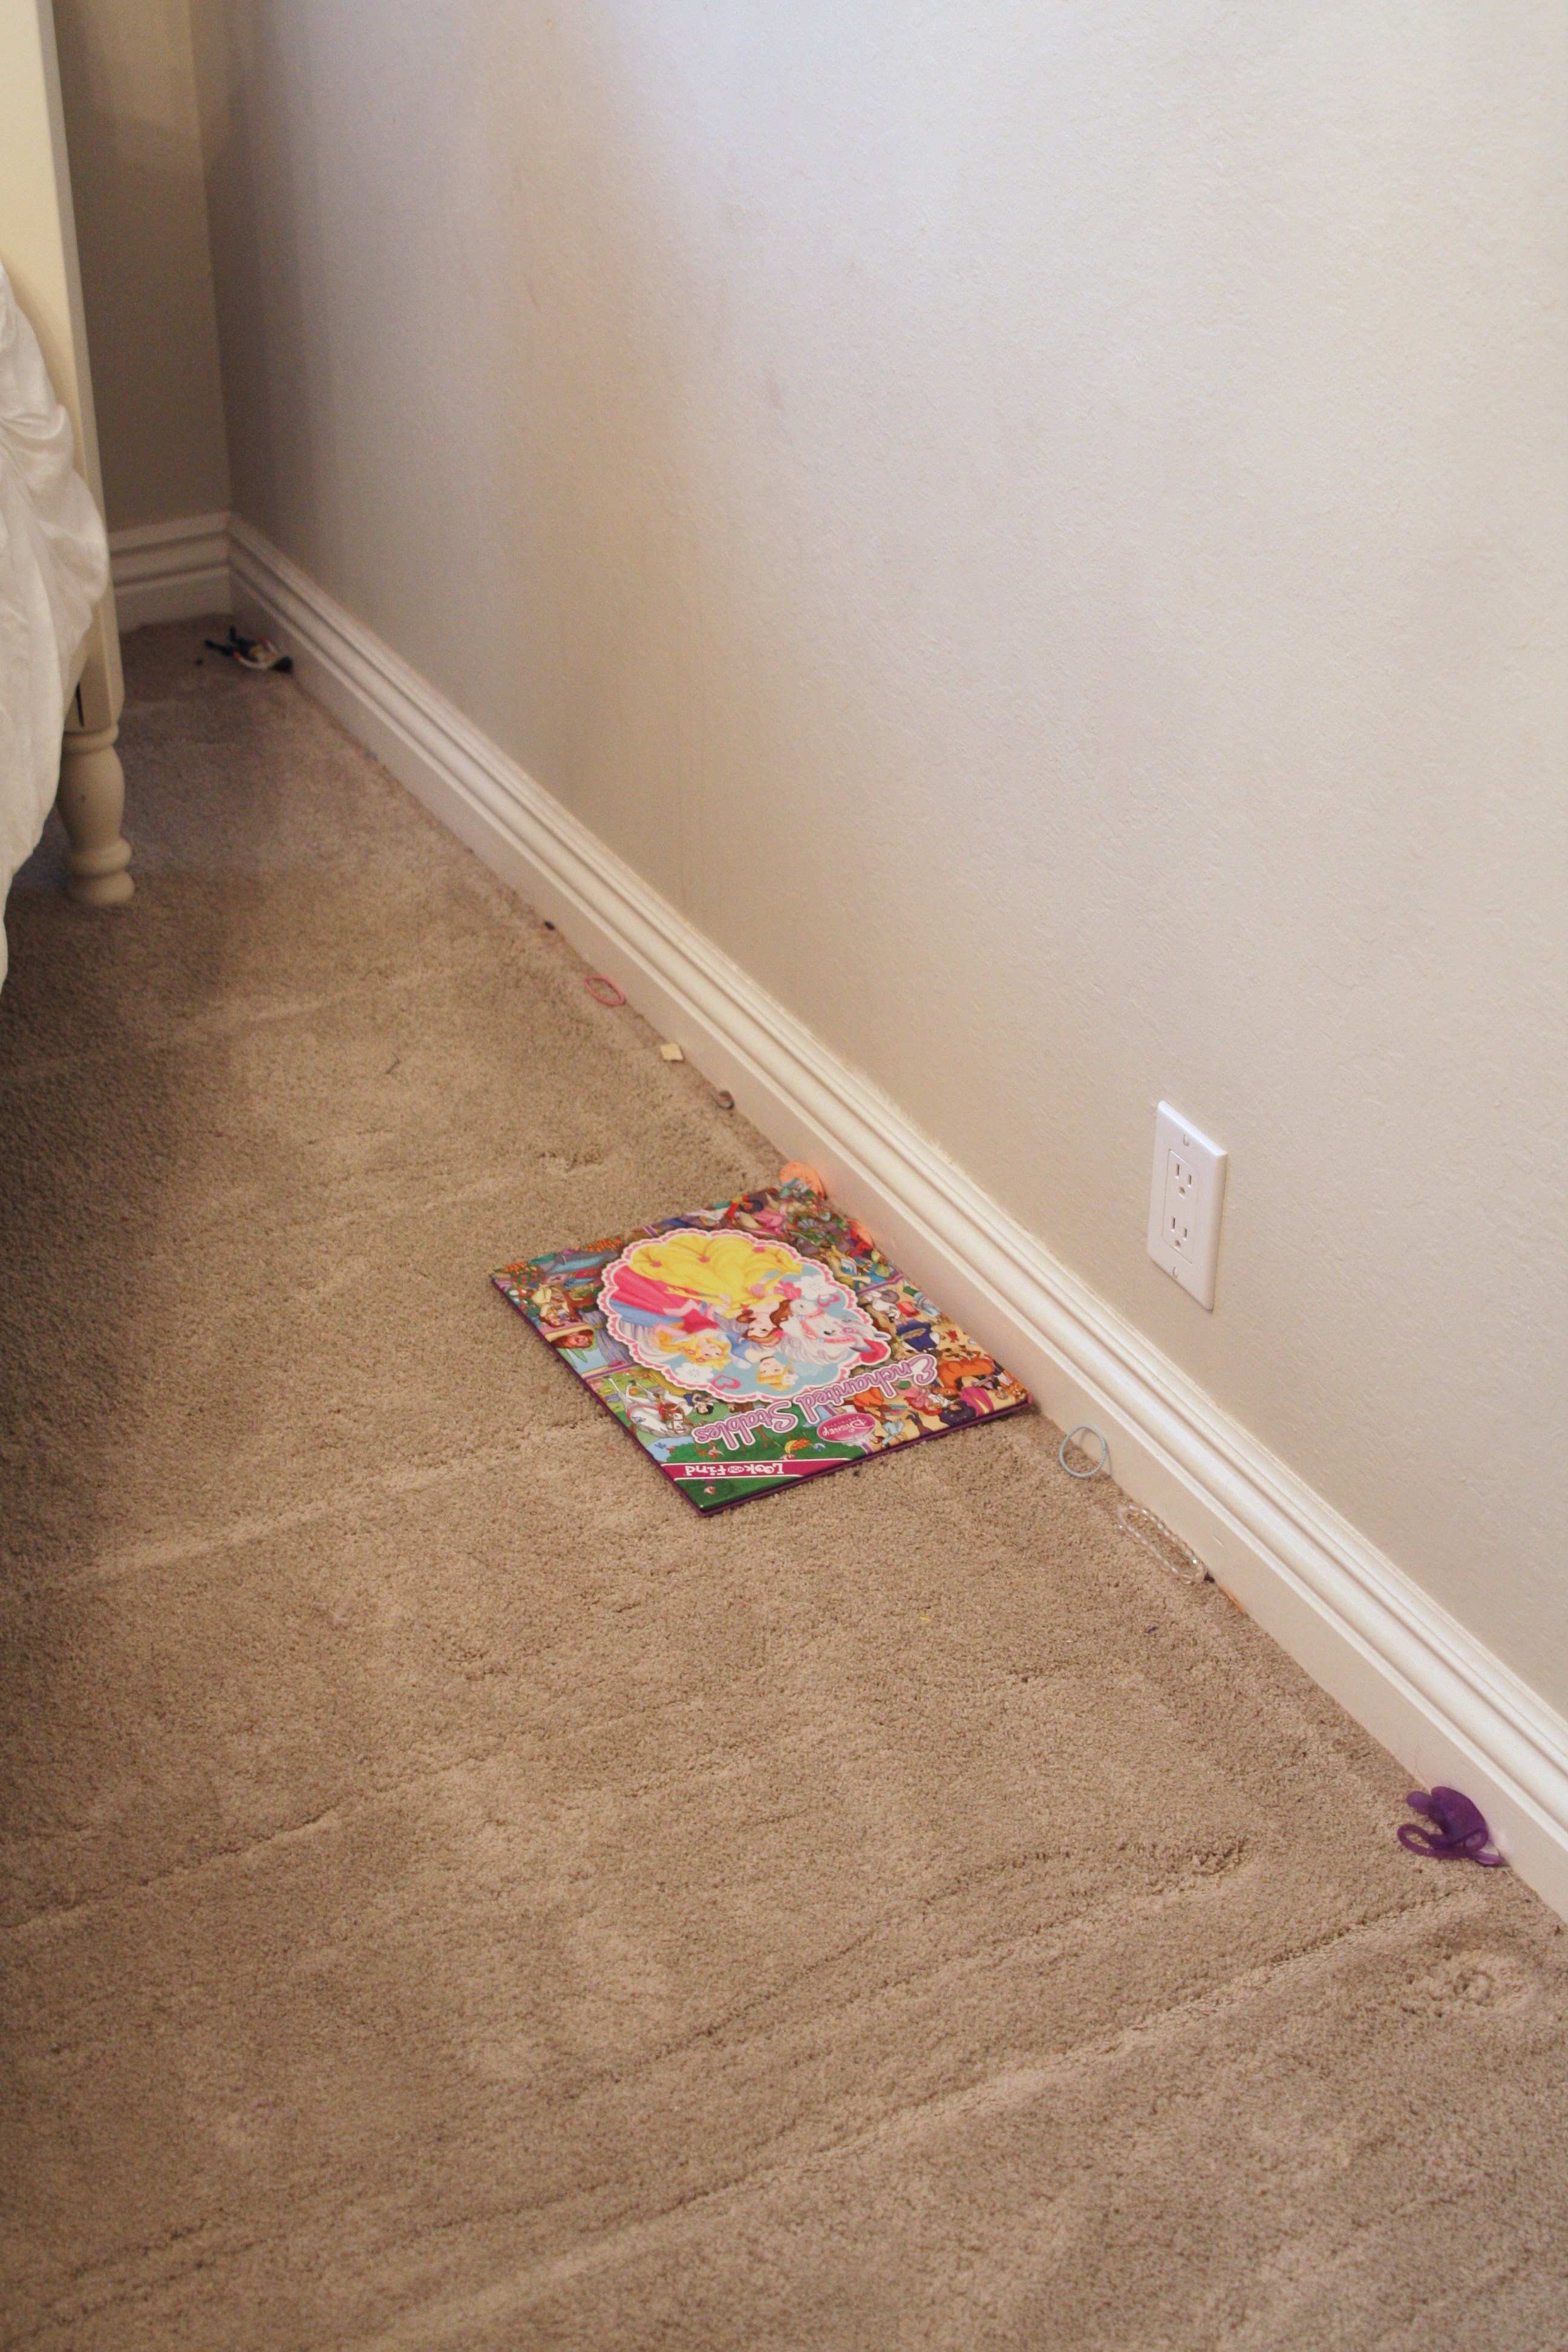
I played around with the furniture configuration, set up a plan and got to action cleaning and painting. Check out the treasures beside her bed…
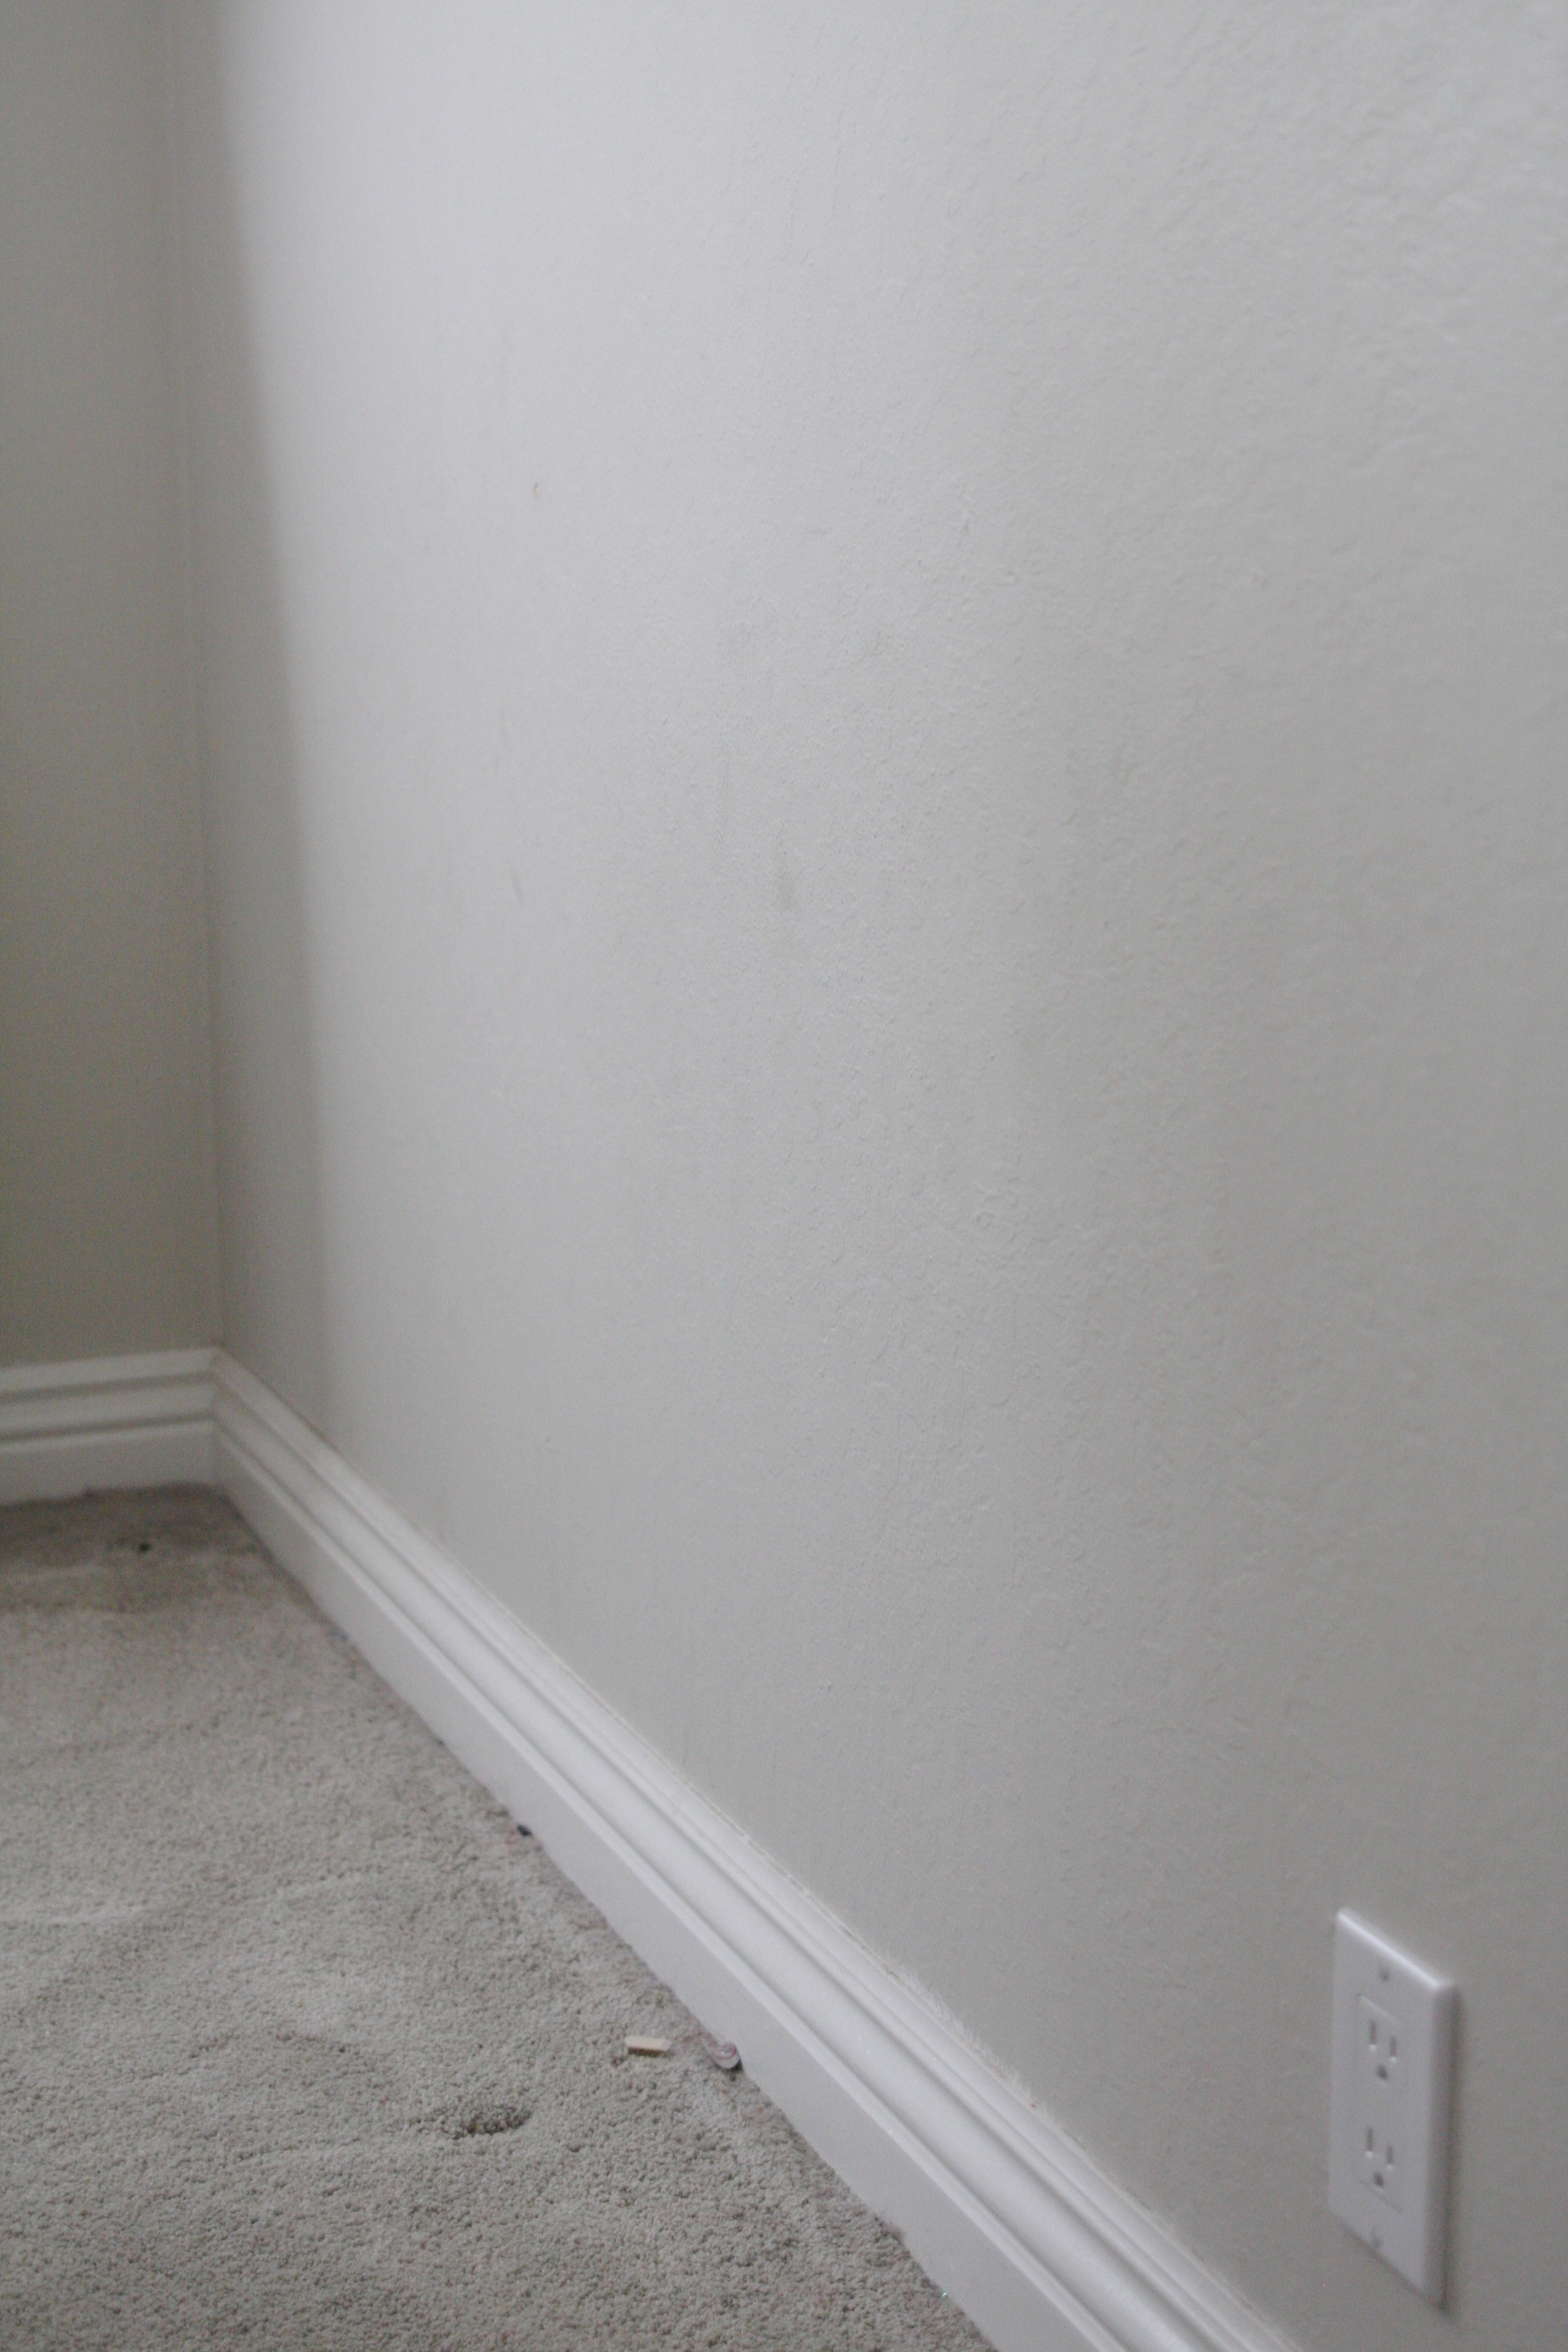
The base boards needed some a lot of love…
And after patching the holes, I could finally start painting. I miss painting and this made me so happy. Even though it happened under the cloak of darkness one night this week. Still – was in my happy place!…
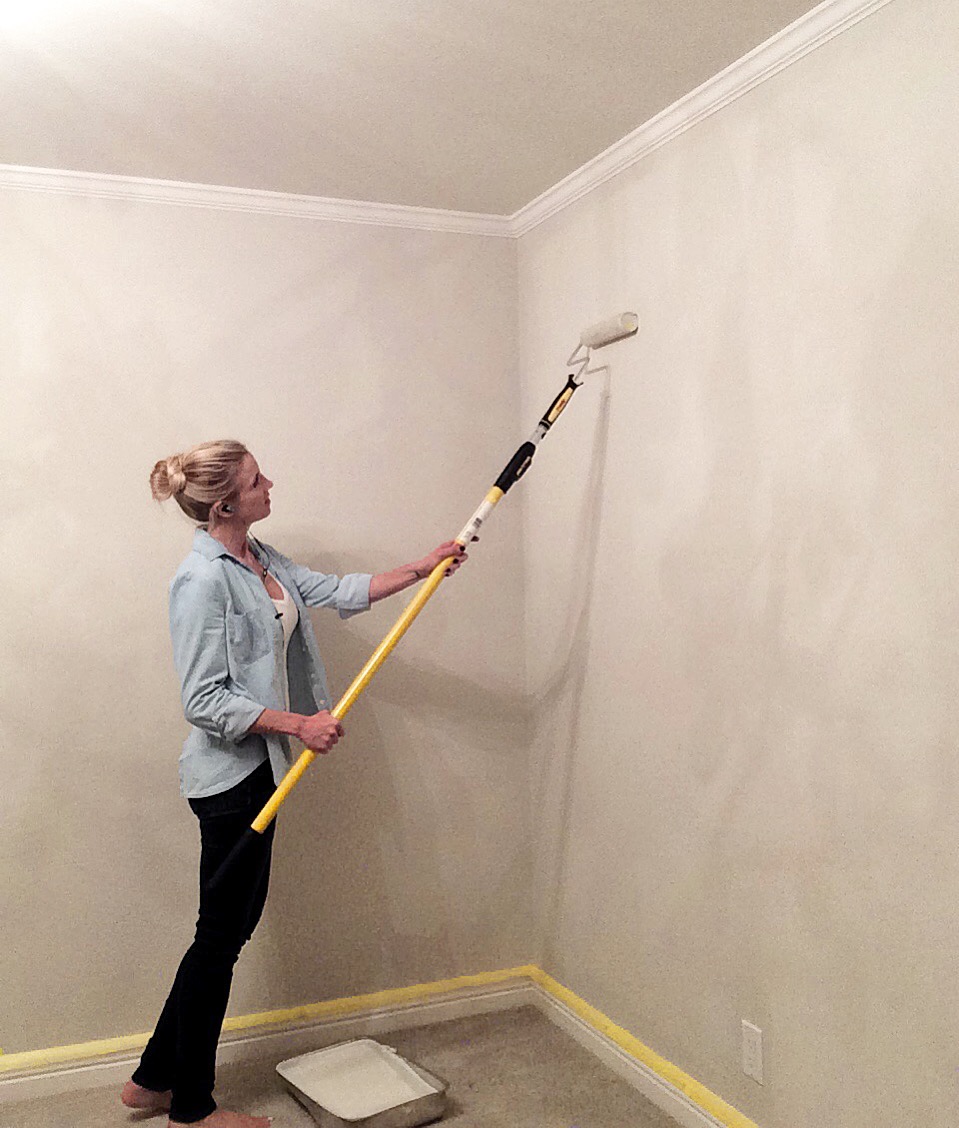
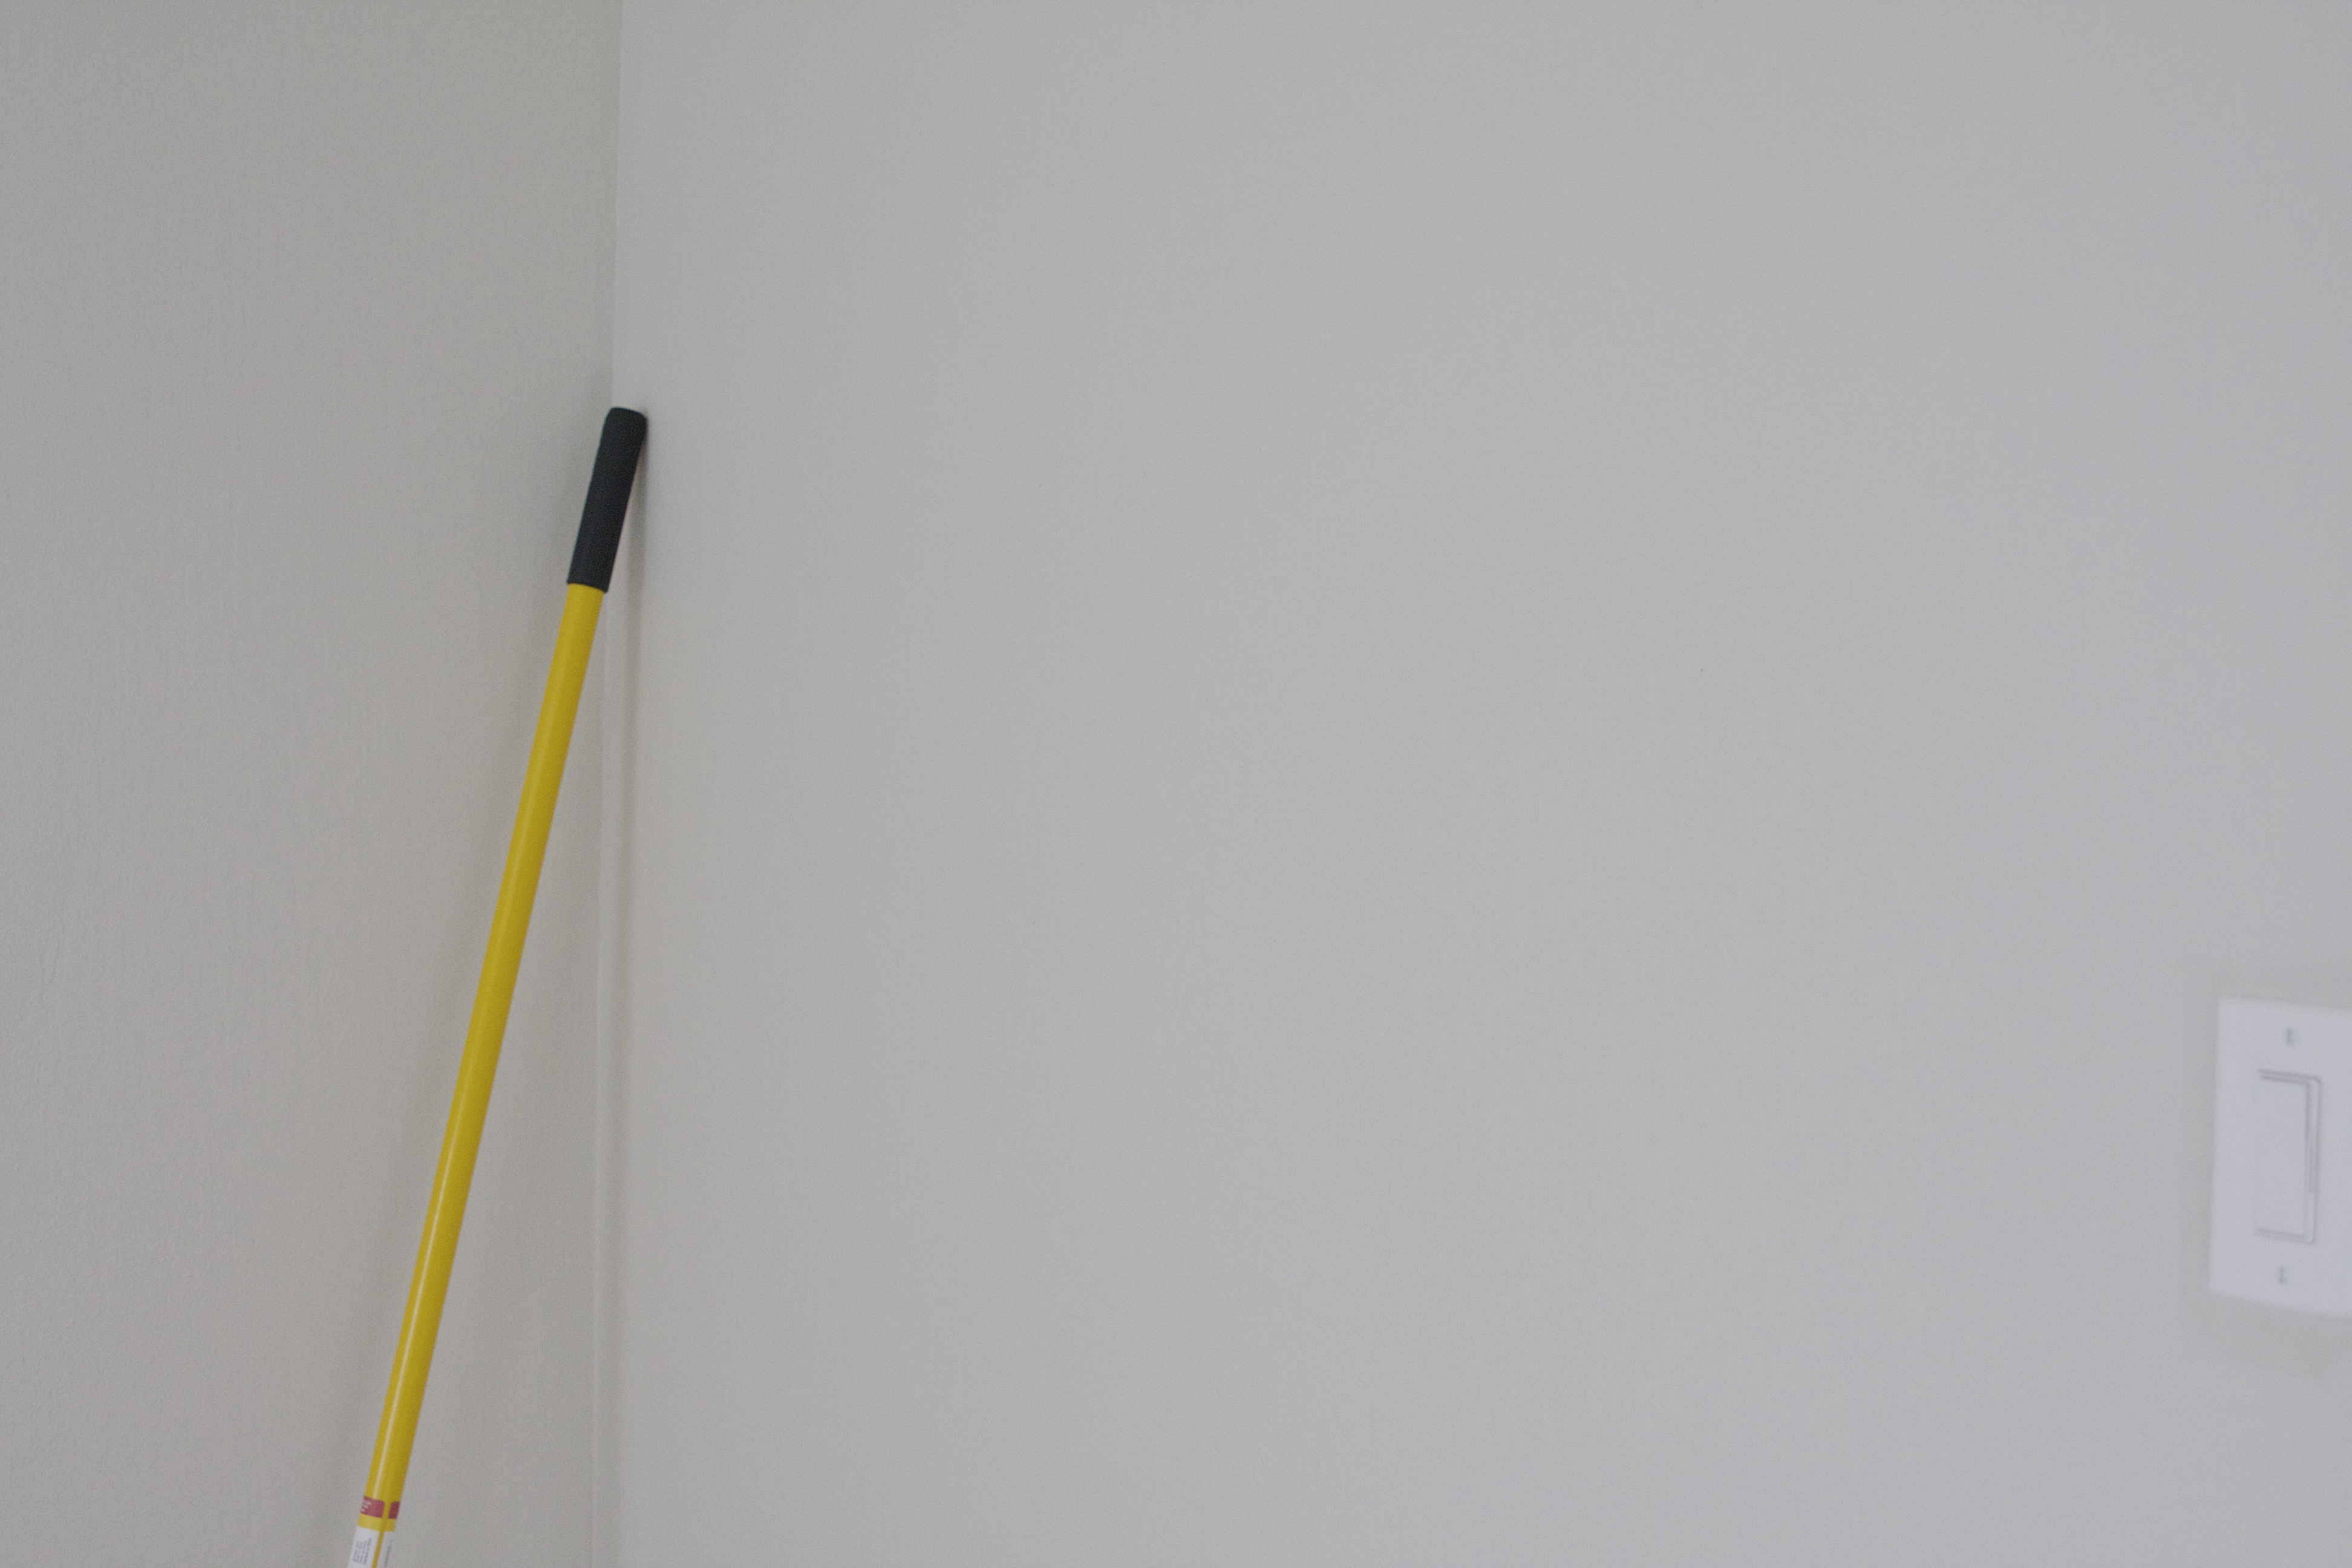
Regarding my brushes, you’ll notice I’m using an extension pole. This is critical for your back! Your end result should only be a happy face…not a doctor appointment for a thrown out back. Purdy makes a great extension pole for reaching high and low, keeping paint application smooth and even, and protecting your back. It’s professional grade and will last you forever…
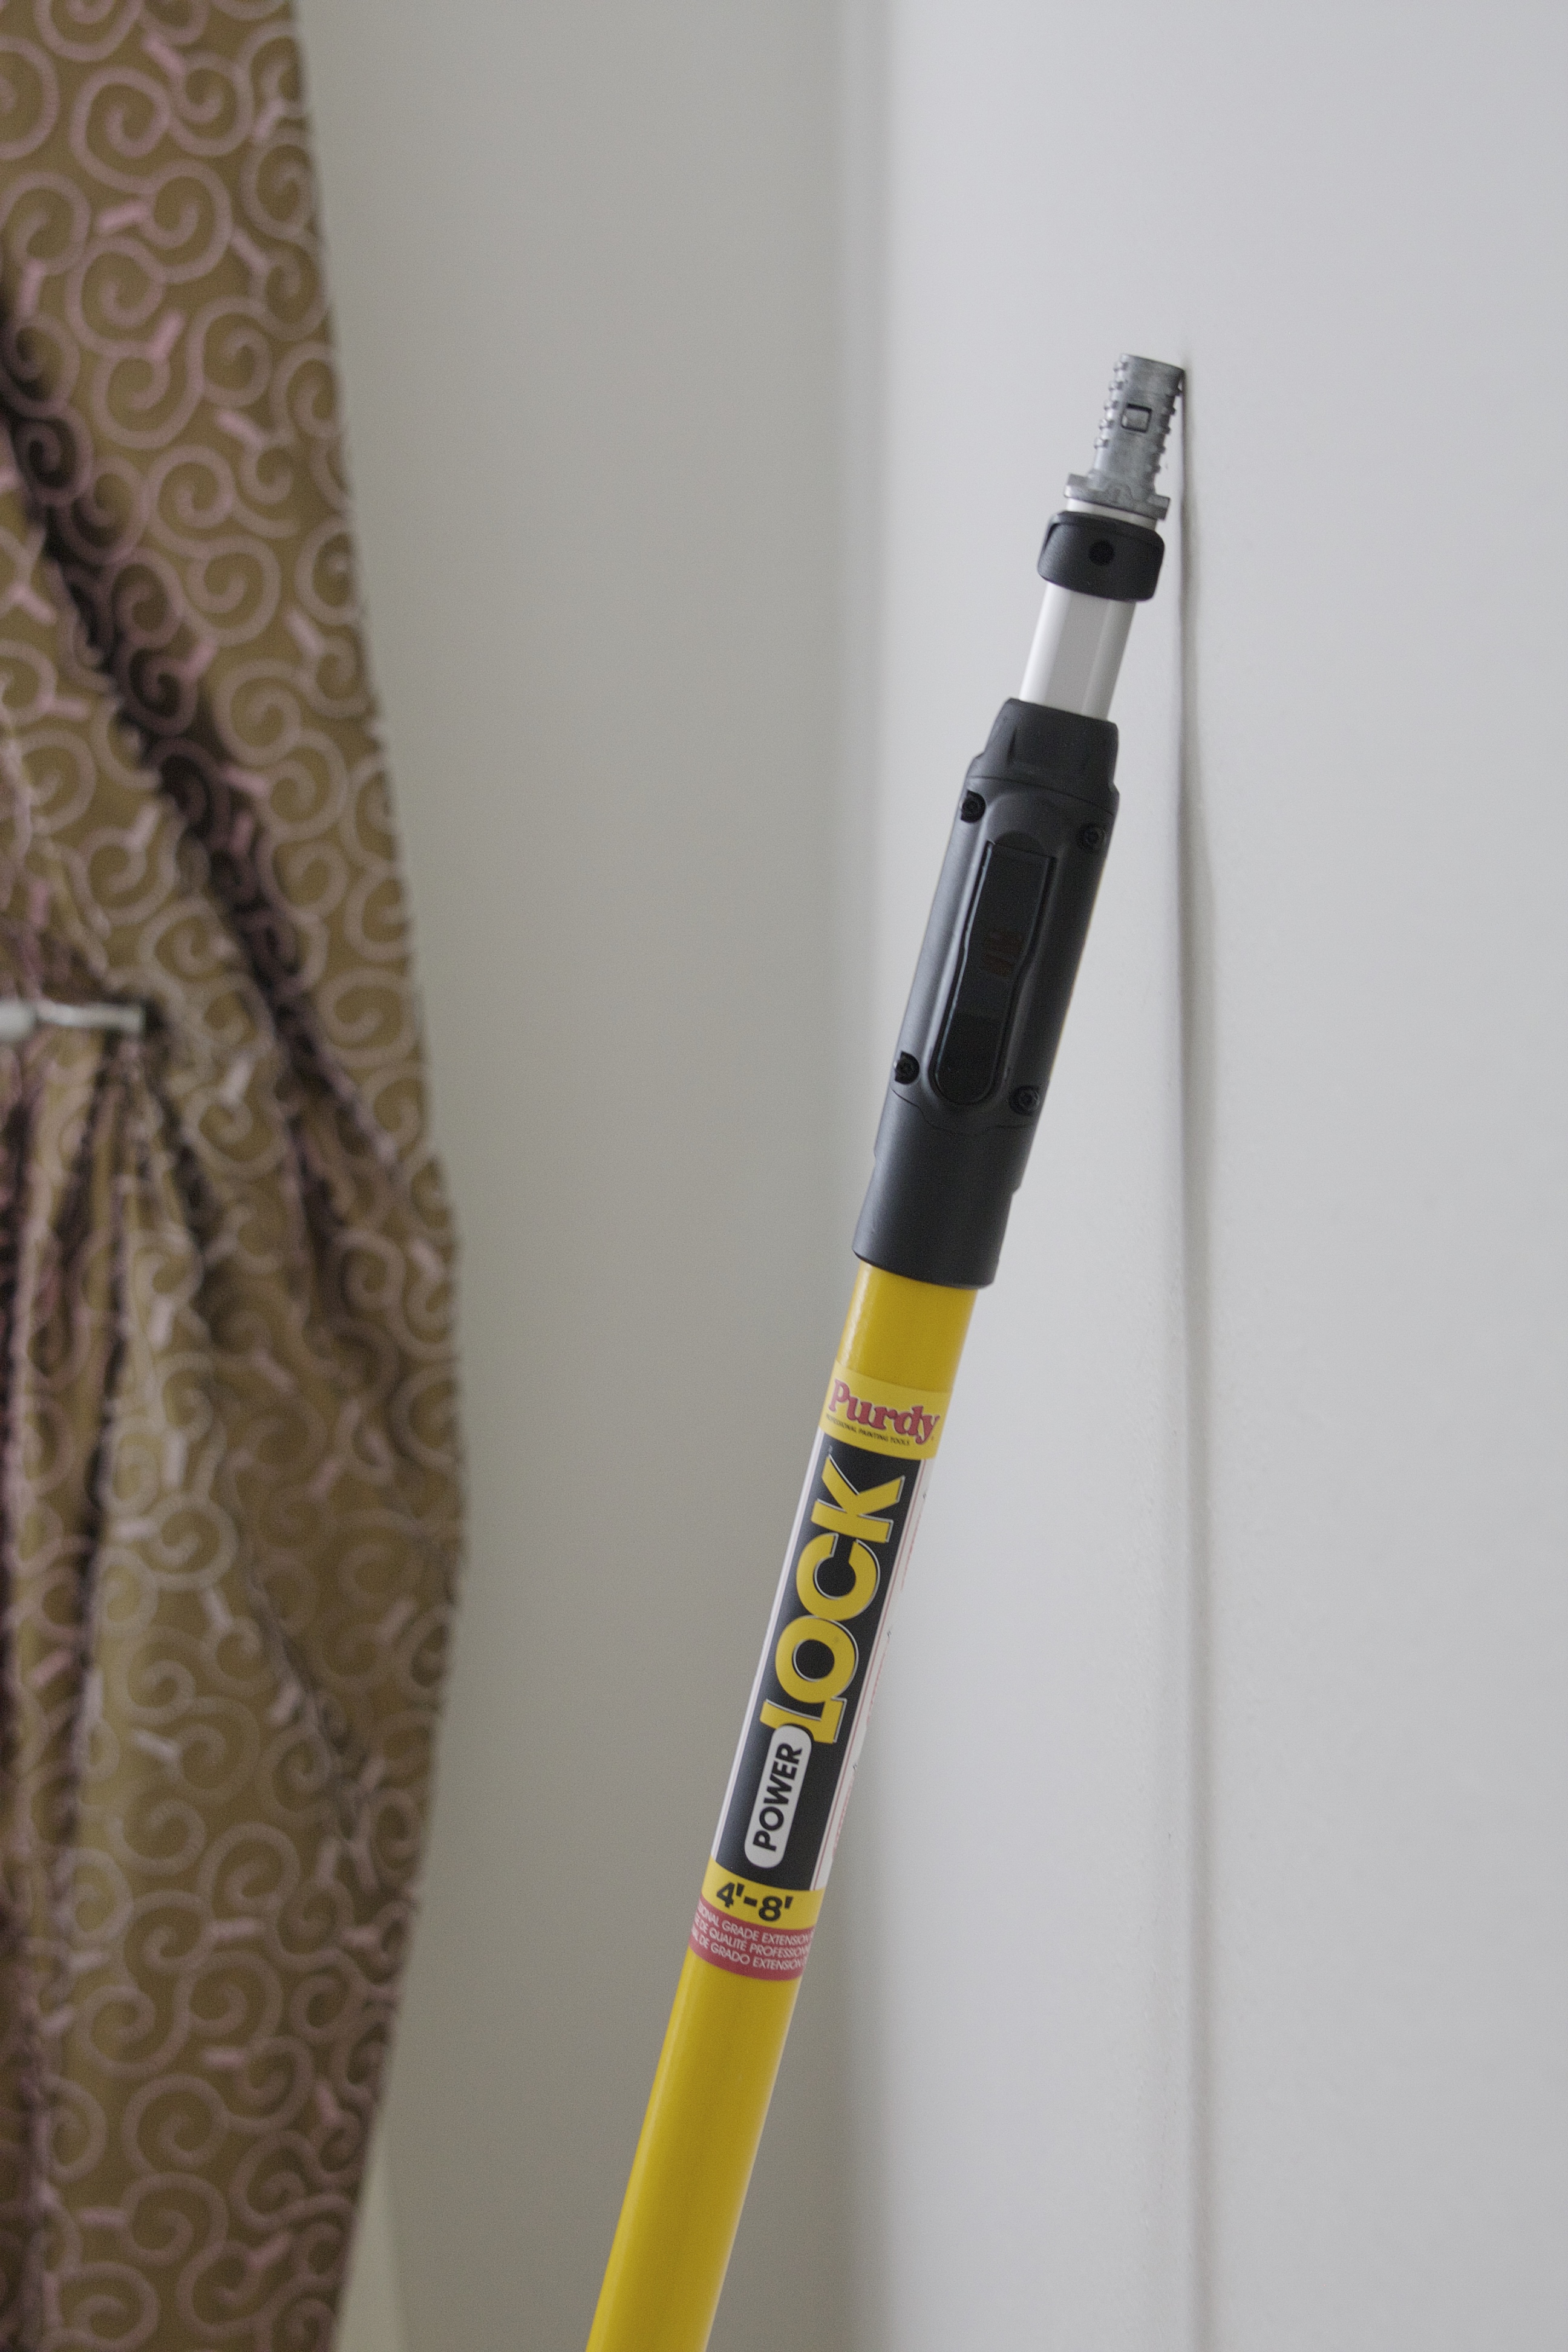
I added their roller that locks securely in place…

Personally, when I paint, I like to roll out the open wall surface first and then cut in after that. Some people prefer doing the opposite, and that’s fine too. You can barely tell because this paint color is pretty light, but I first rolled on my color, leaving outlet covers on and everything! See the unfinished space around the light switch plate?…
And thanks to Purdy brushes and I can cut in the remaining areas easily. Purdy brushes are incredible!…

Of course, when Natalie saw paint supplies and brushes she immediately pretended to be Rapunzel in Tangled…running around the house singing, painting fake flowers on the walls. Ha!
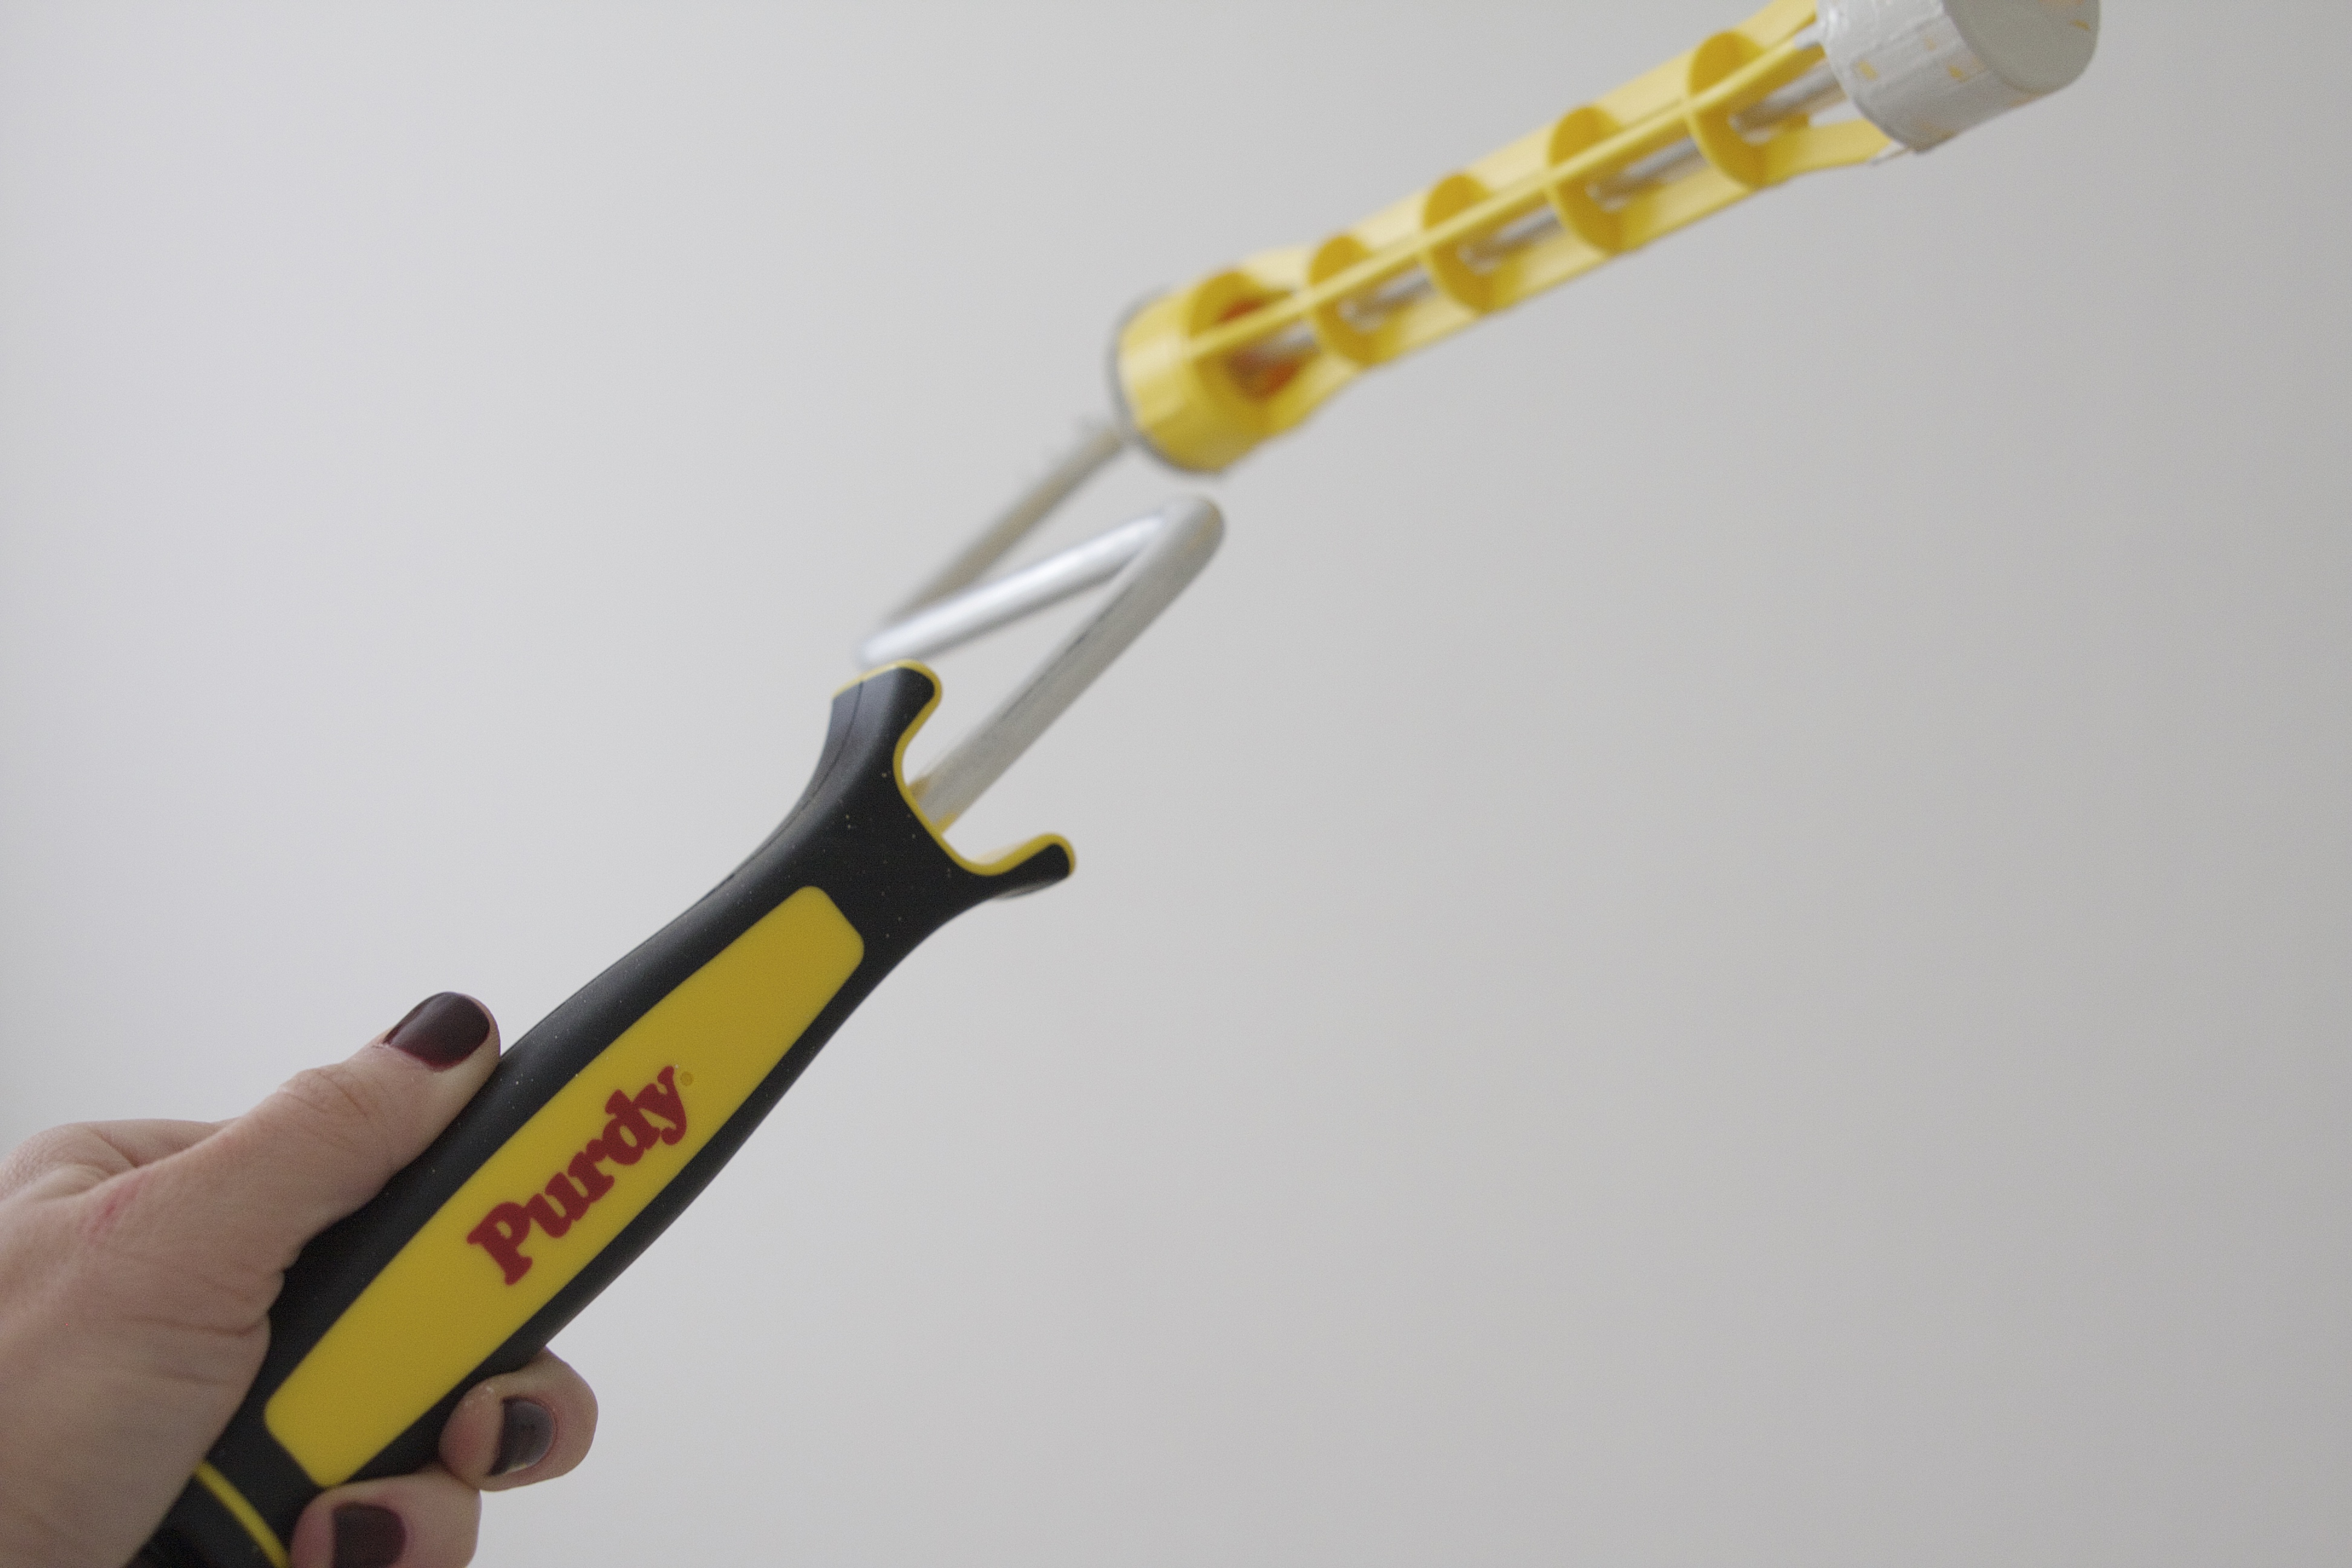
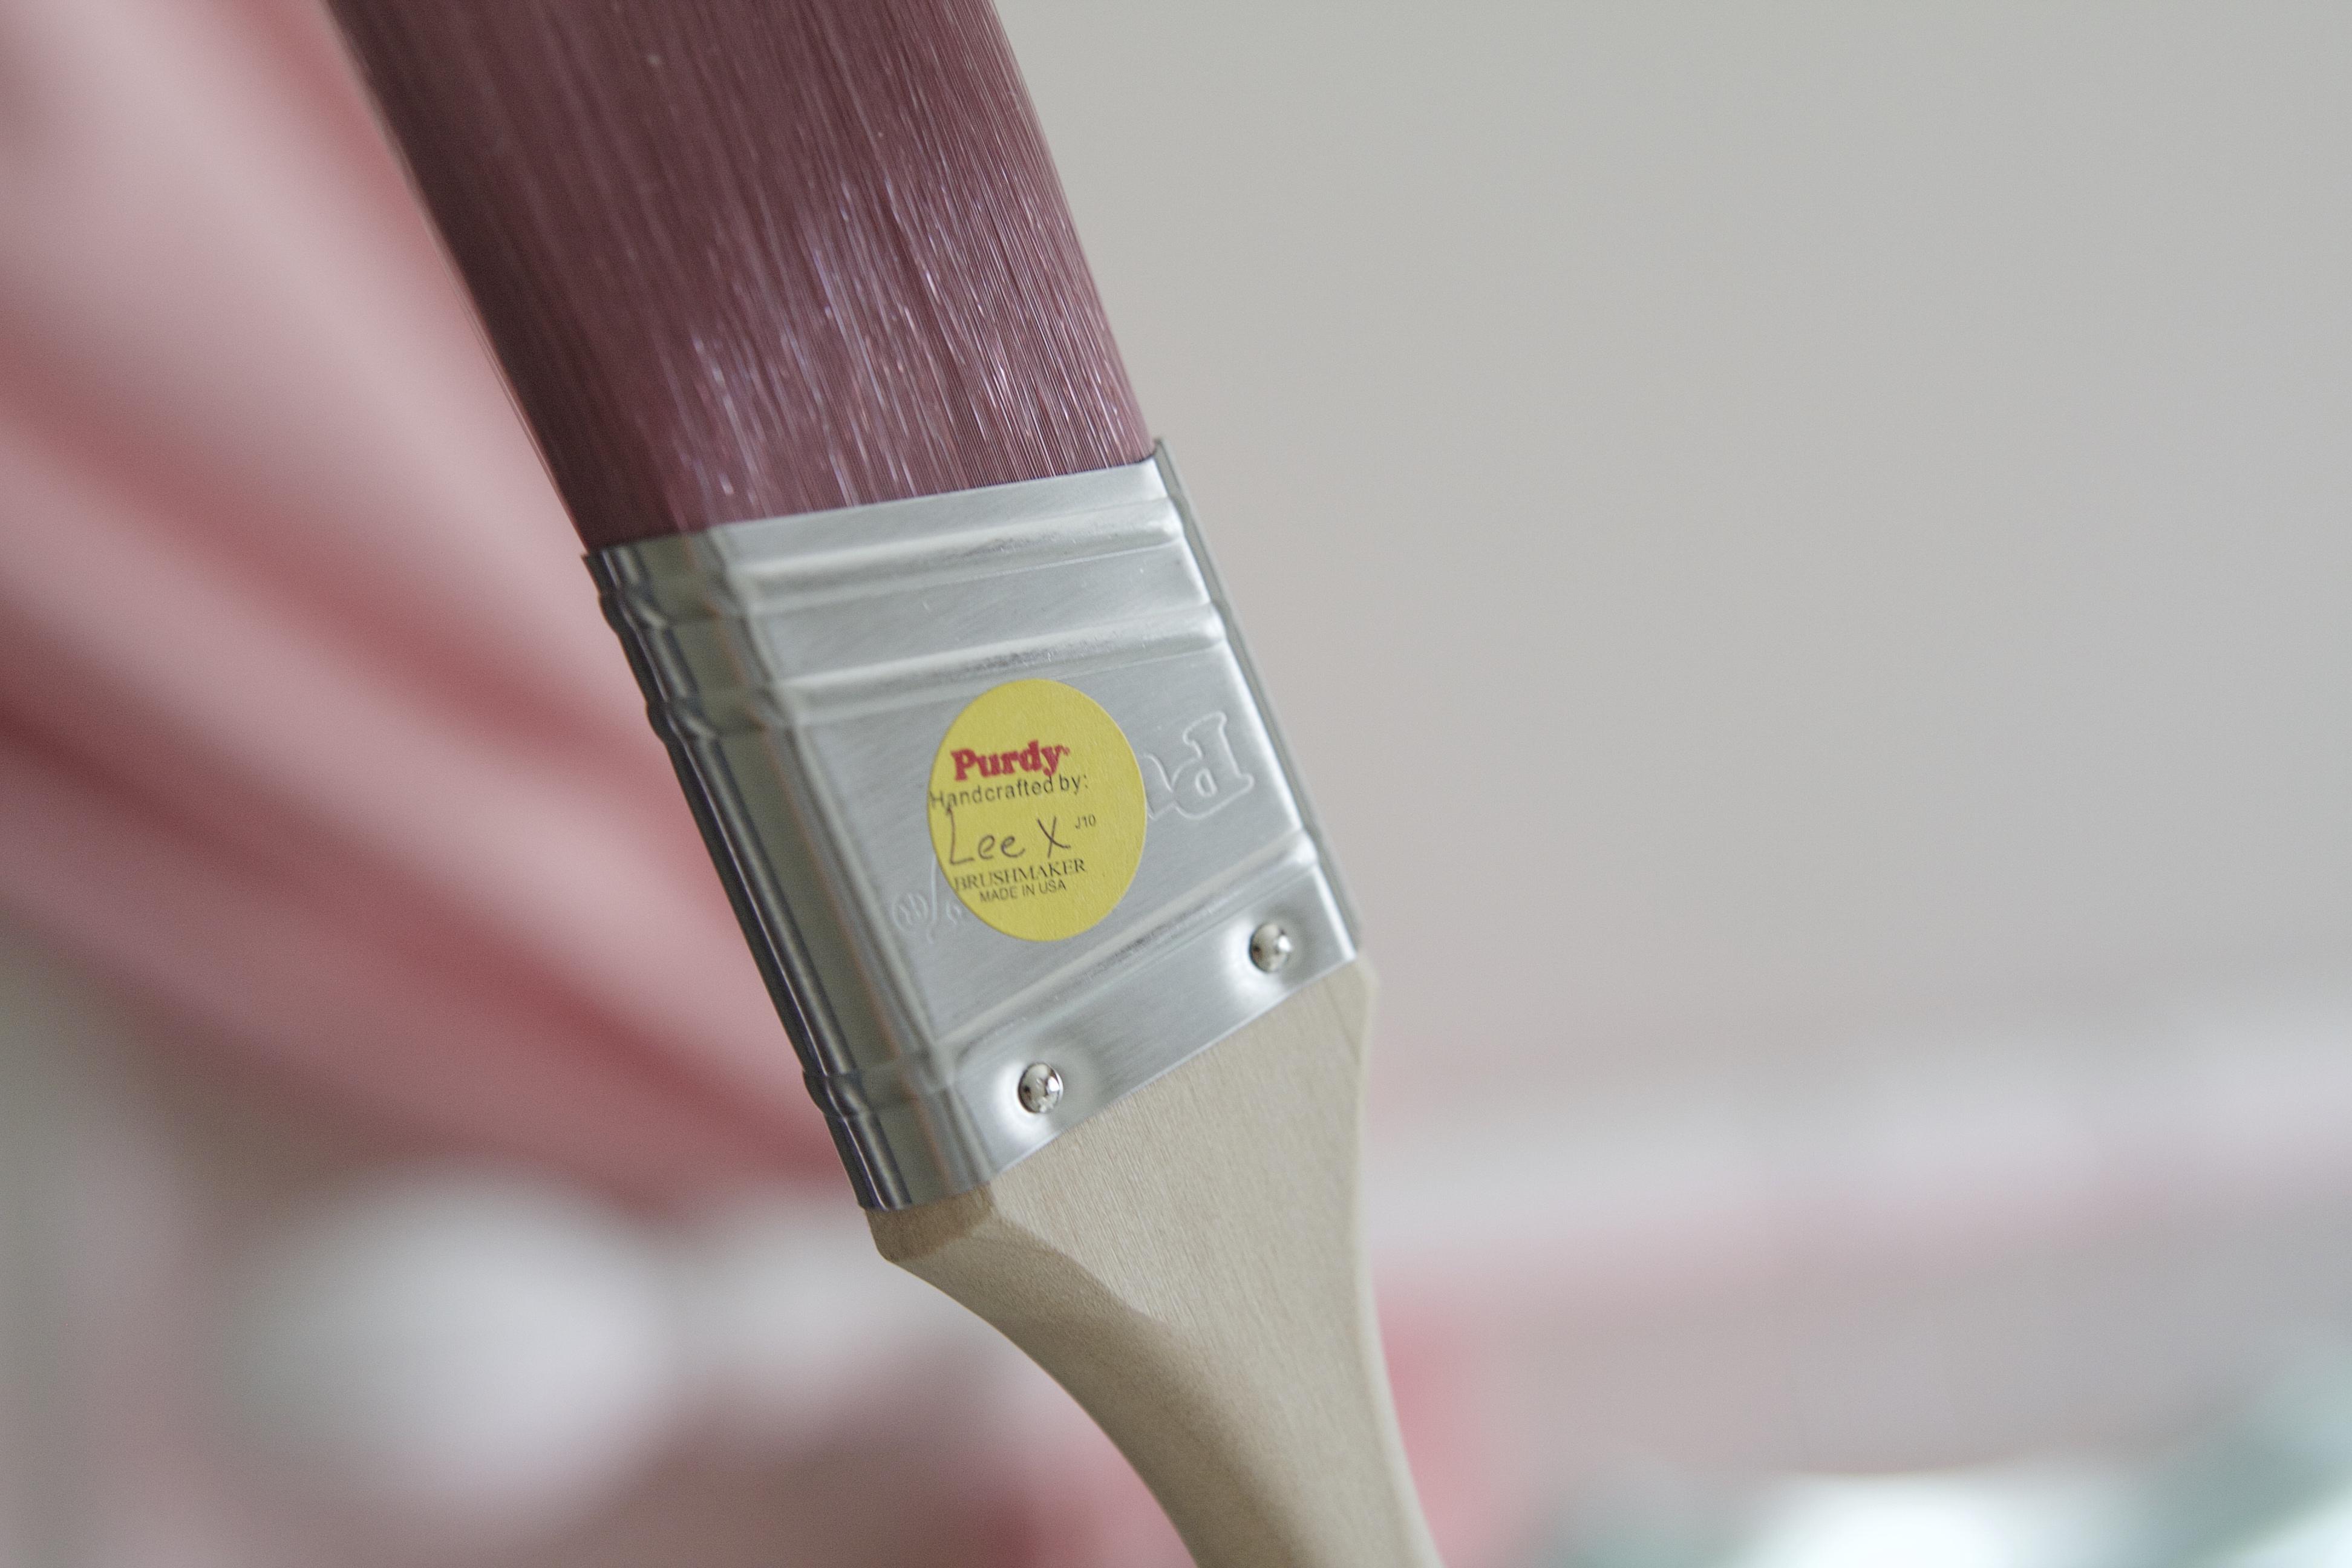
These are my favorite because of their quality…
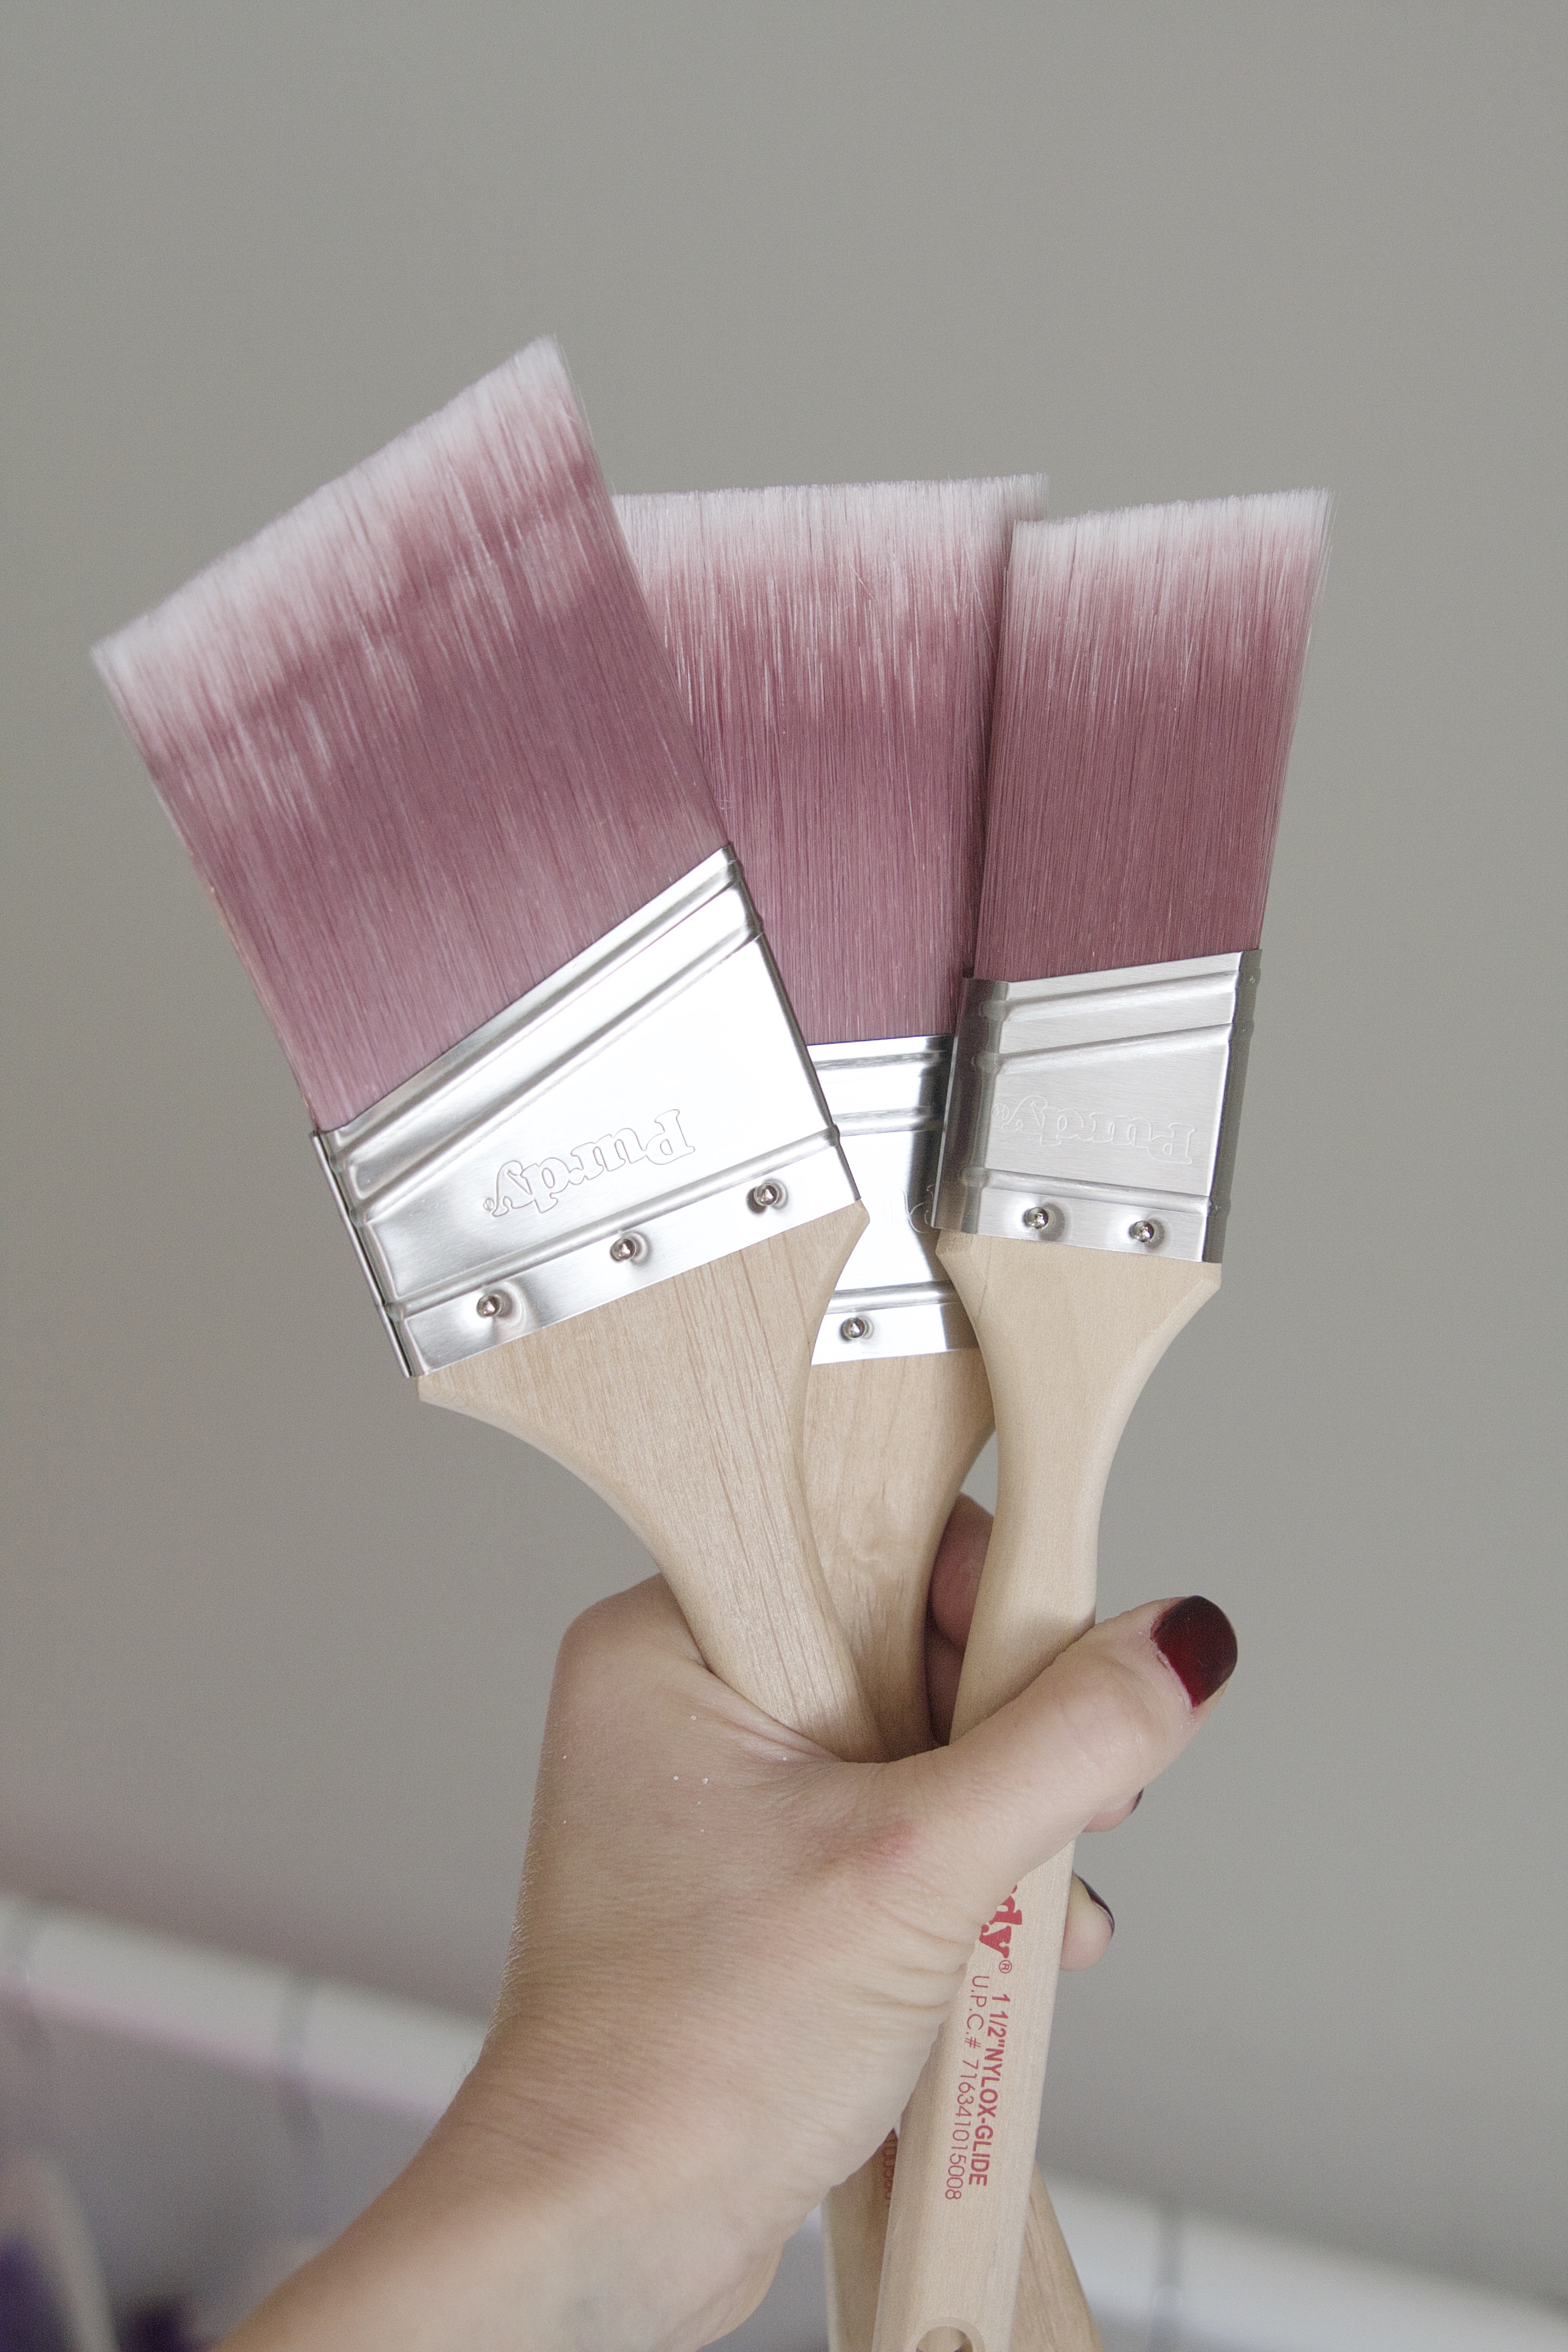
Each and every brush is handcrafted, which is why they are exceptional. Comes autographed and everything! I love your brush, Lee!…
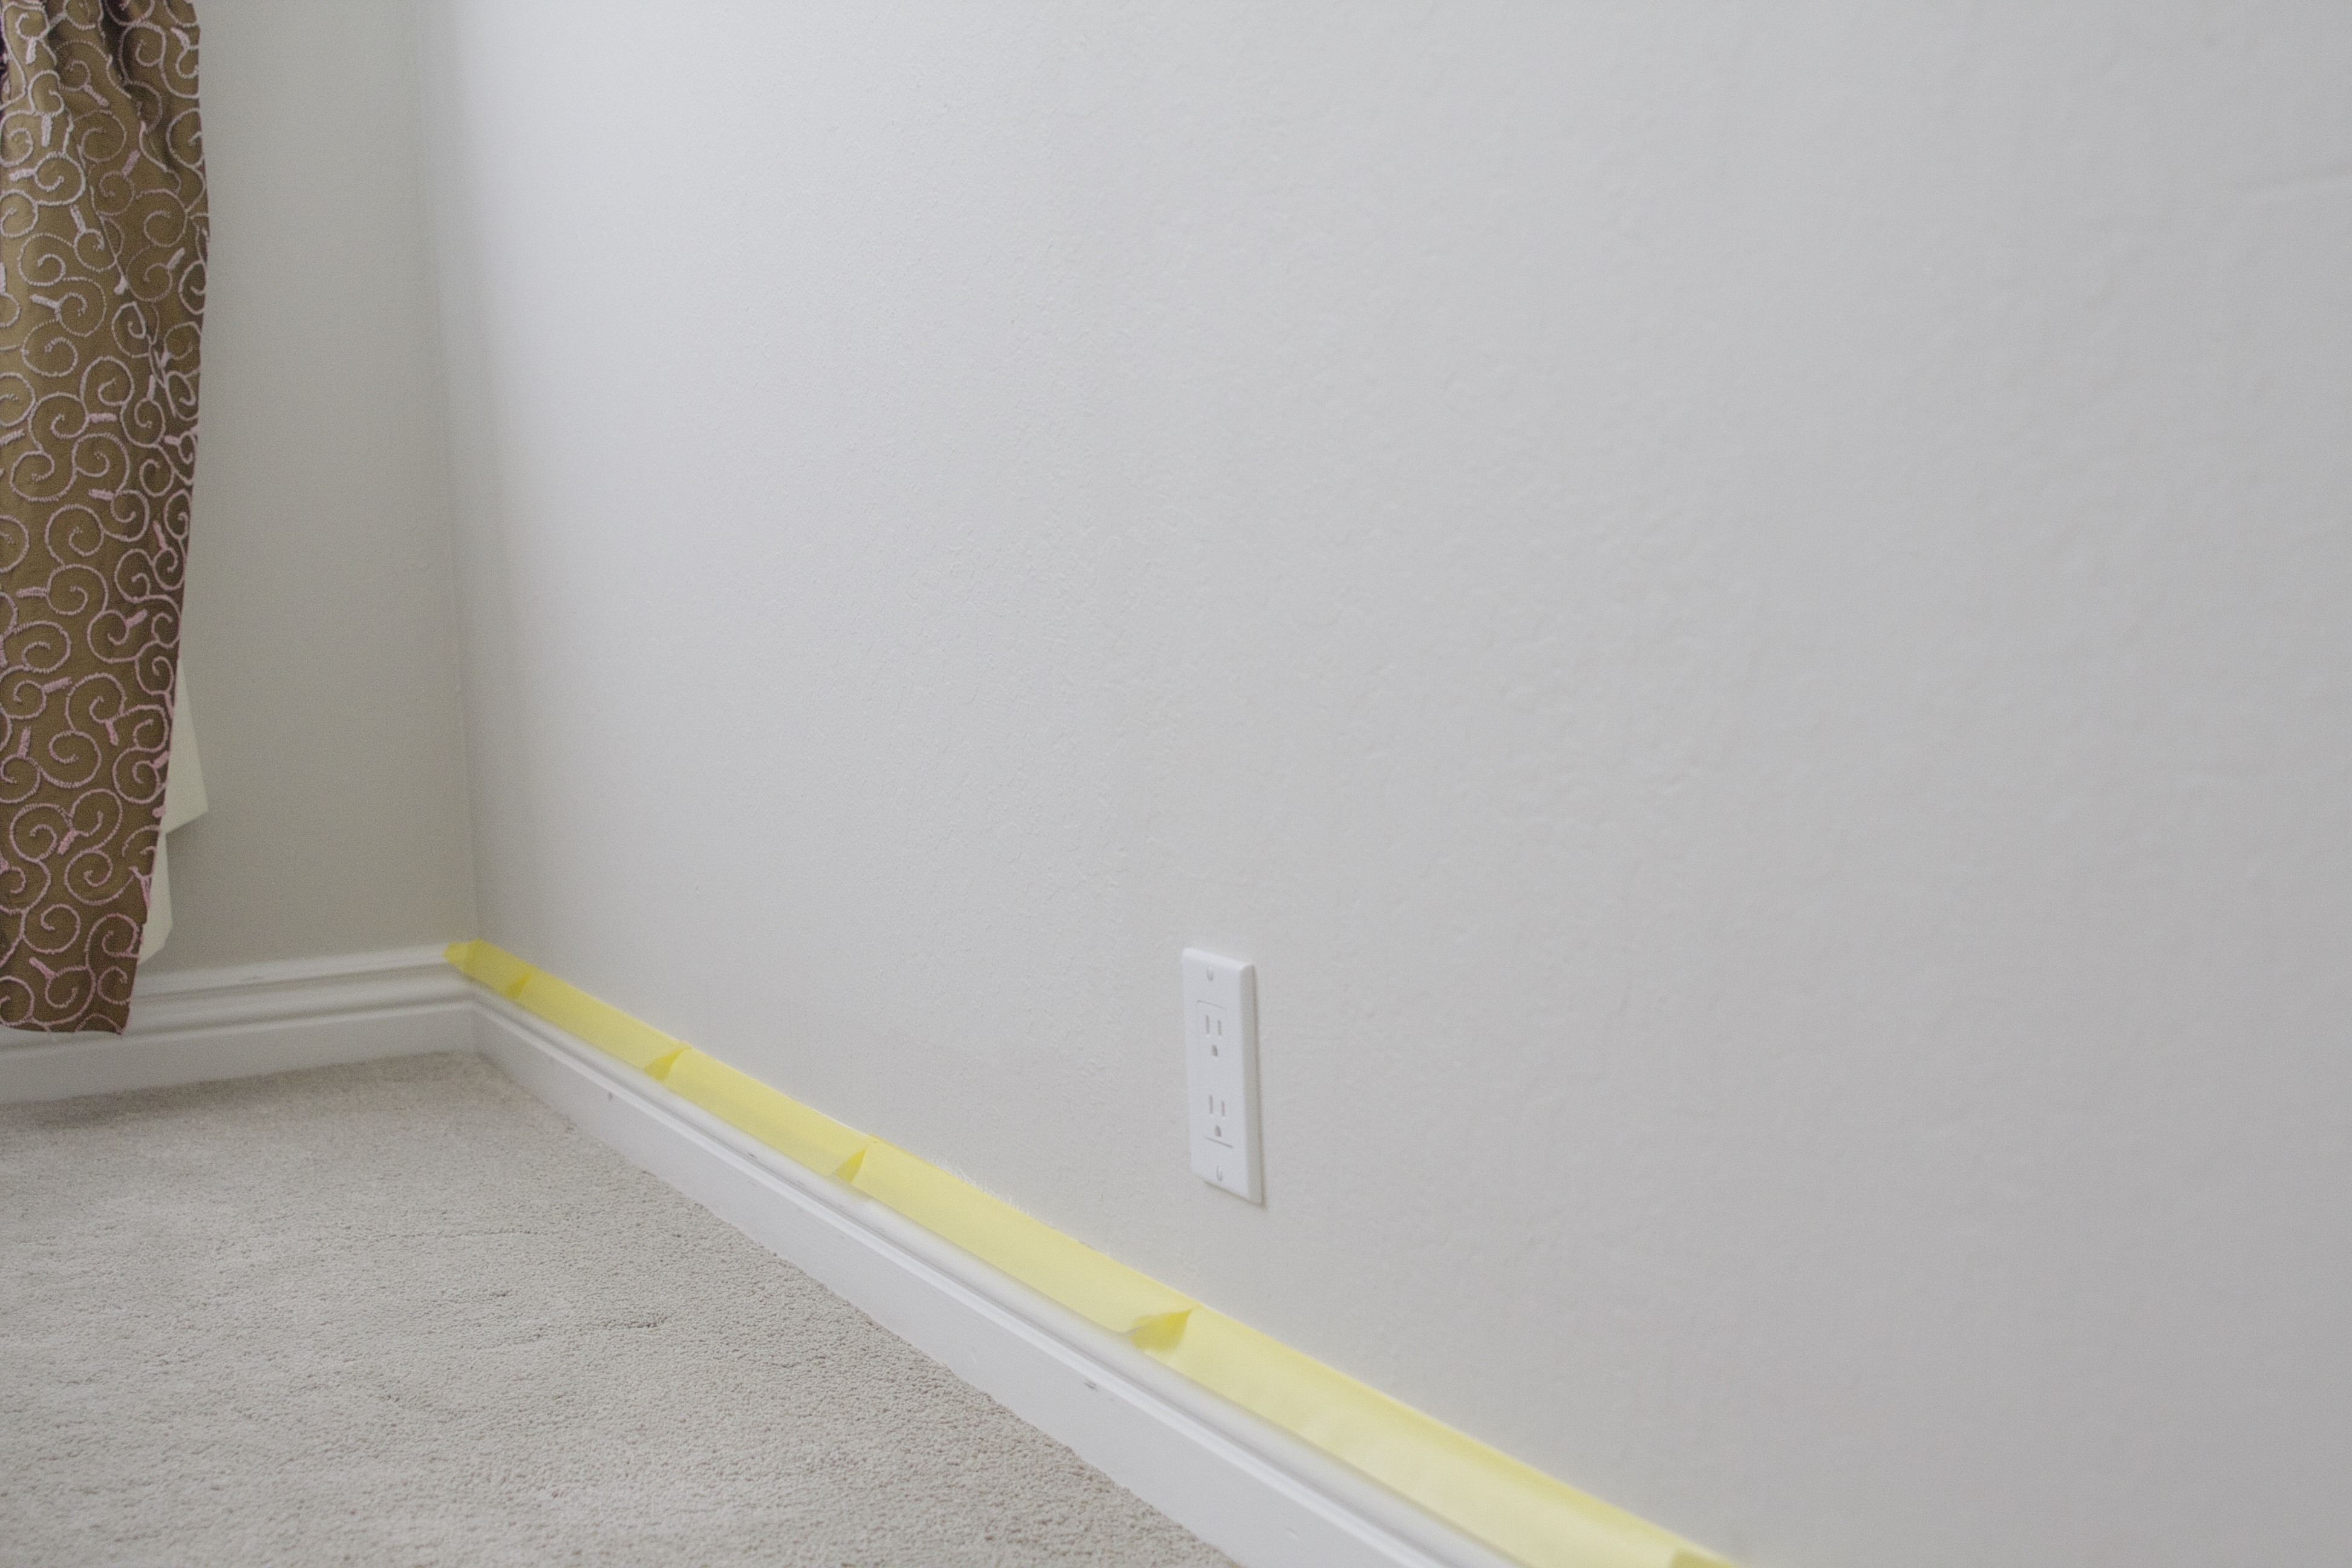
After cutting in, it’s a good idea to quickly and carefully remove your paint tape. This keeps the edges crisp and neat.

You’ll also want to clean your brushes immediately. This is an important final step so the next time you feel like painting, your brushes are fresh and ready.
The next morning I couldn’t wait to see the dry walls and put her room back together! Here’s a sneak peek…


But those beautiful walls?! In love! The wall color is Athena by Benjamin Moore…

This paint project could not have gone smoother without the help of Purdy brushes and accessories. A couple hours of painting and this beautiful end result.
I’ll be back soon to share more details about the decor in Natalie’s room!
comments +