*This blog post is sponsored by Rubbermaid® – They provided me with product but the concept, photos and all of my opinions are 100% my own!
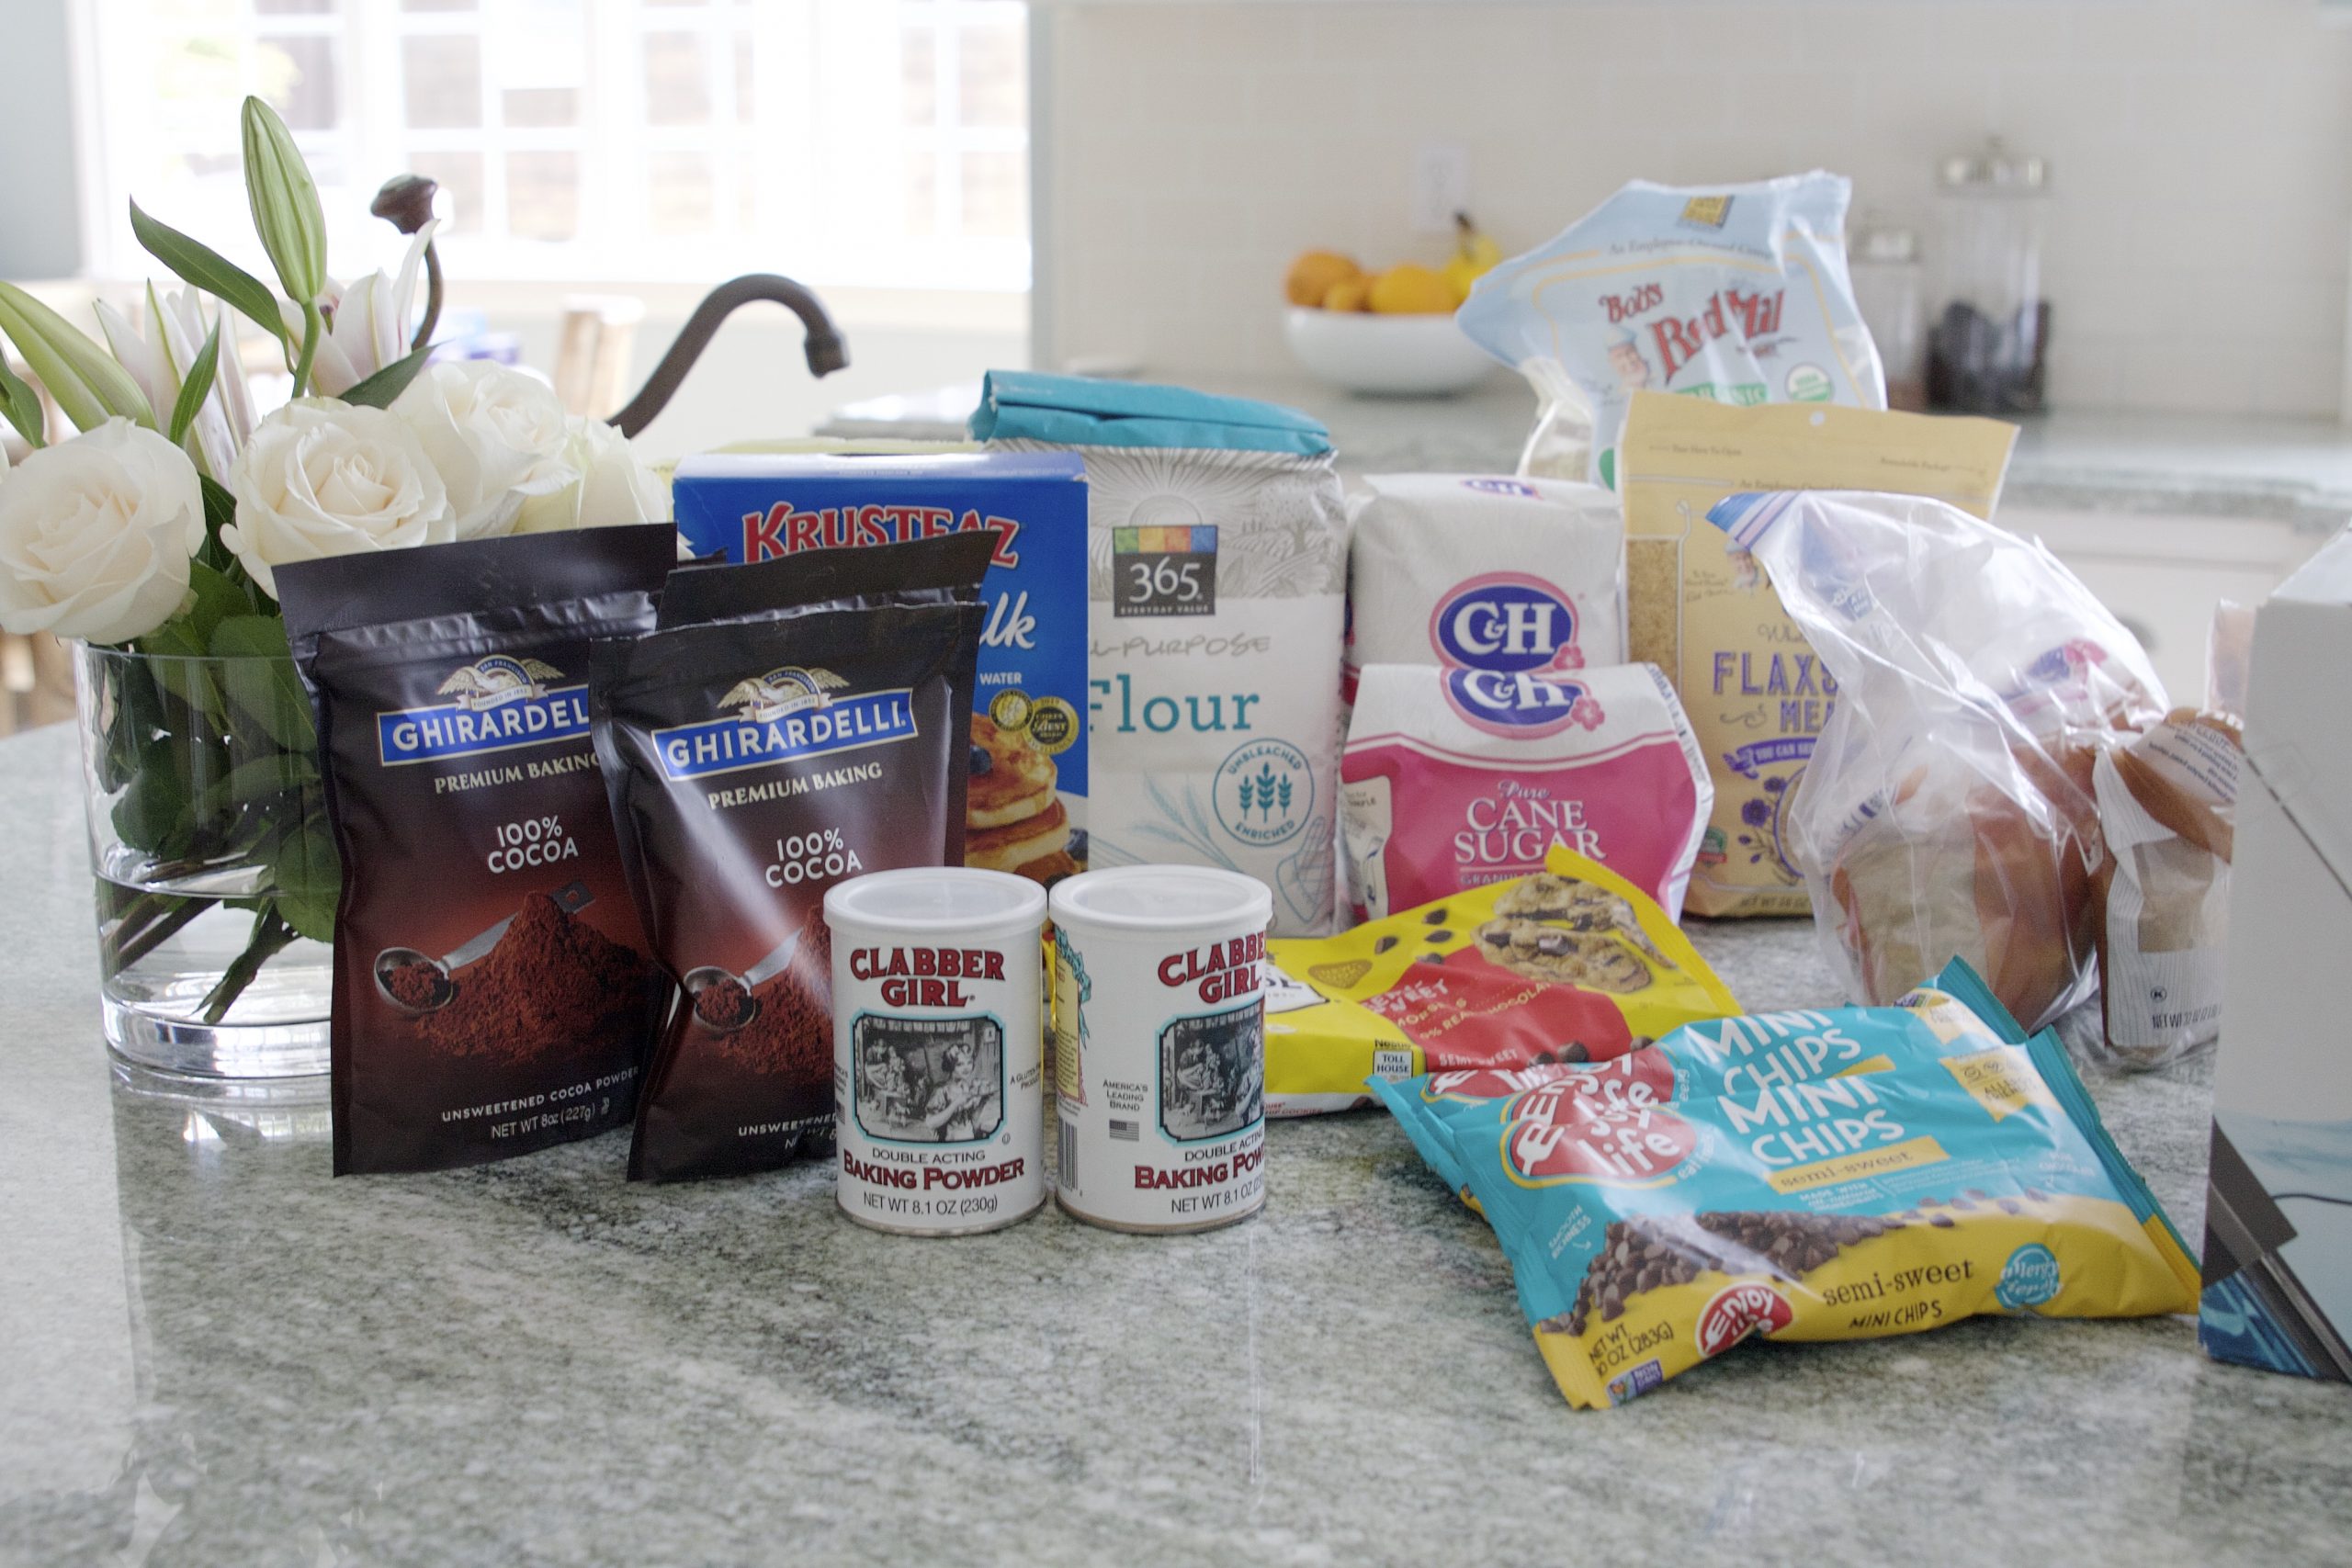
I’m sure I’m not alone when sharing just how much fun we’ve been having cooking and baking while at home. From banana breads, cookies, loaves to testing out shrimp tacos, au gratin potatoes and tomato soup recipes…we’re doing it all. And loving it! We’ve been running through ingredients weekly and noticed we could have a bit more efficiency in how it’s all organized in the pantry. I was looking forward to eventually getting around to organizing it all, but was SO excited when Rubbermaid reached out to partner with me and share their awesome Pantry Containers!
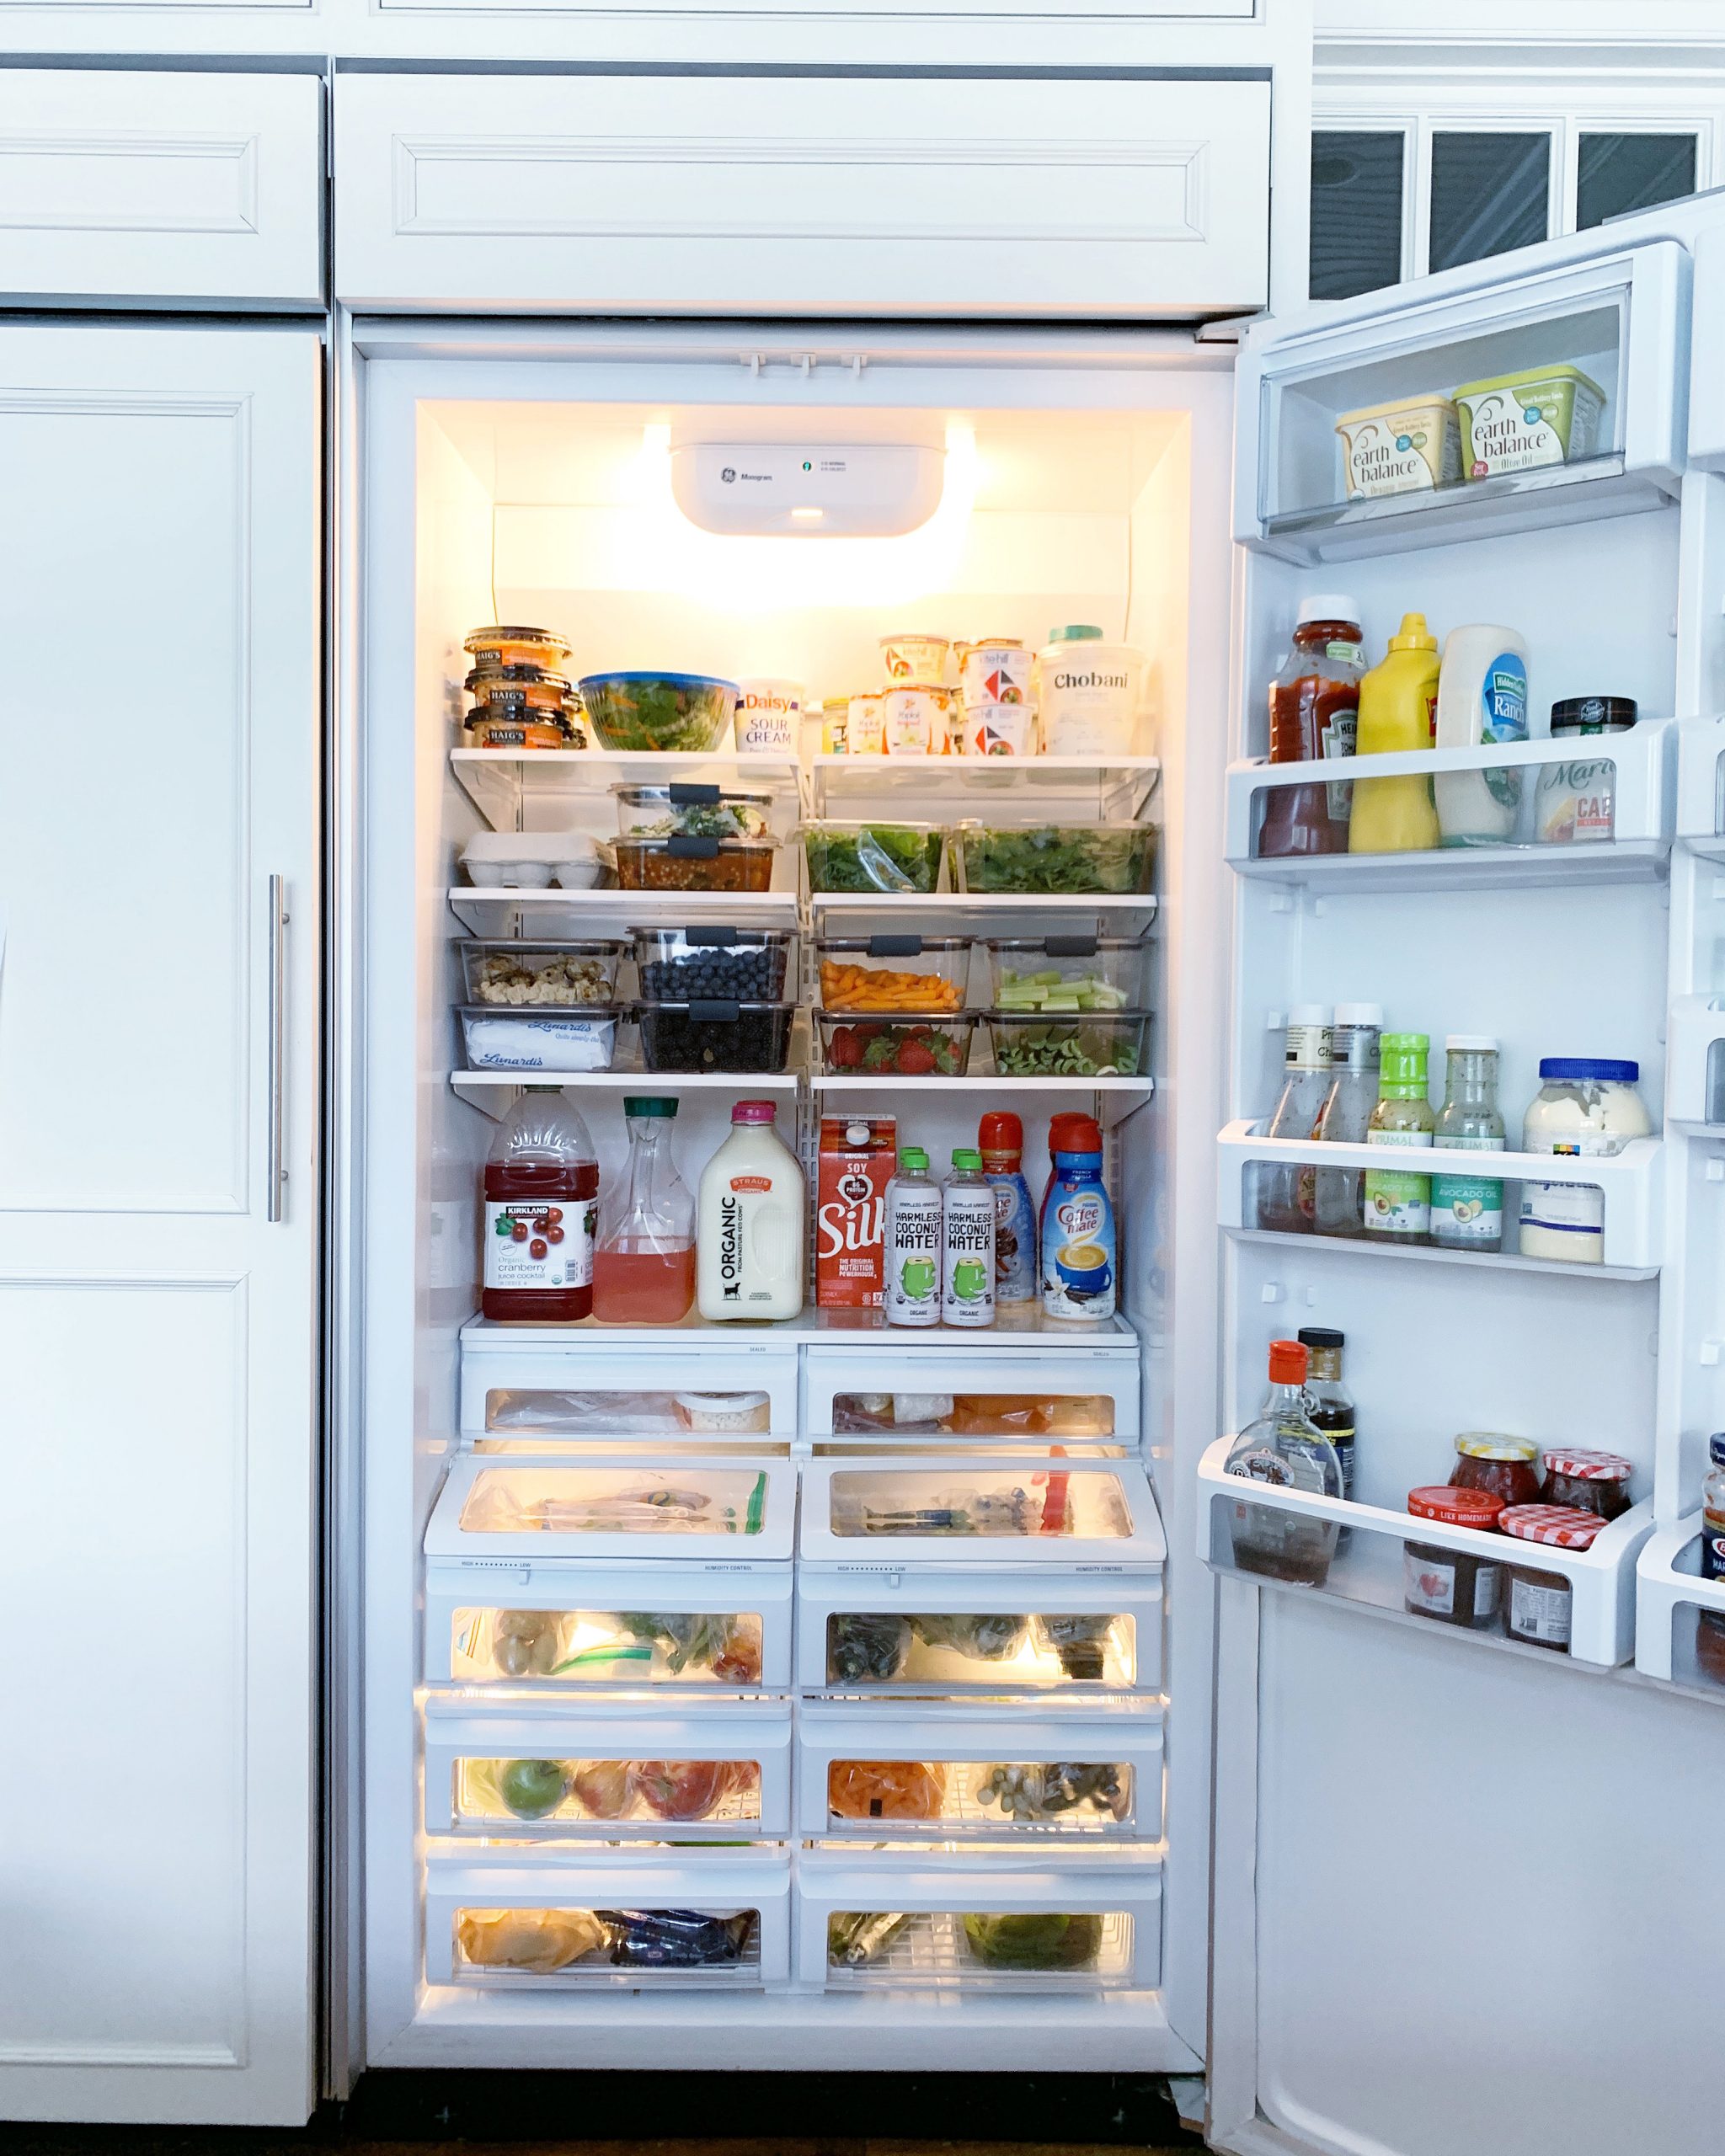
They saw our organized fridge on Instagram, which always contains Rubbermaid Brillance food storage containers…
This is genuinely a product I love – I’m not saying that because this is a sponsored post. You guys know I only share what works and what’s been tried, tested and loved for me or our clients. THIS is one of those products!
I was thrilled when they reached out because it’s a product I absolutely stand behind…and of course, always excited to share and talk about anything fridge or pantry organization.
Rubbermaid Brillance Food Storage Containers work exceptionally well in a fridge, on a pantry shelf, or nested in a drawer because of their shape. I personally love the rectangle shape as they neatly tuck away while in use or not. And I love the variety of sizes and how each stacks seamlessly. You can see my food storage drawer right here…
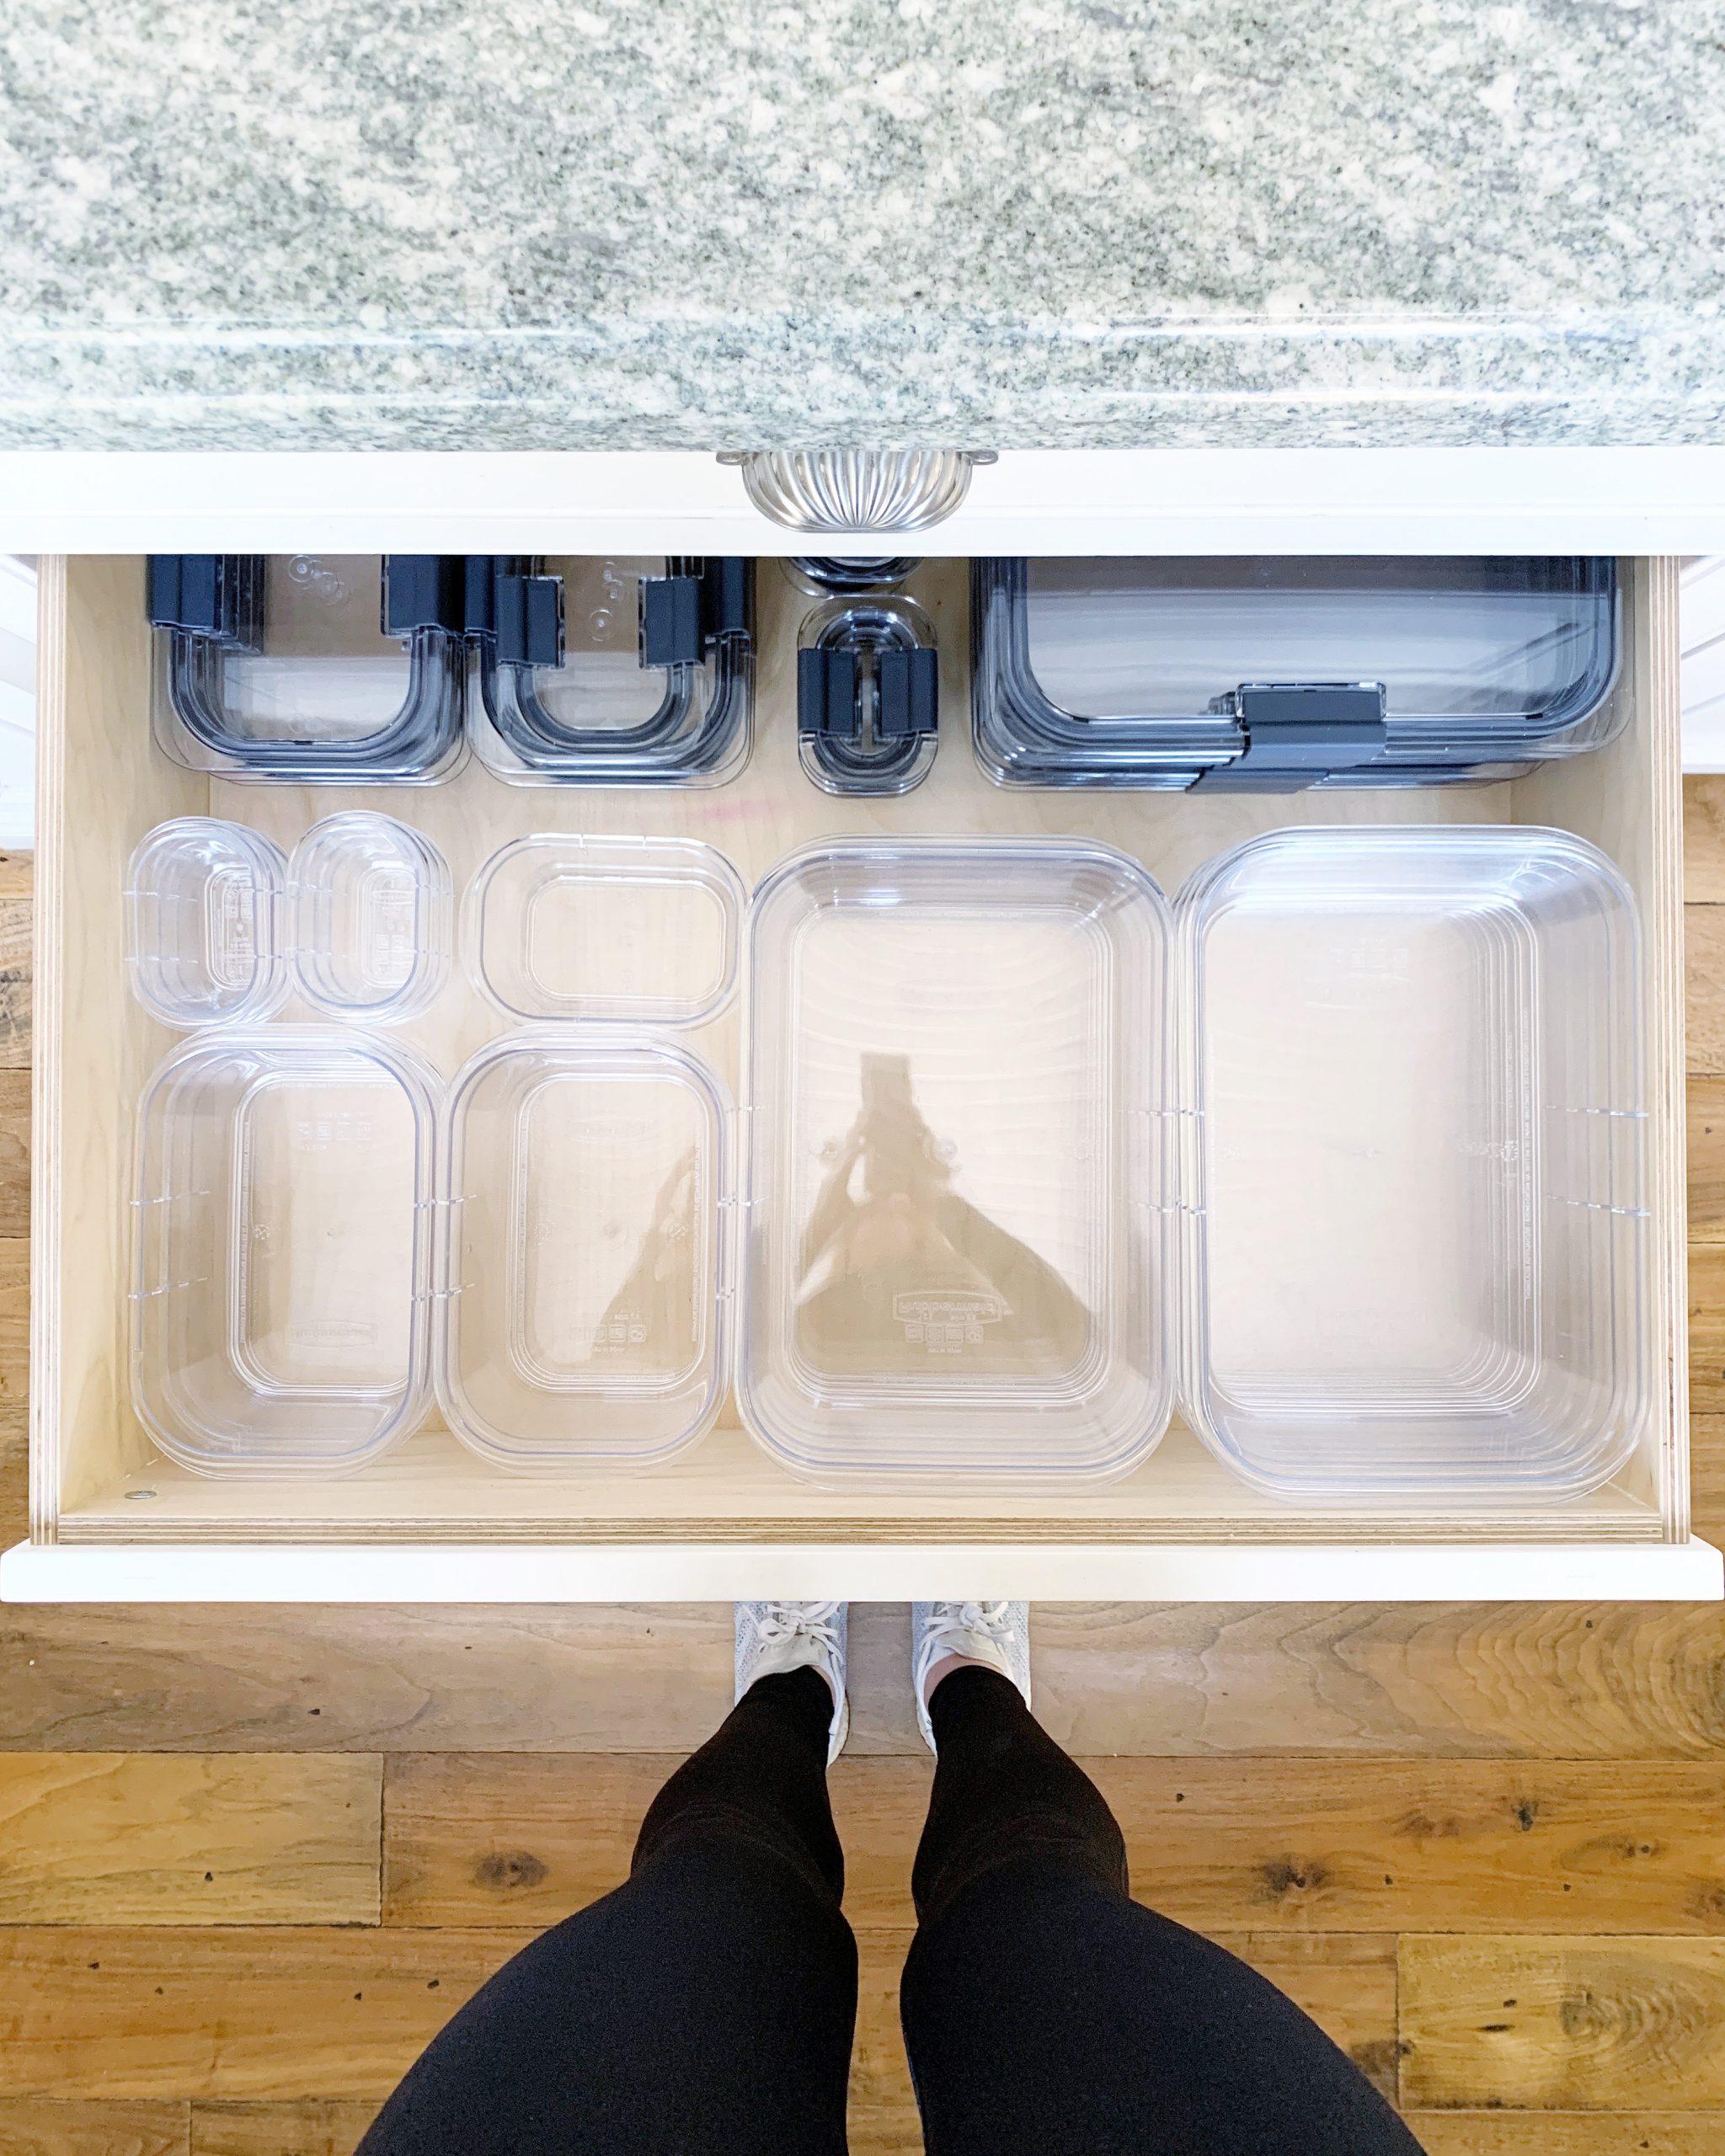
Beautiful…AND easy to put it all away!
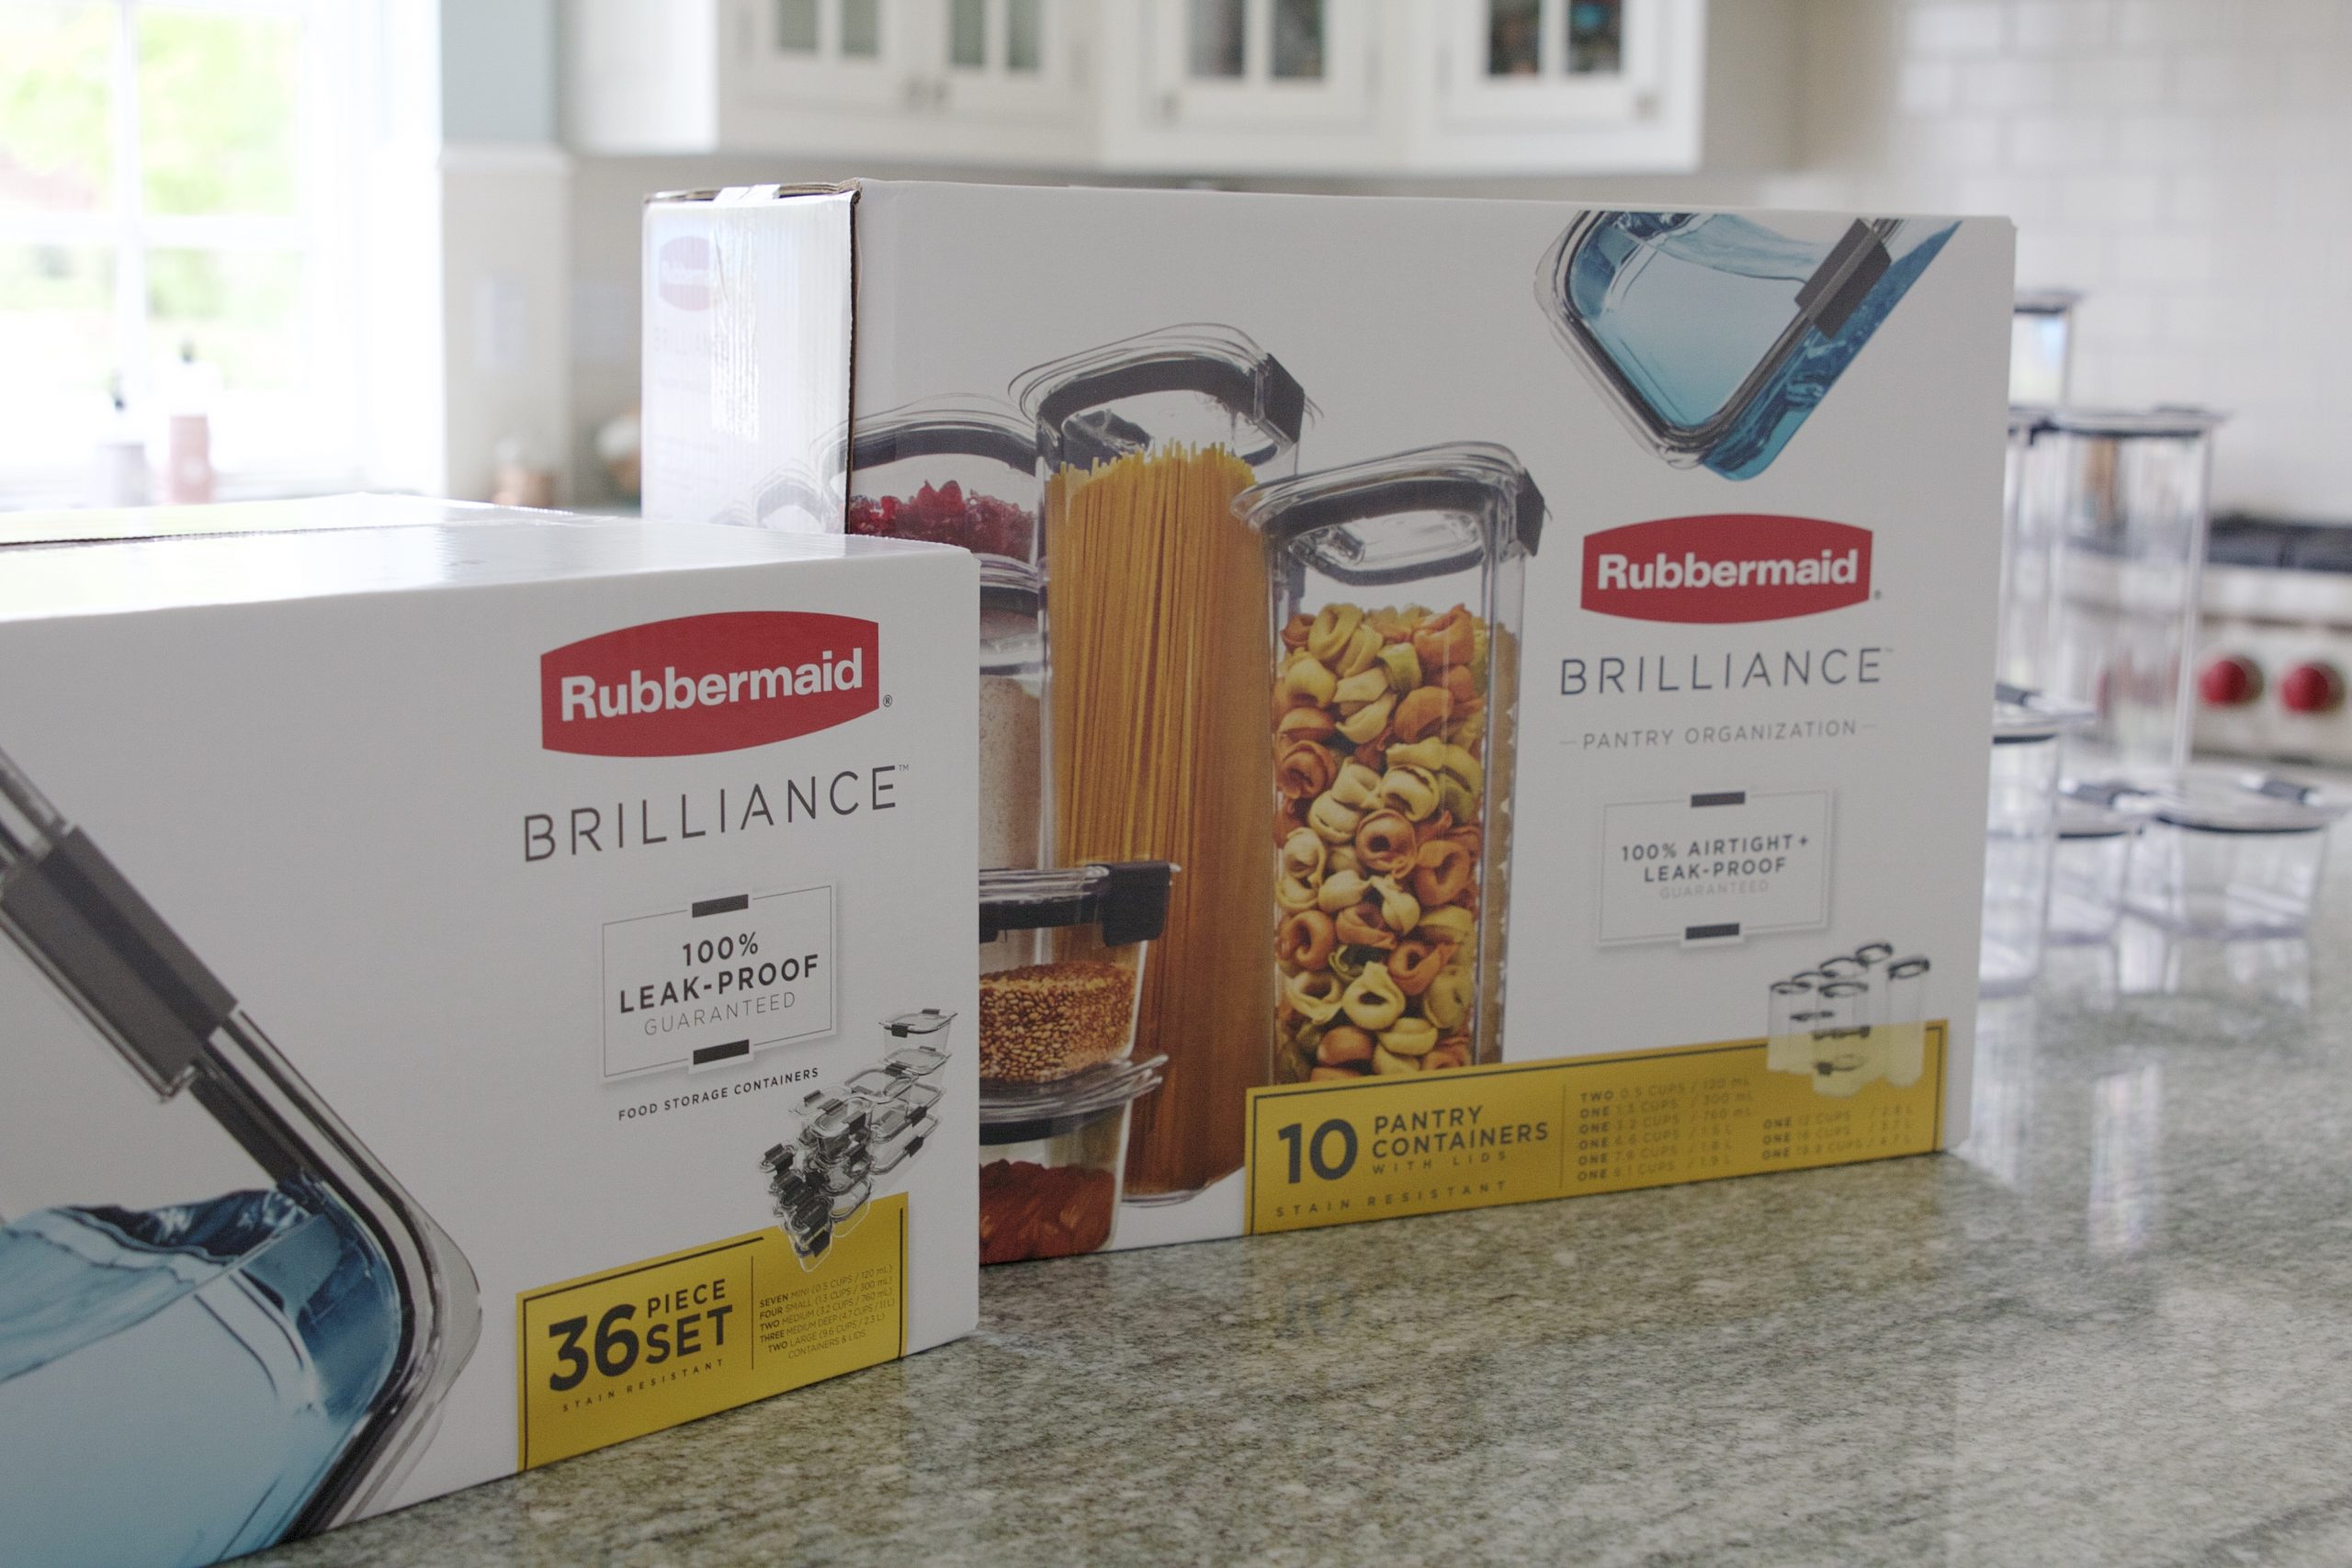
I couldn’t wait to decant and organize our baking ingredients with the Brillance Pantry Containers and today I’m sharing that process with you, some of my expert tips when storing ingredients such as these, the beautiful outcome and also a delicious vegan lemon bread recipe we made after it was all organized!
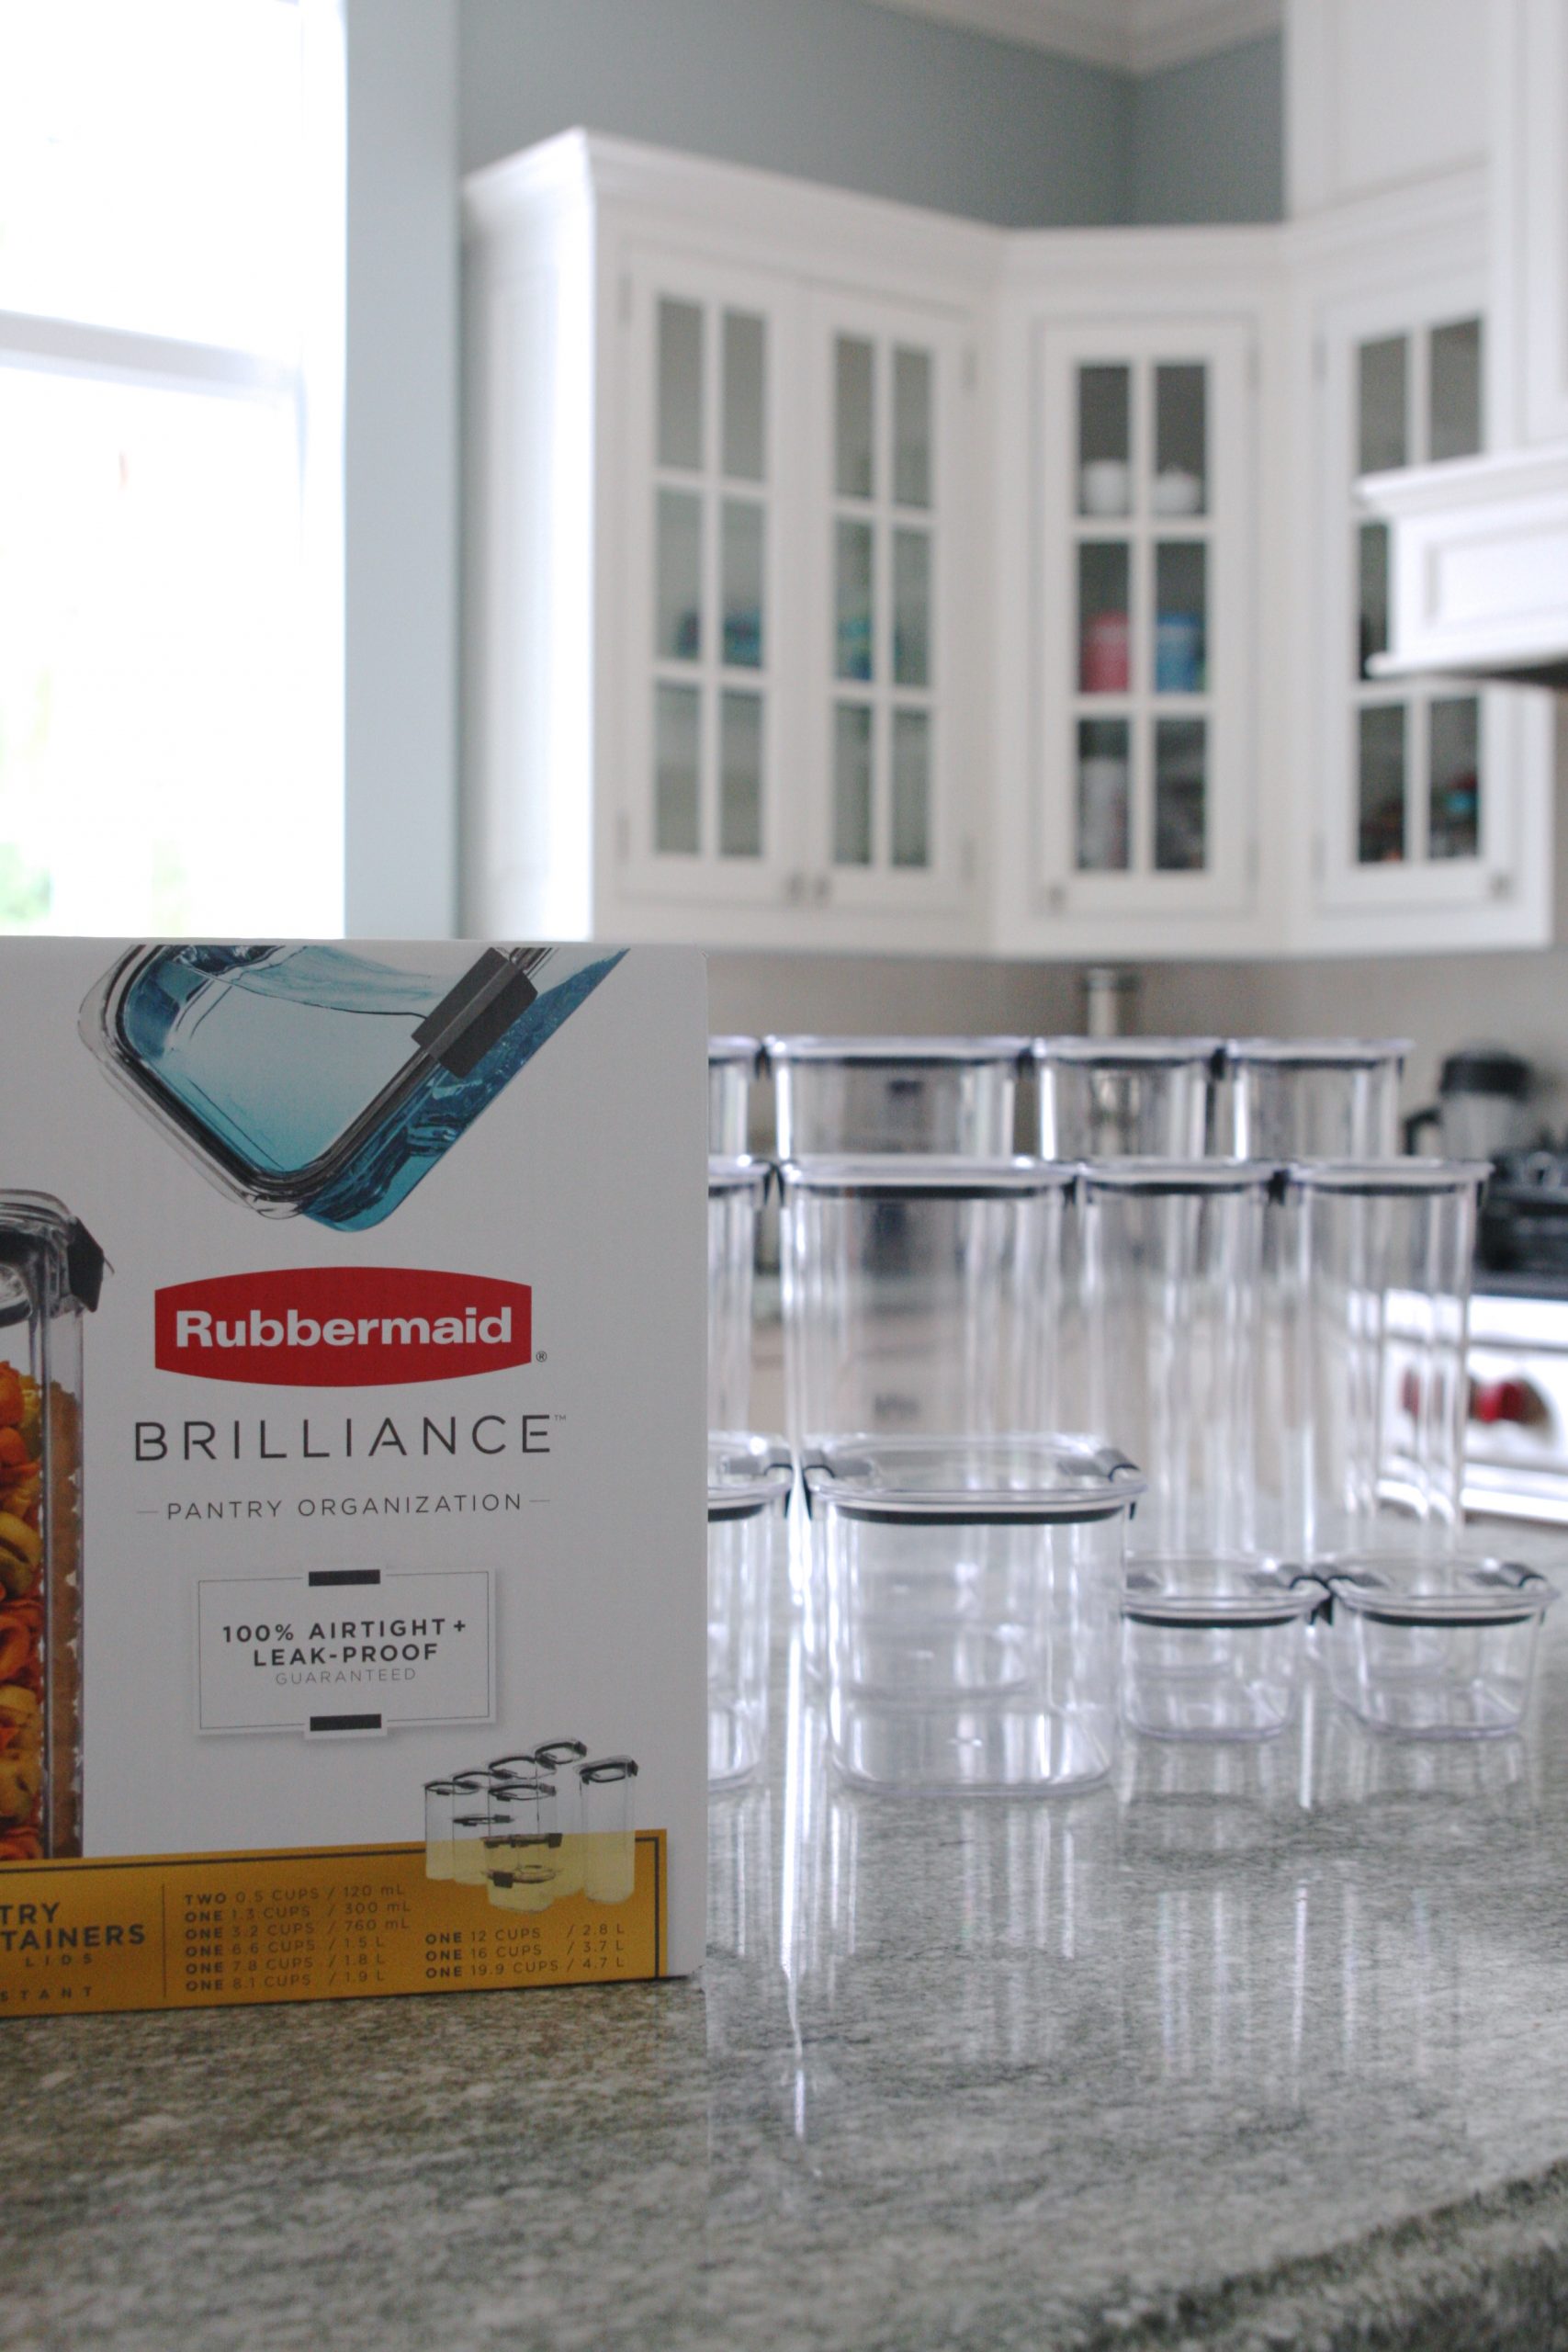
All about Rubbermaid Brilliance Pantry Containers
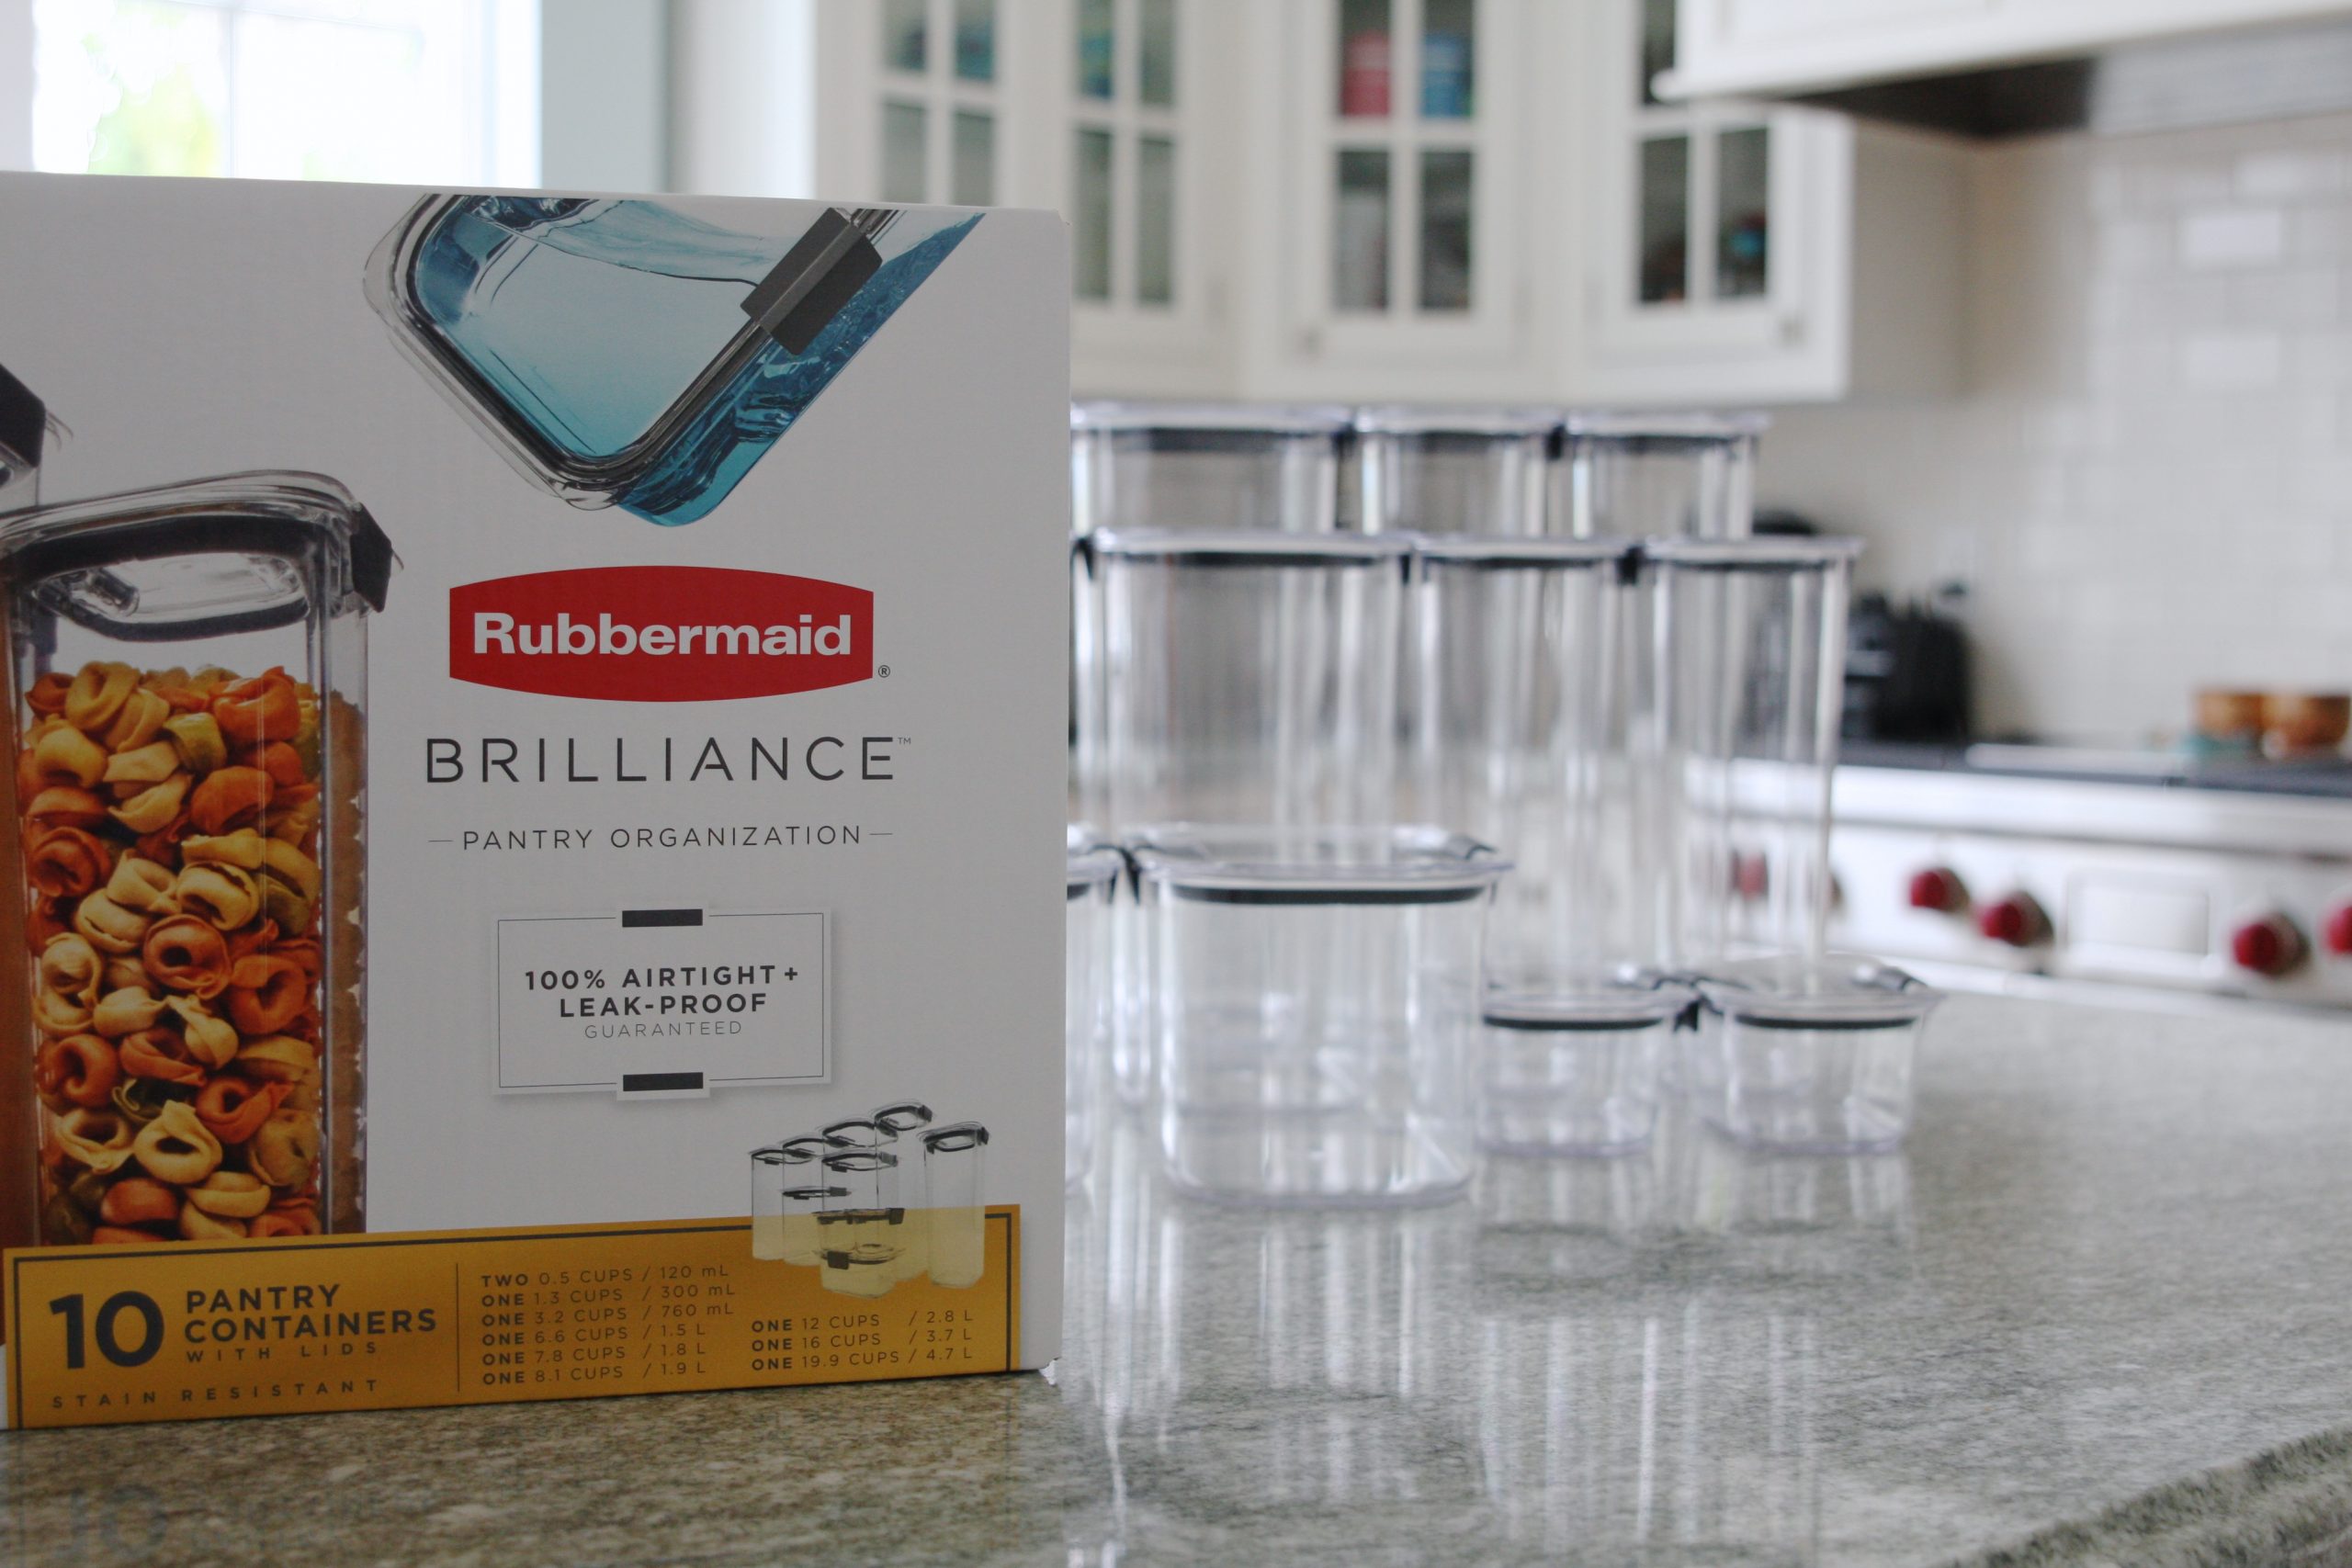
Rubbermaid Brillance Pantry and Food Storage Containers are durable, freezer-safe, top-rack dishwasher-safe, and BPA-Free. They are stain and odor resistant, crystal clear to easily identify the contents, and airtight to lock in freshness.
I can’t say enough about these beautiful containers!
And I couldn’t wait to get the containers cleaned, filled and organized!
Easy to Clean
First step was cleaning the containers. I cleaned the containers and lids, thoroughly dried and then left the collection out overnight to ensure there wasn’t any residual moisture hiding. Since I was containing baking ingredients like flour and sugar, no water allowed! These are easy to clean…
![]()
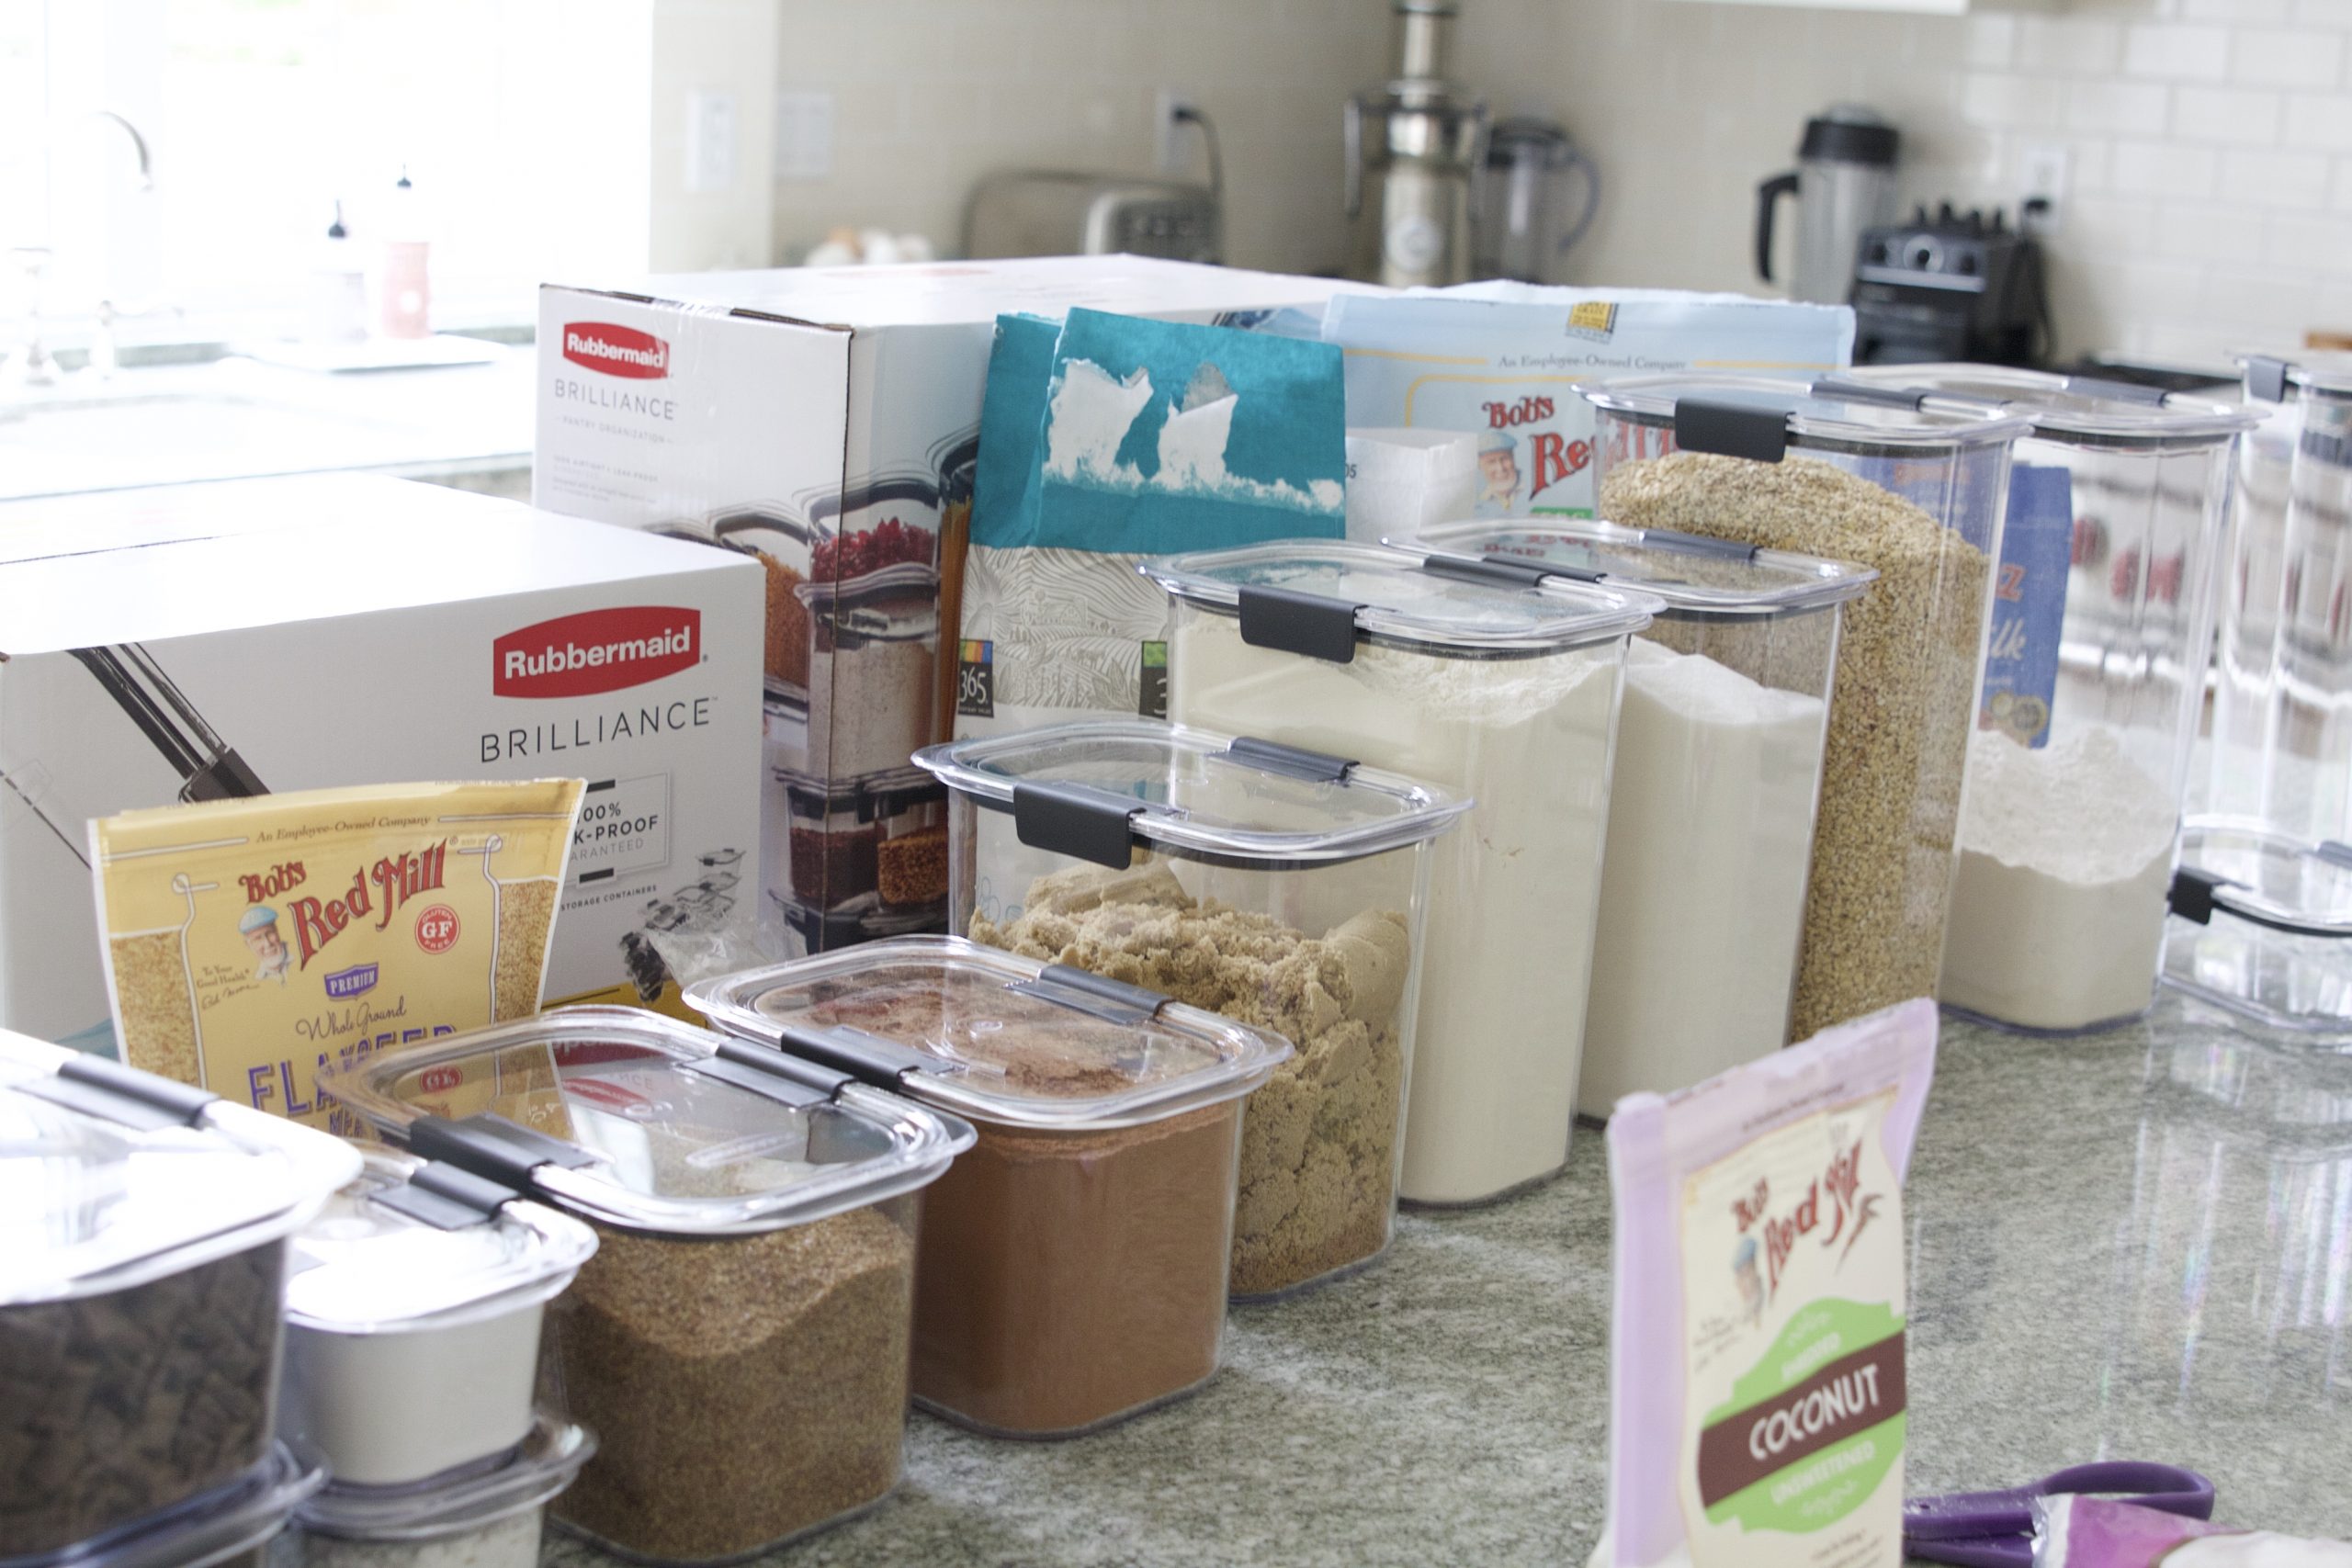
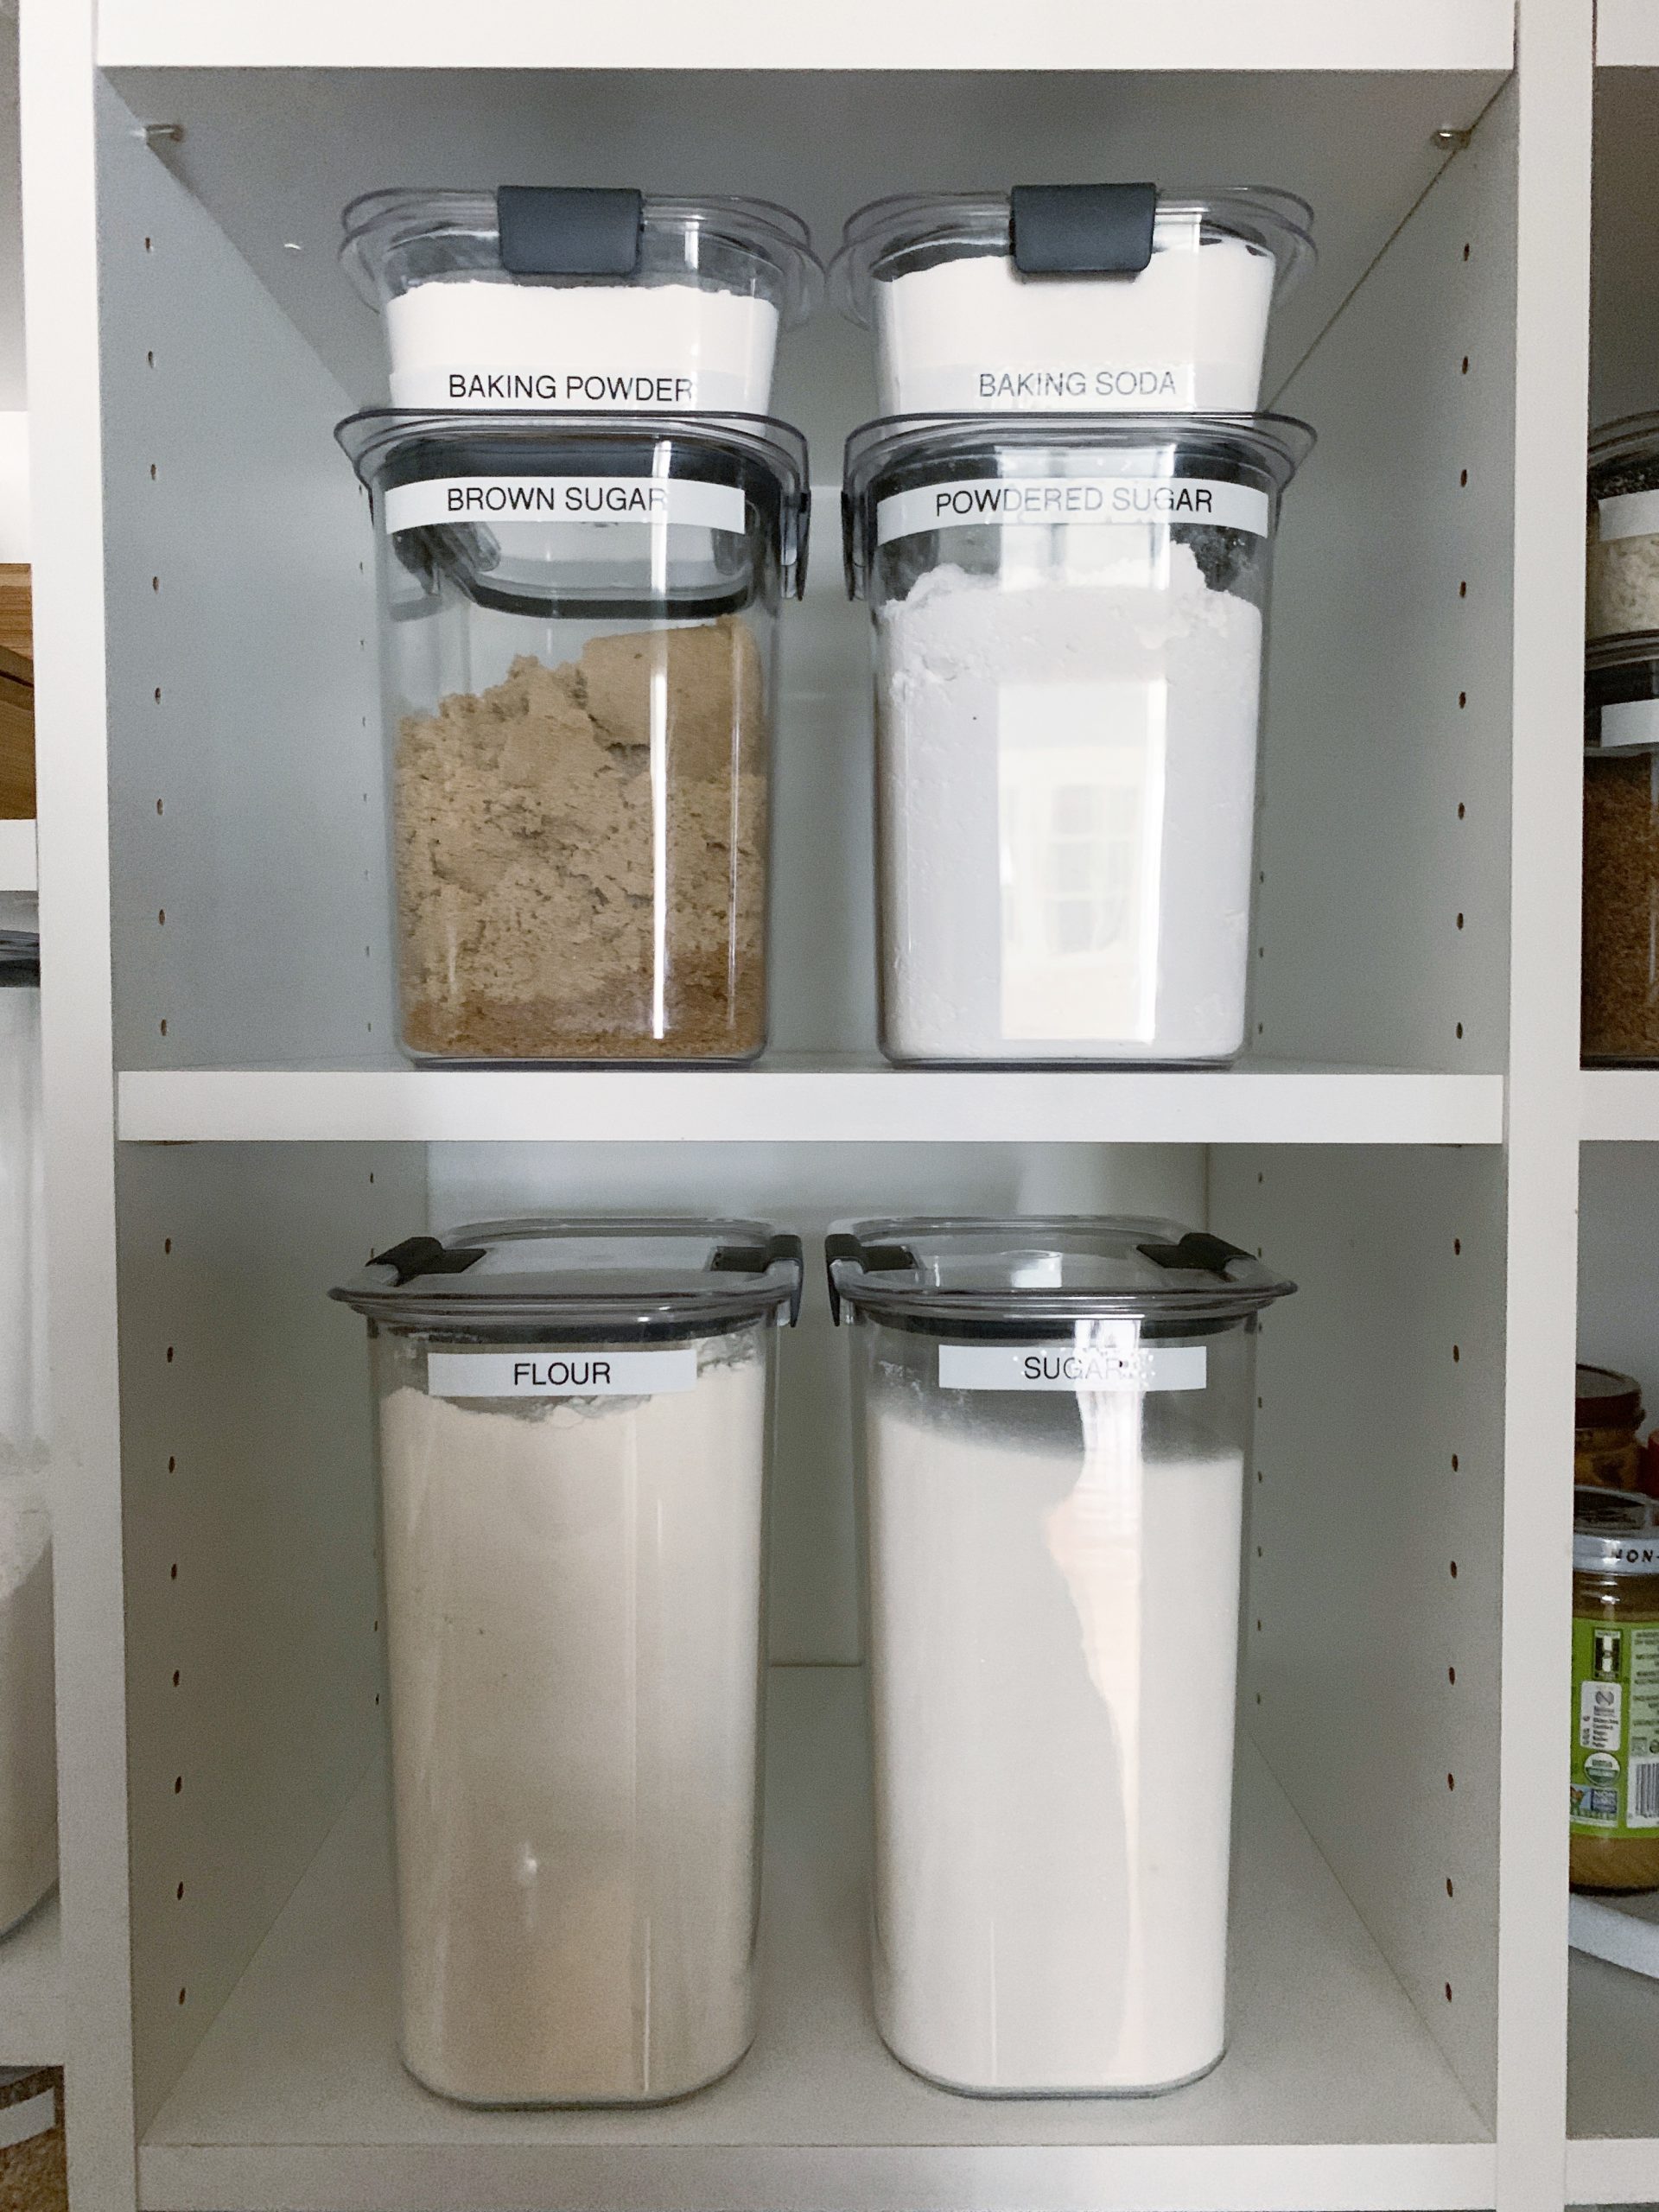
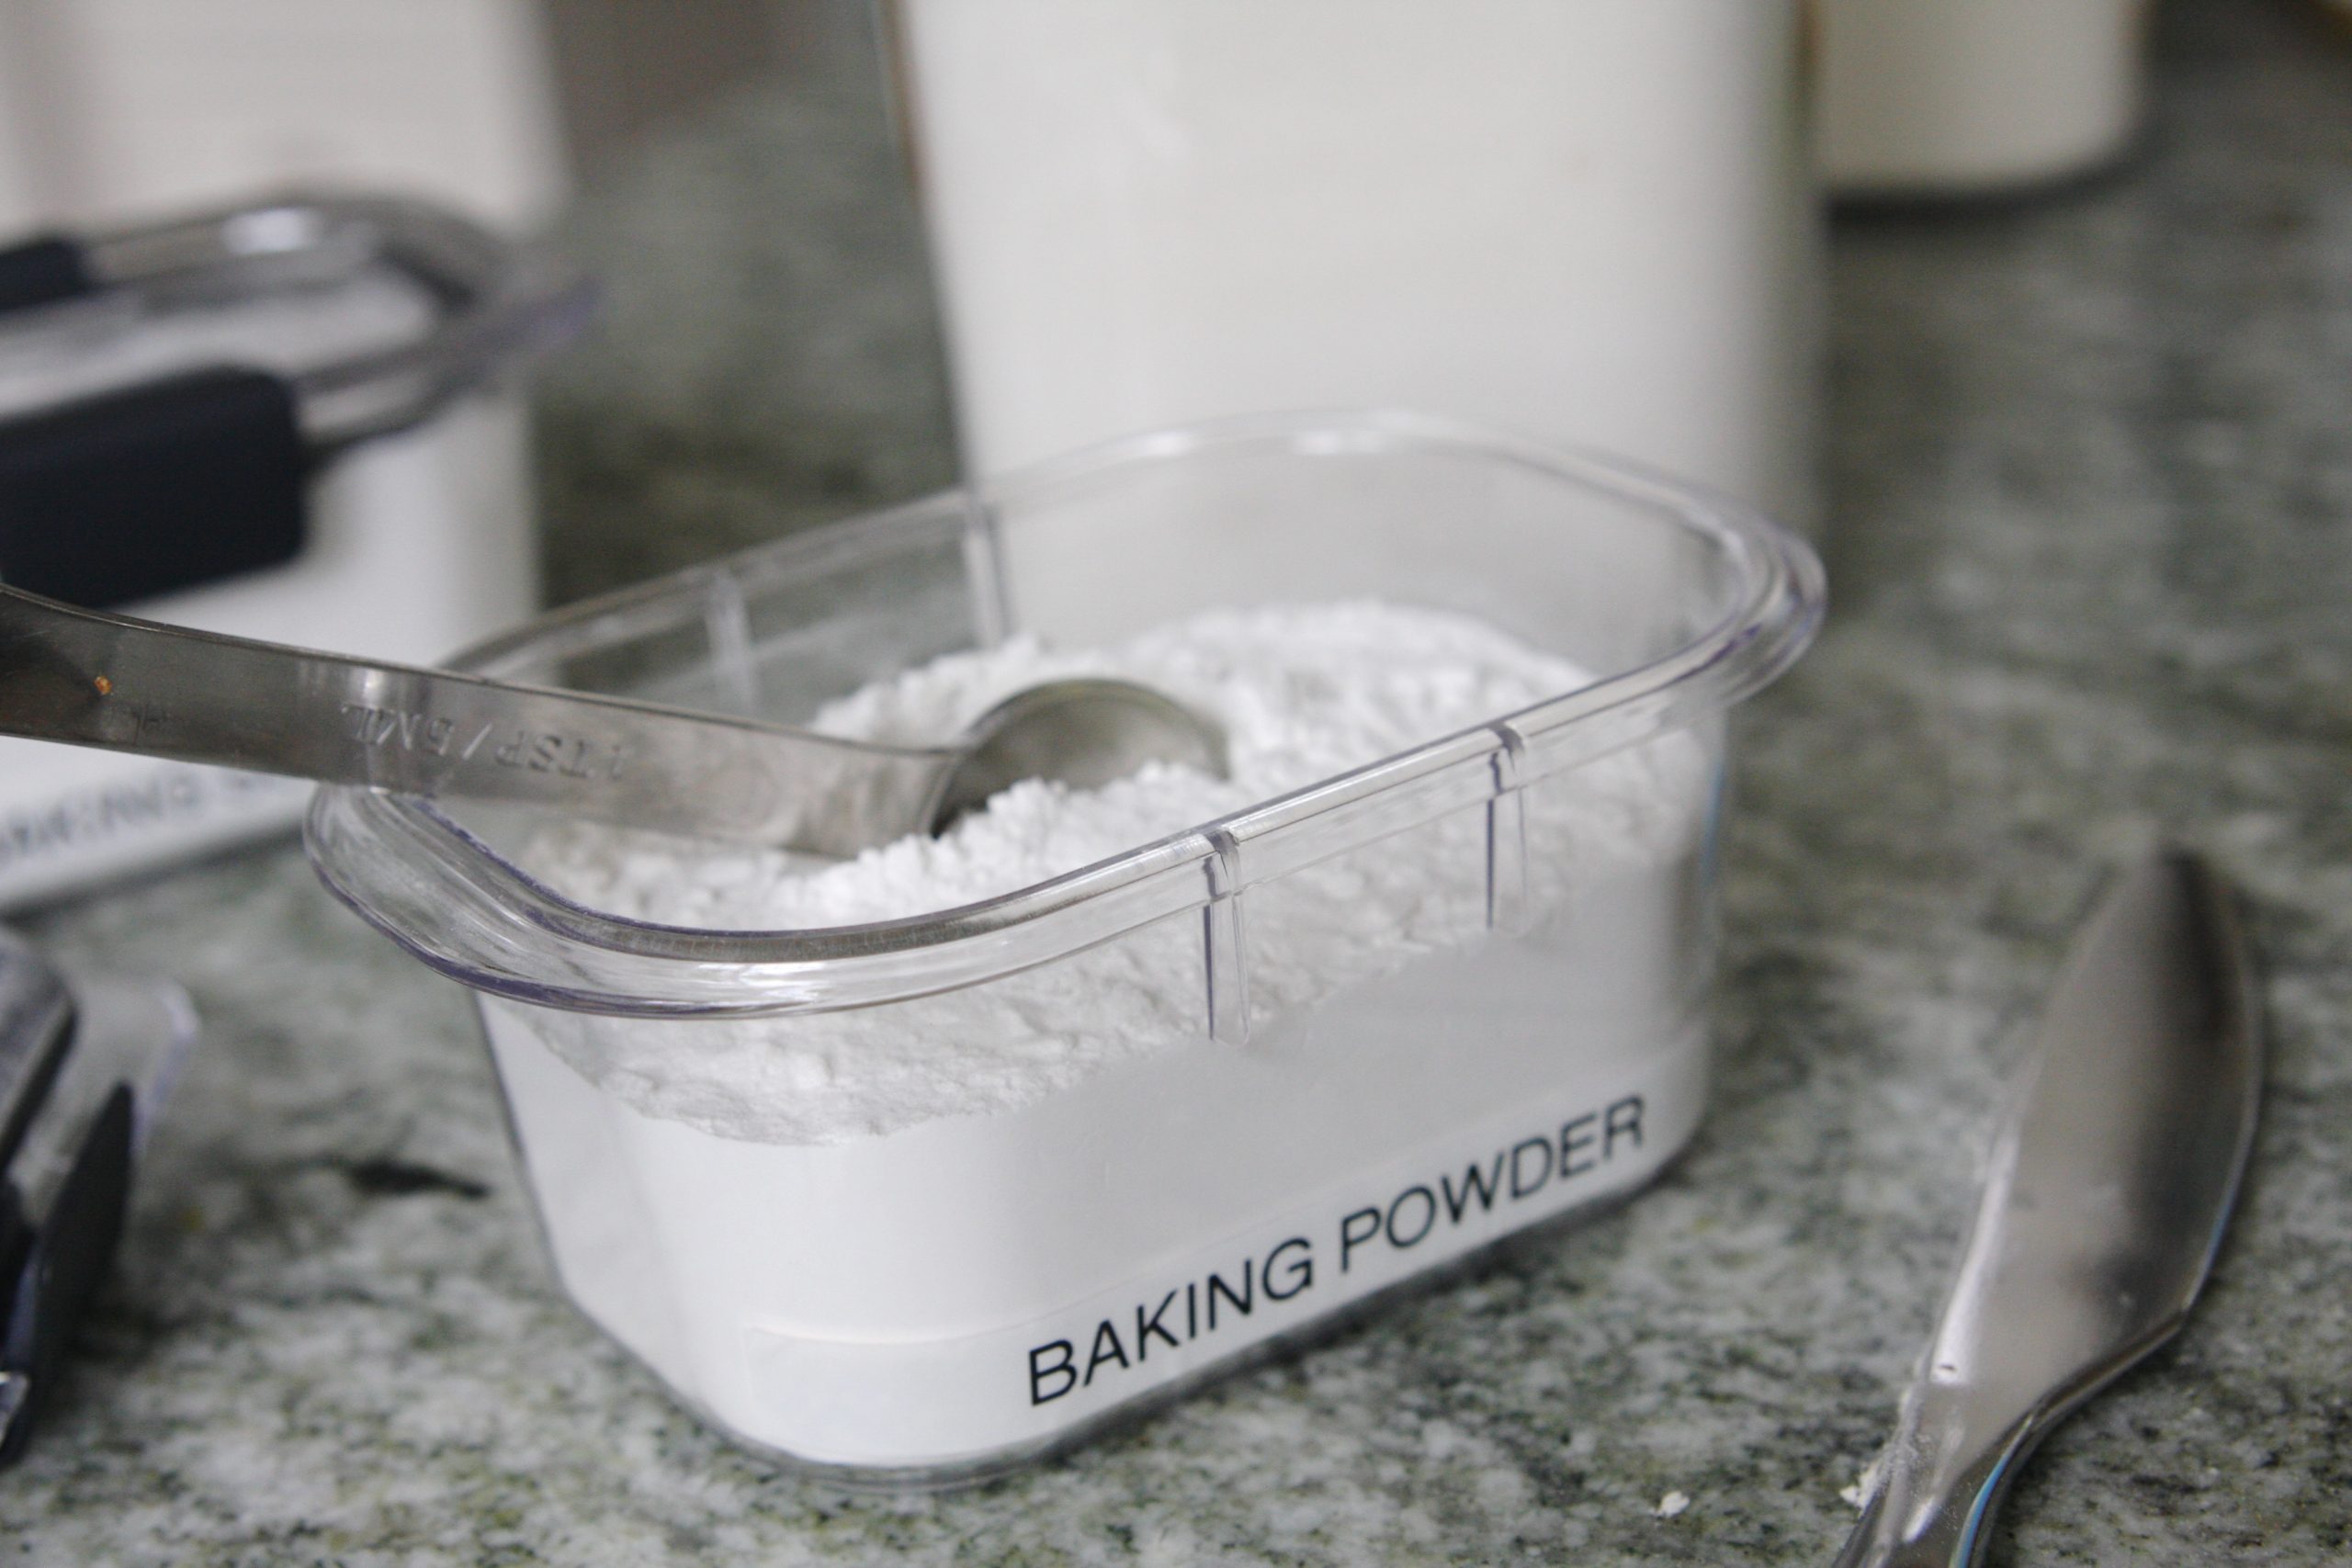
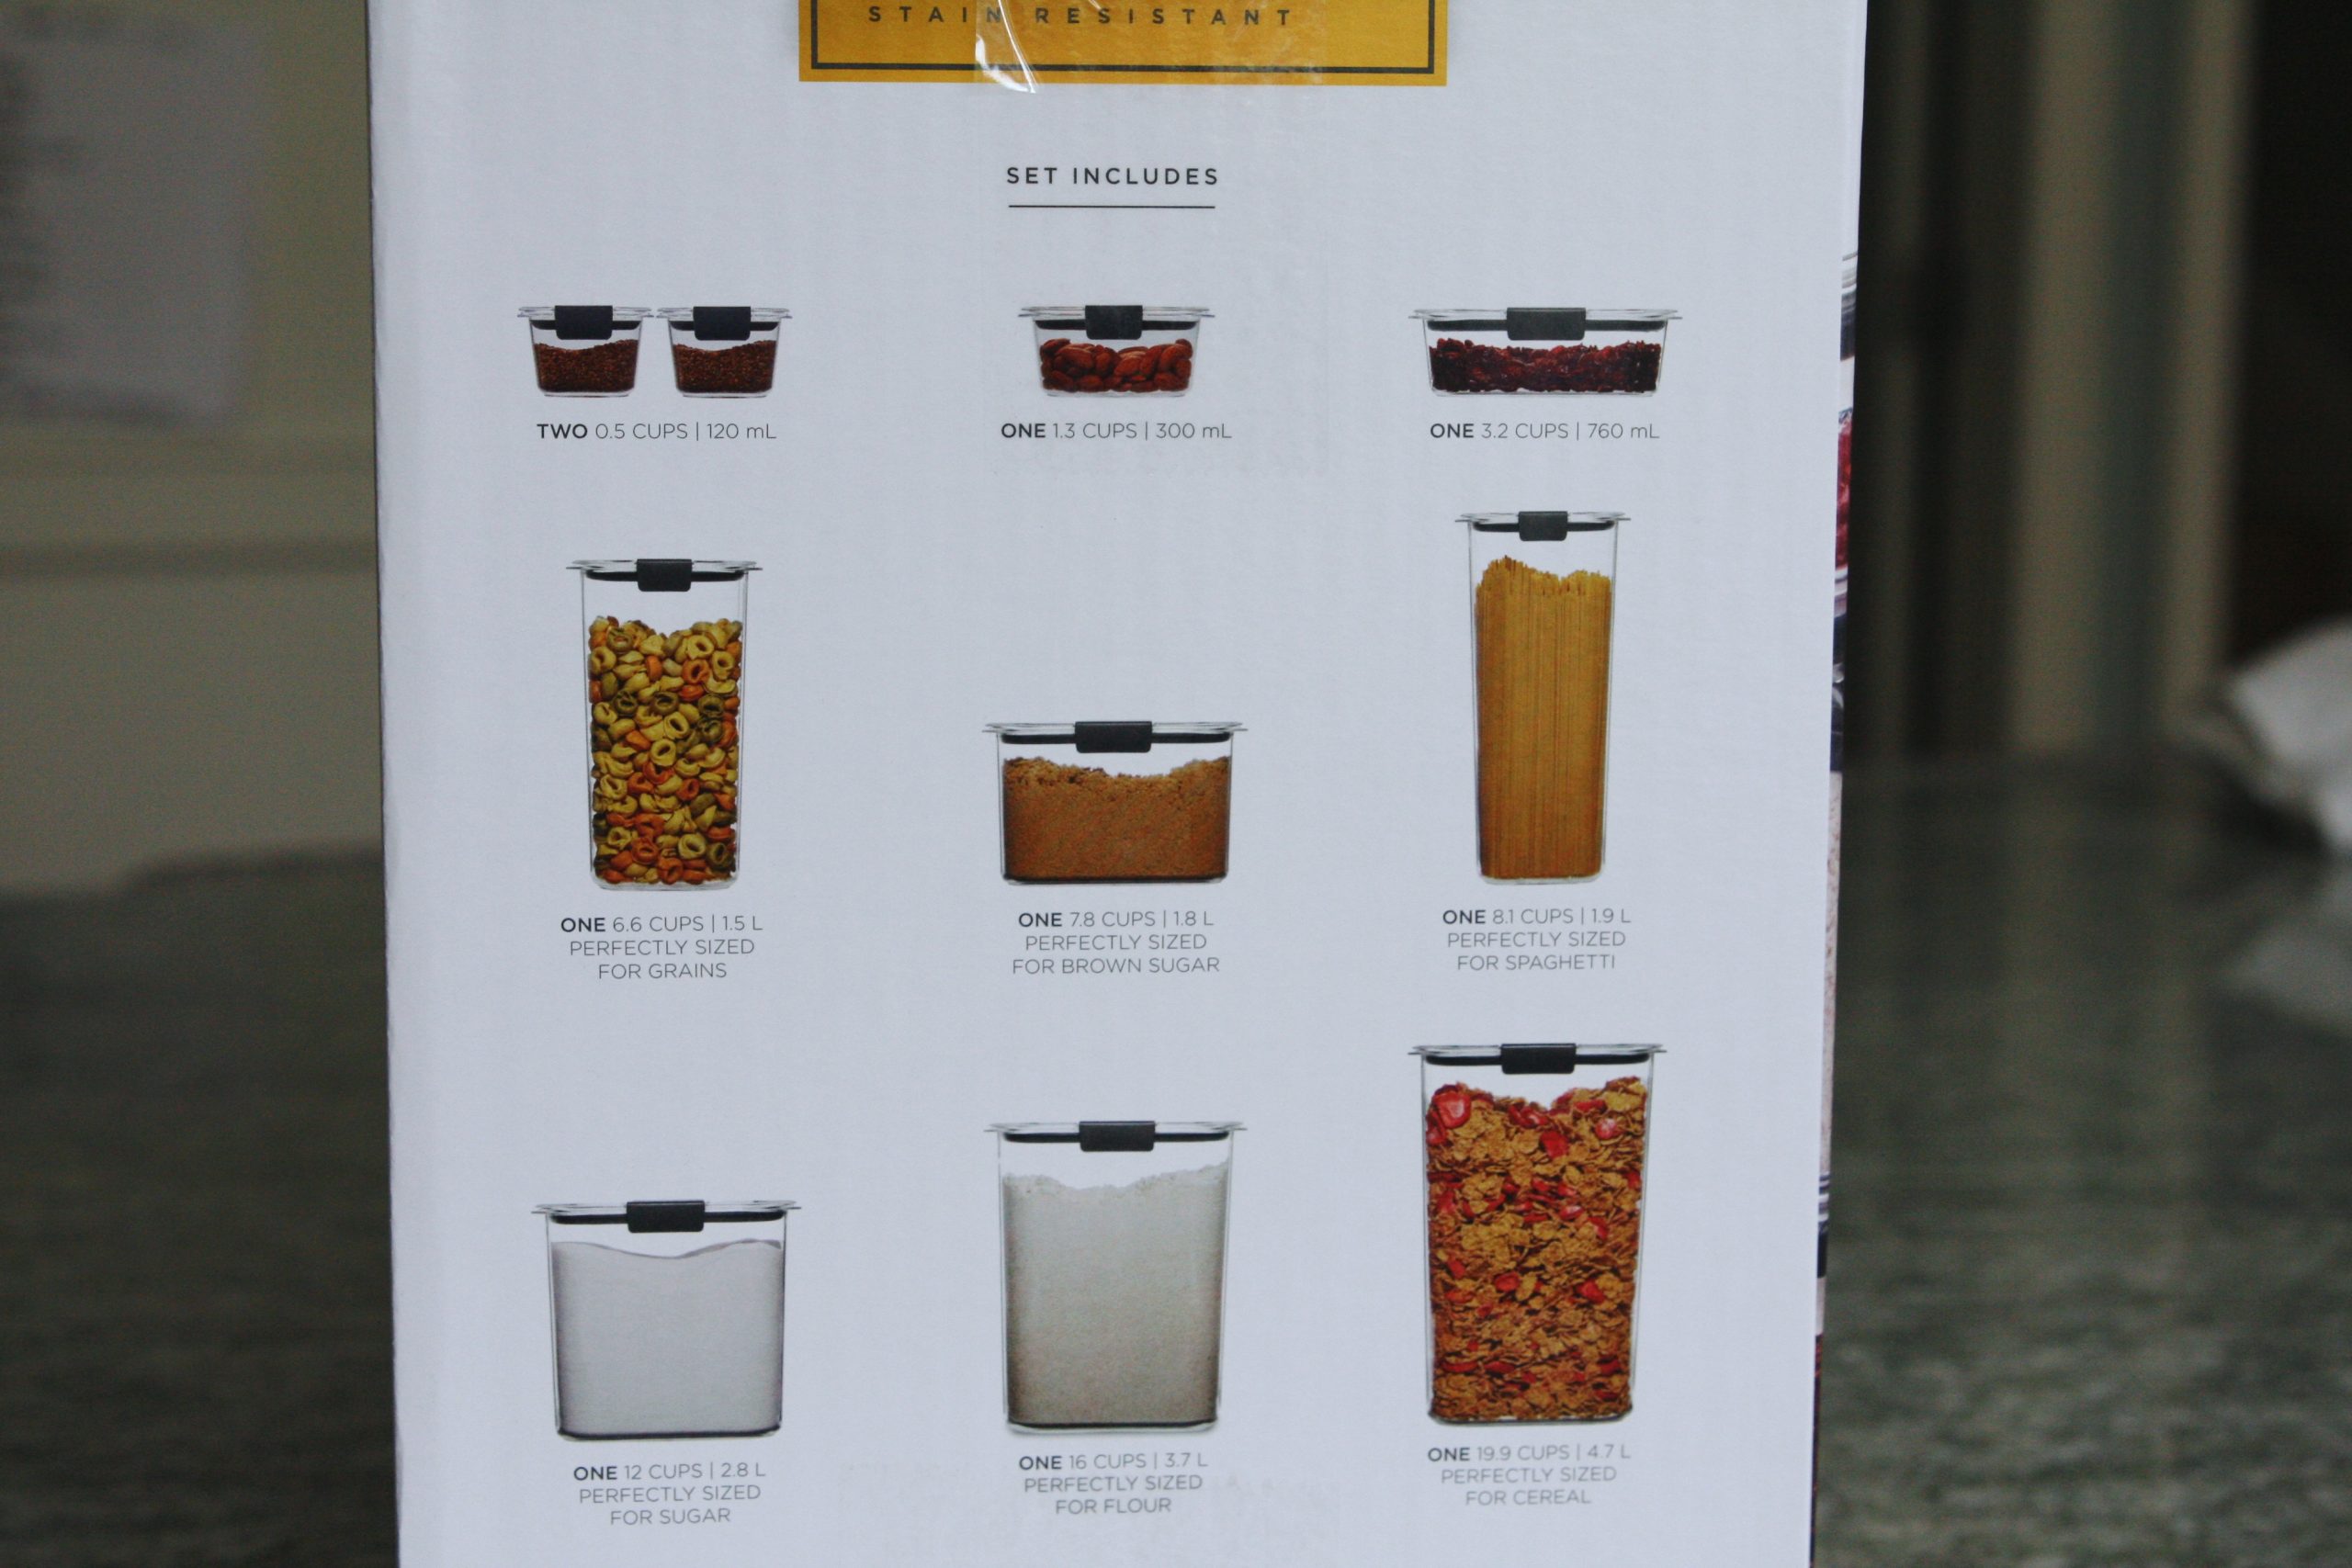
I love the variety of sizes because measuring out flour requires a larger container opening than baking powder or baking soda…
![]()
![]()
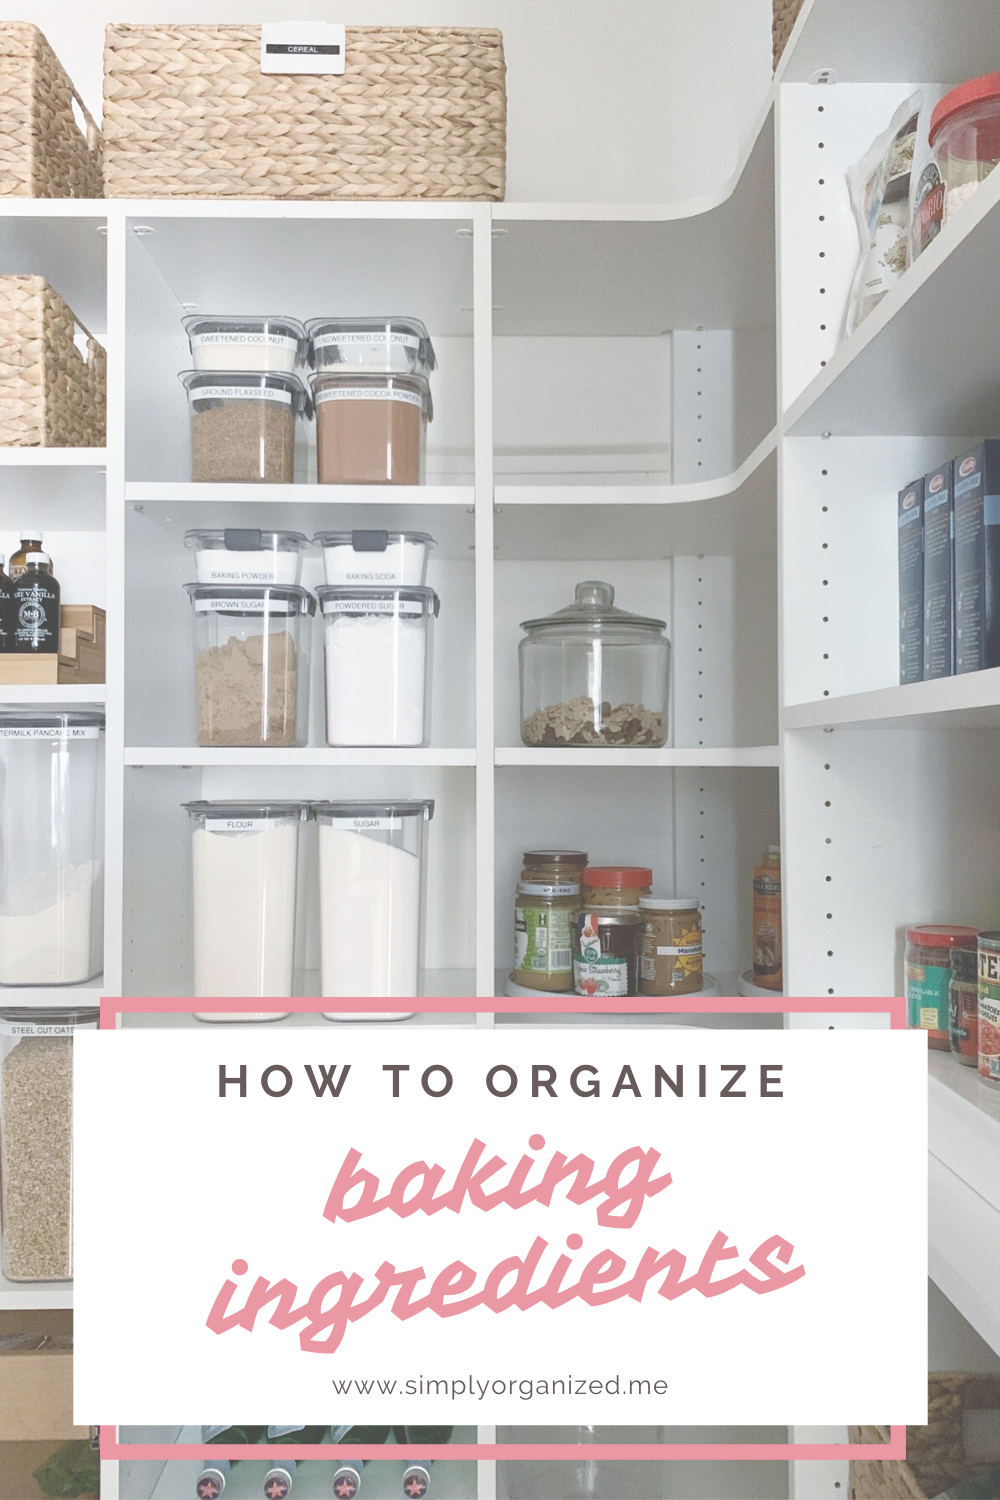
Organizing Baking Ingredients
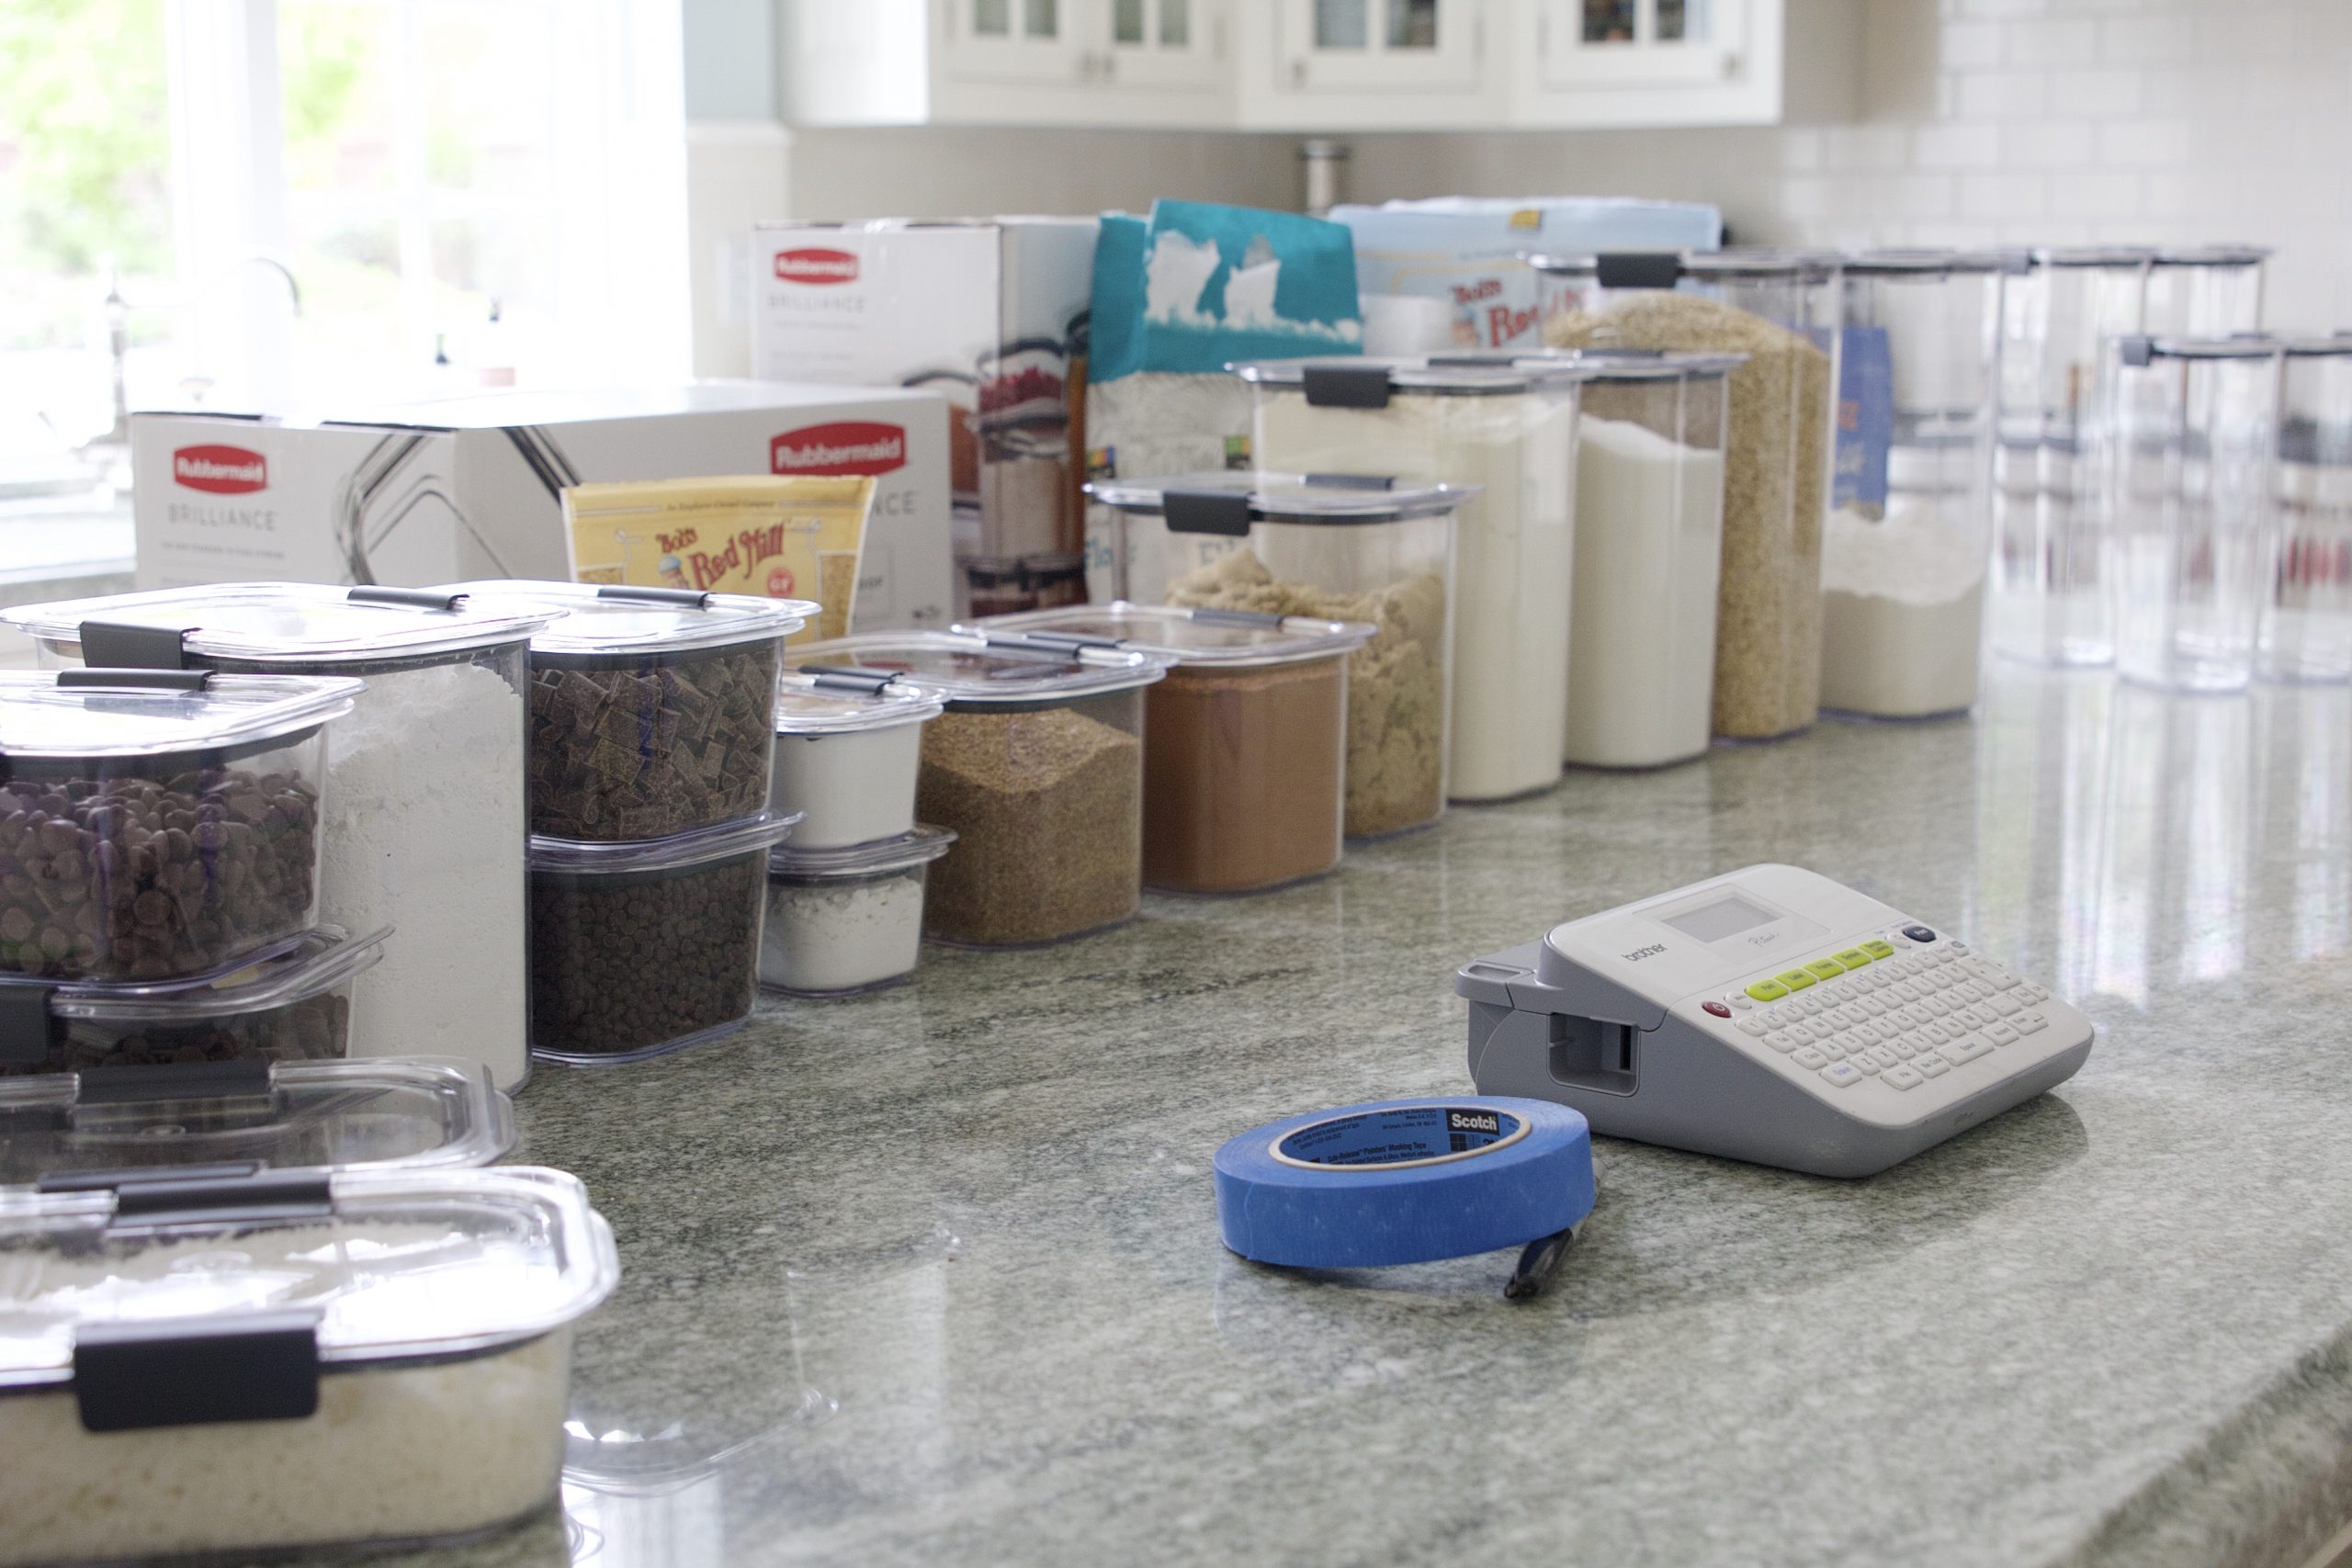
With everything clean, dry and ready to go, I located all the baking ingredients. After determining which container would work best for each, I began decanting…
Expert Tip
Here’s a quick tip during this process. This is a step I ensure is taken with each client pantry project and especially with the variety of allergies / dietary restrictions. When you’ve decanted a food item, leave the empty bag or container underneath or behind your food storage container. When it comes time to label, you will not have to figure out which is the almond flour vs the coconut flour…or the whole wheat flour OR the baking flour…
There’s an incredible variety of ground meals, sugars and flours and it’s important to label correctly if you have allergies at home. So this is a tip that works every time and on every project!
Time to Label
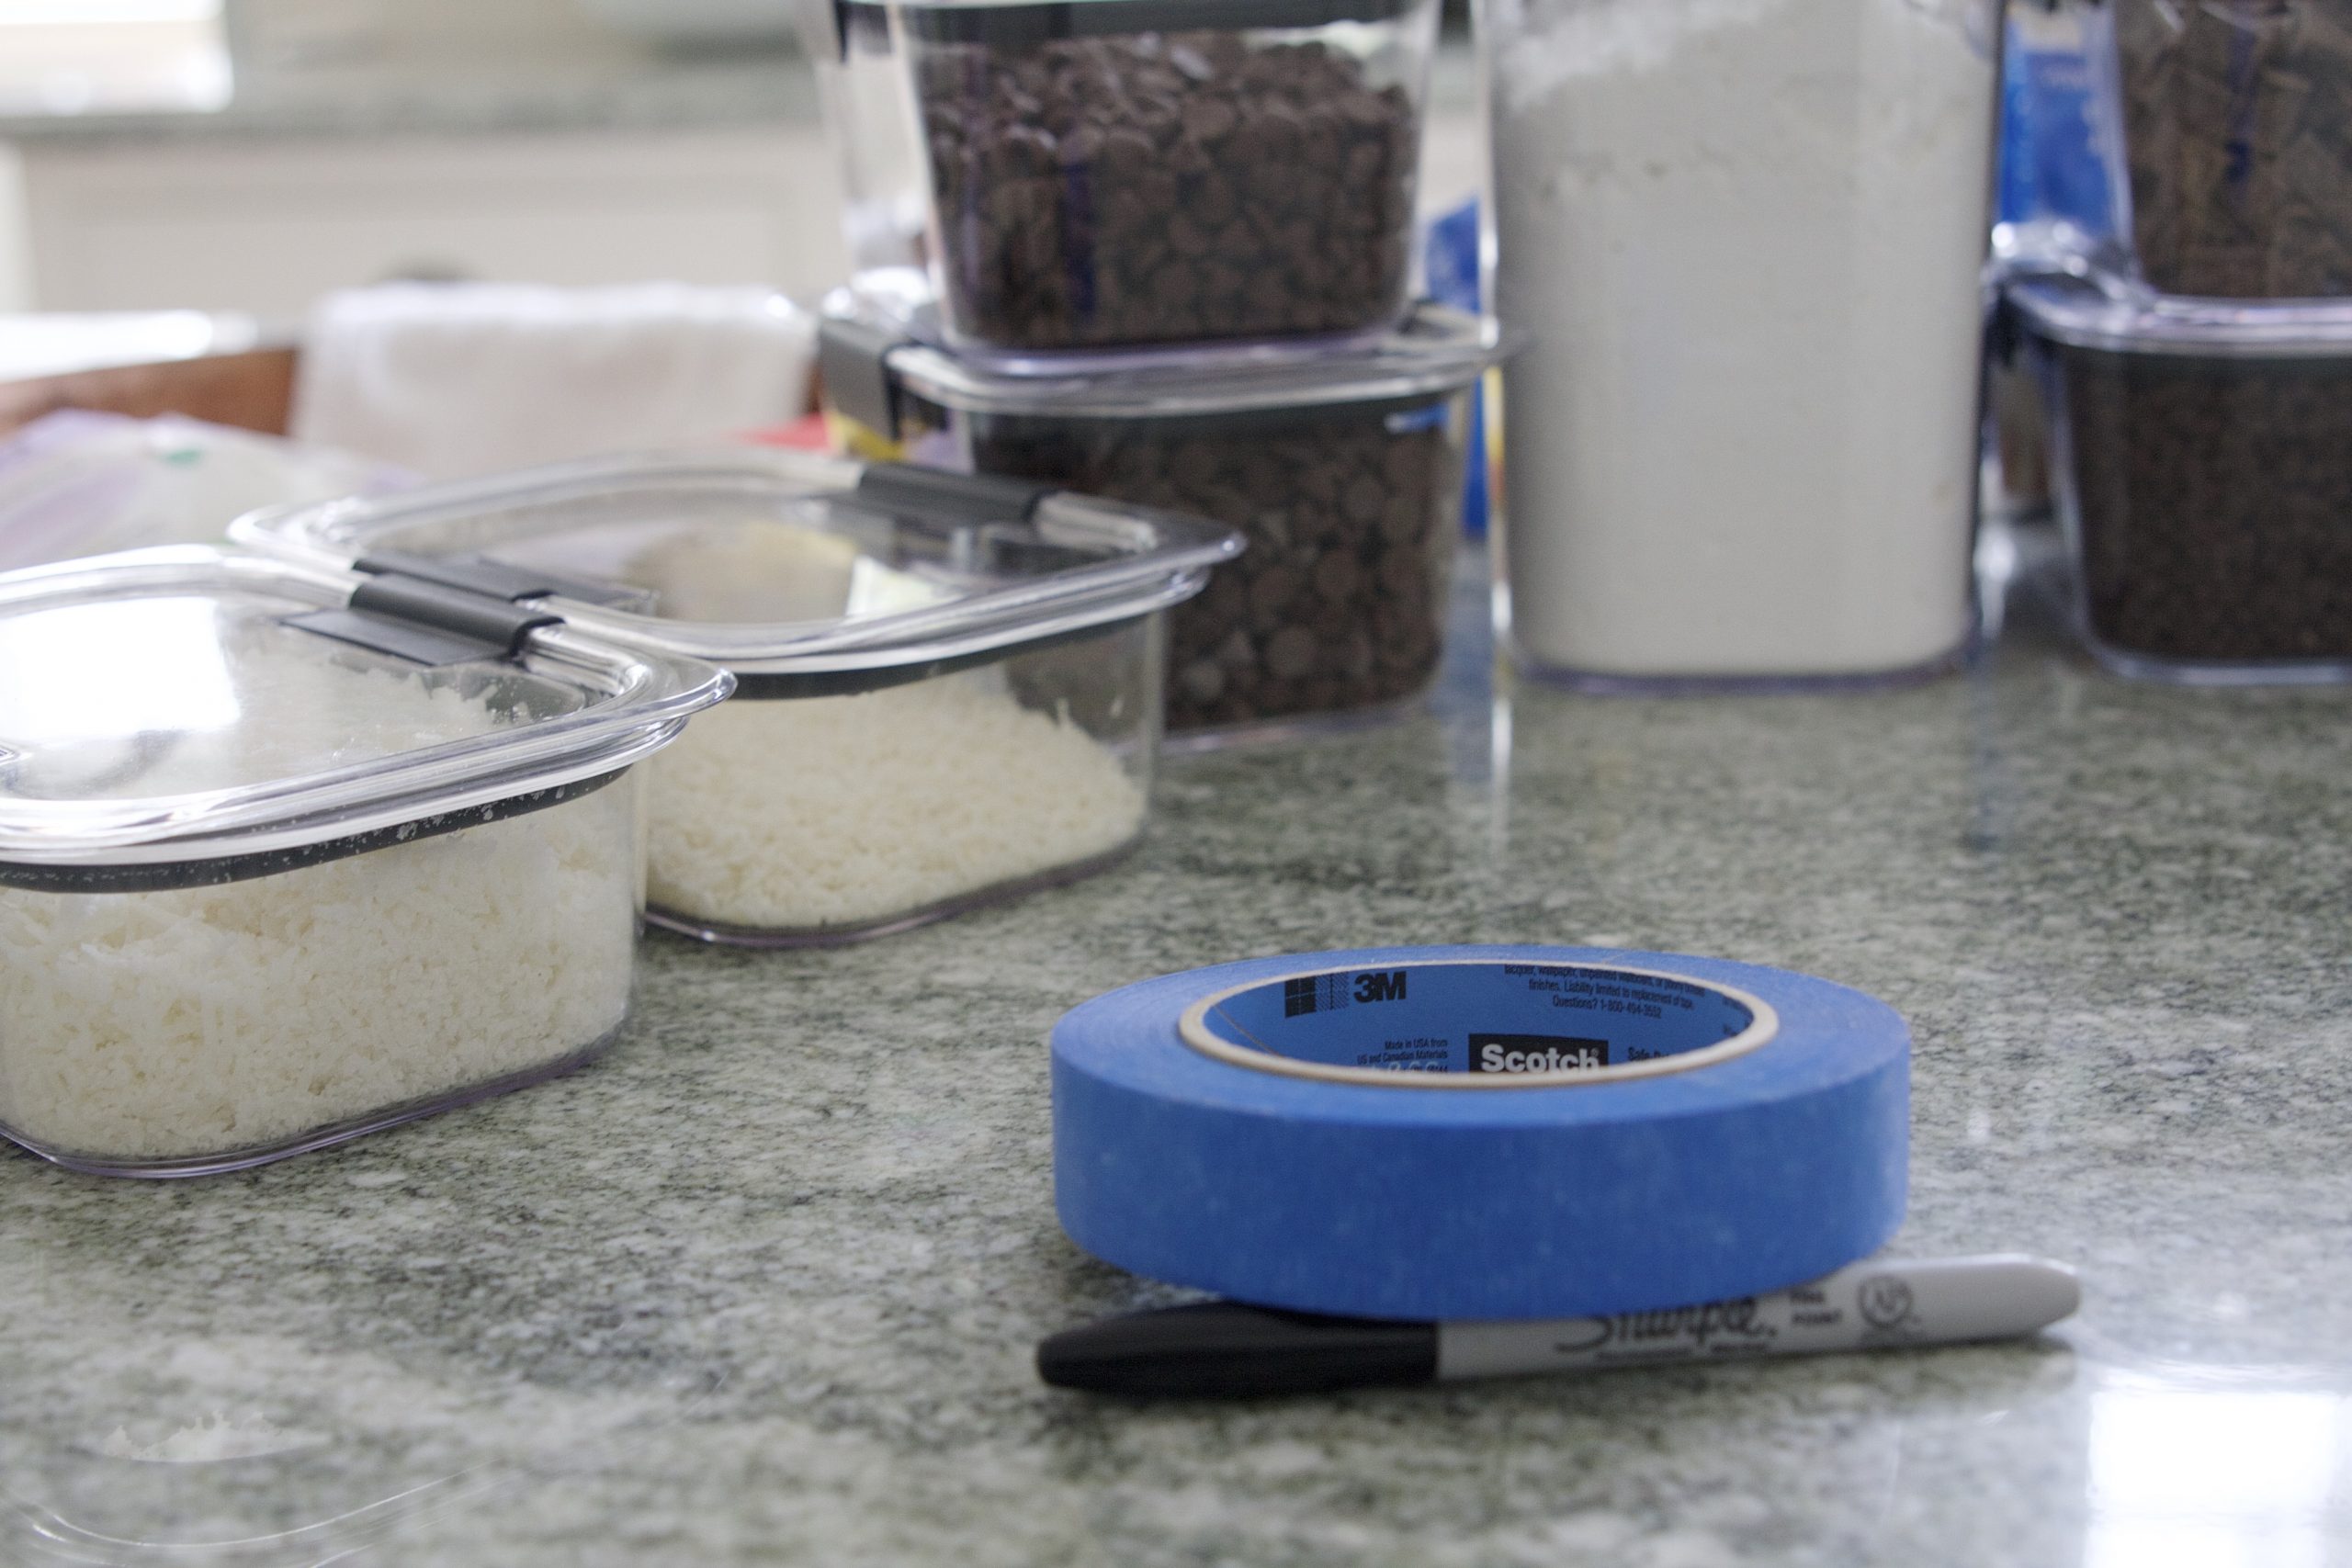
Once decanted I wiped down the counter and started labeling…
Expert Tip
A couple more tips for you! Worried about an expiration date? Easy! Just write it on a piece of painters tape and place it on the bottom or back of your pantry container…or some pens allow you to write directly and safely on the container…
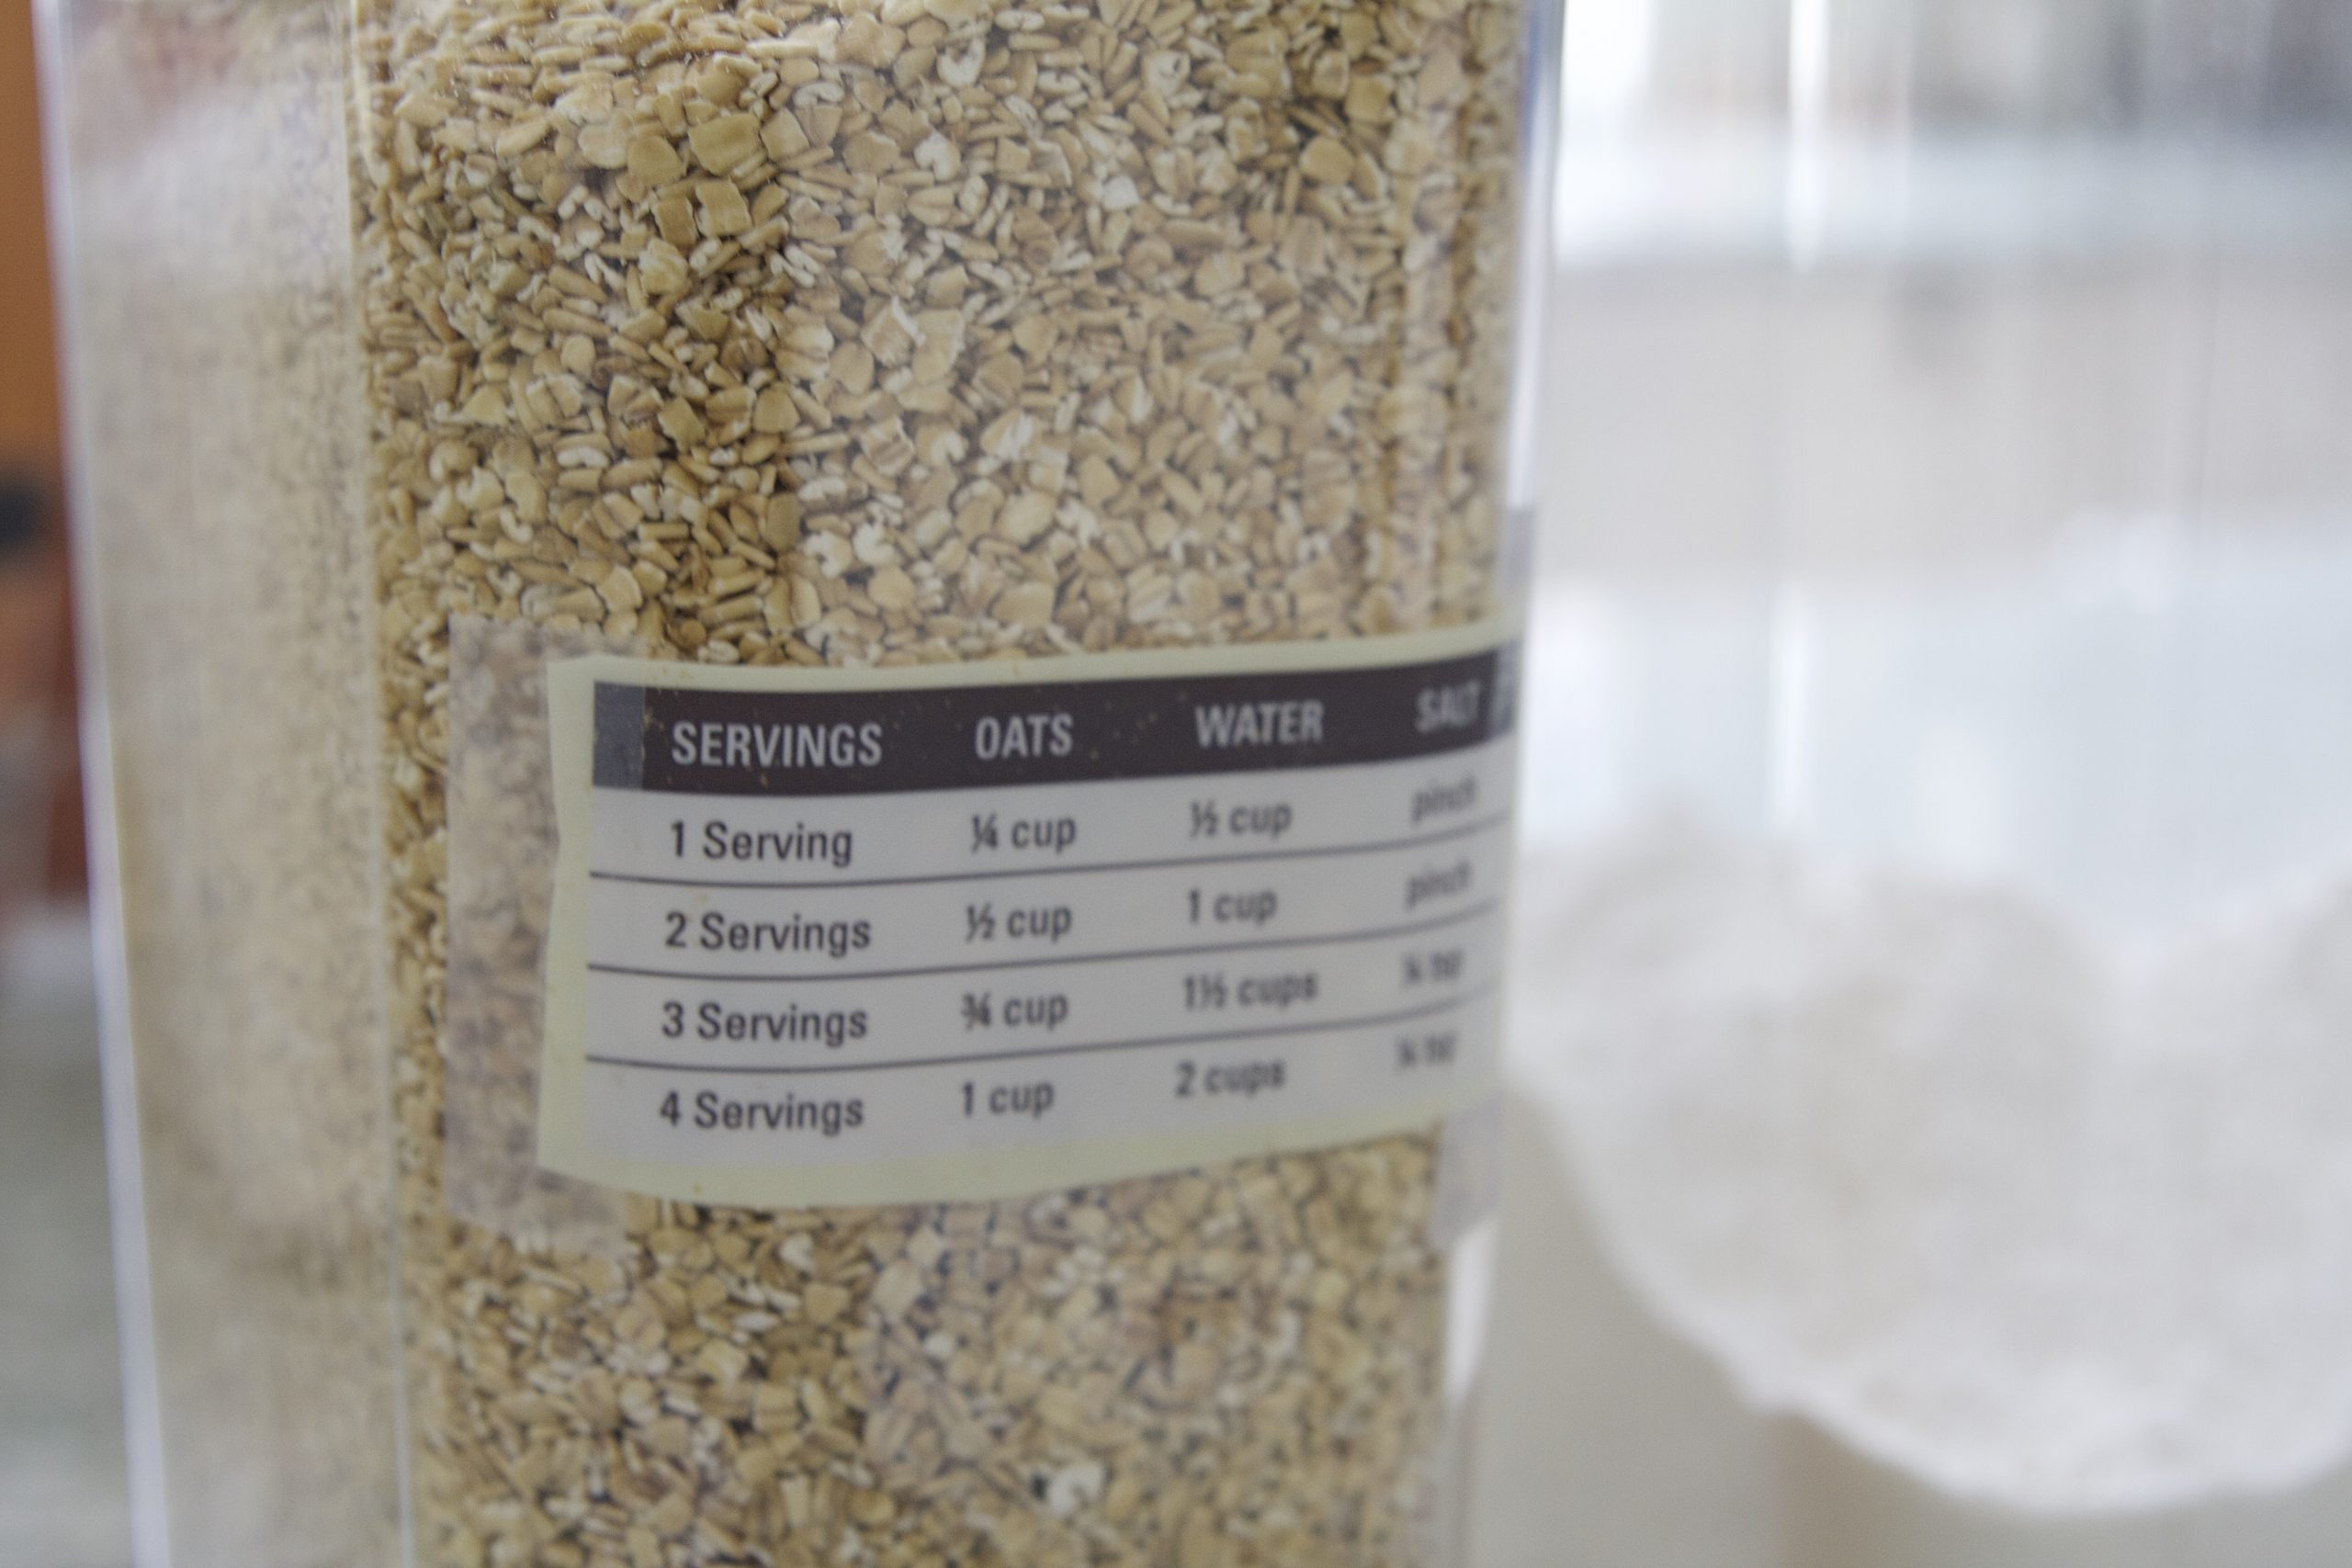
And if you’re worried about forgetting cooking instructions or measurements, just cut them out and tape it to the back of the container. For example, I’ve used these steel cut quick-cooking oats for years and already know they take 7 minutes to make. But I don’t always remember the measurements depending on how many servings I’m preparing. So I simply cut out that portion of the label and taped it to the back of my pantry container…

Easy!
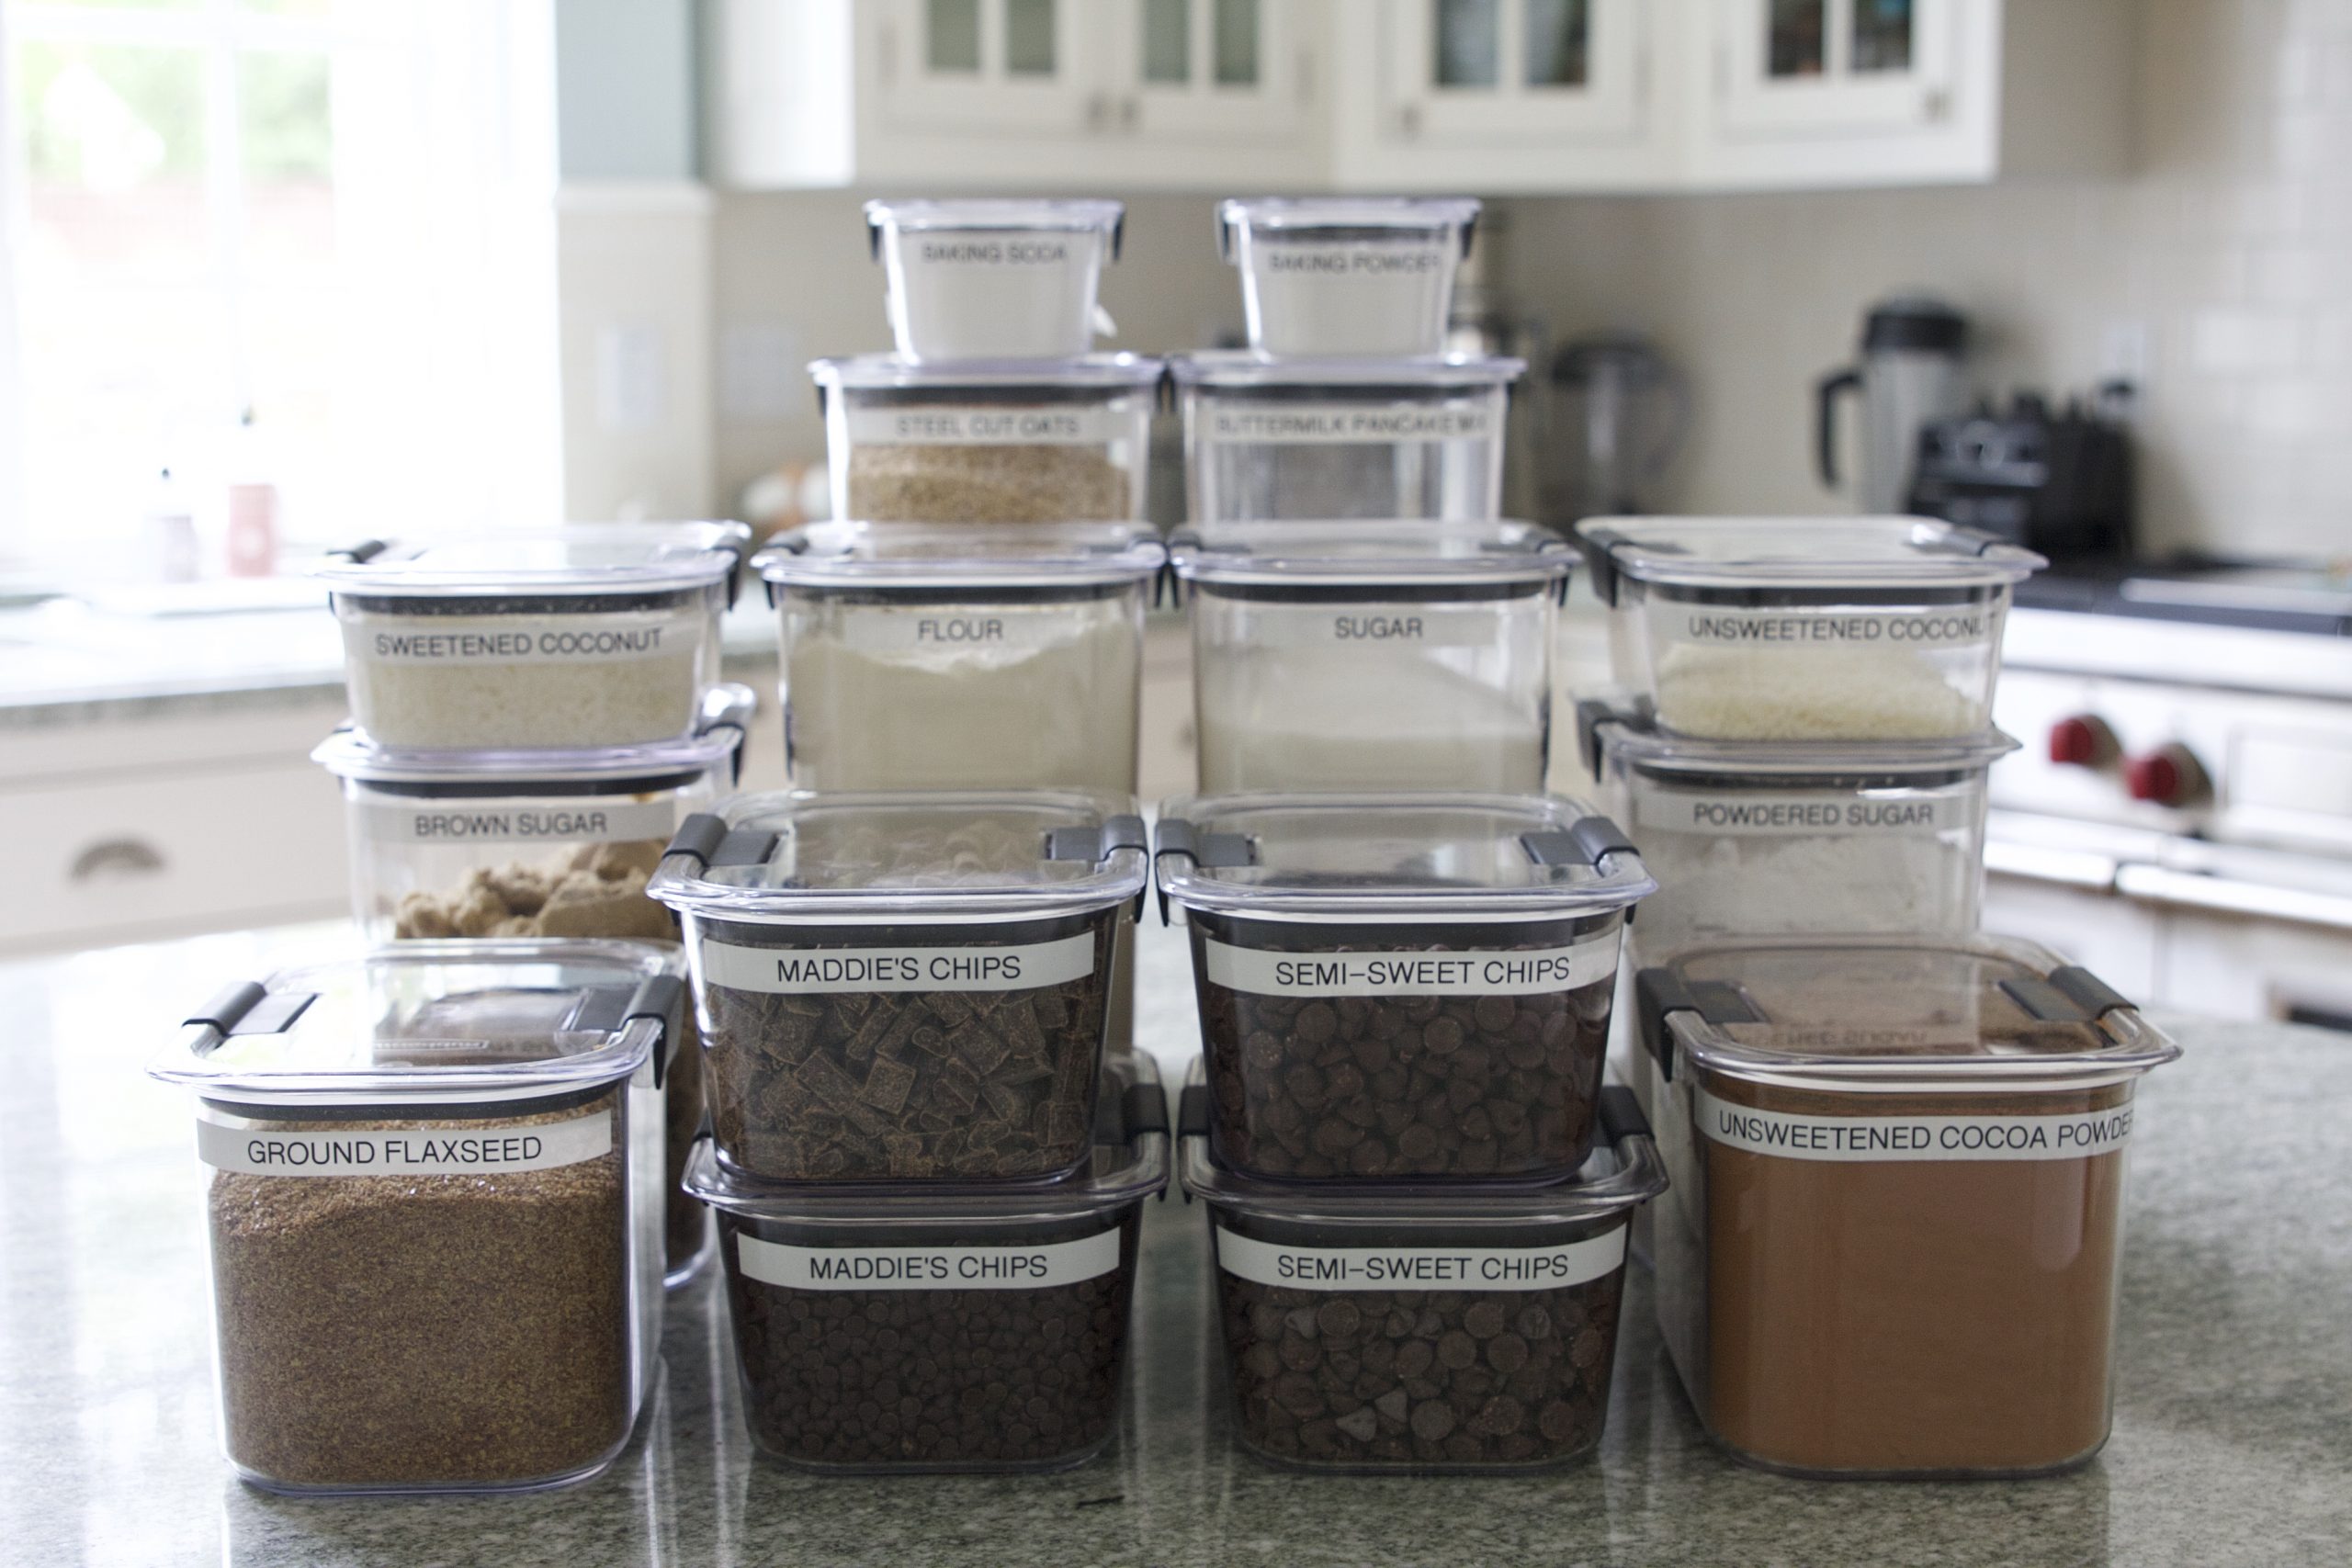
Simply Organized Baking Ingredients
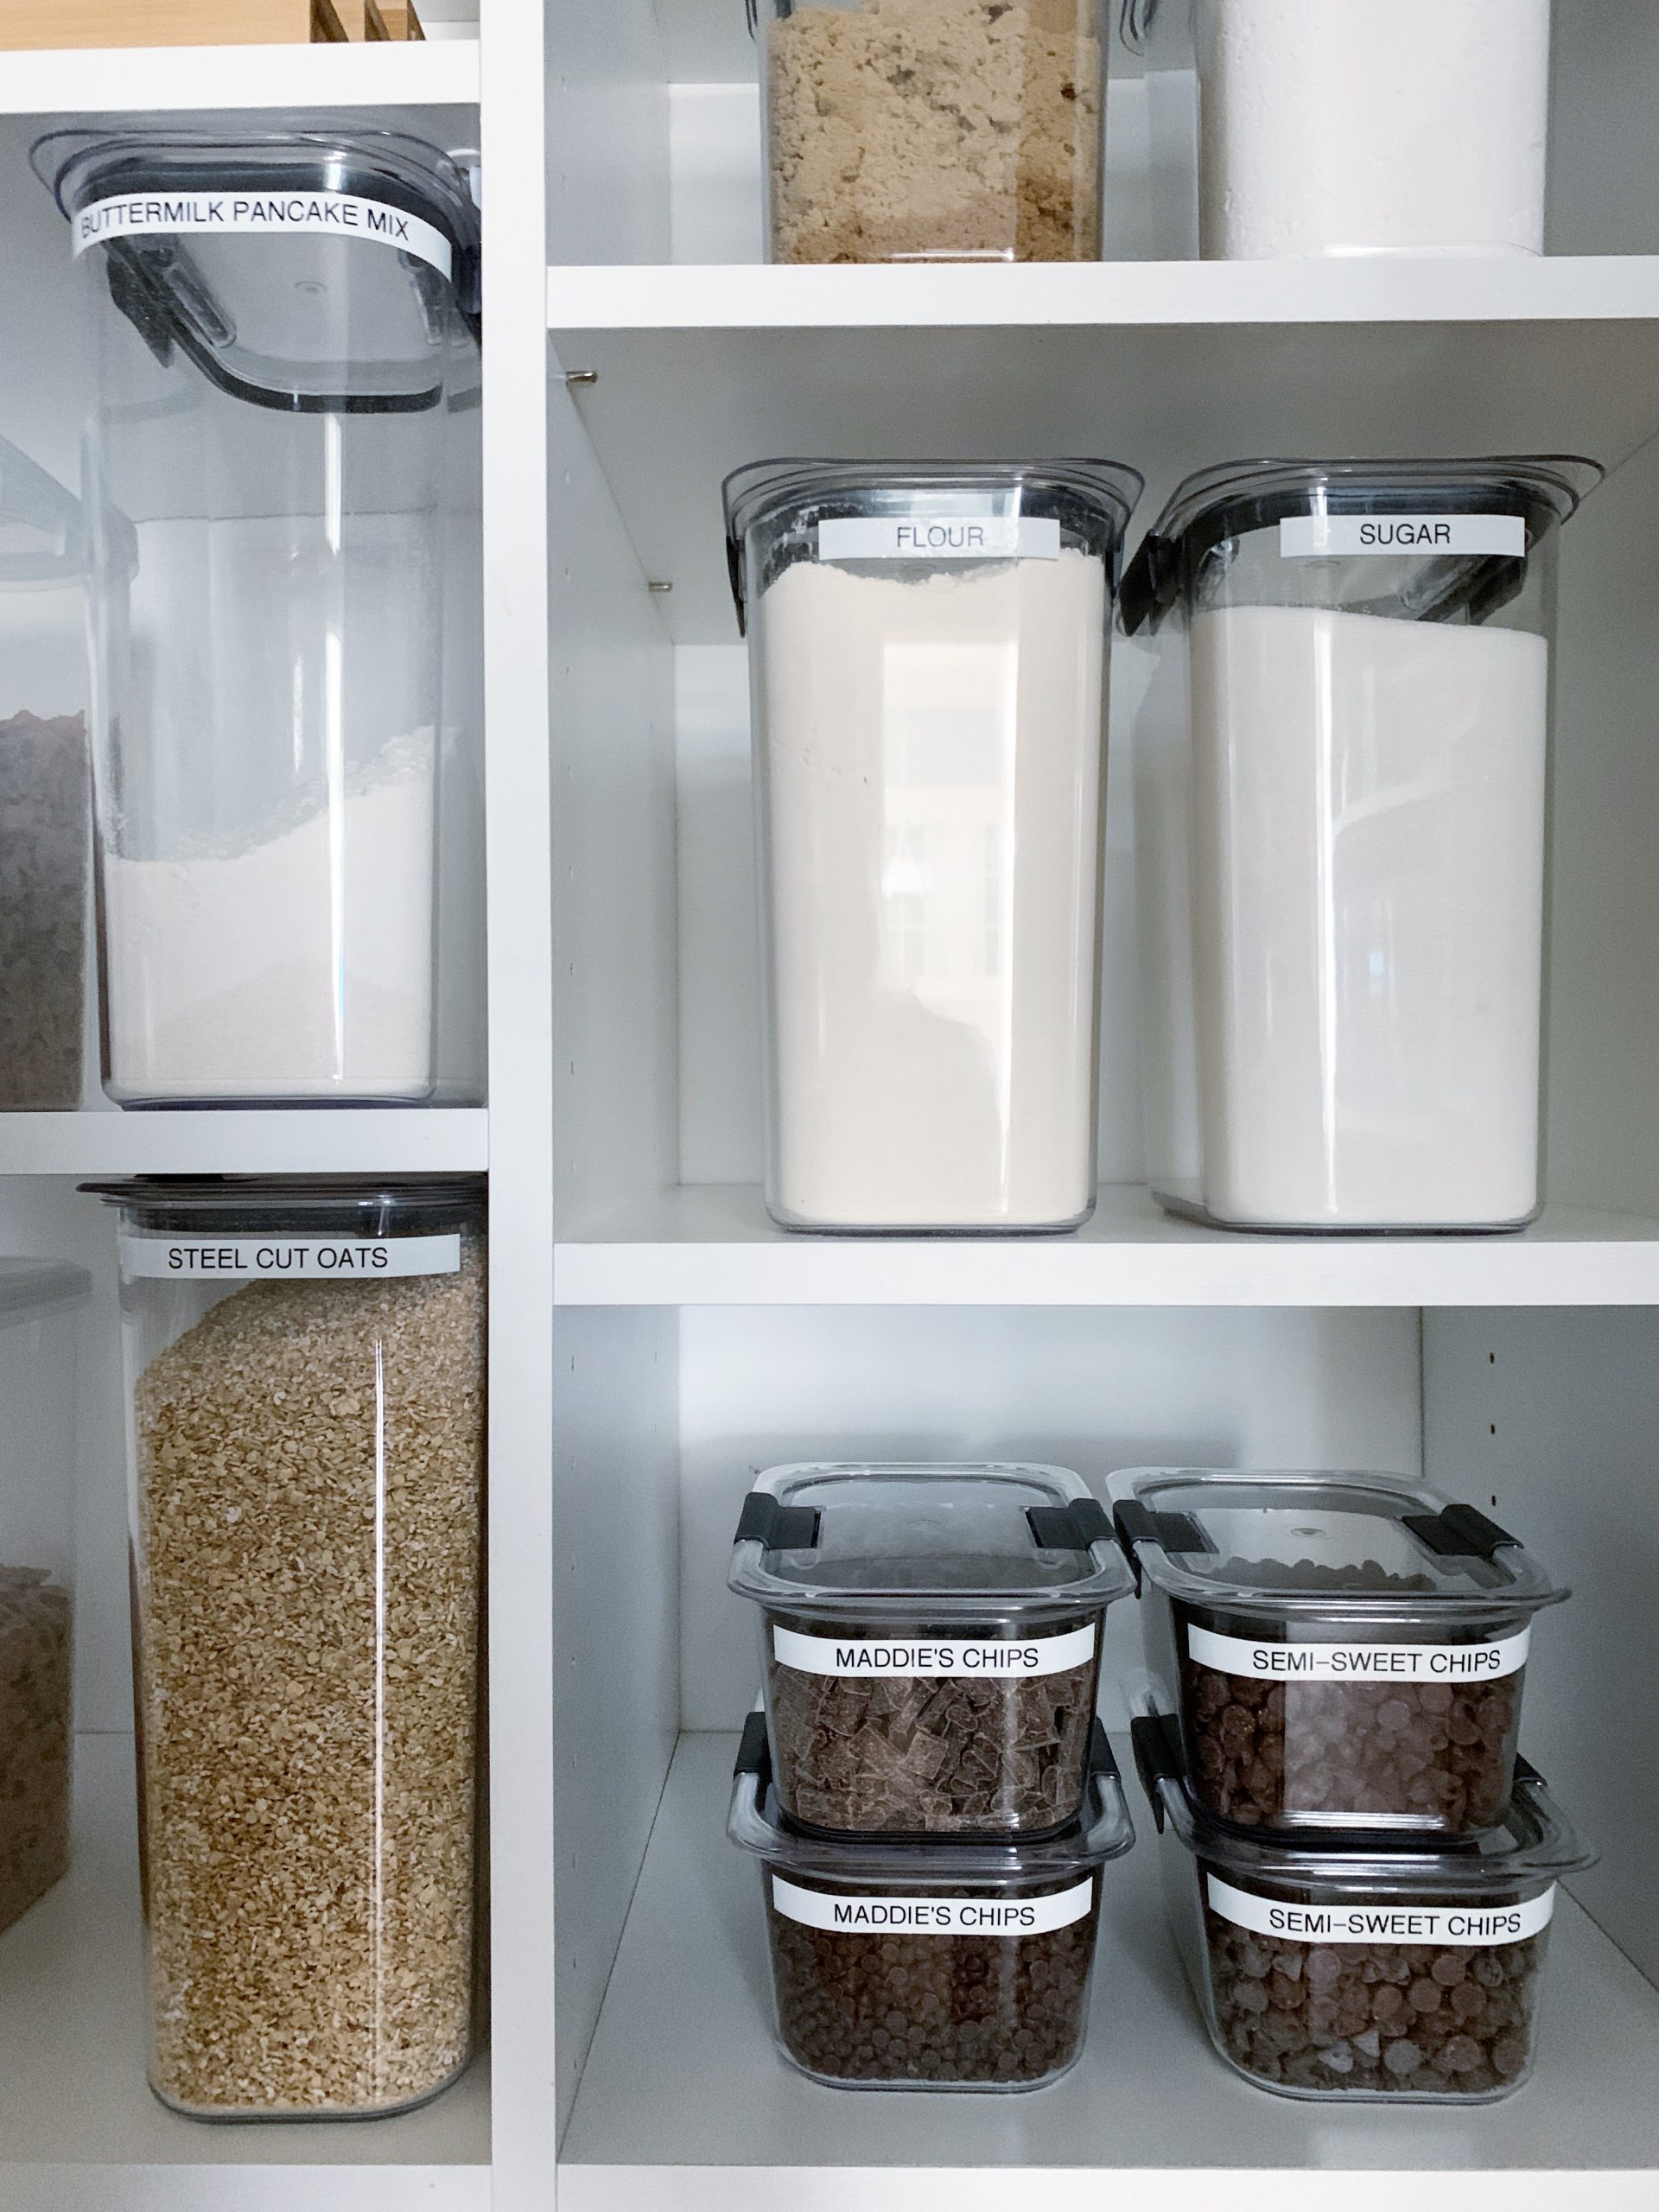
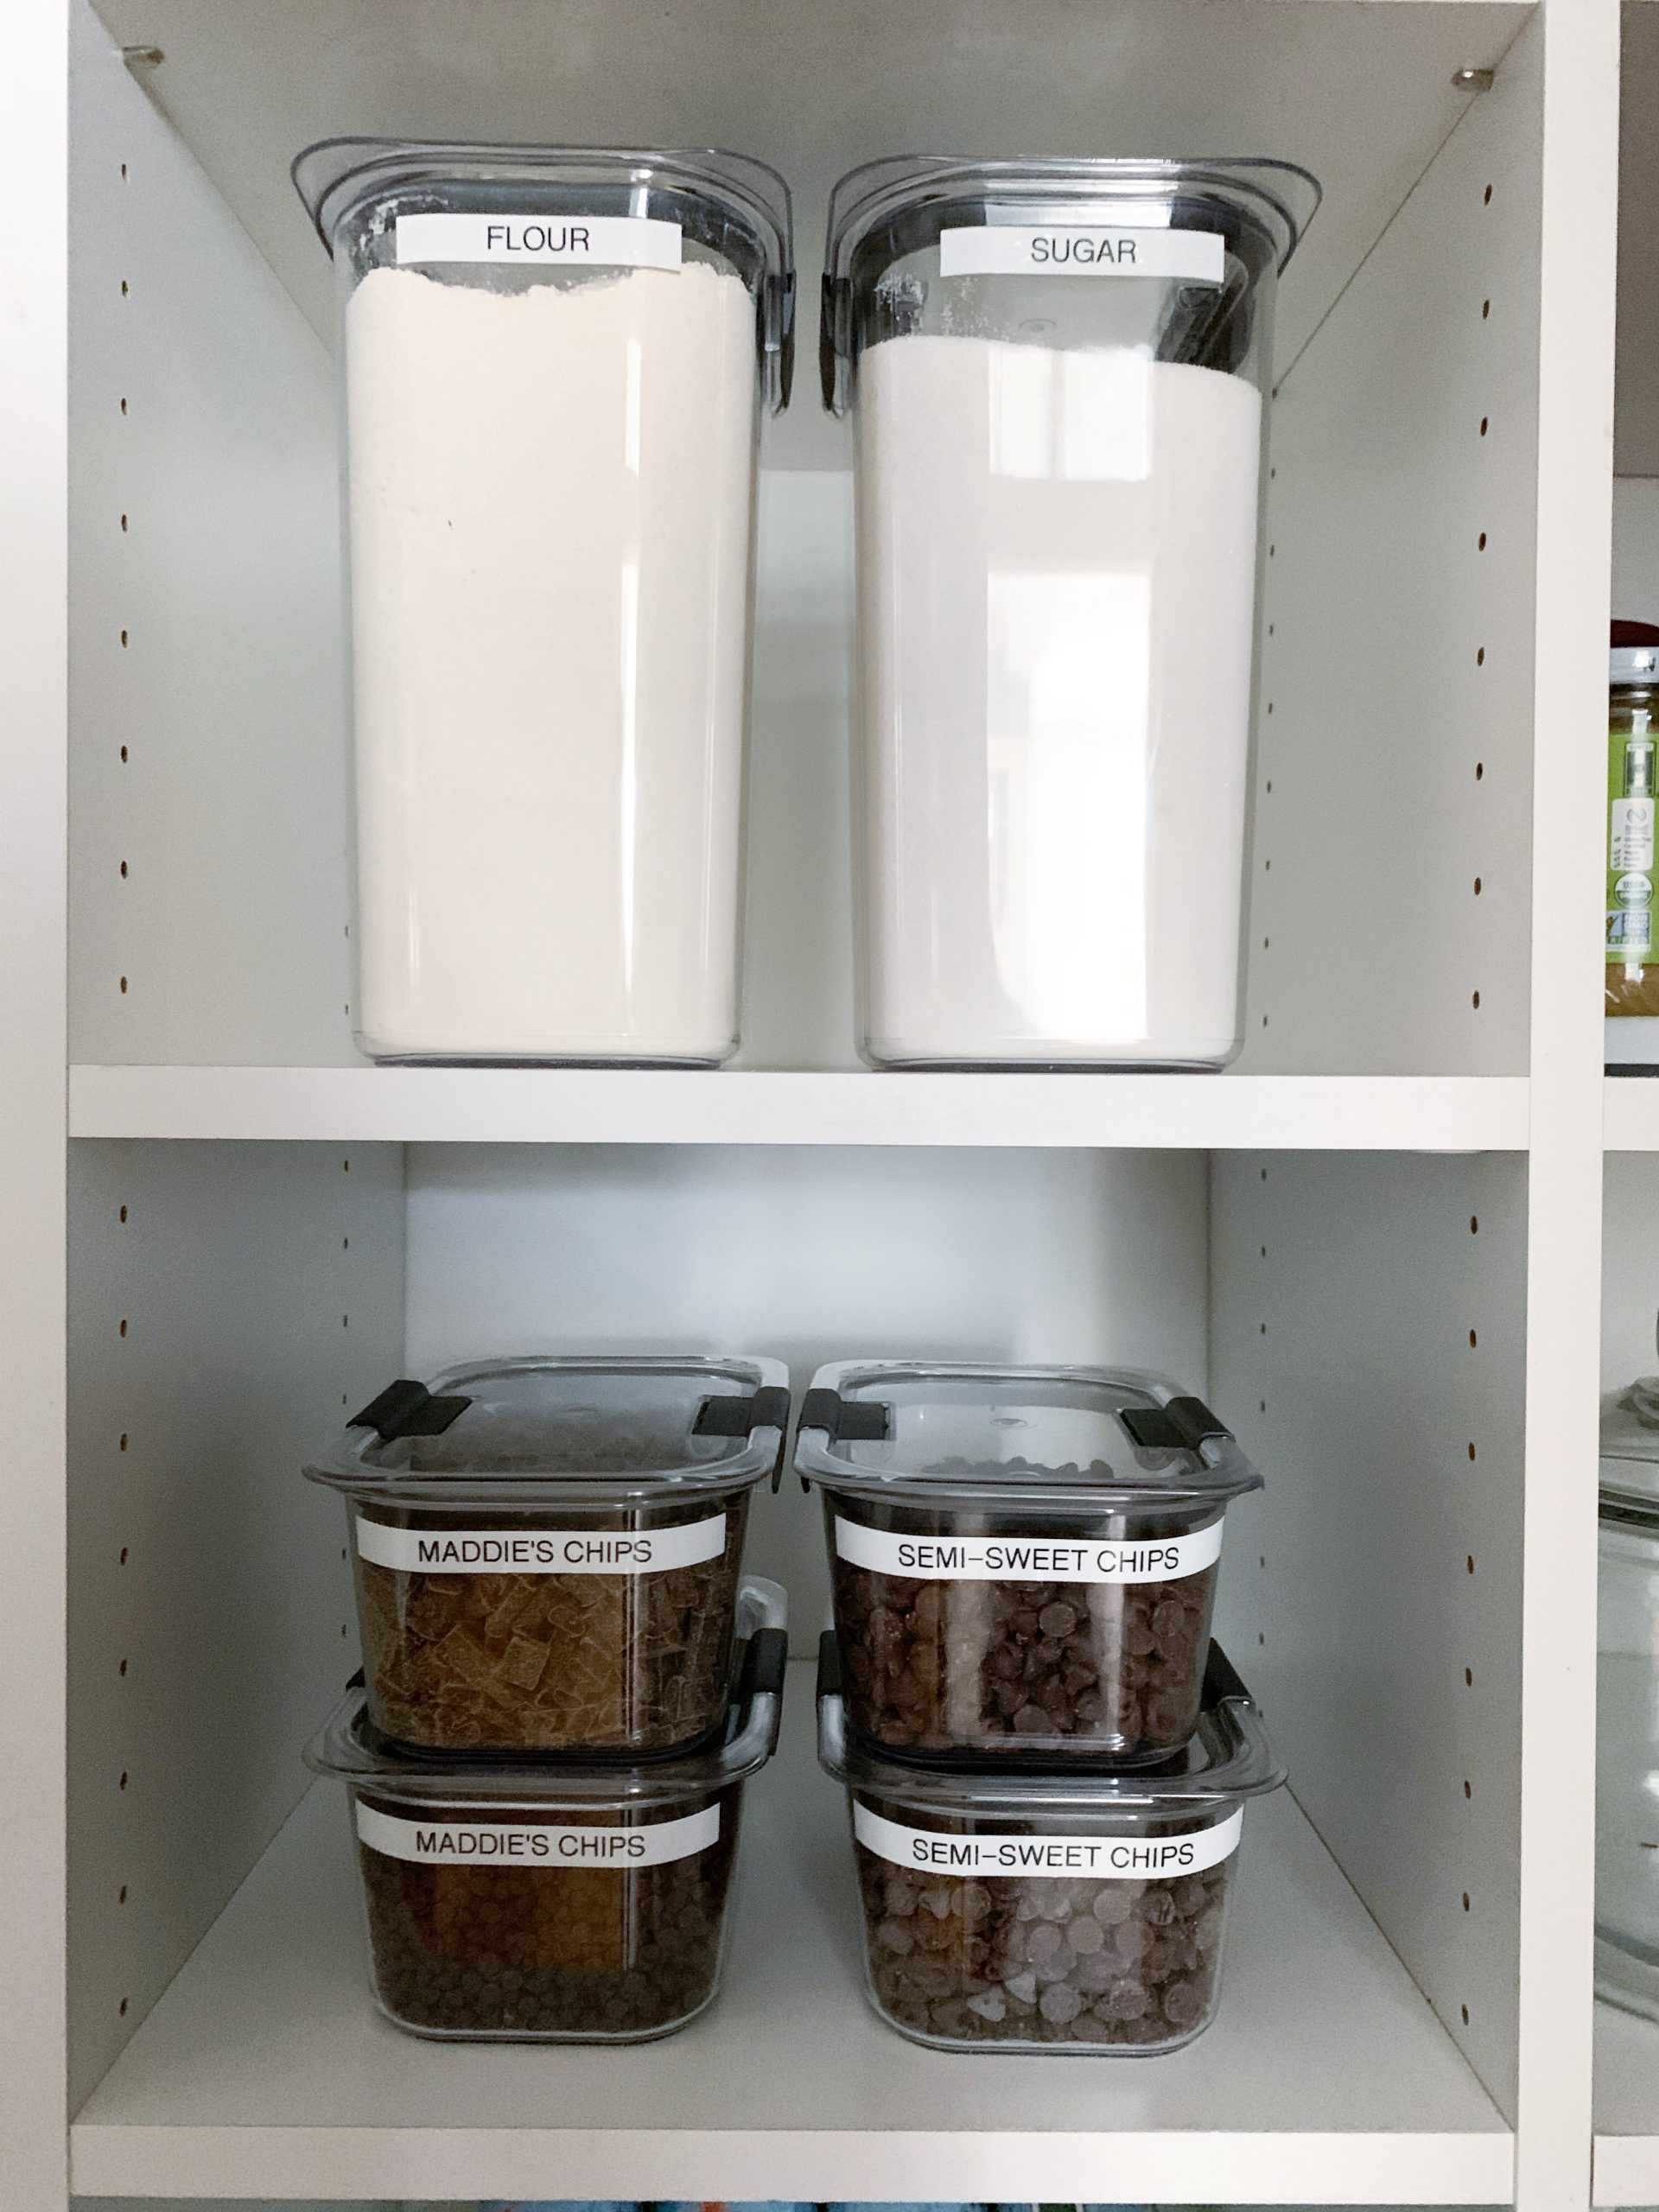
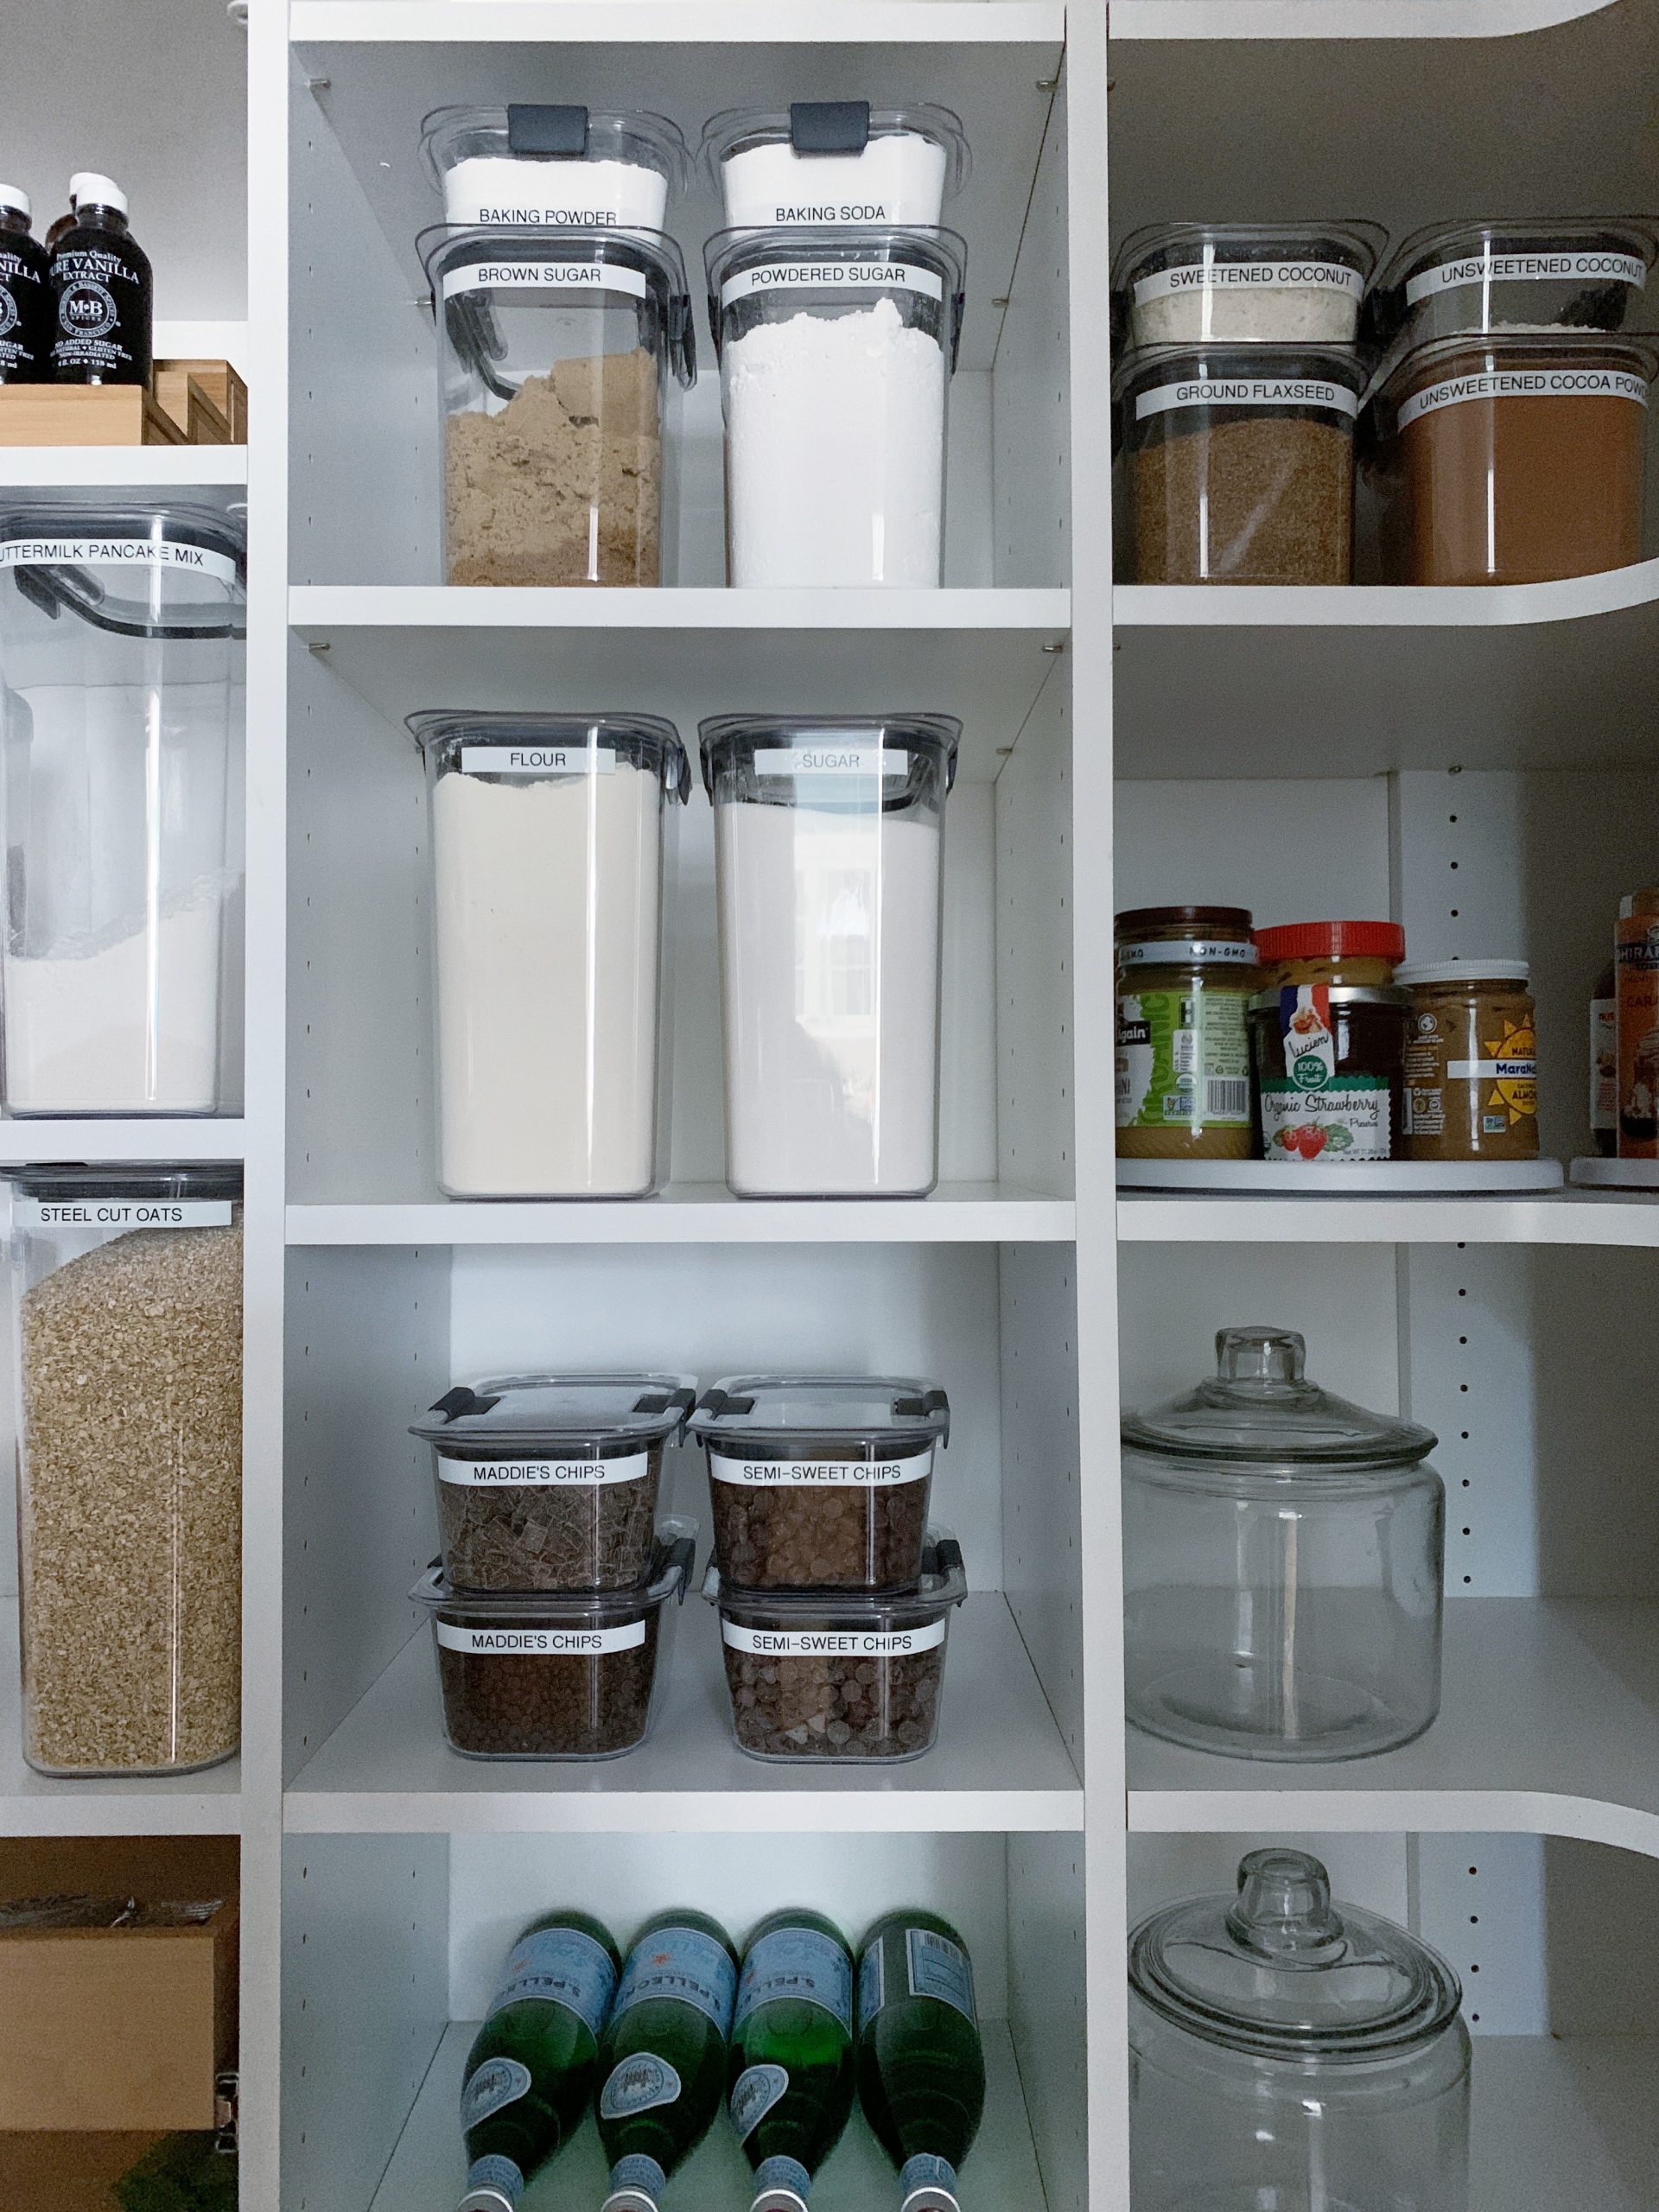
With everything beautifully contained and labeled, I was ready to put them away in the pantry…

And I can already see the reason to order more! We have plenty of other ingredients that could benefit from being stored airtight – items like almonds, dried fruits, crackers and cereals. Items that end up with lids partially secured or bags / boxes not closed tight…which means foods aren’t staying fresh for long.
LOVE these containers!…
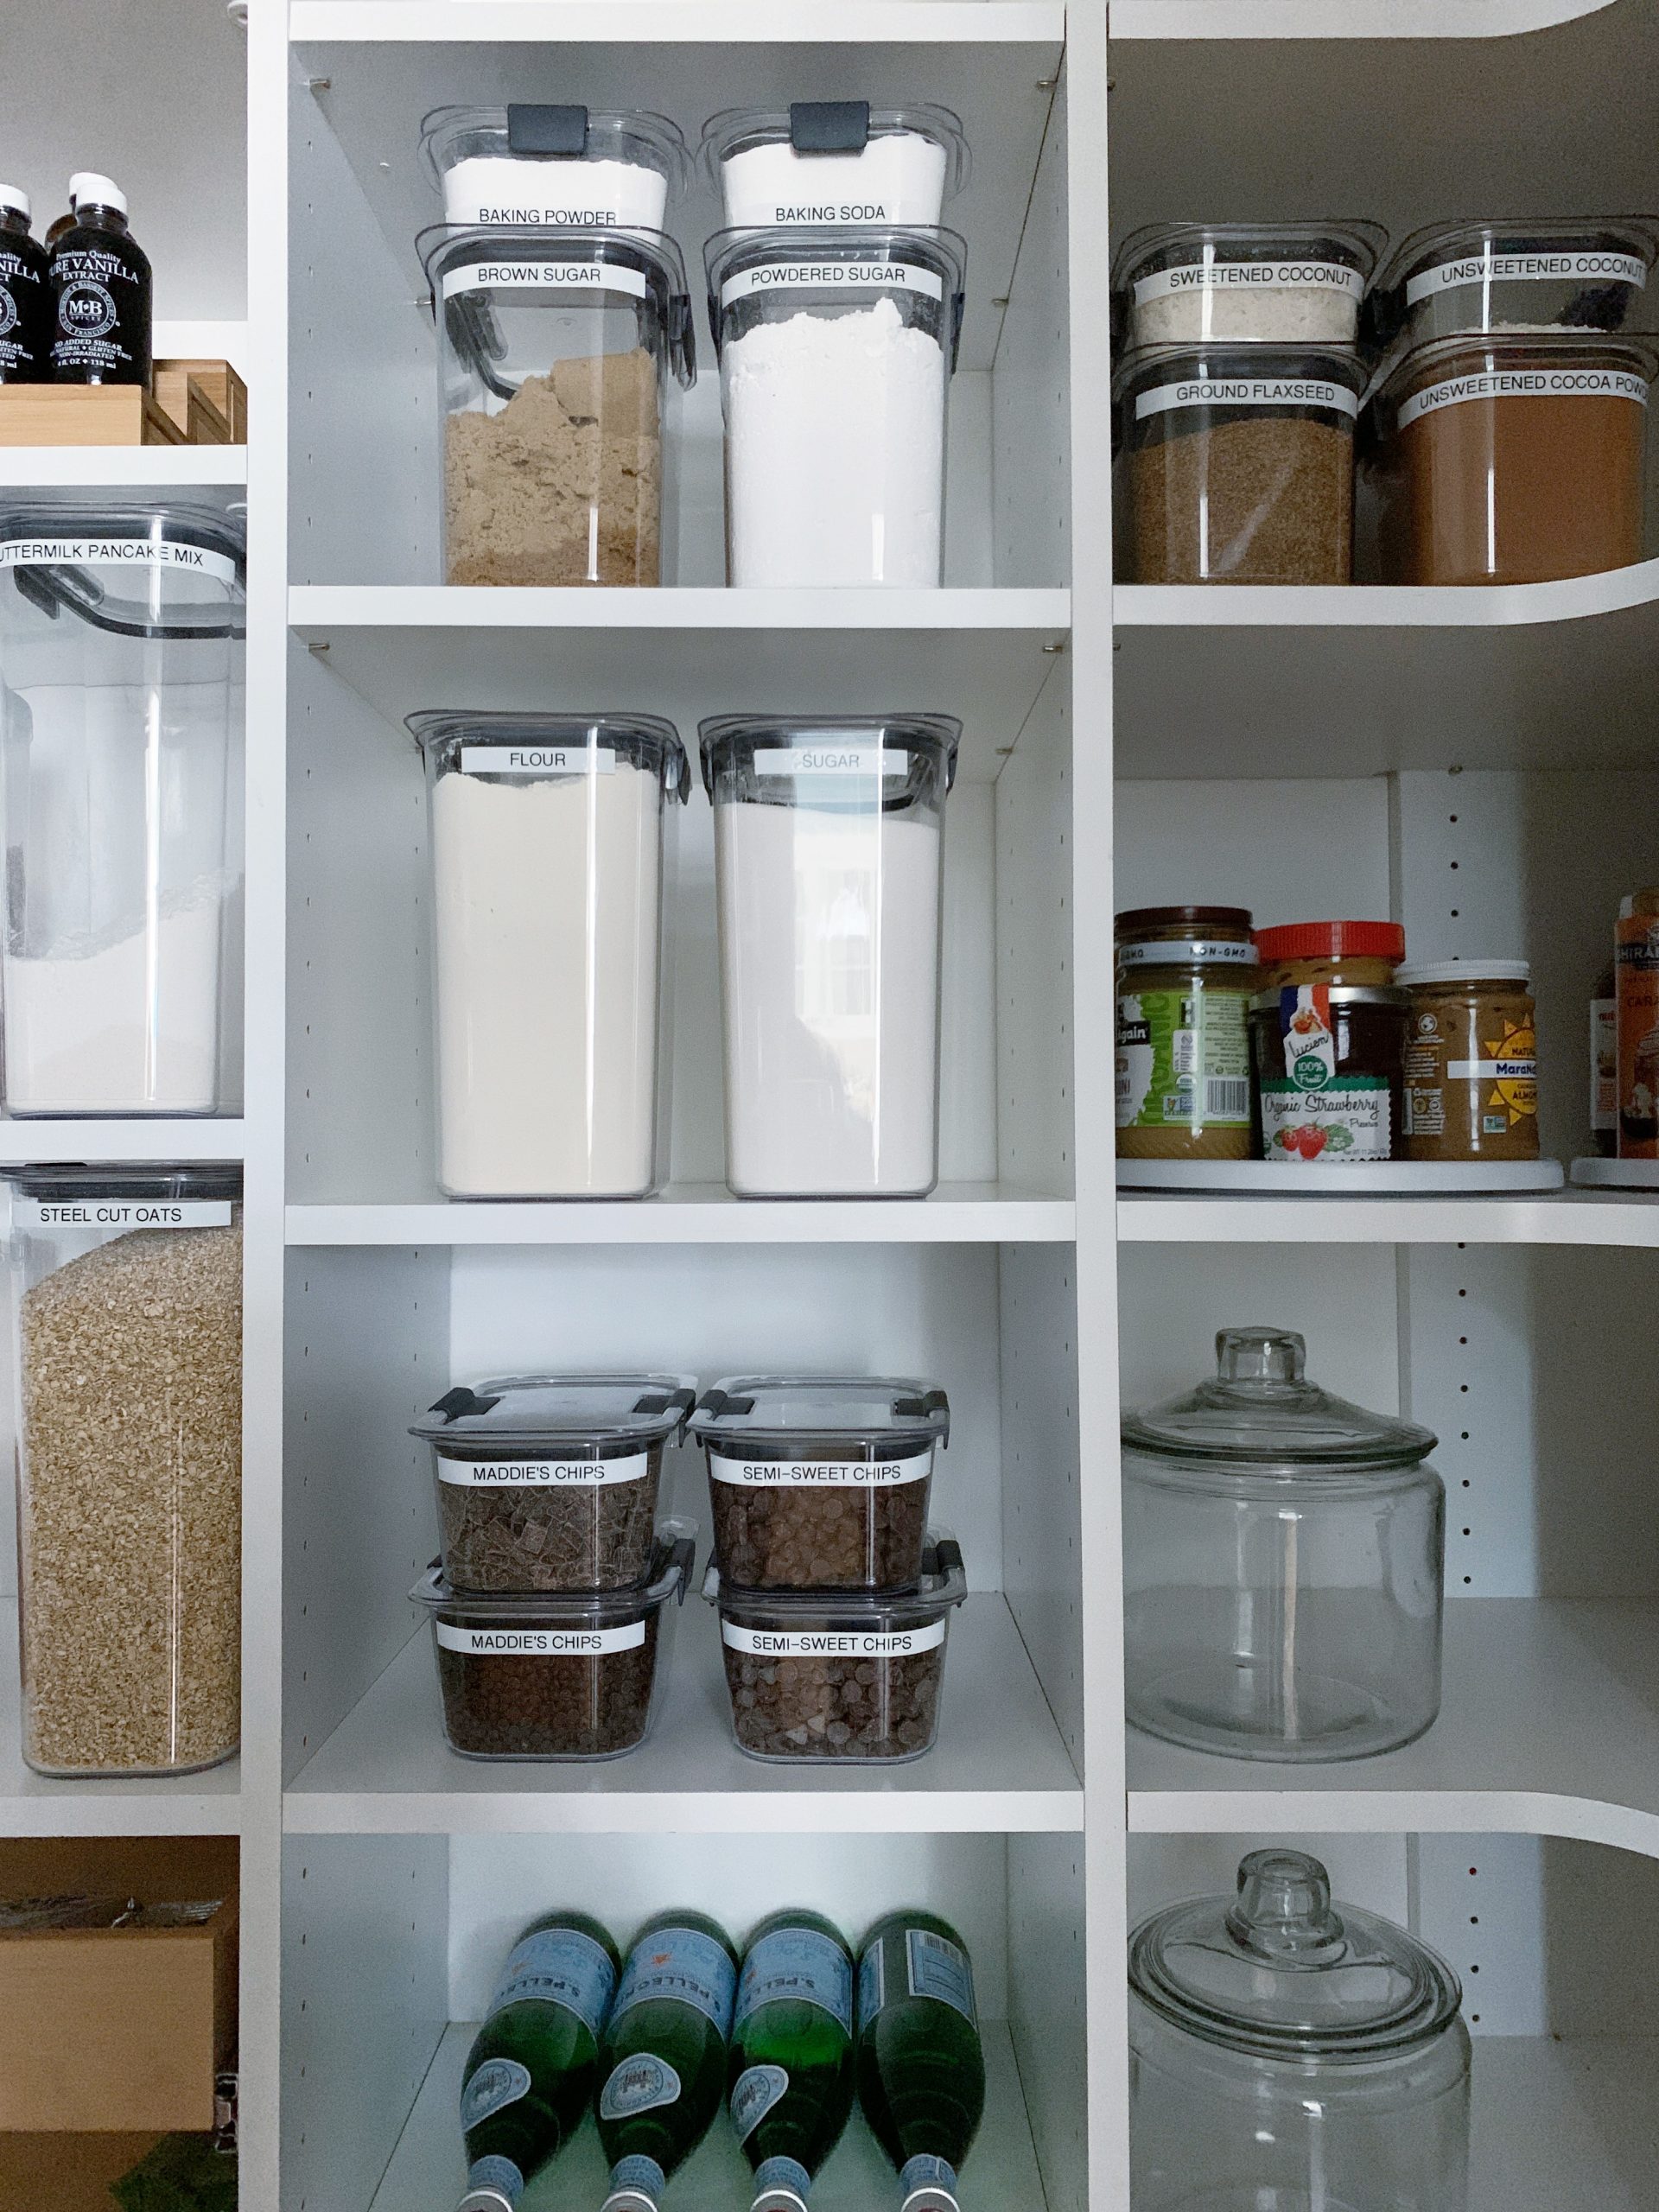
We have a dairy allergy in this house which is why Maddie’s chips are separate from the others…
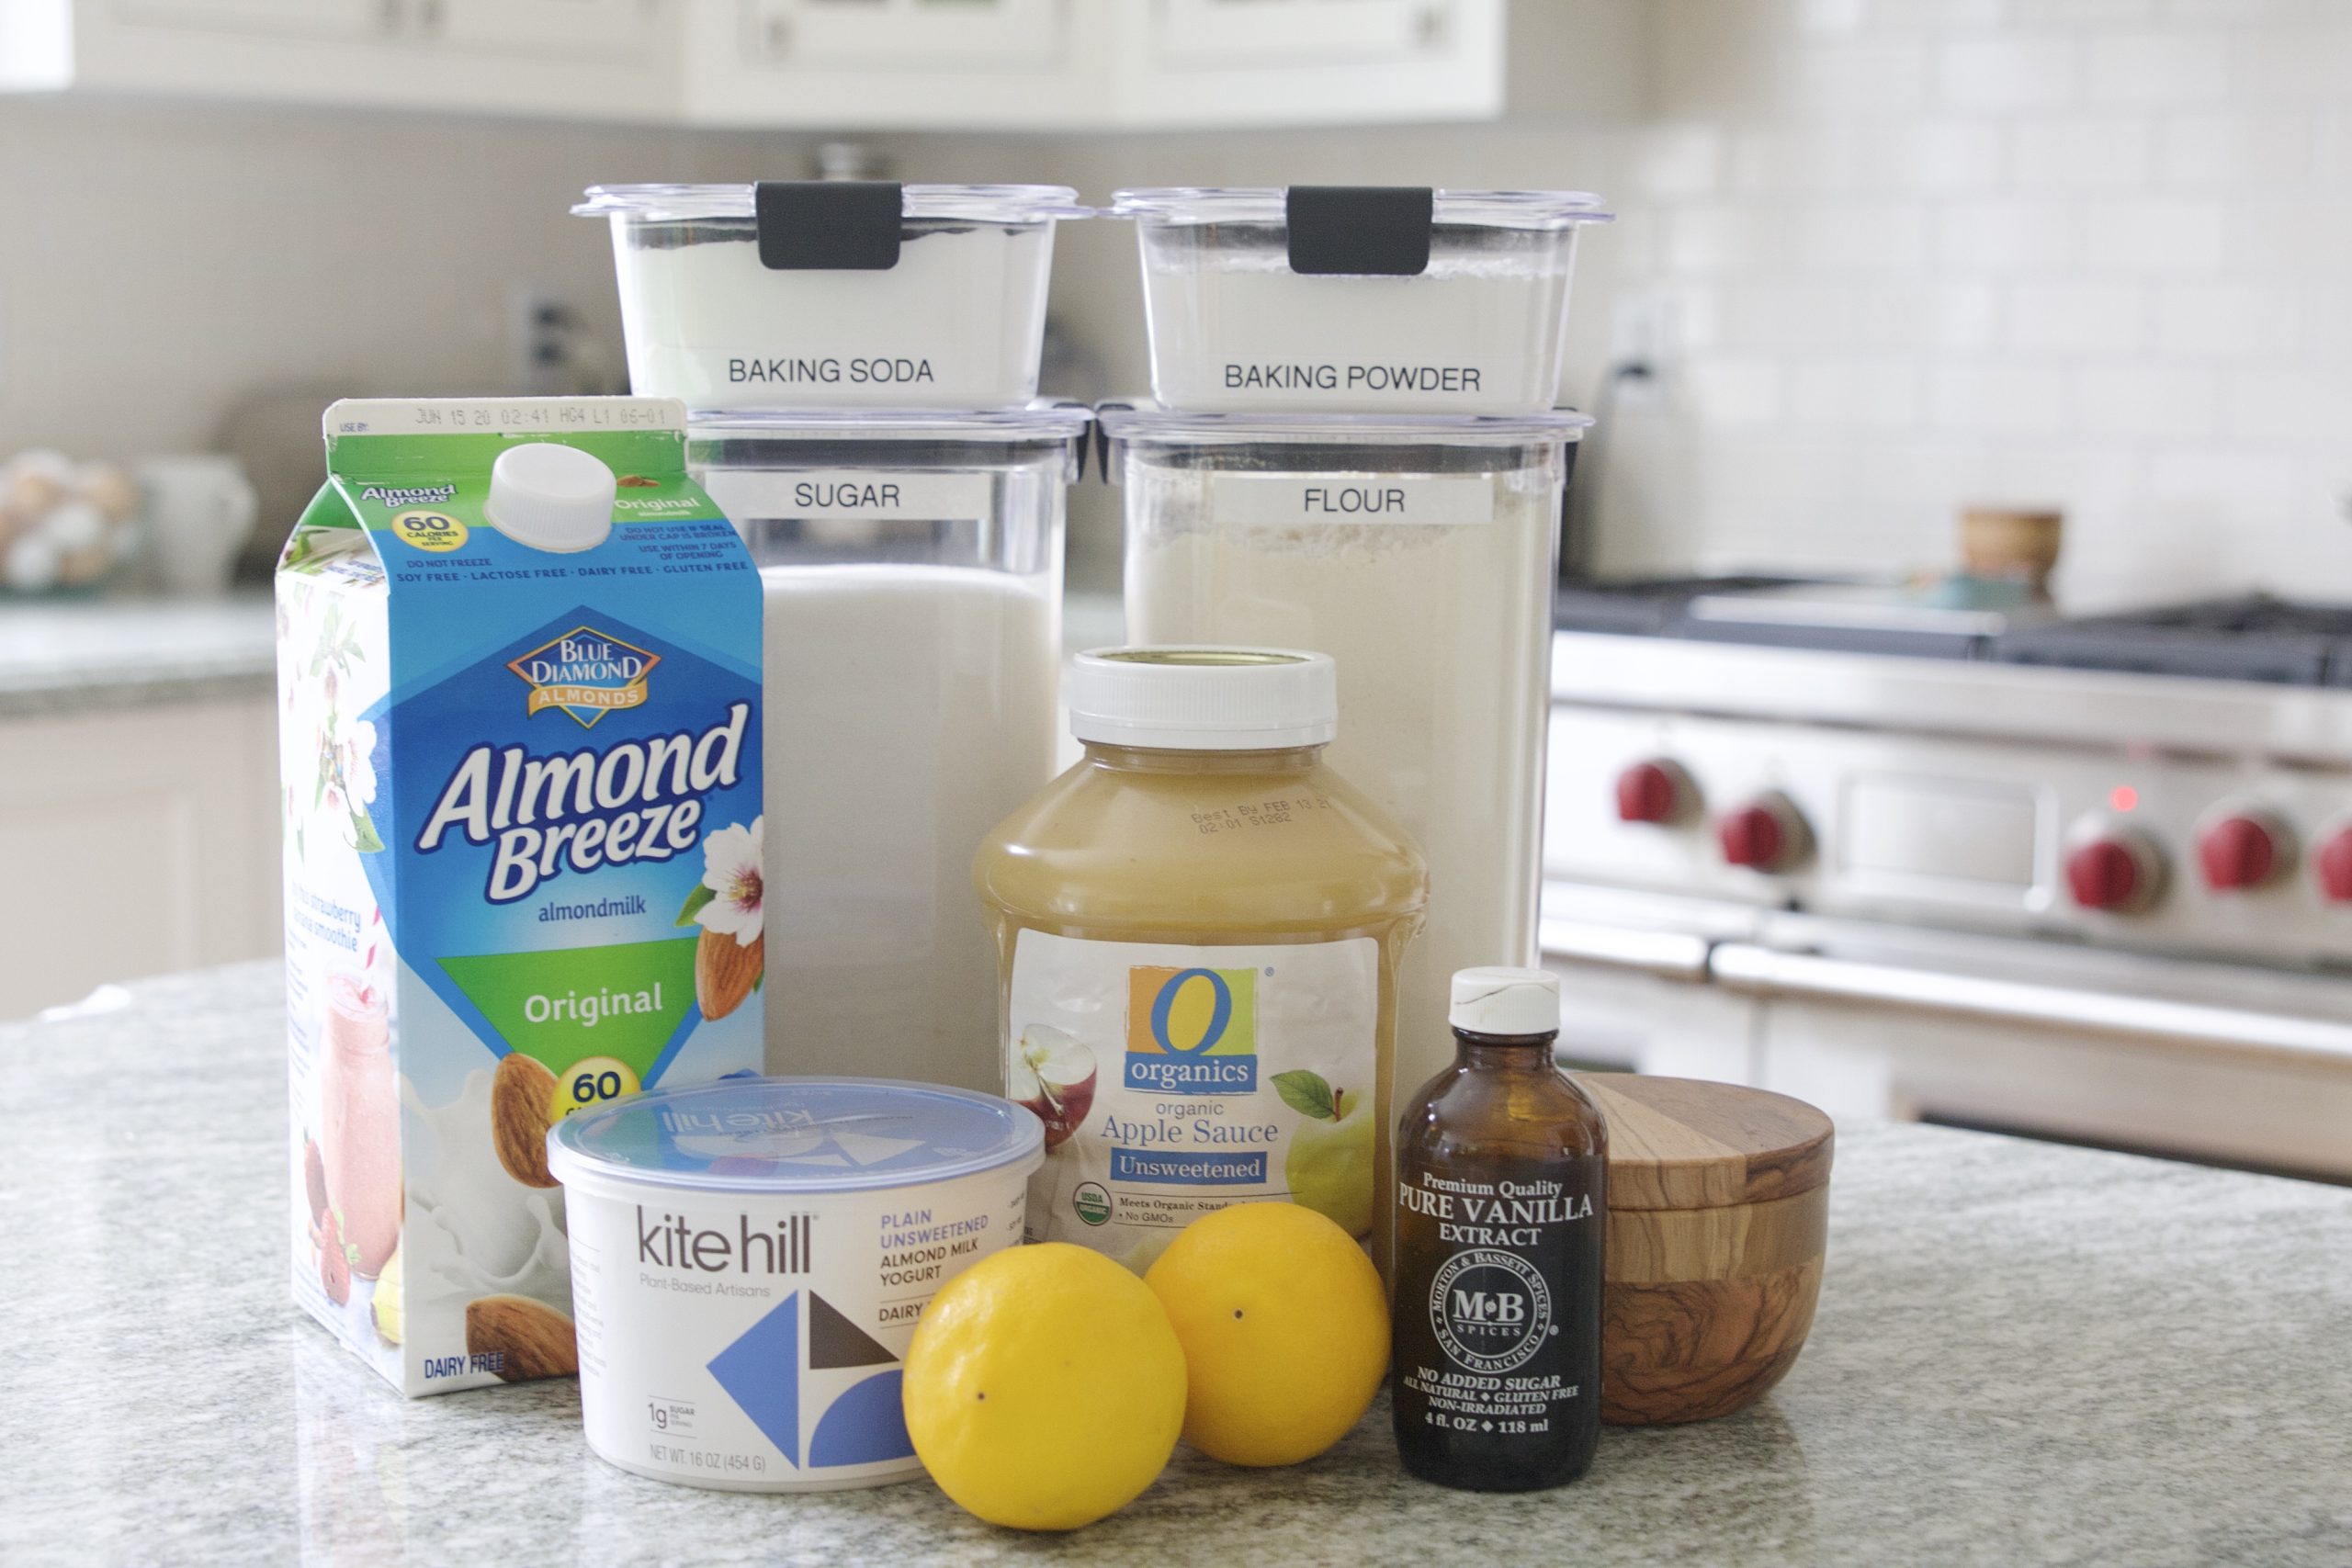
Vegan Lemon Bread Recipe
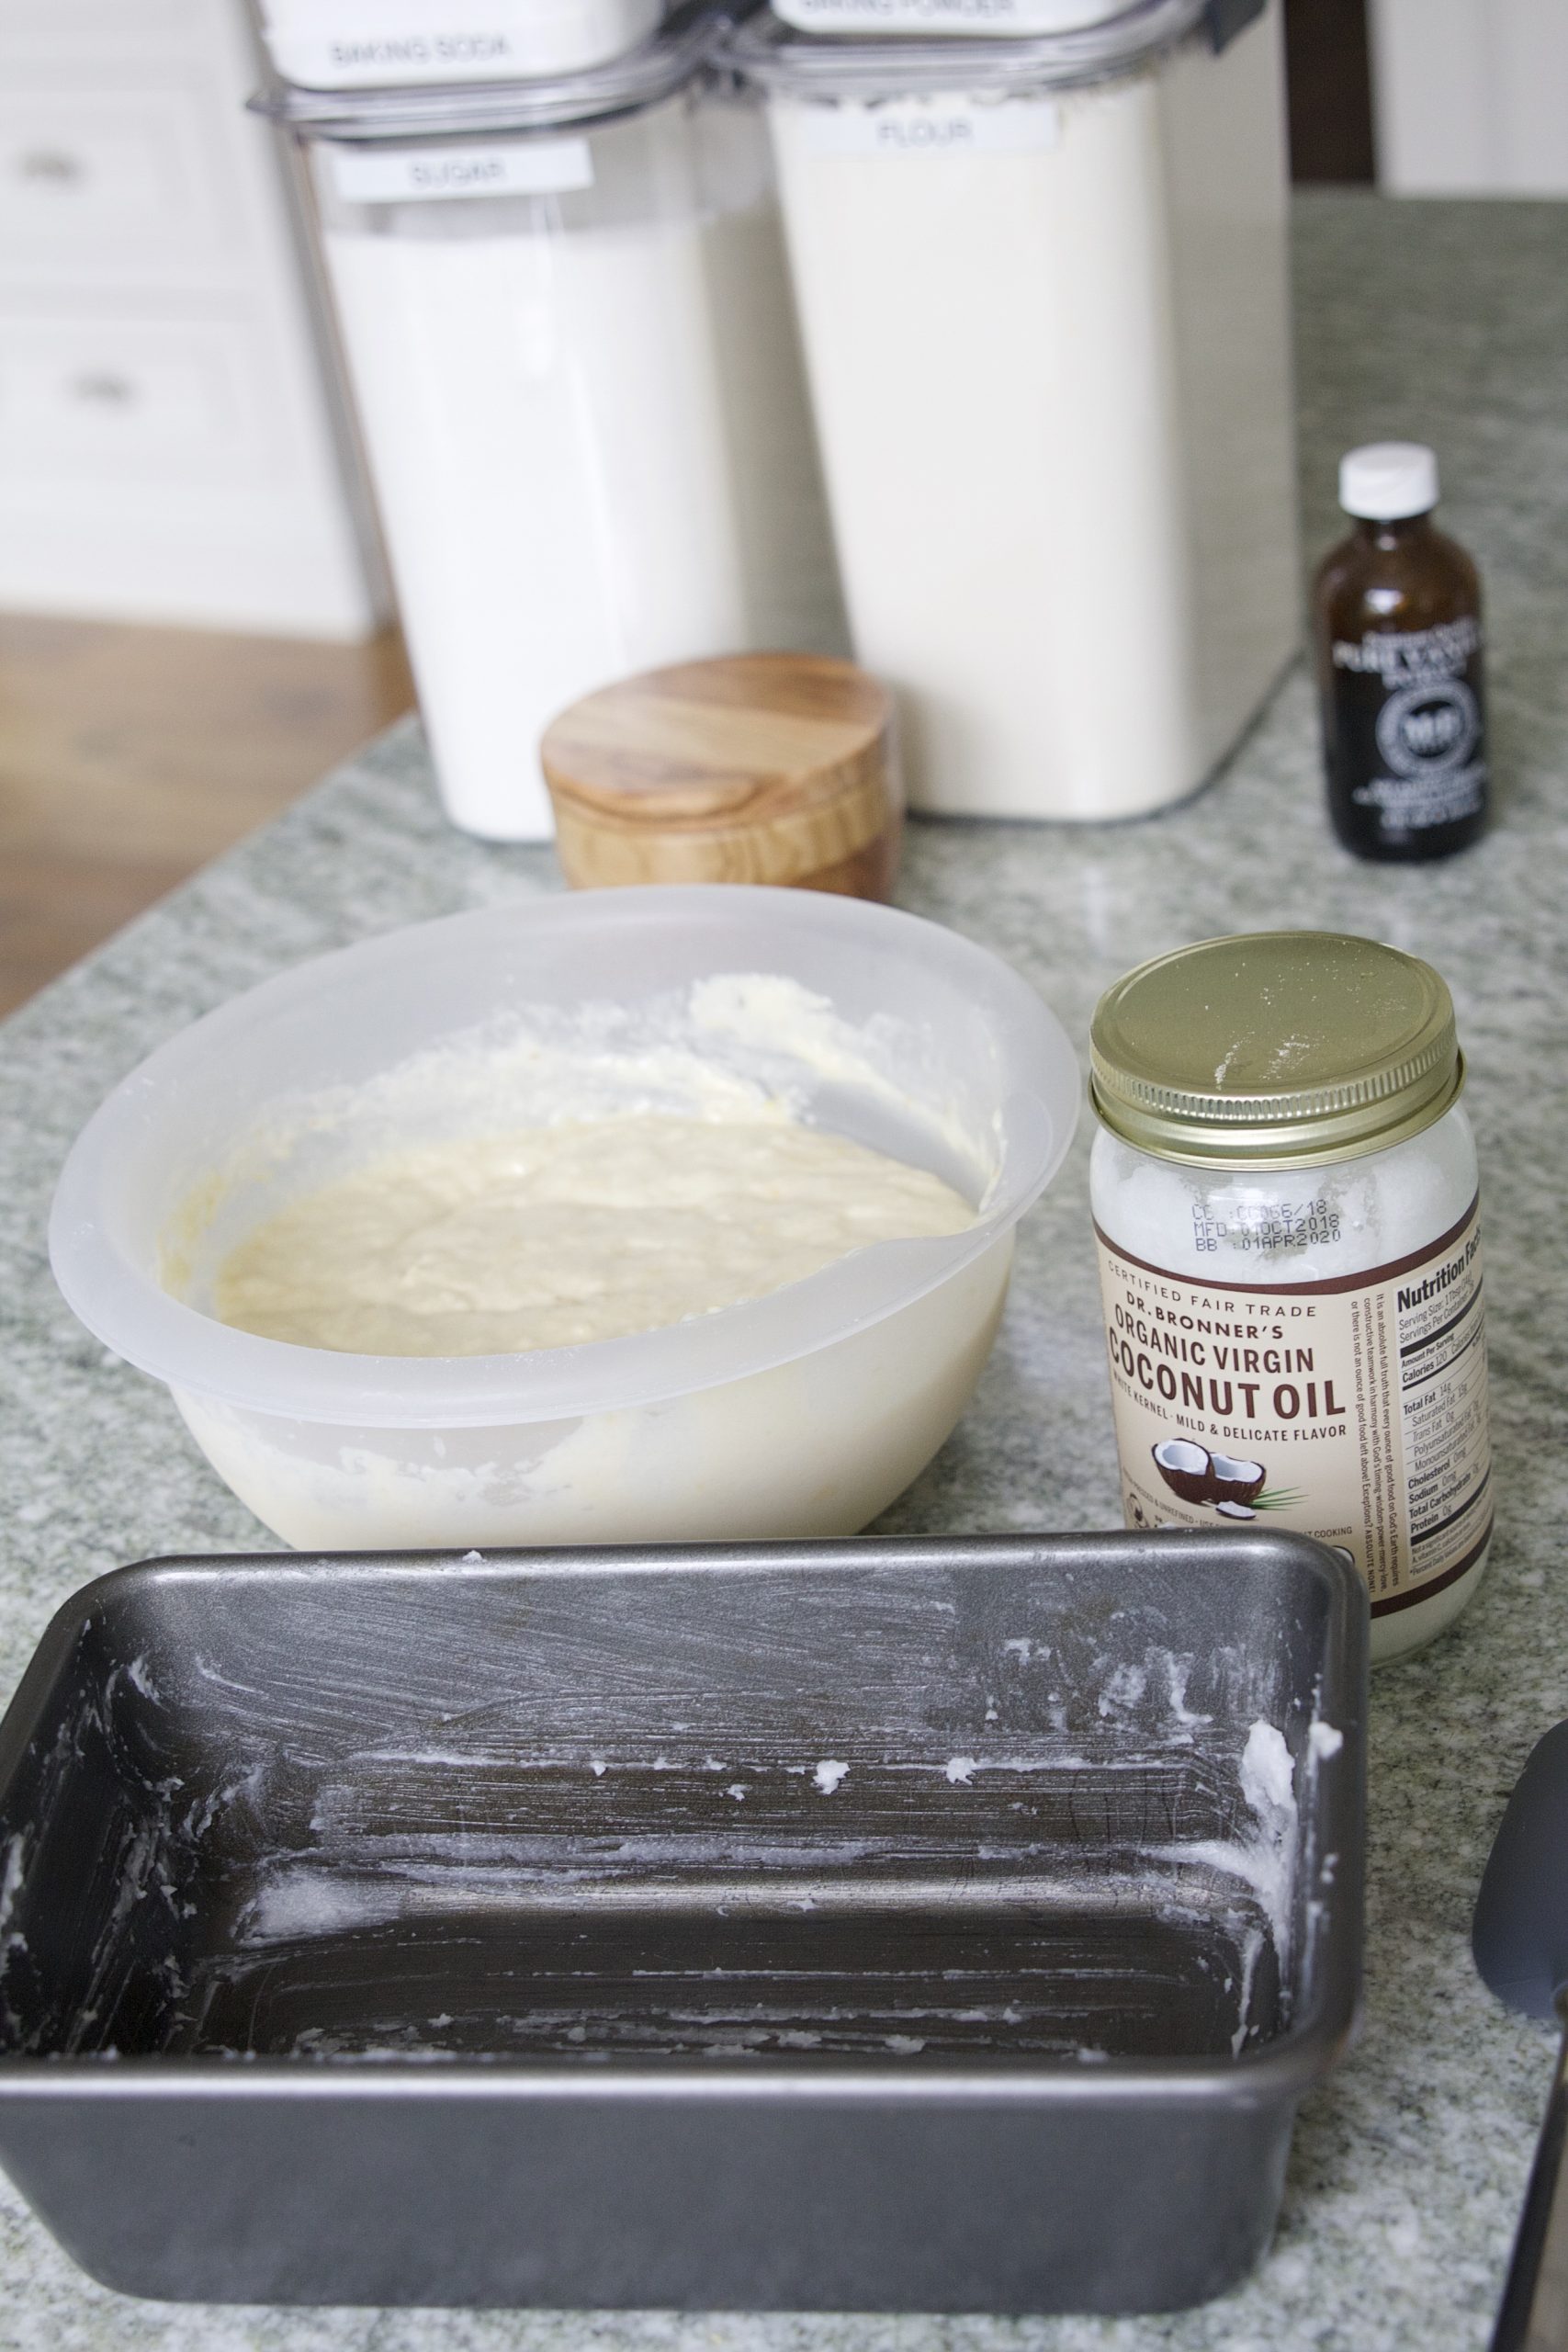
With everything neatly put away and volume accounted for, we couldn’t wait to bake something Easter morning. One of my favorite vegan recipes is lemon bread. Since Maddie has a dairy allergy, we find most vegan recipes are safe for her and still taste amazing for everyone else in the house. With only a few ingredients, this lemon bread doesn’t take long…but you unfortunately will have to wait the 40 minute baking time…
Rubbermaid Brillance Pantry Containers make it easy to measure your ingredients with the variety of sizes and container openings. Easily scoop a cup of flour…
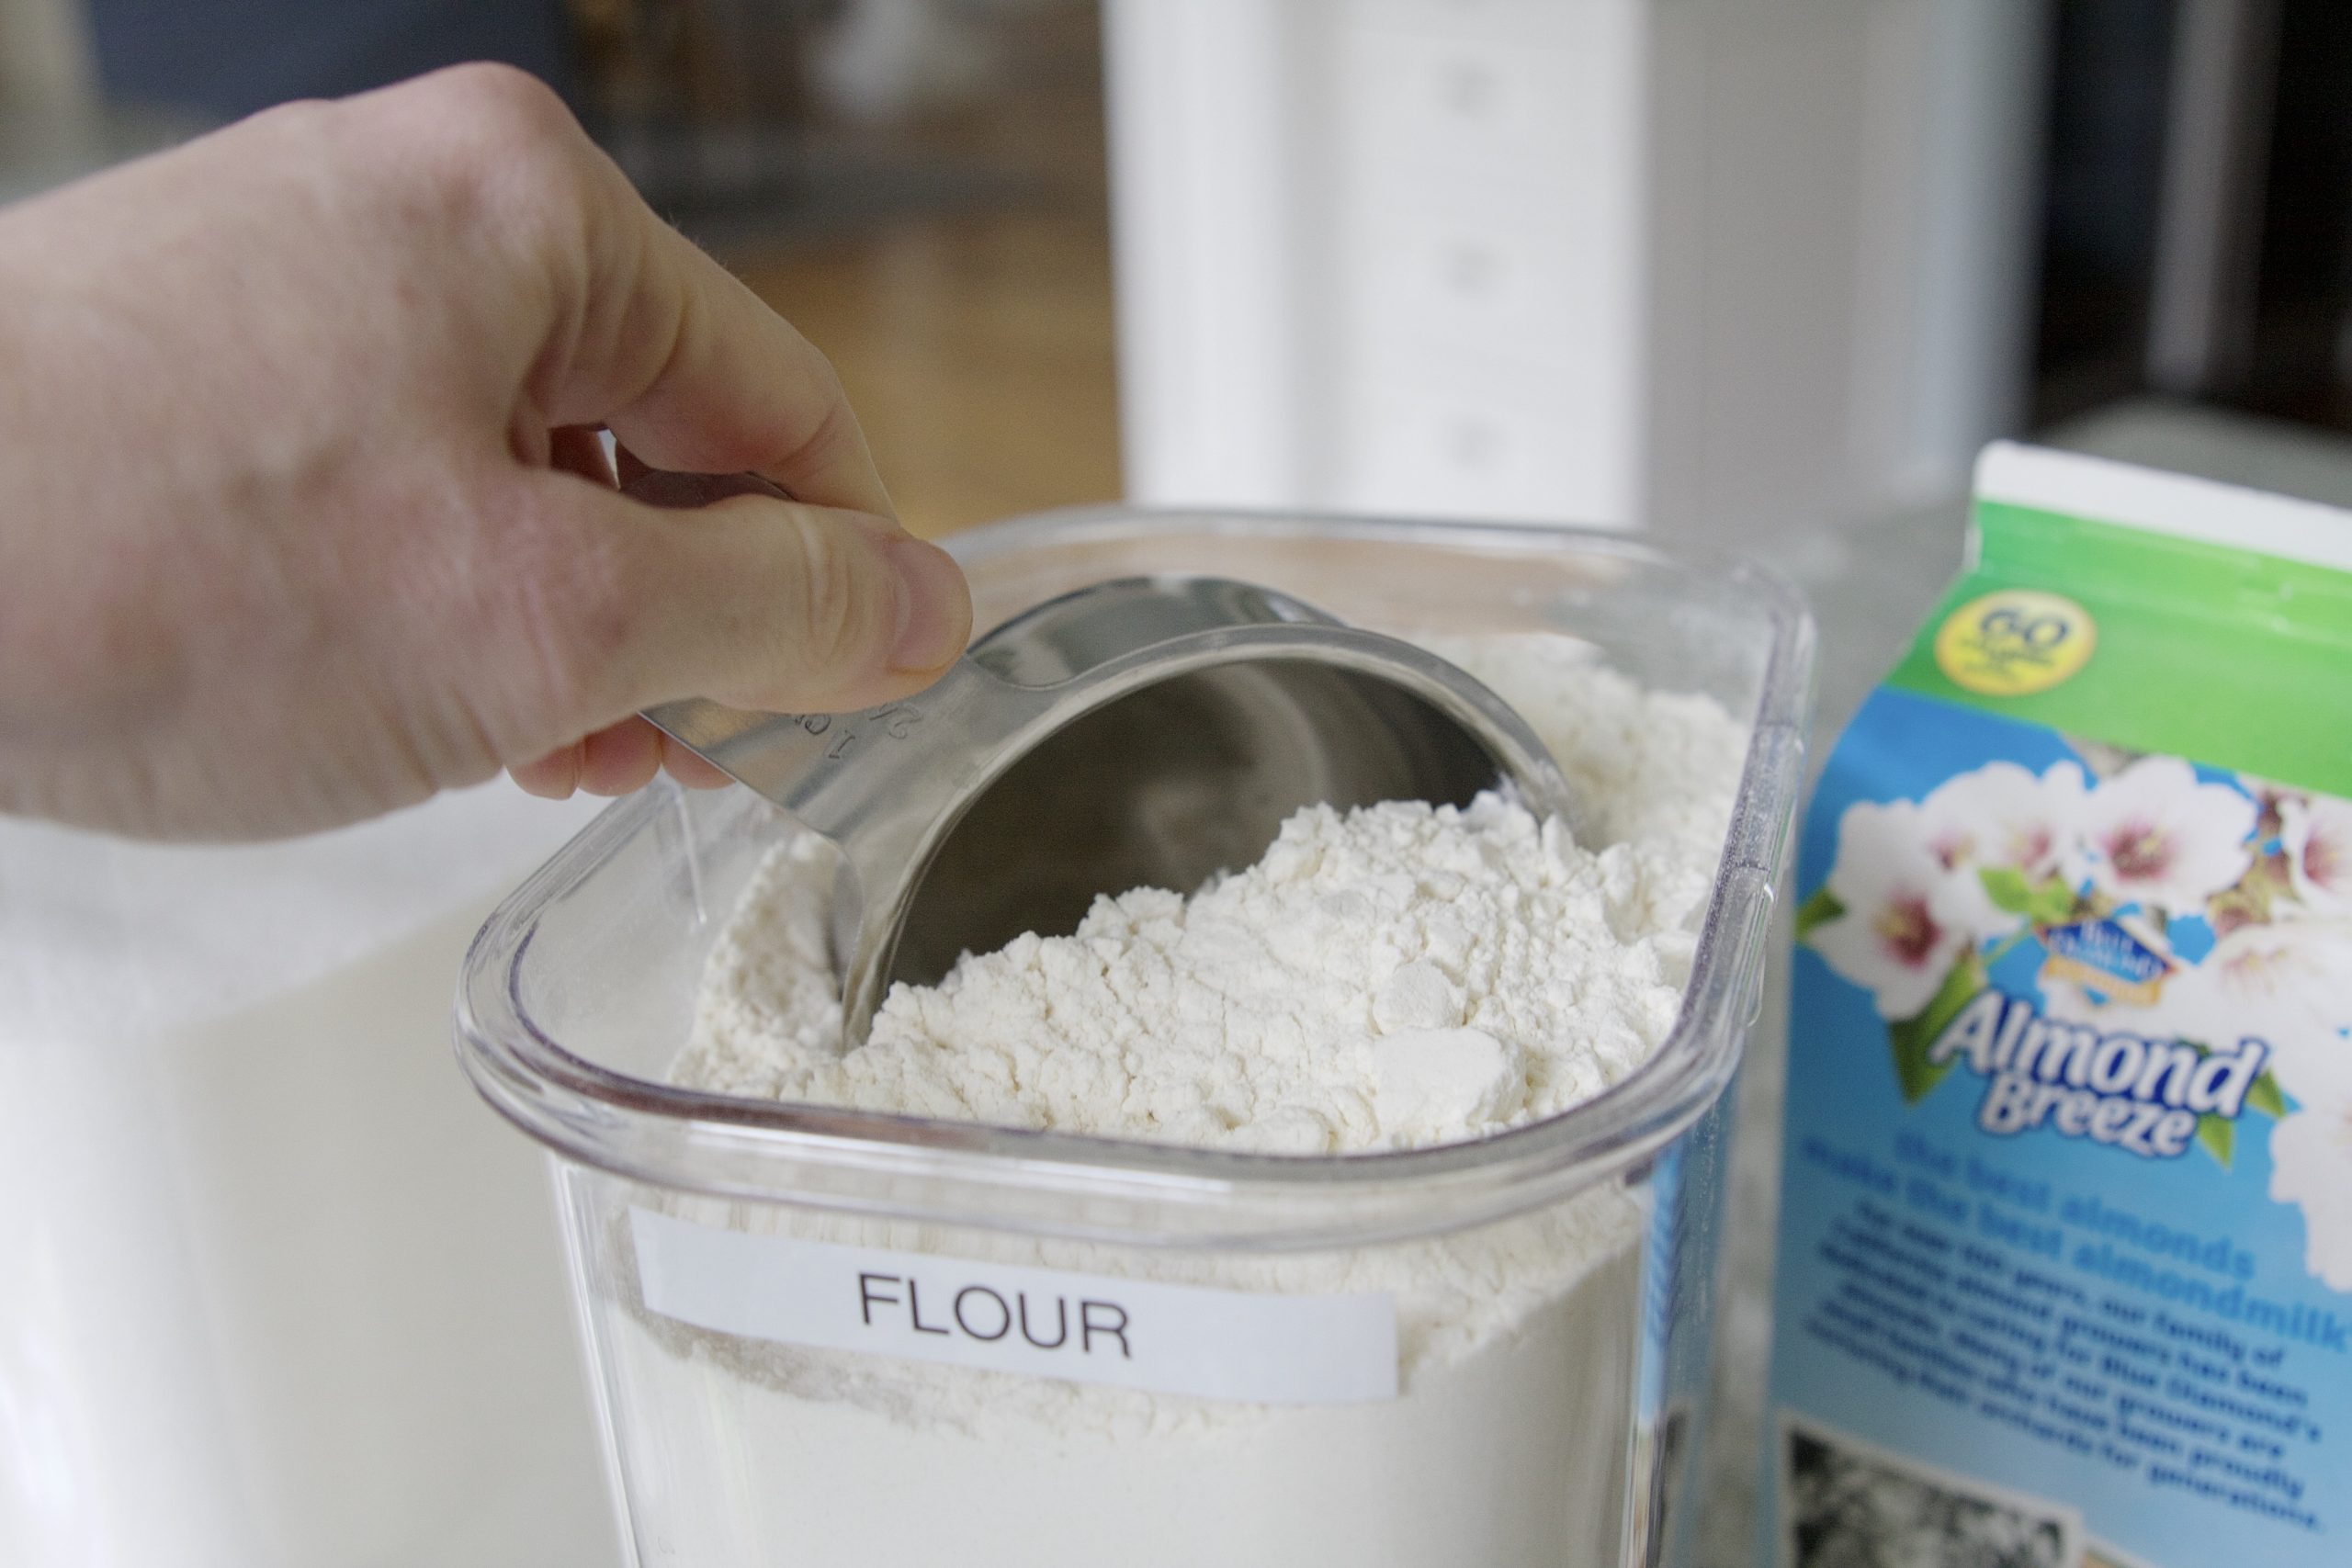
Or a teaspoon of baking powder…
Here’s how you know you live with a blogger…
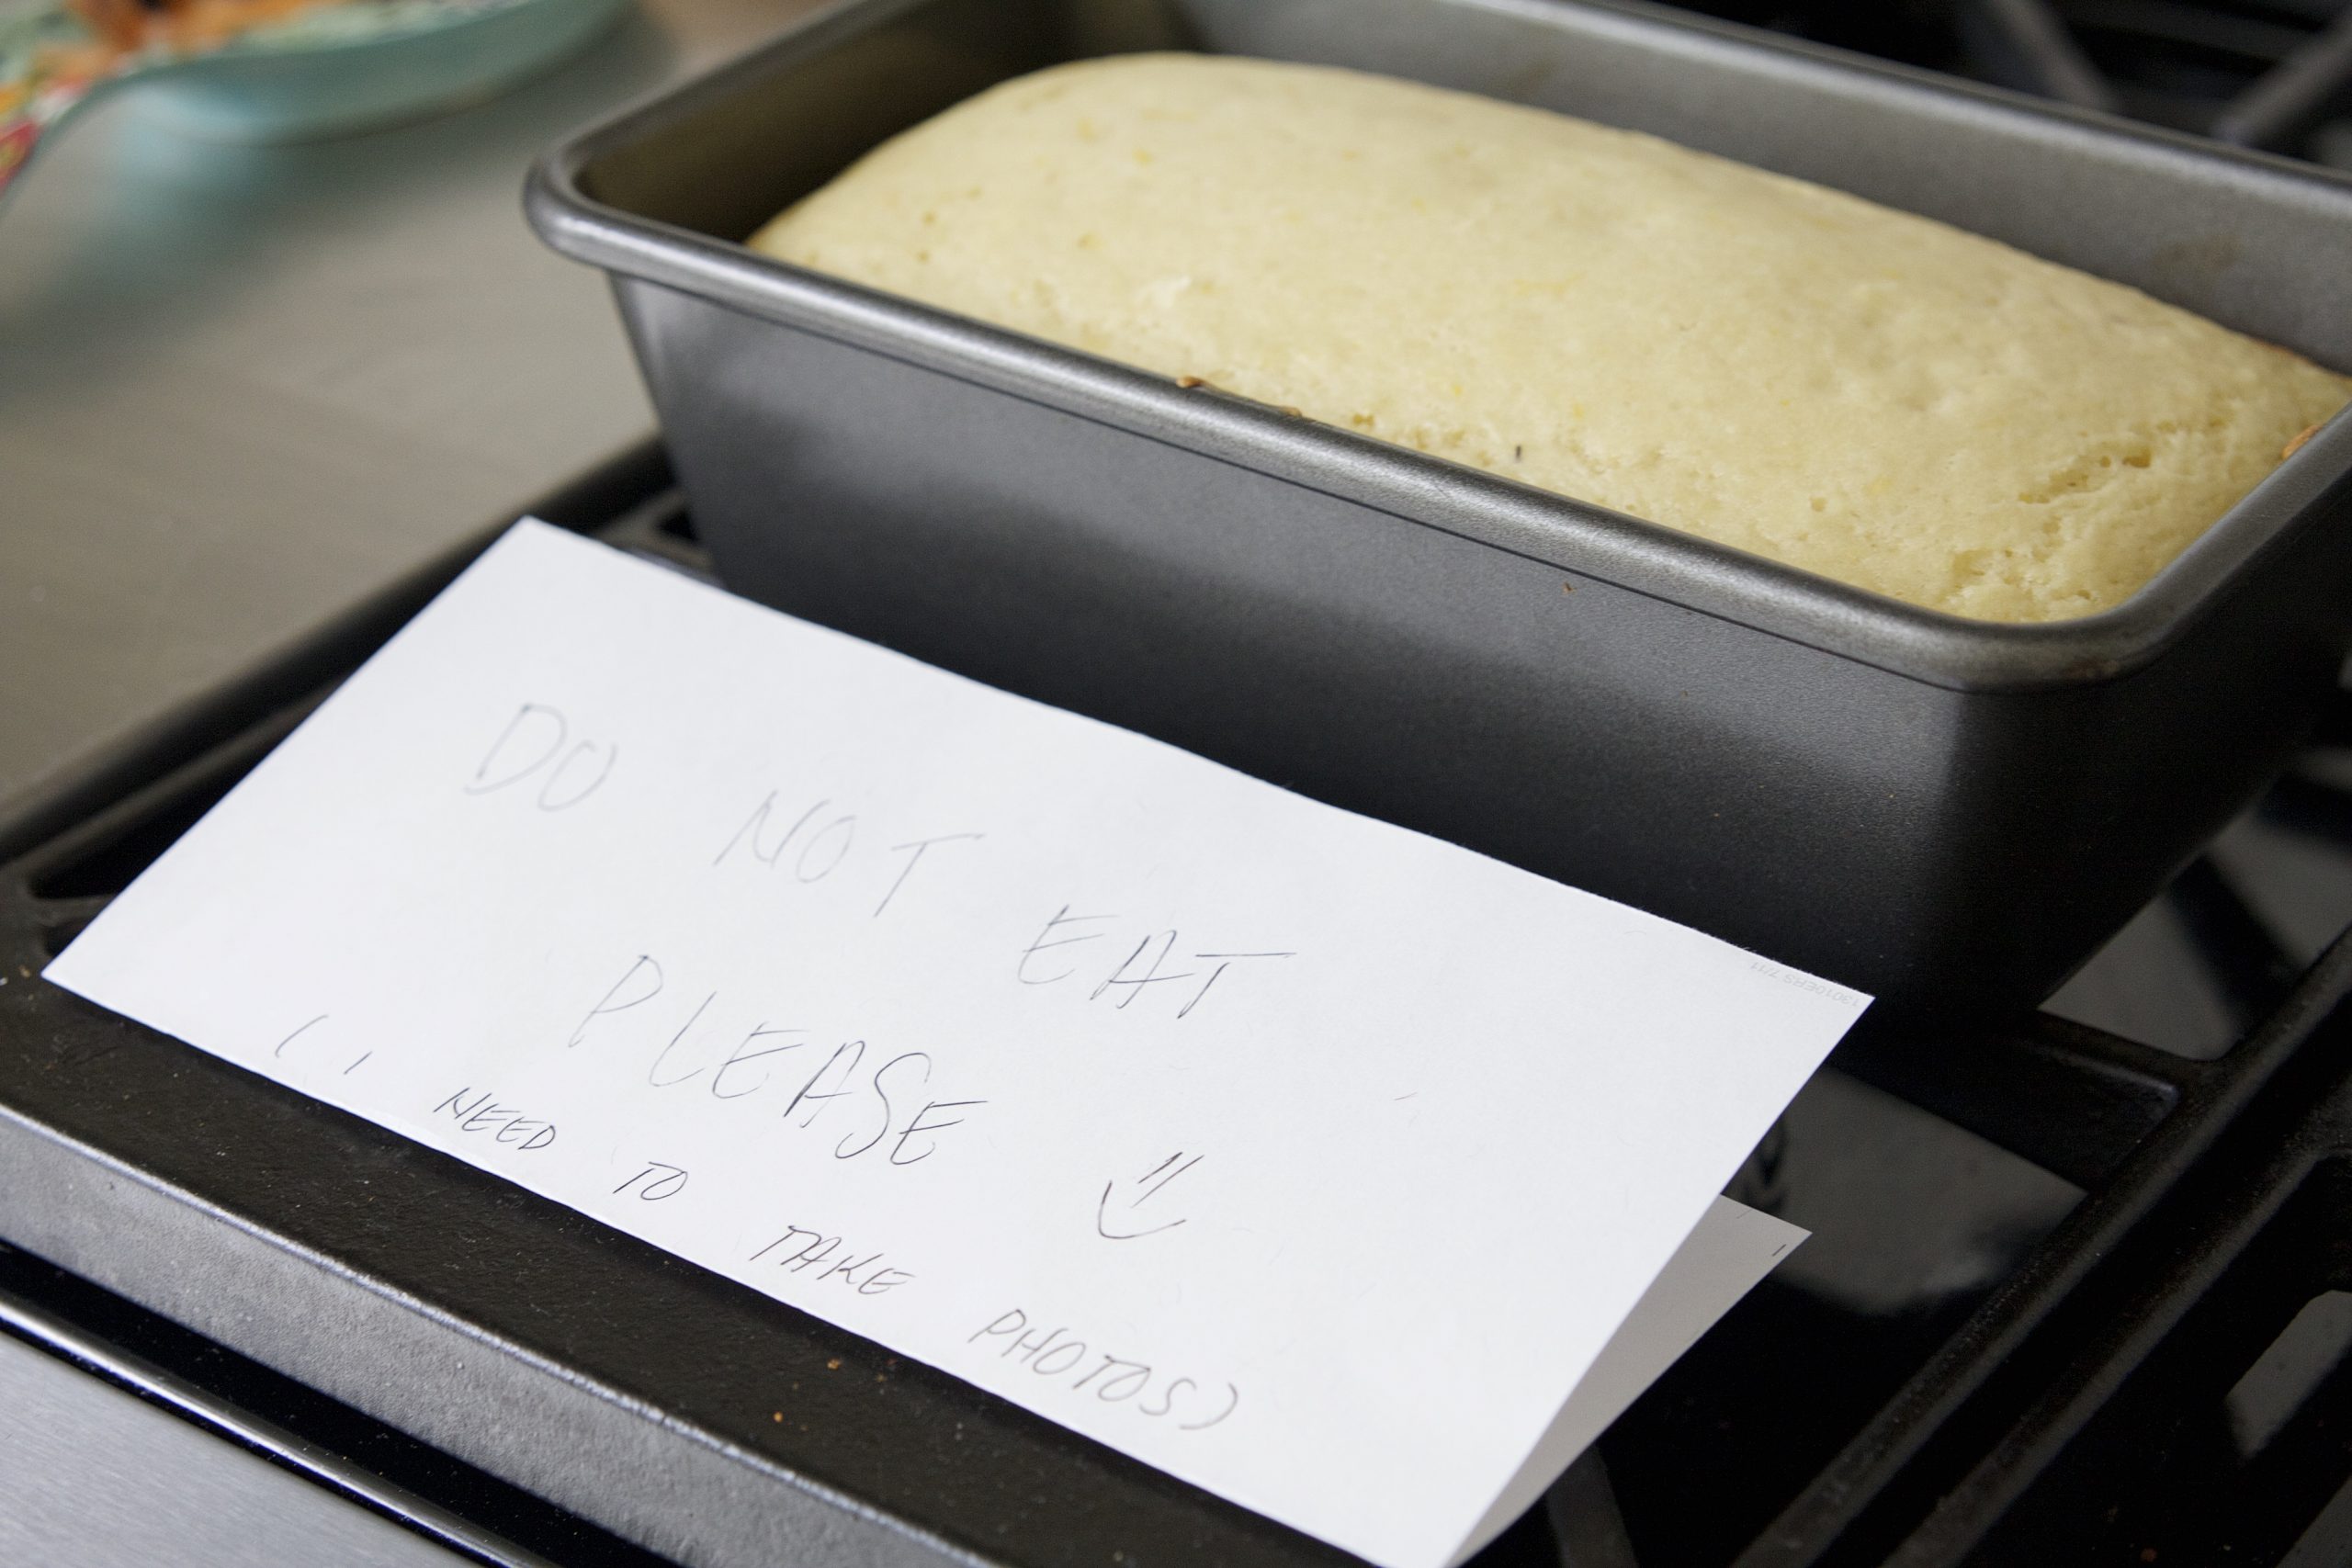
It’s a real life situation here! ha!
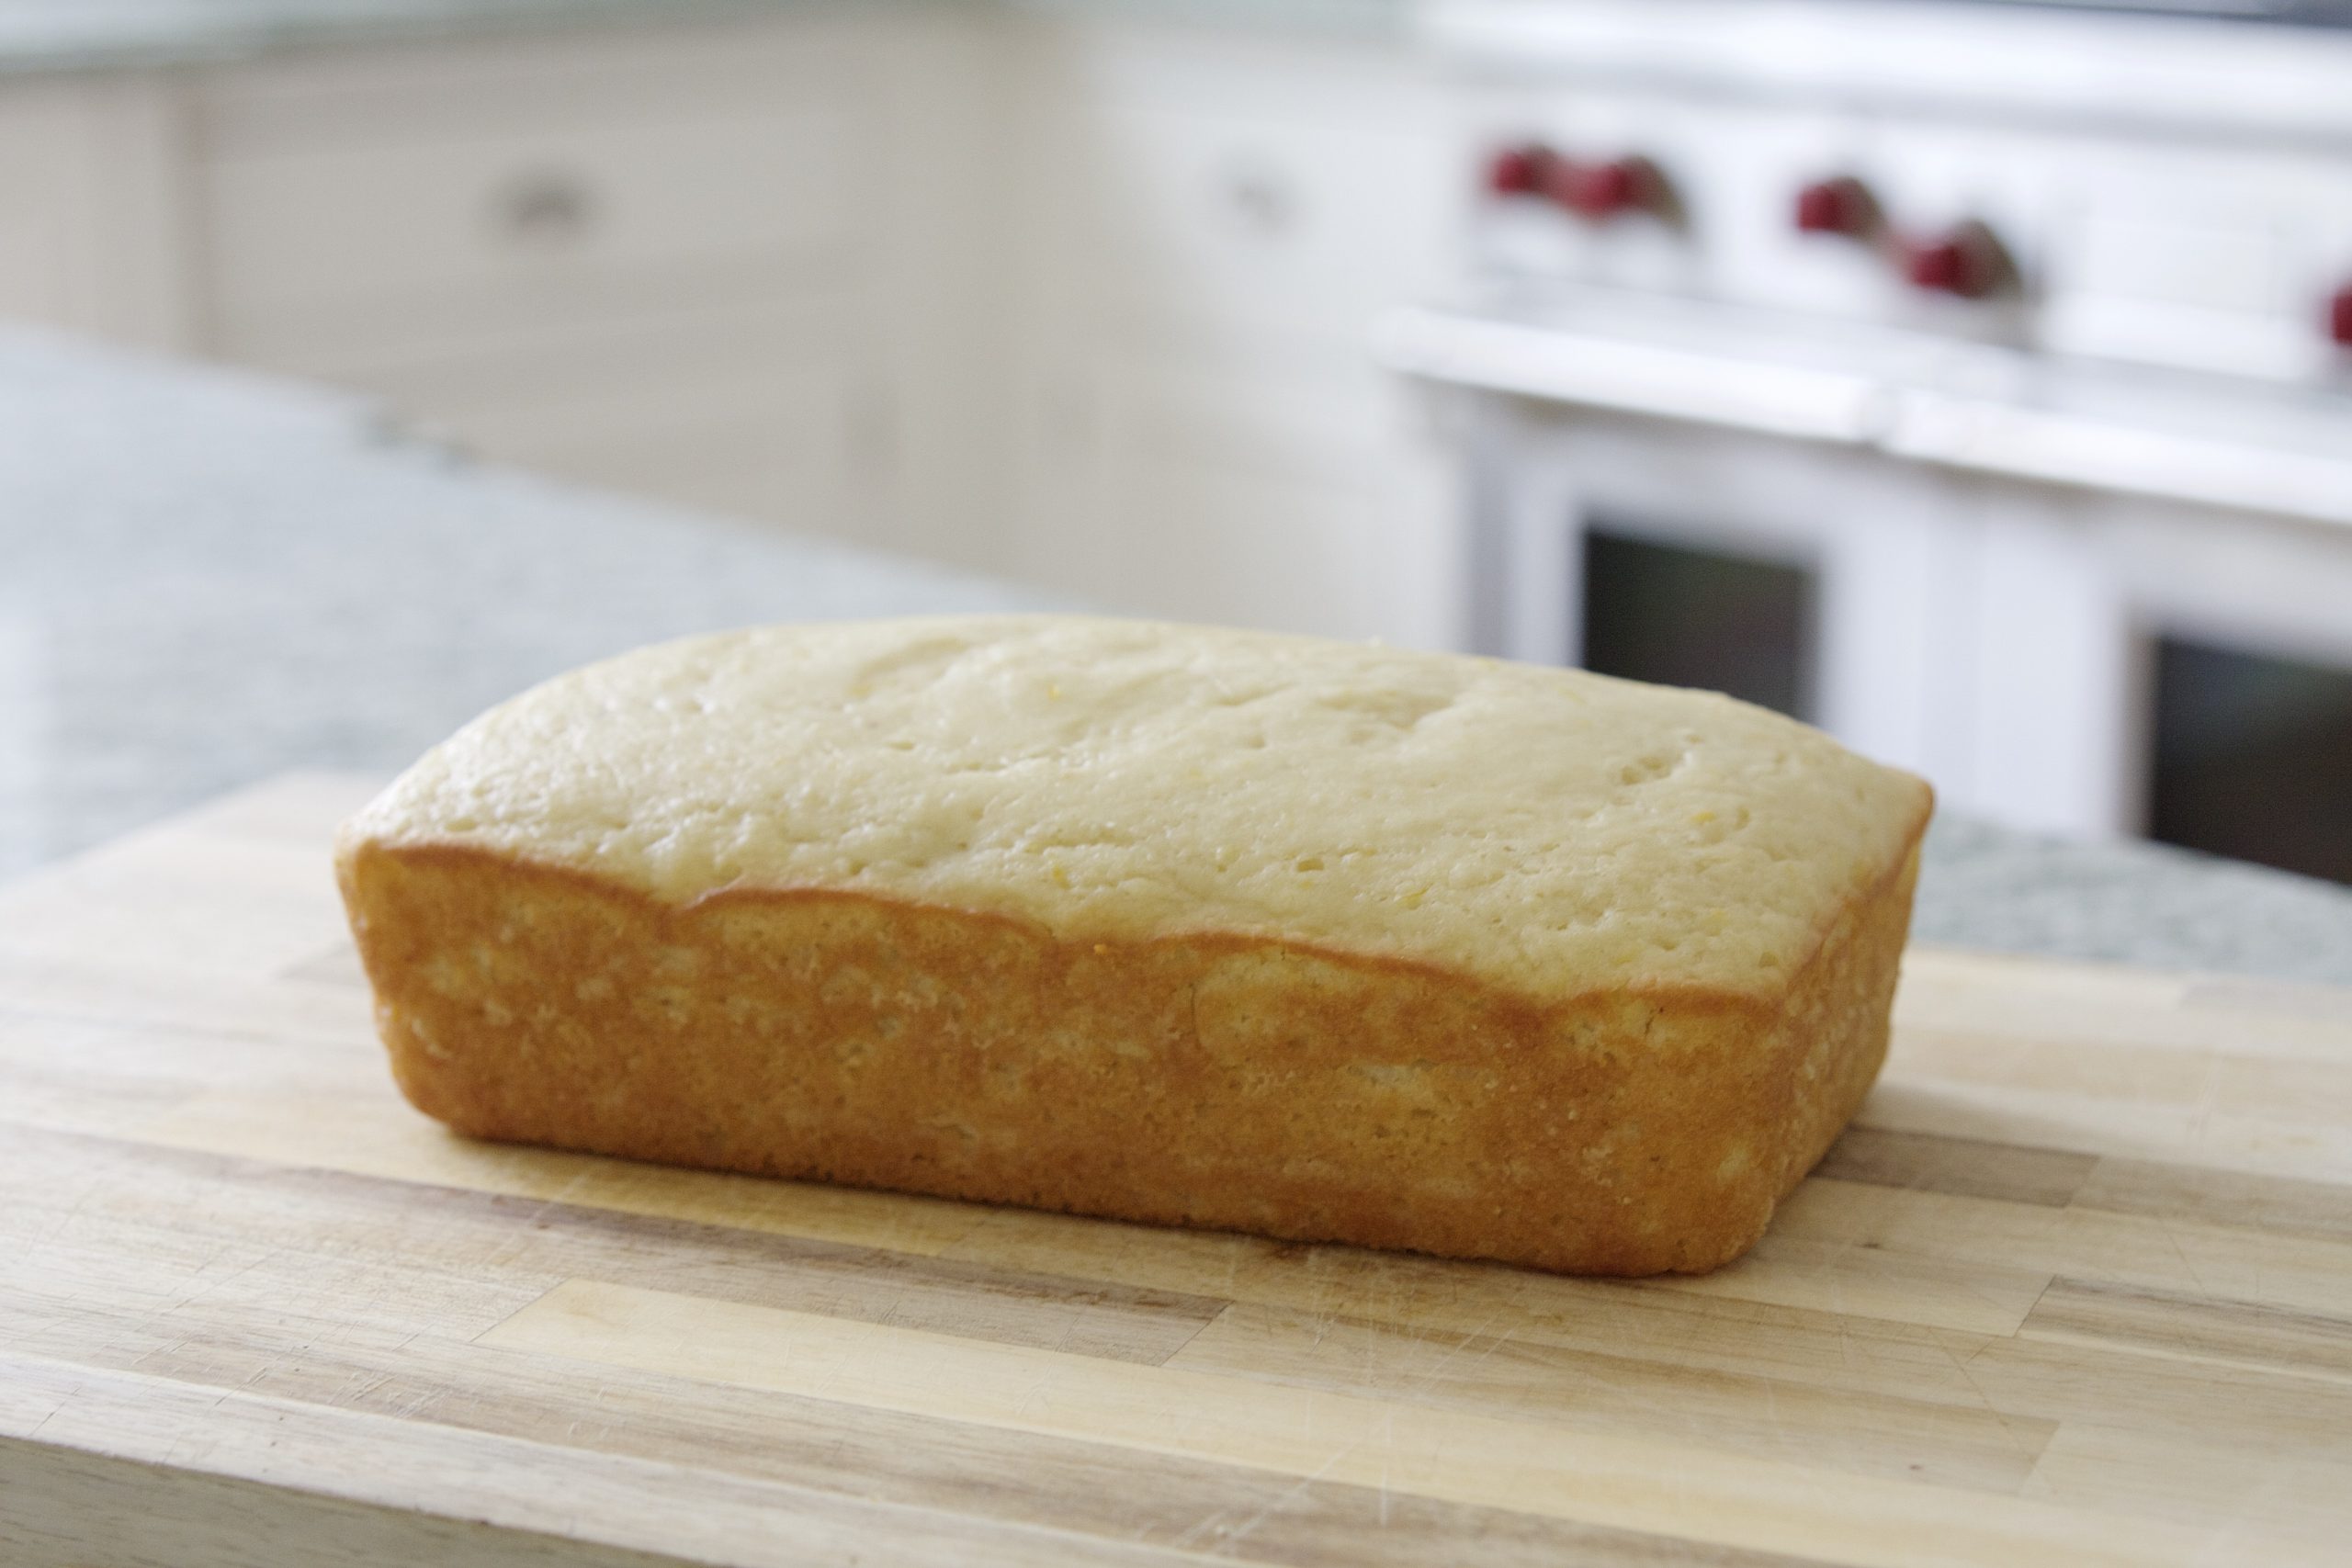

The best!…

You can find the recipe here.
This is the variety of container sizes in the variety box of 10 Pantry Containers…
Are you guys spending a lot of time in the kitchen too? If this is a project on your list, you will love completing it with Rubbermaid Brillance Pantry Containers!
Excited to have another organizing project completed. Grateful to Rubbermaid for connecting with me too – thank you!
Hope you guys are having a great week and look forward to sharing more soon!
xx,
Sam
I noticed you don’t store very many containers per shelf. Is this usually how much space you leave behind and around items or is it more for visually pleasing photos?
Personally I don’t keep a lot of pantry items so I generally have a lot of open space and air in our pantry. I don’t want to fill the shelves because of potential waste…and also because it makes it easier for the kids to get to AND put away items. 🙂
Of course because this is a sponsored post I also wanted to ensure Rubbermaid’s full line of pantry containers from the box were showcased….but this is how our shelves will remain. I like a clean, airy look in our pantry.
Sam
Great article. I wonder how these containers will hold up over the decades. I hope they do well. I still have a similar system from another brand and 3 decades later they still work great. Good tips on keeping the labels and taping them on the container.
Thank you! And of course I love when products last for decades!!
Sam