Anyway, a few weeks ago I stumbled upon a few pins toting how to “easily clean” your silver. There’s a lot of pins on the topic and most said it was easy to soak away the tarnish in a bath of hot water and baking soda. Never trying this strategy, I jumped at the idea.
Why?
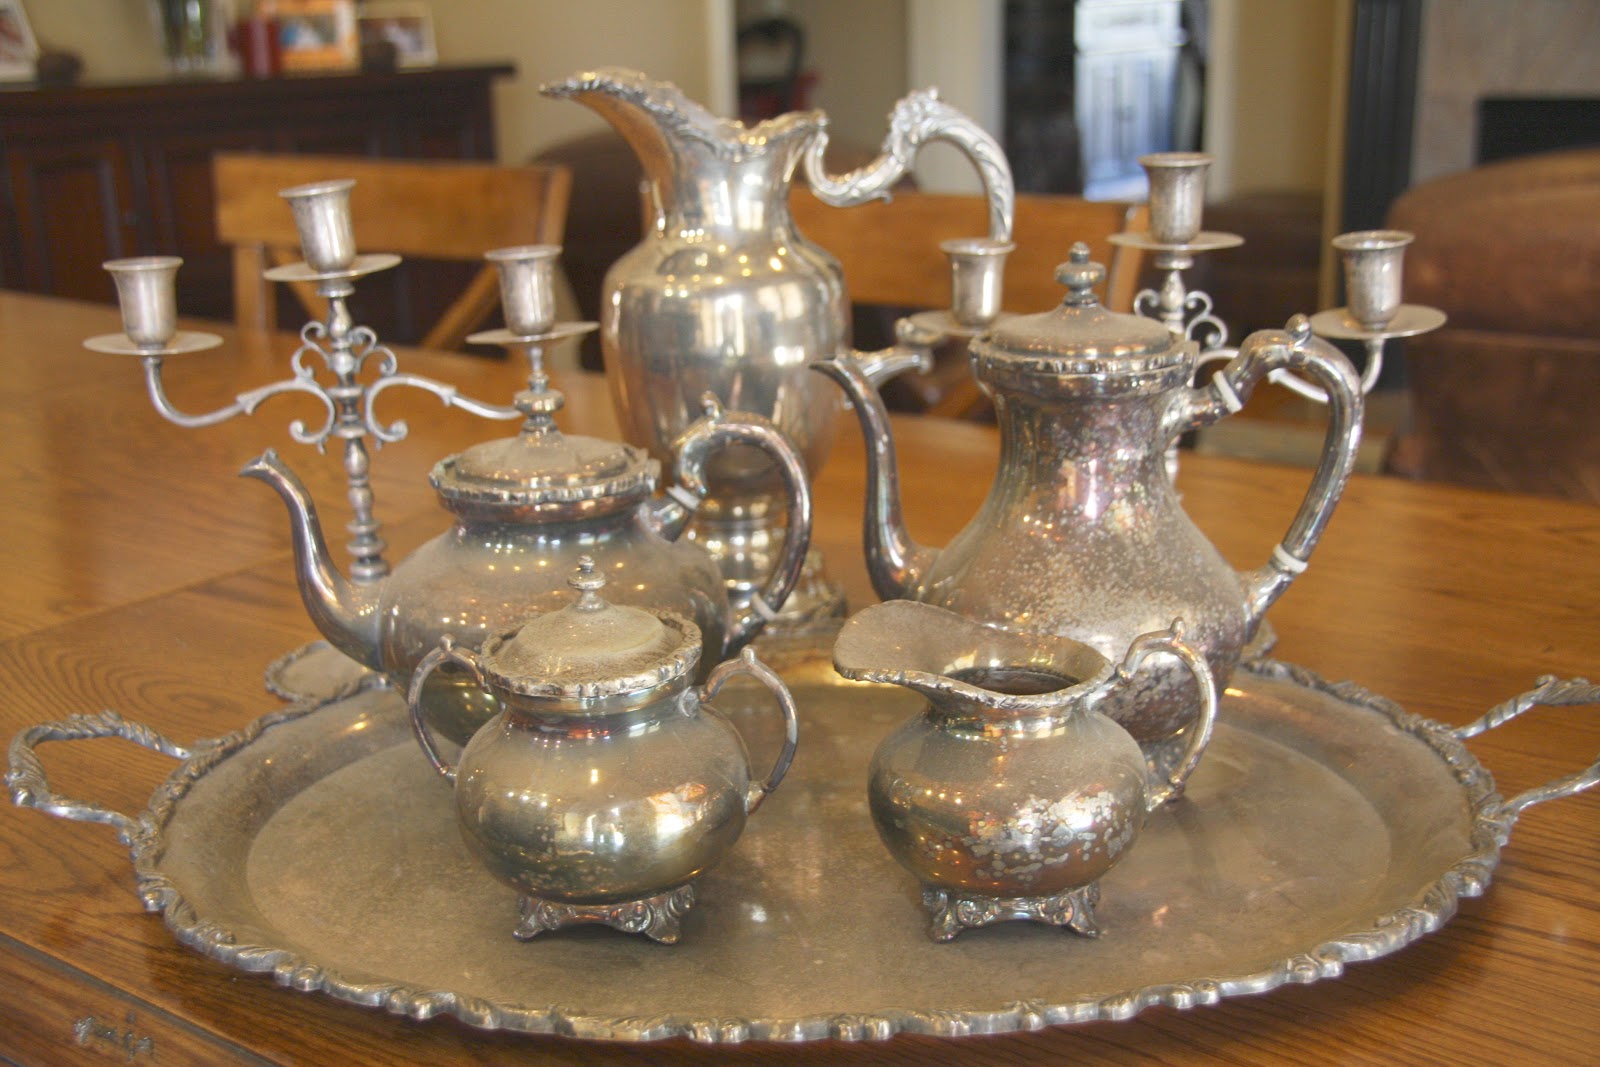
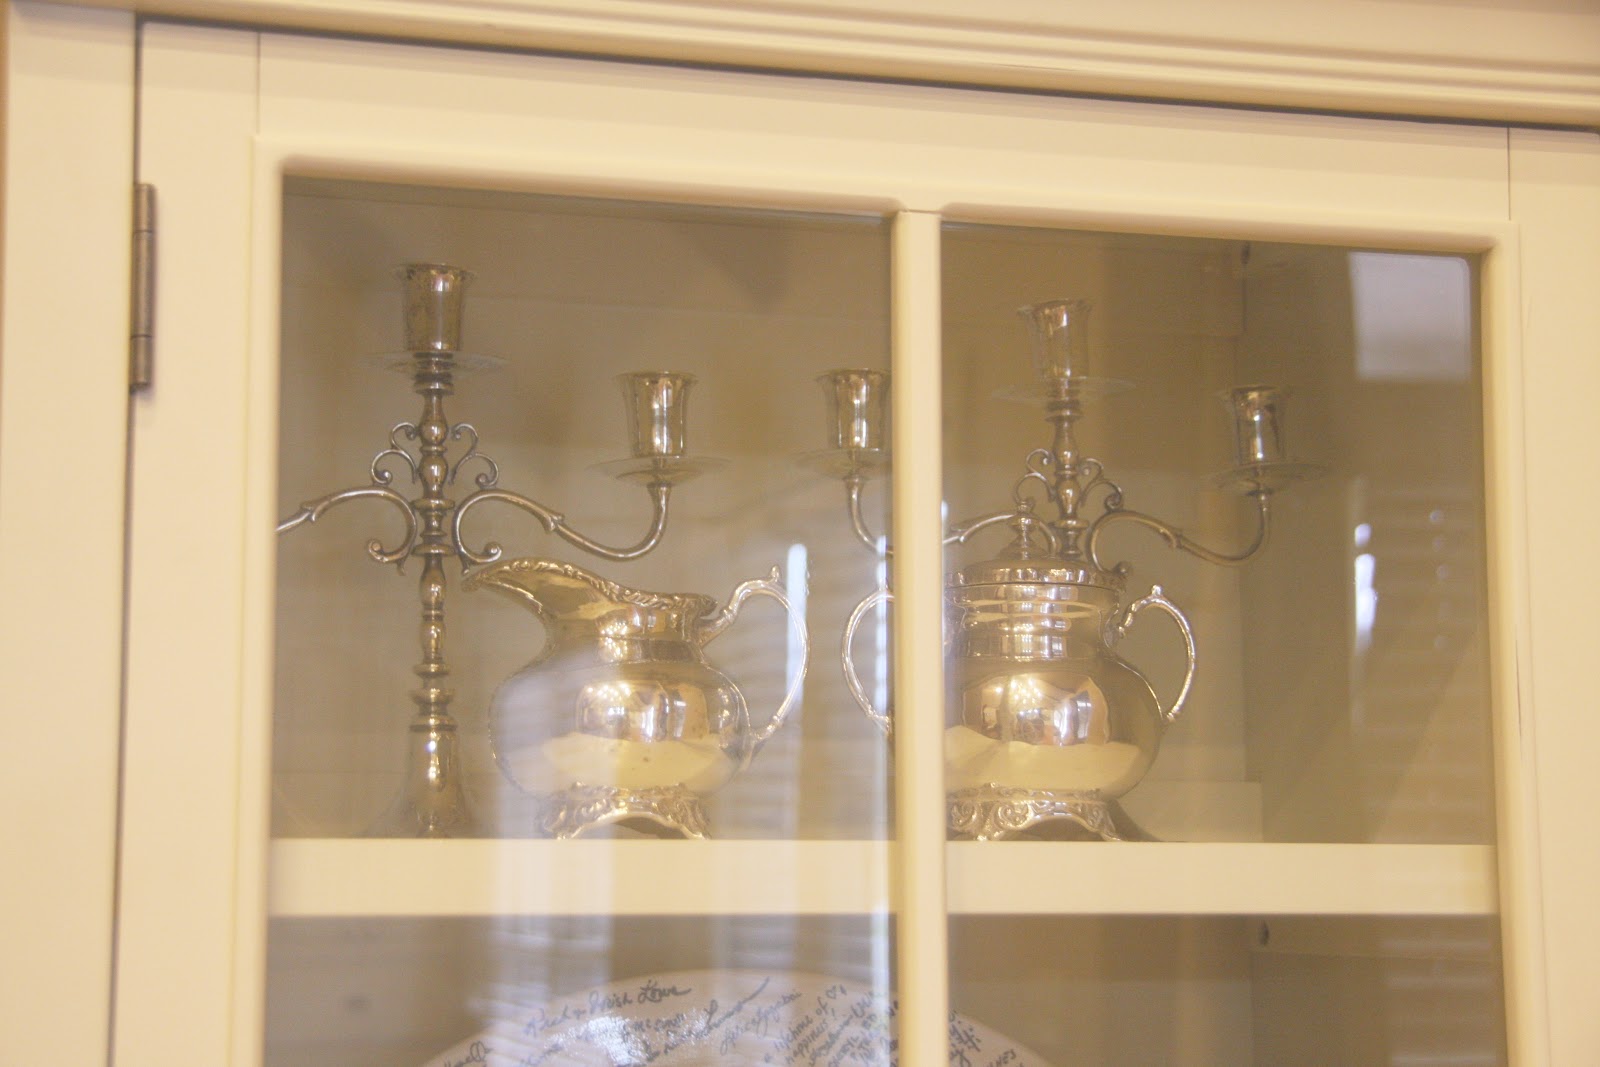
Little secret. I’ve had the most amazing set of silver gifted to me more than 10 years ago. And shamefully, for the last 5 years the set has lived right here…


Ok, so mayyyyyybe it’s a big secret.
I know, I know. Someone should be punished for having this beautiful set and letting it live in a moving box all these years. The movers did a wonderful job packing it up…

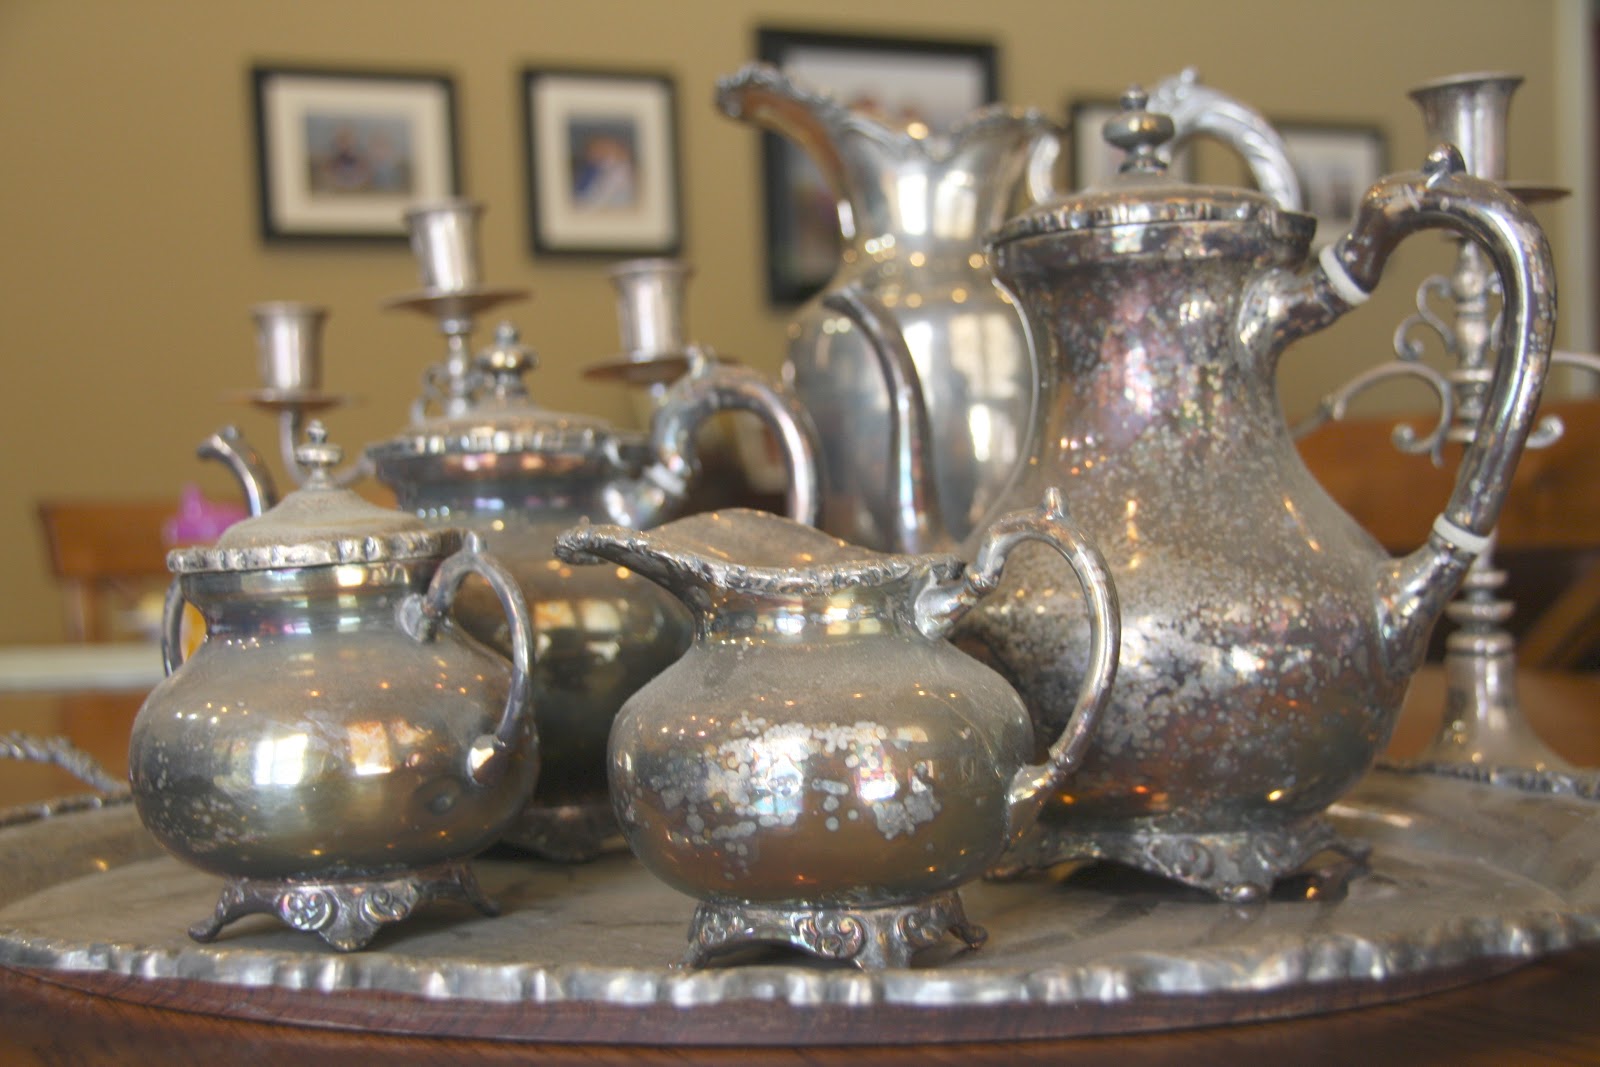
Before the move, I did my best to take care of the expansive set. It was tough with 2 little boys (a baby and toddler). Anyone who owns silver knows how hard it is to maintain the beautiful shine. So once we moved, I left it in the moving box and figured I’d get to it one day…maybe when I finally discovered a spot in the house to display it.
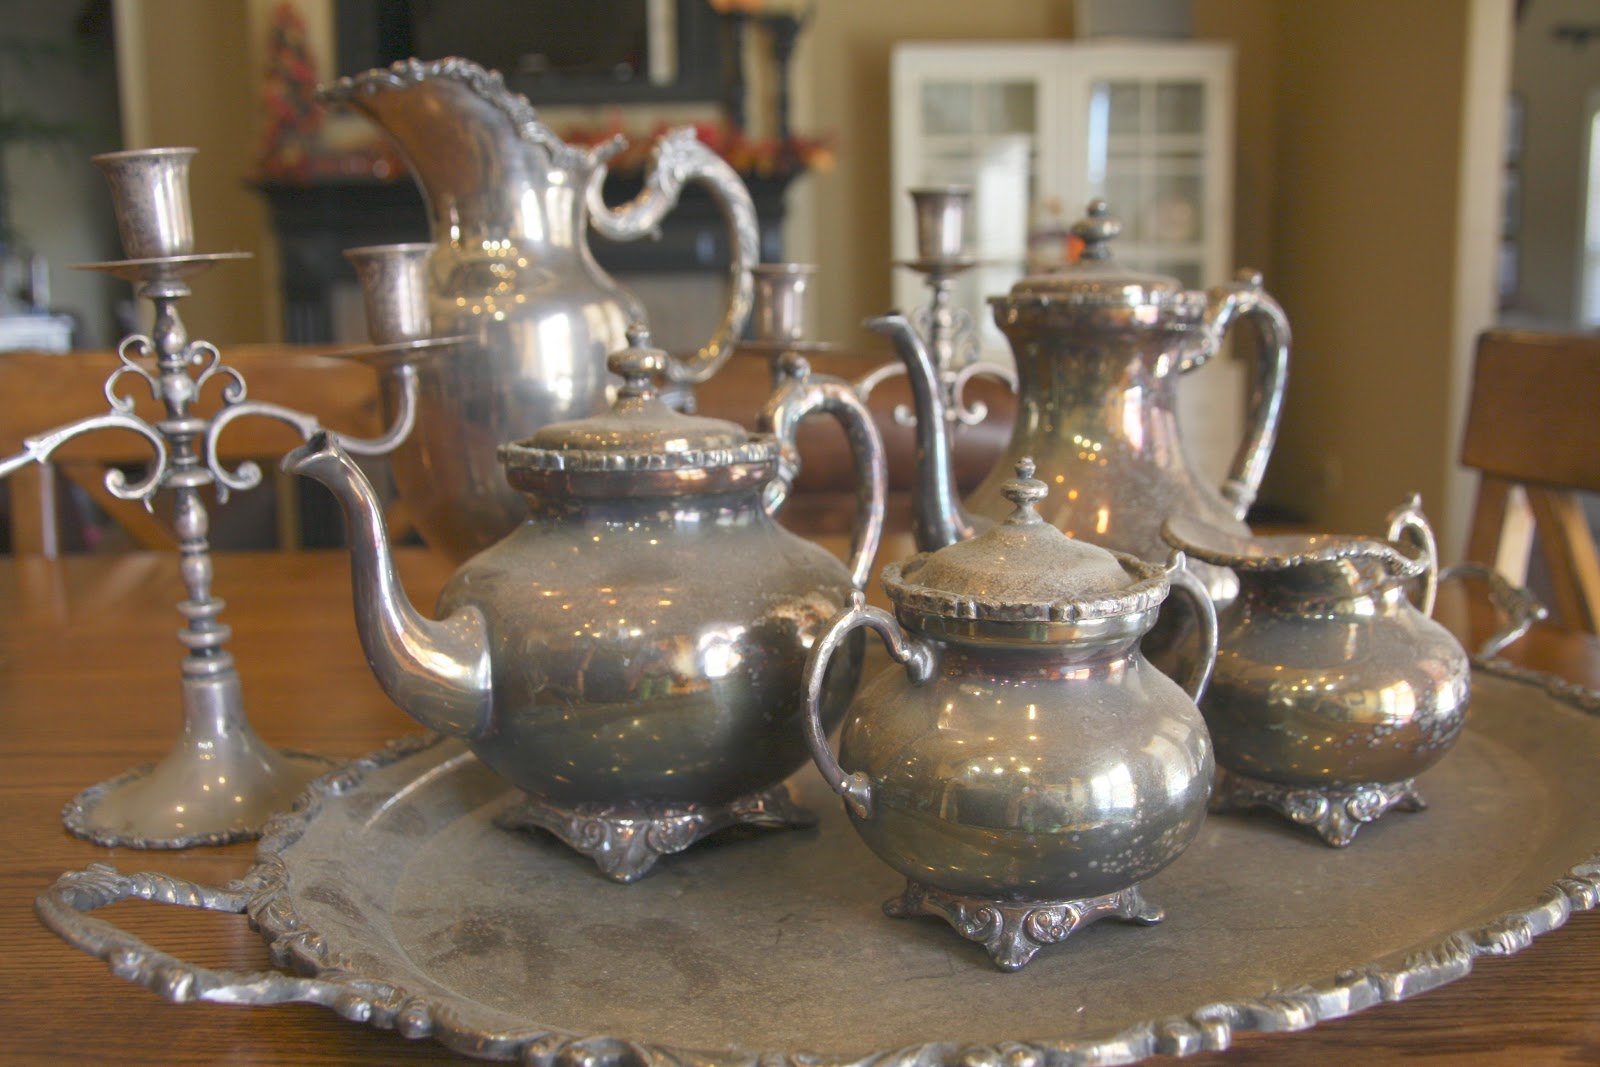
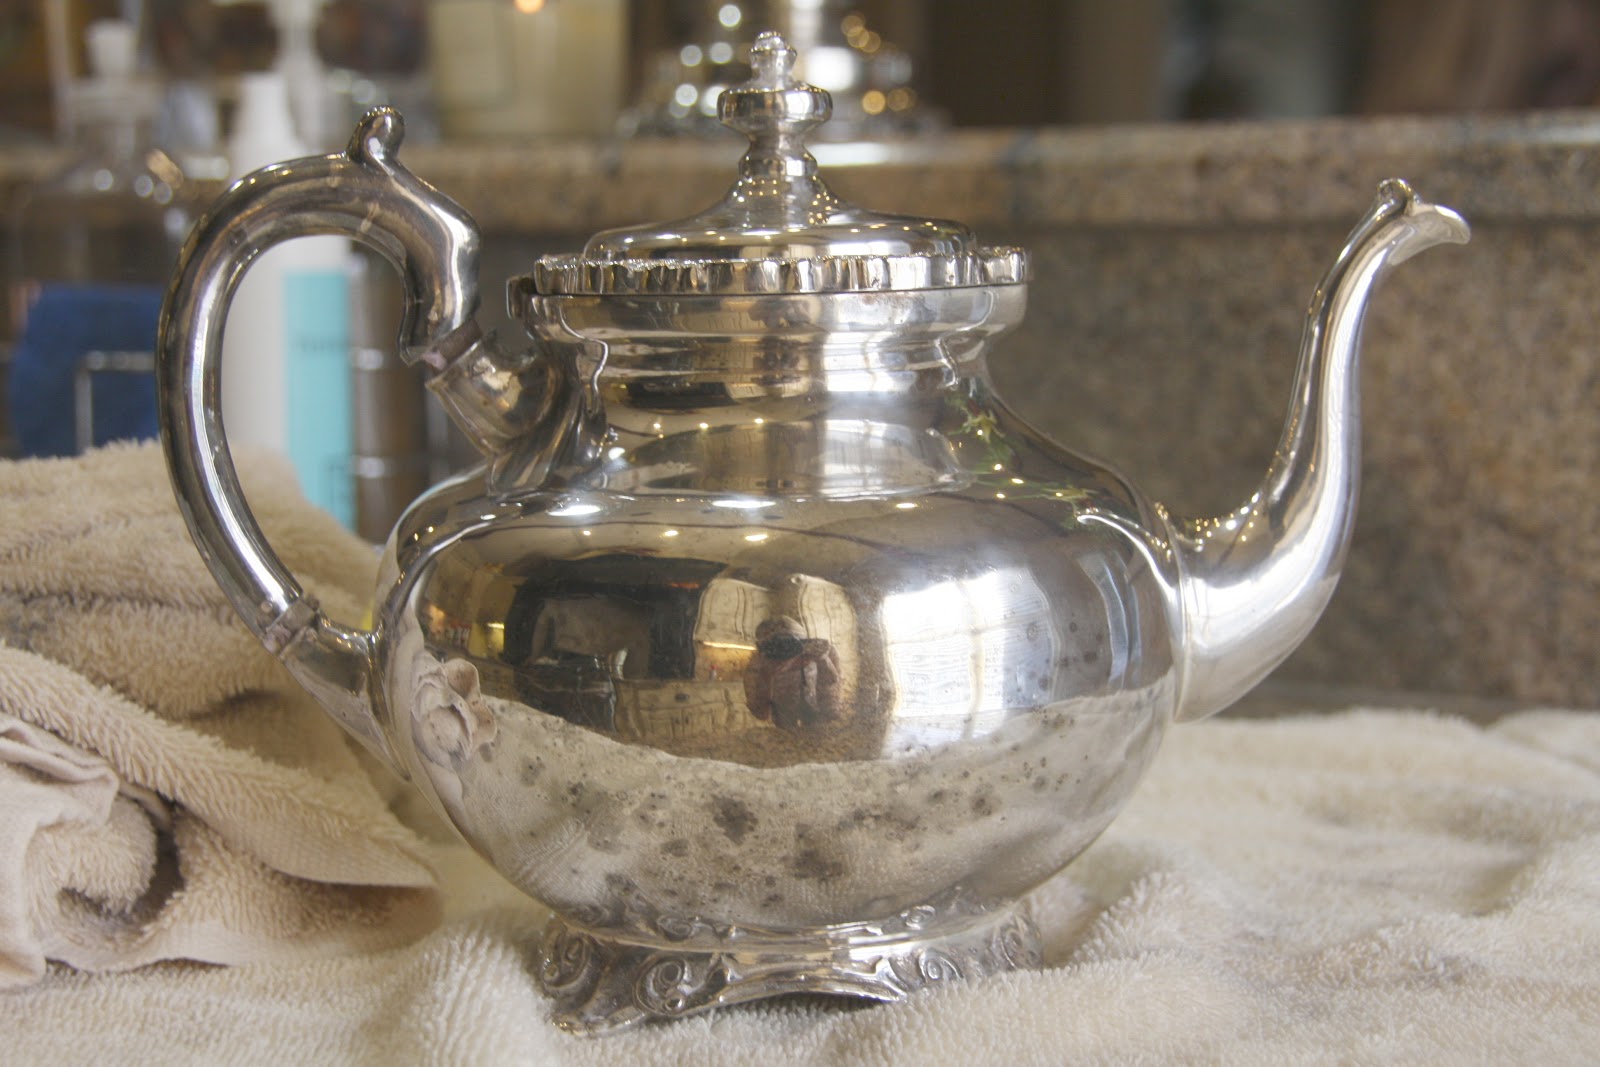
Fast forward 5 years – yikes! – and stumbling upon those pins about how easy it would be to clean! Here is the set seeing its first glimpse of sunlight…

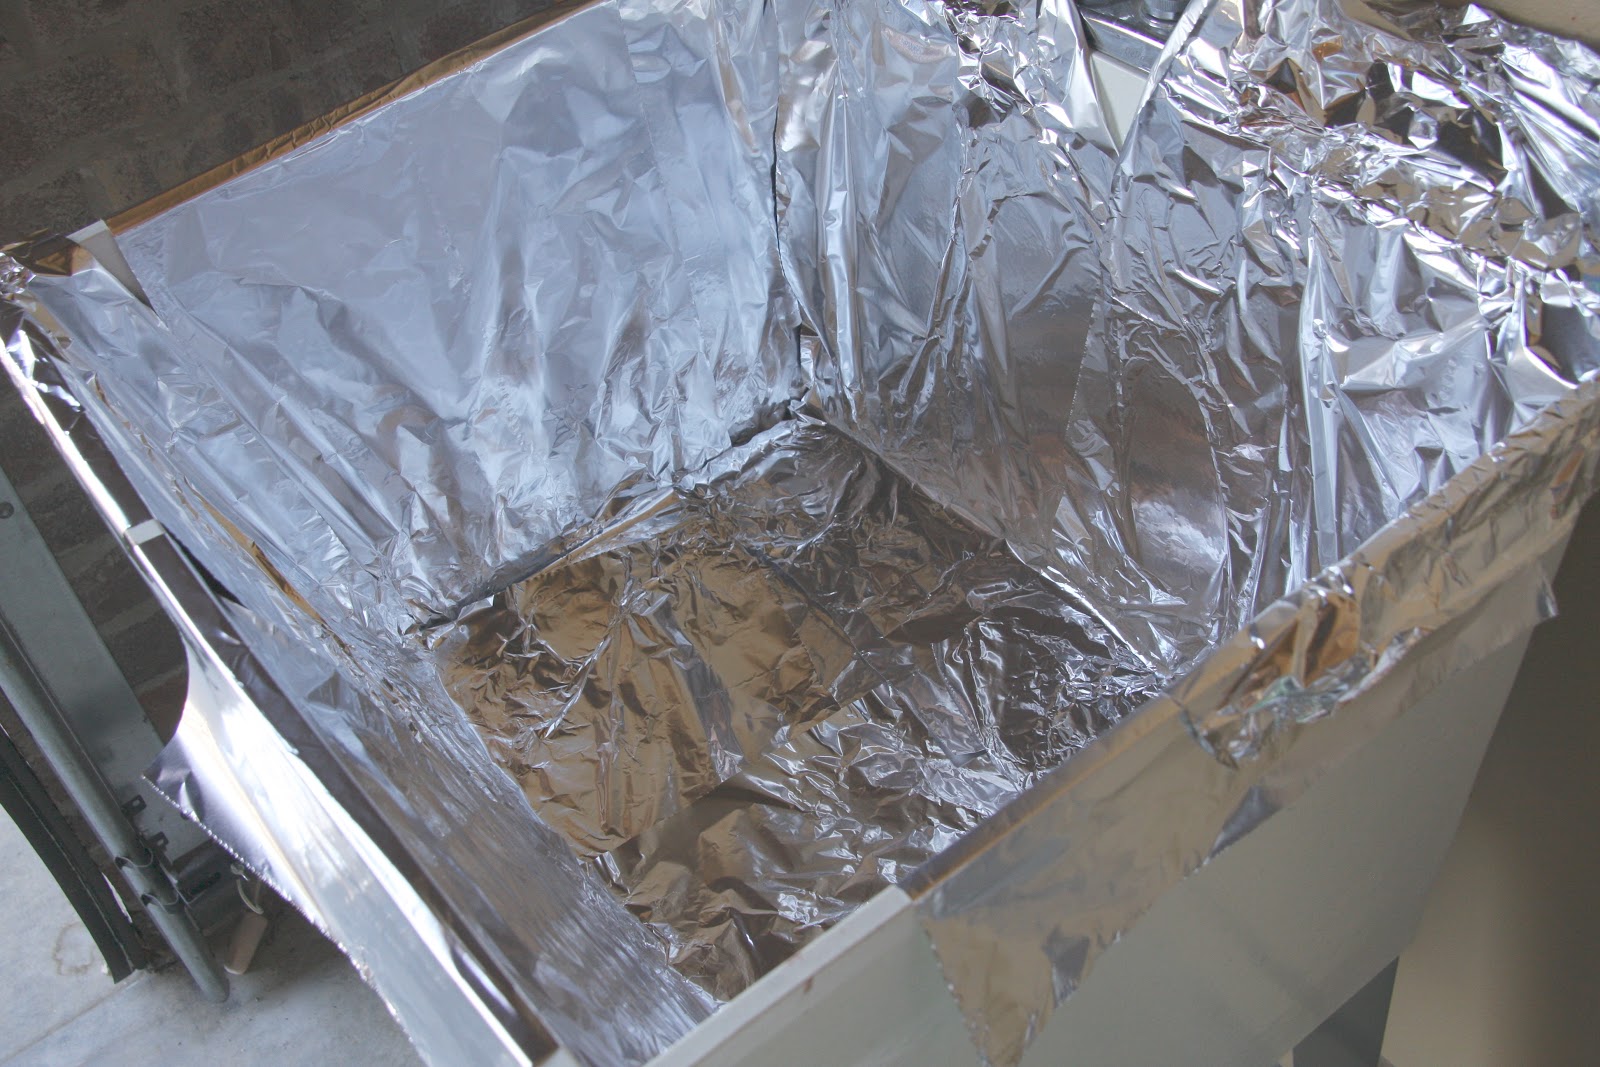
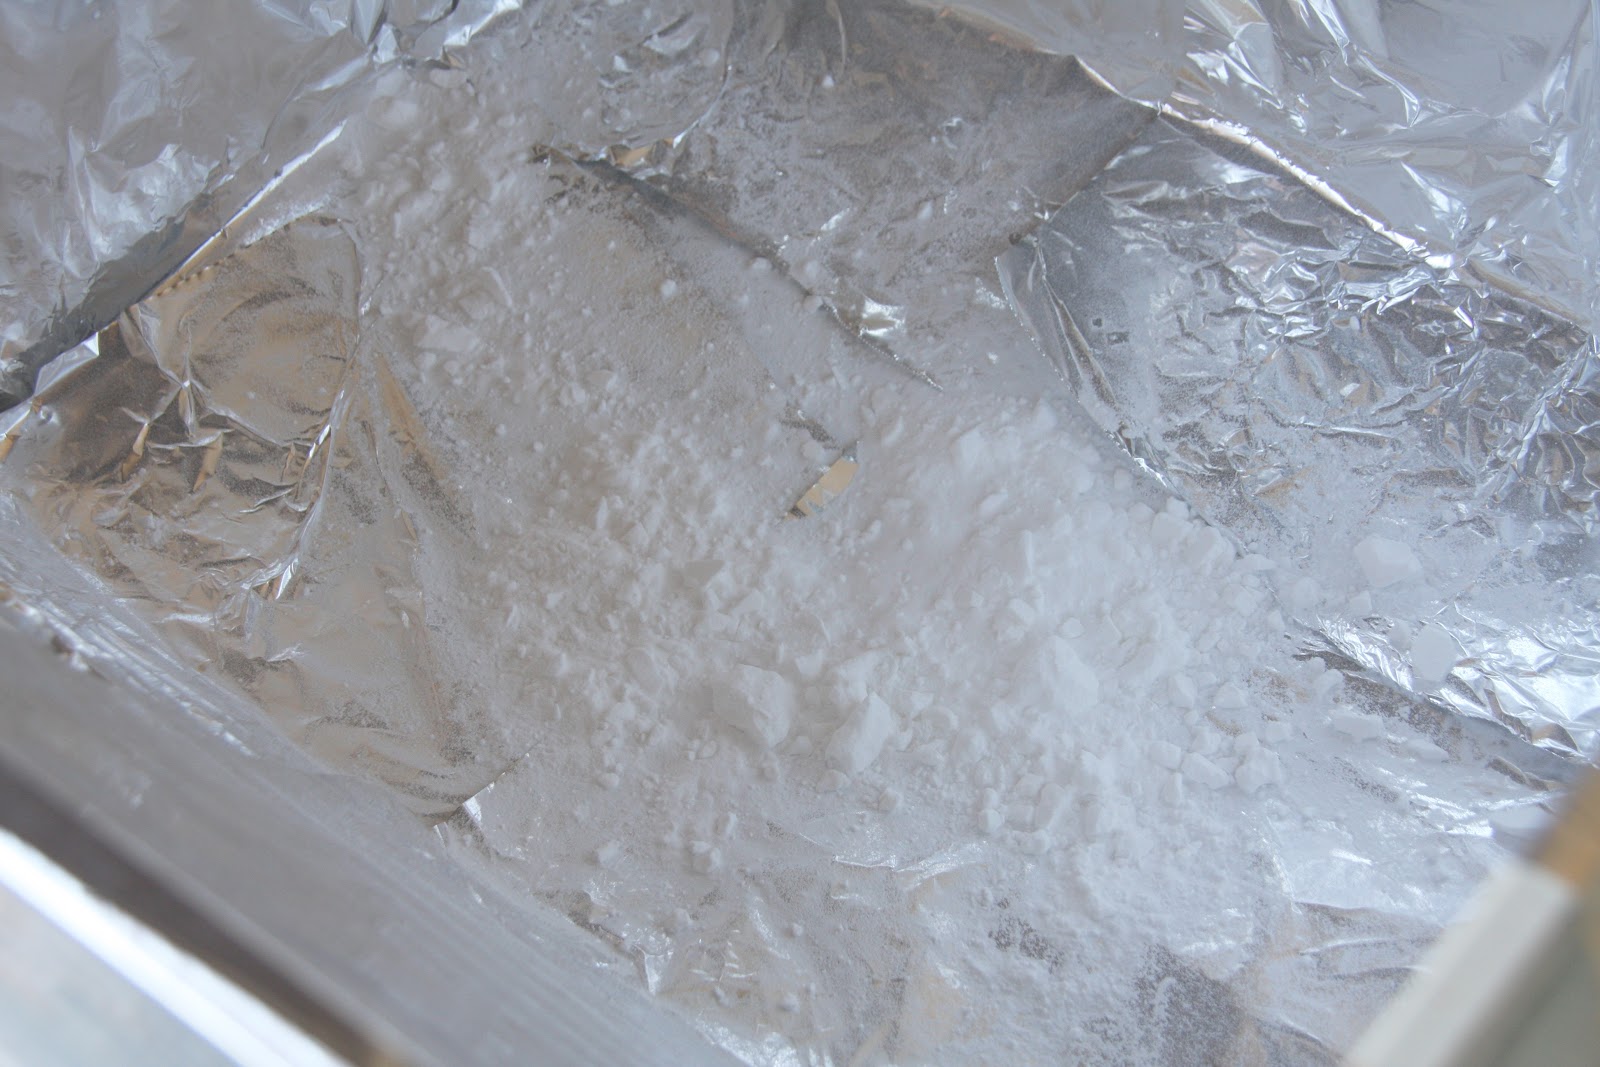
Added 1 cup of baking soda…
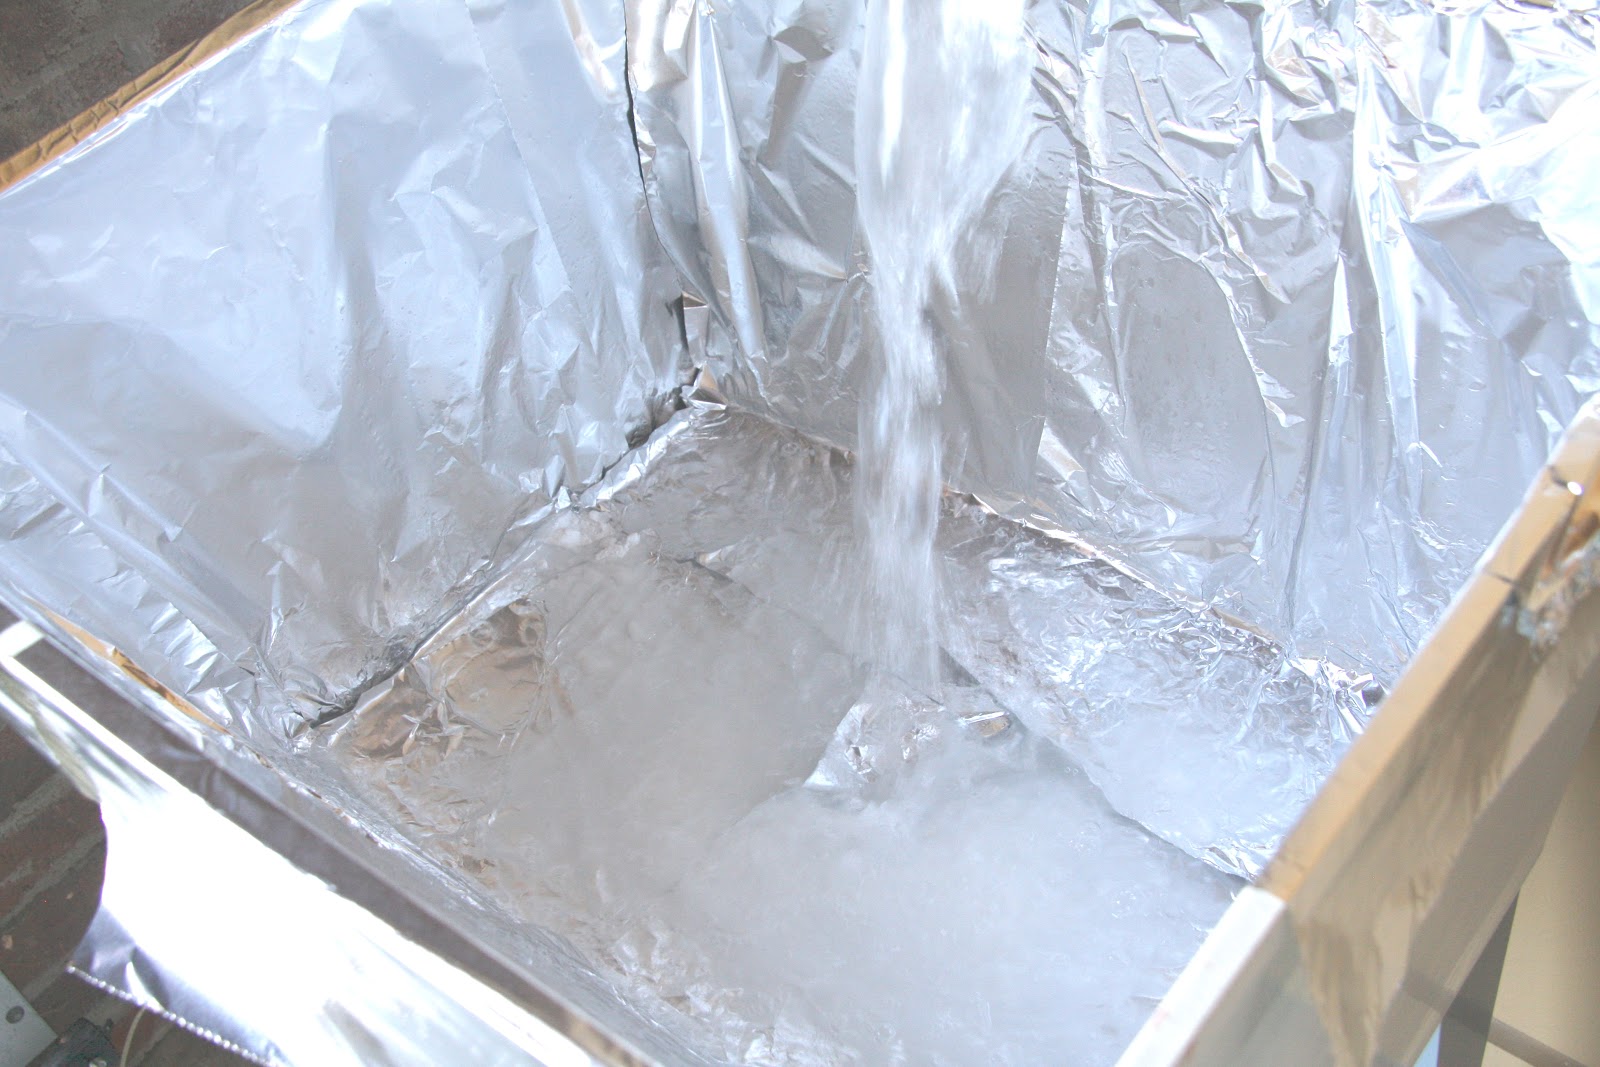
Filled the sink with hot, hot water…
Then placed a few pieces in the sink…
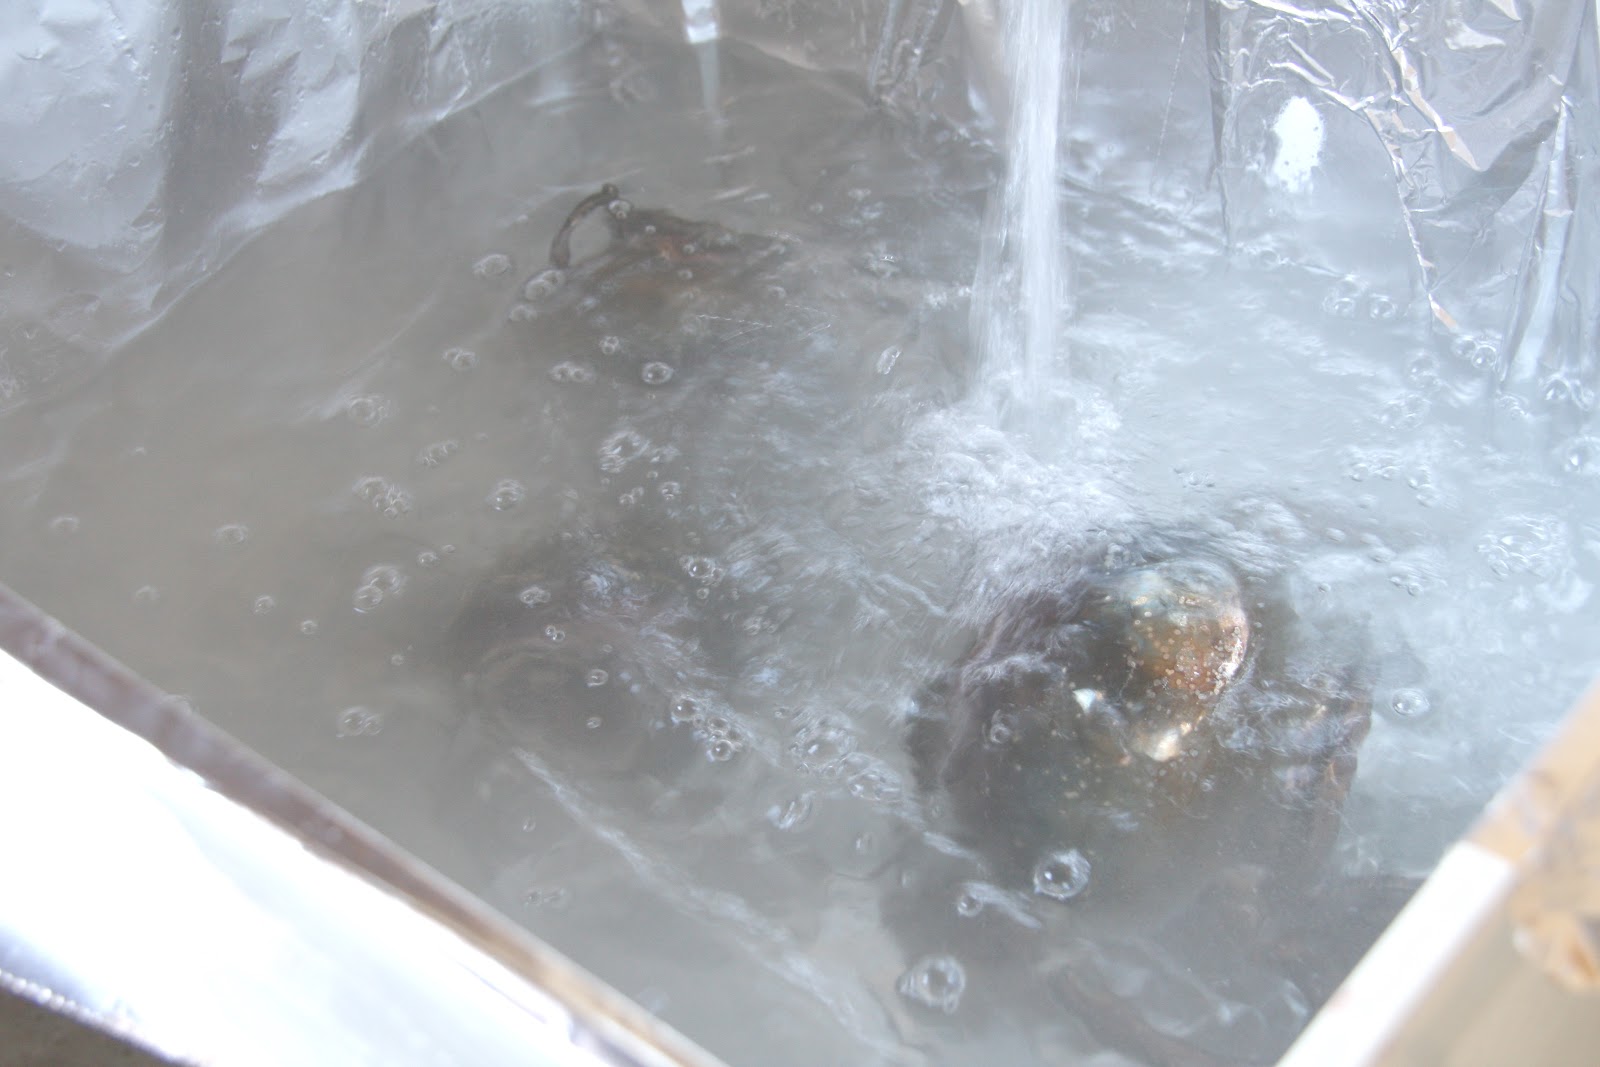
The pins suggested letting it soak about 30 minutes.
I left the first grouping of pieces for 30 minutes and noticed some of the tarnish was in fact coming off. But not completely…

After 30 minutes, I removed the silver and changed out the foil. I could see a significant band of tarnish on the foil right around the water line…

Then repeated the process again. Here are those same pieces after another 30 minute round of soaking…
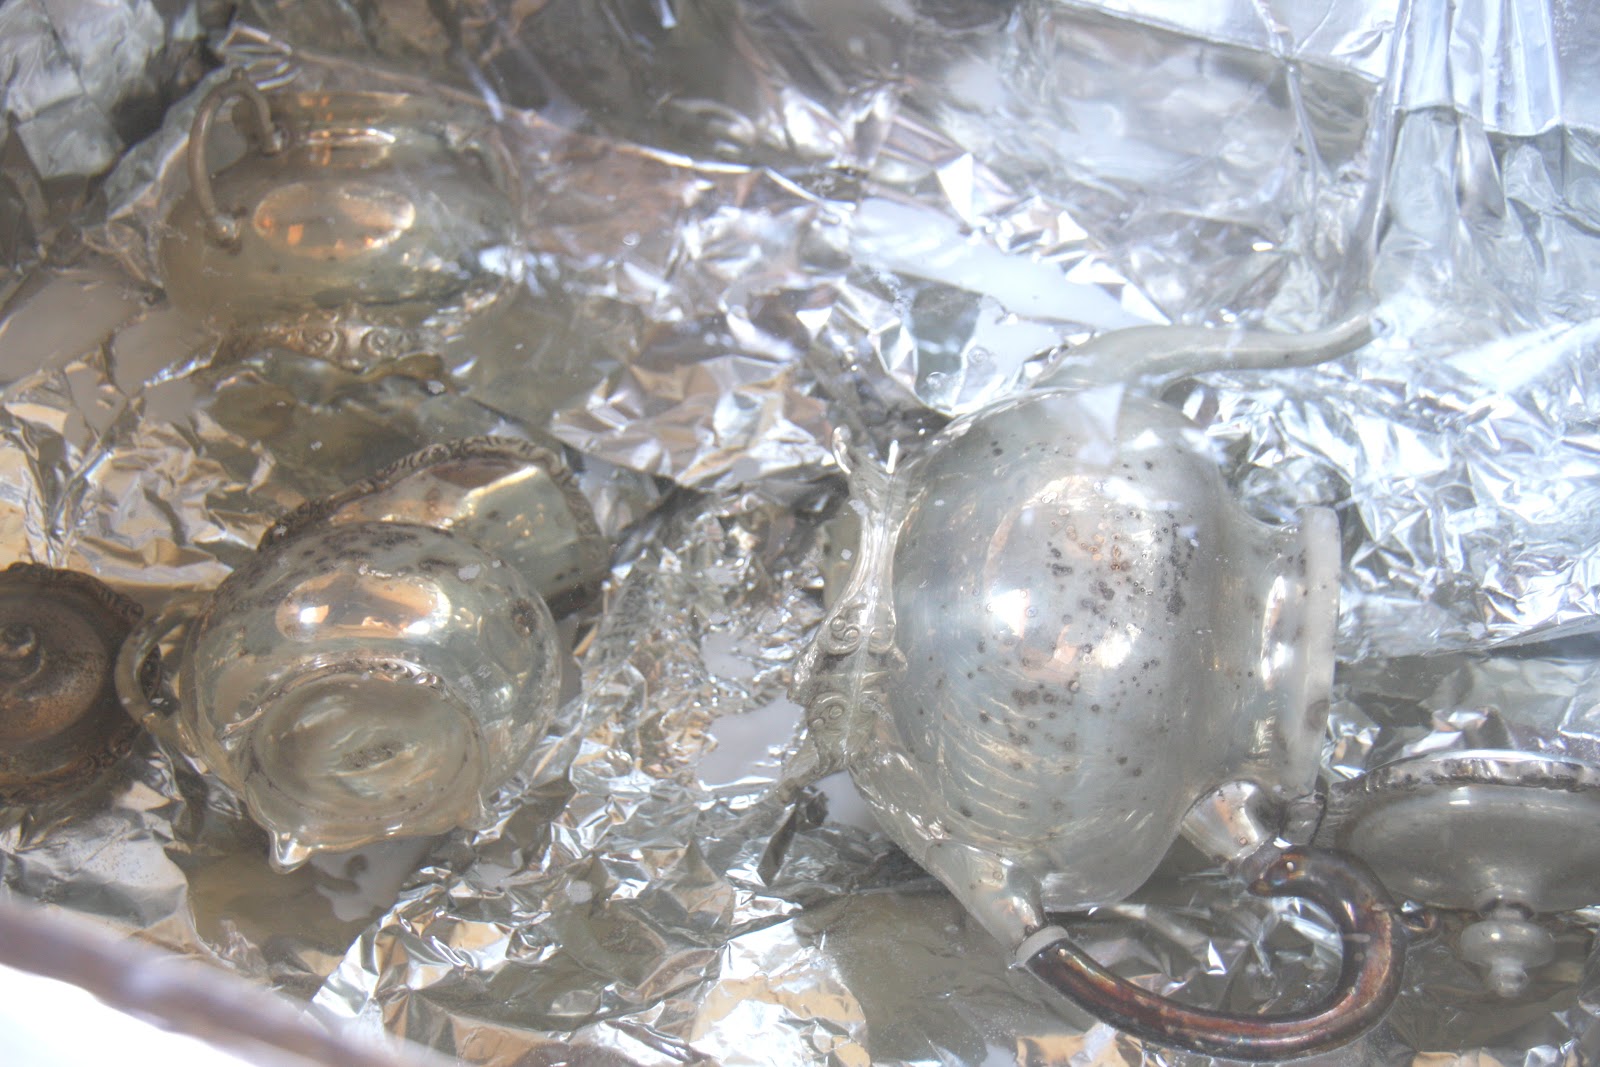
You definitely can see the tarnish coming off. But the pins noted the tarnish would merely soak away. Not the case for me. Even after removing the pieces from the water and rubbing with a soft cloth, there was still quite a bit of tarnish remaining.
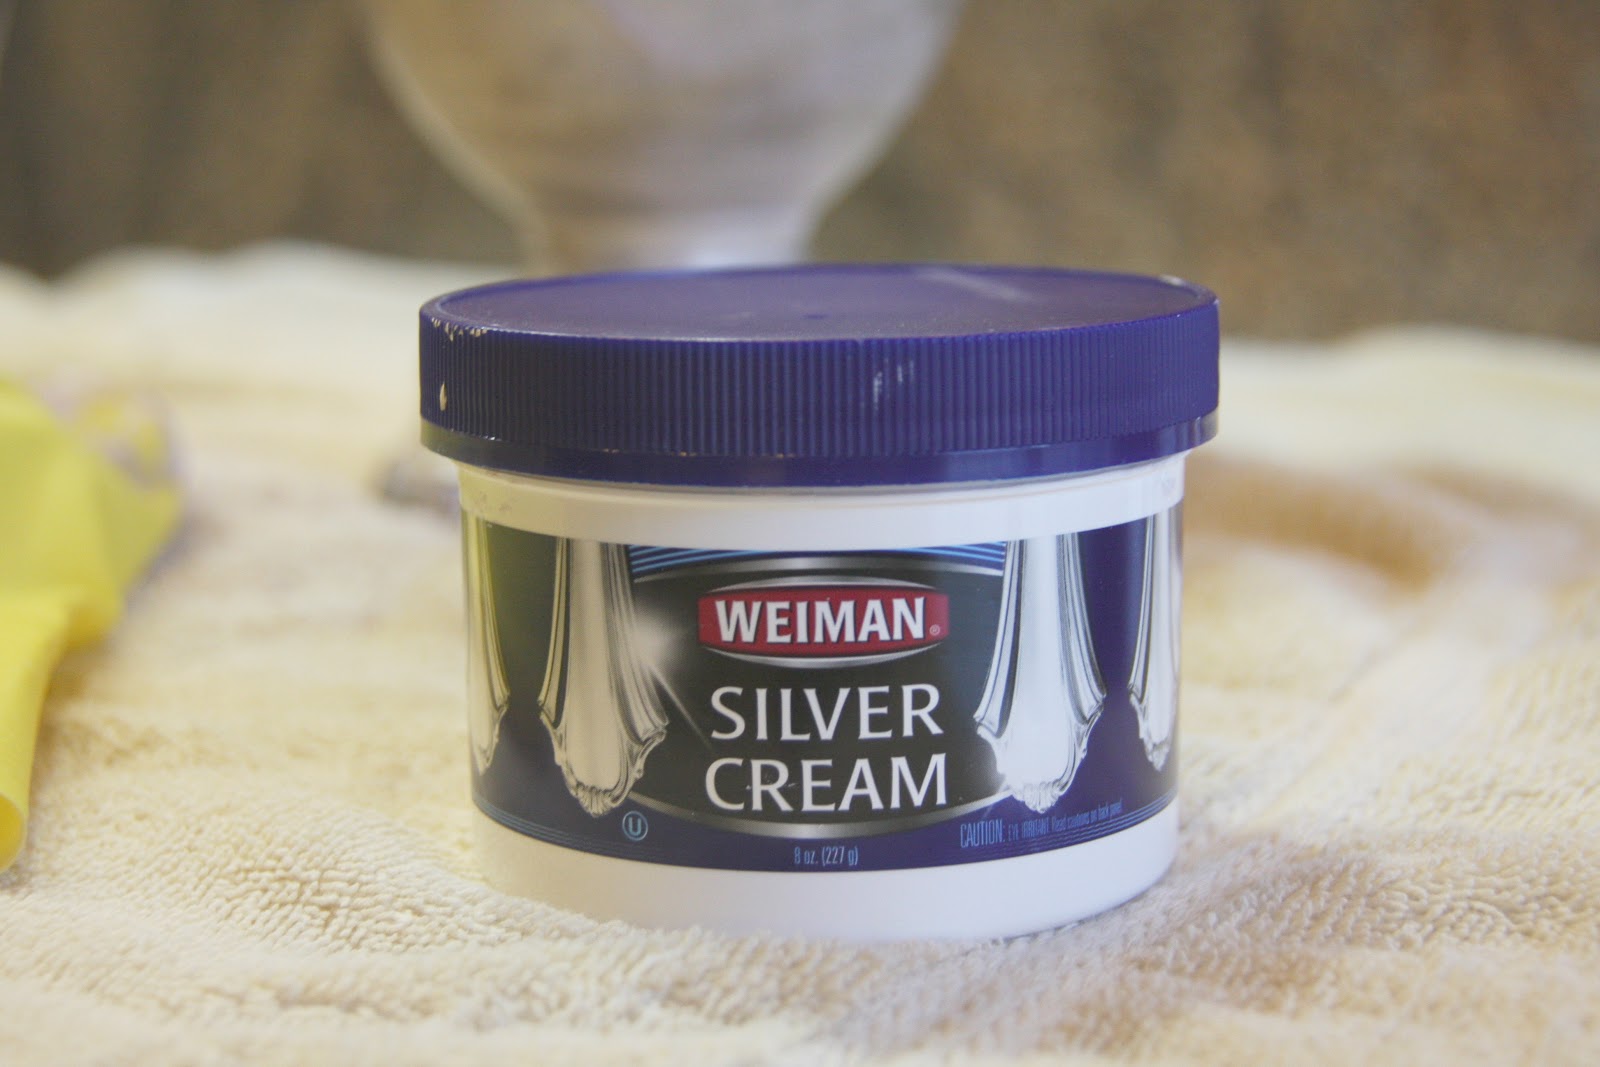
And followed the directions…

Pretty simple; coat the silver with the cream, rinse with hot water, then buff with a soft cloth…

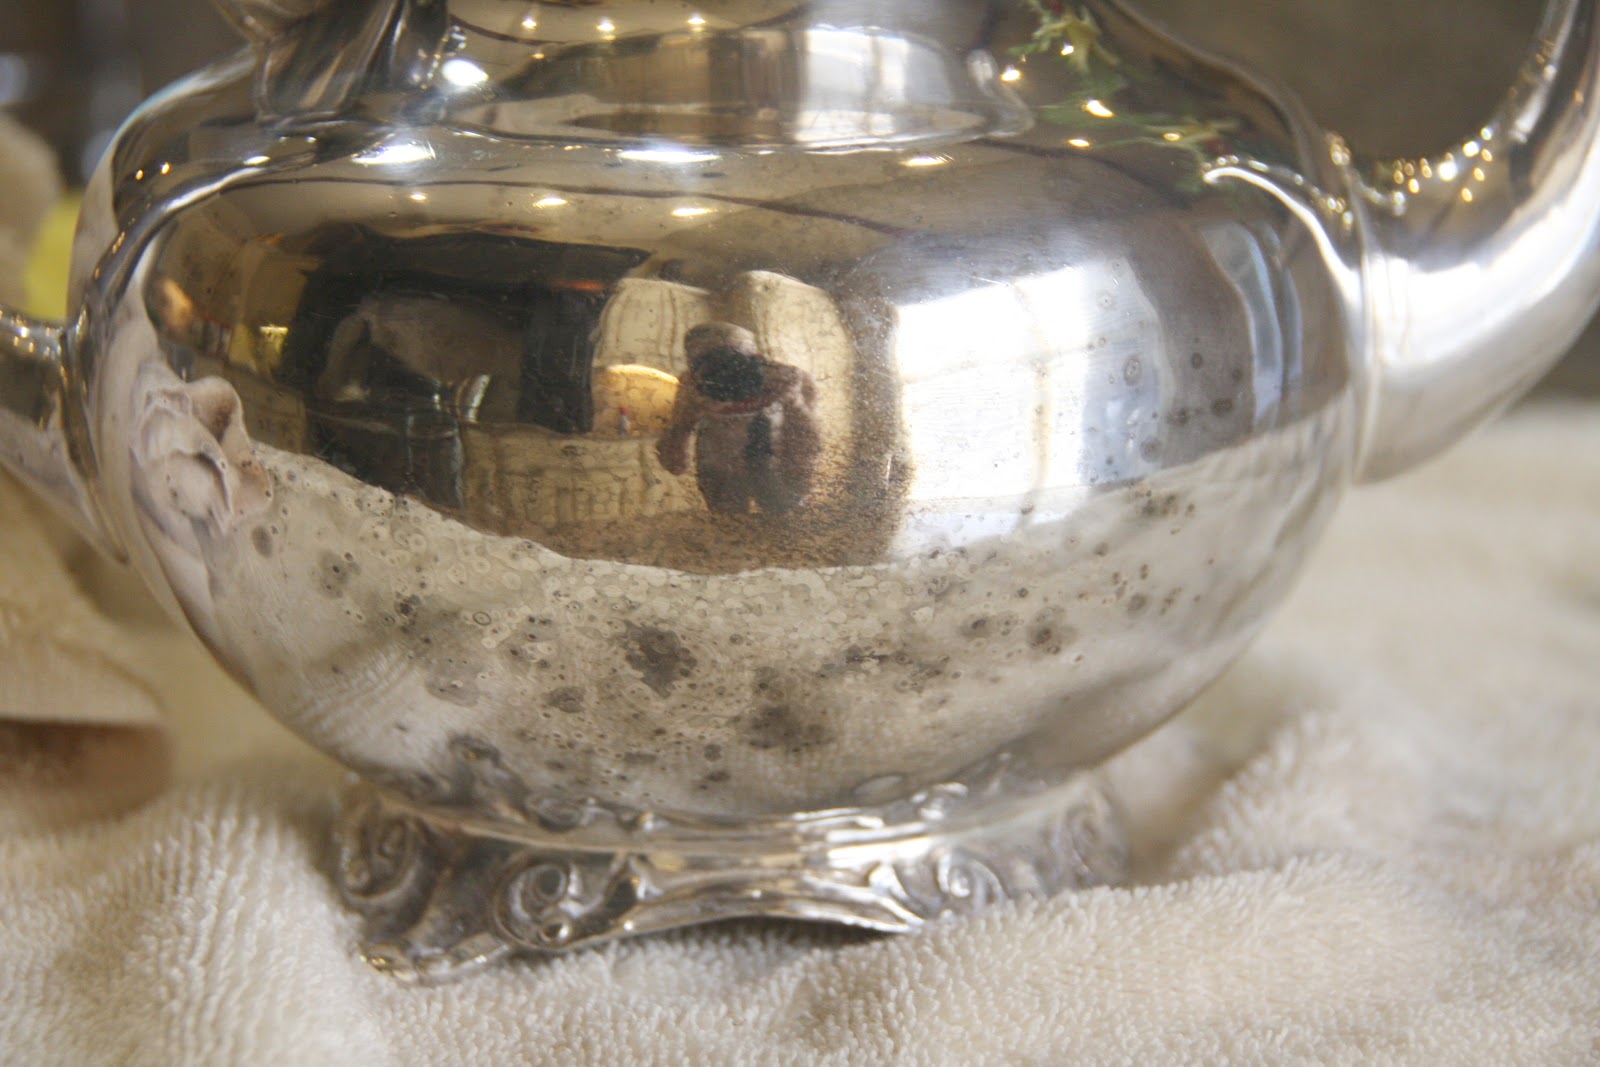
This is about as good a result as I could get from the silver cream…
Still quite a bit of tarnish remained…


And now after ONE application of the Tiffany silver spray…
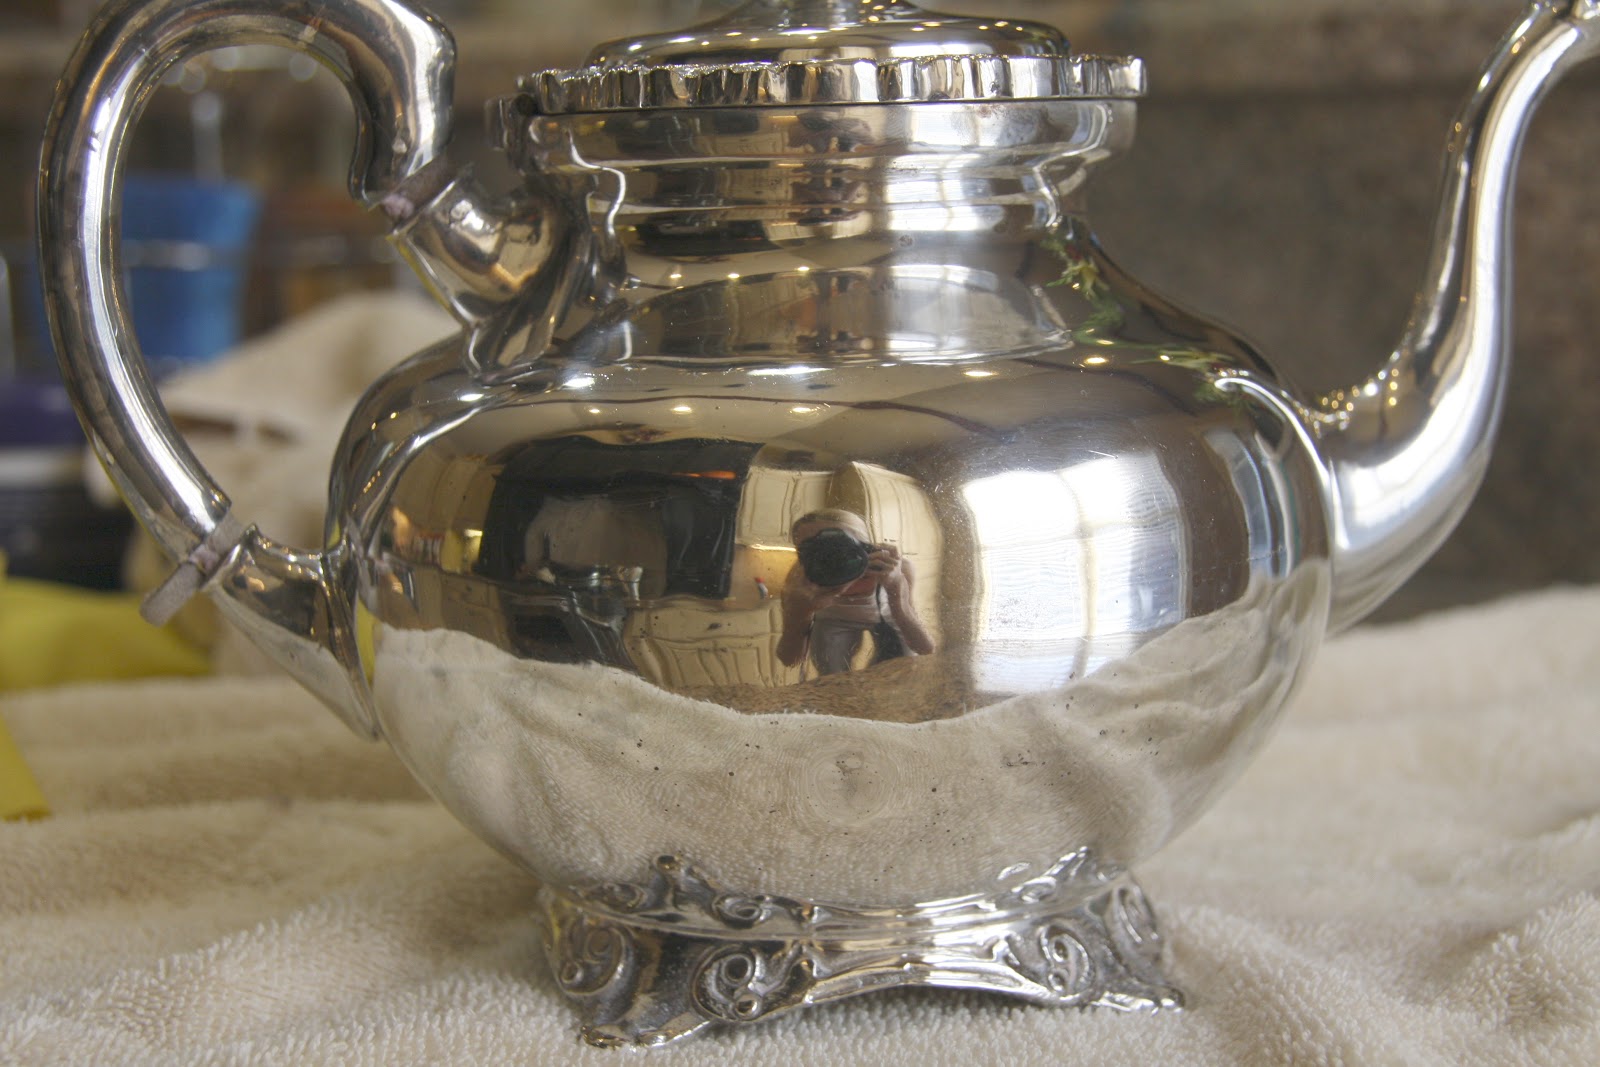
The tarnish literally melted away onto the rag. You can see here in this photo, my handprint is on the rag after just one polishing…
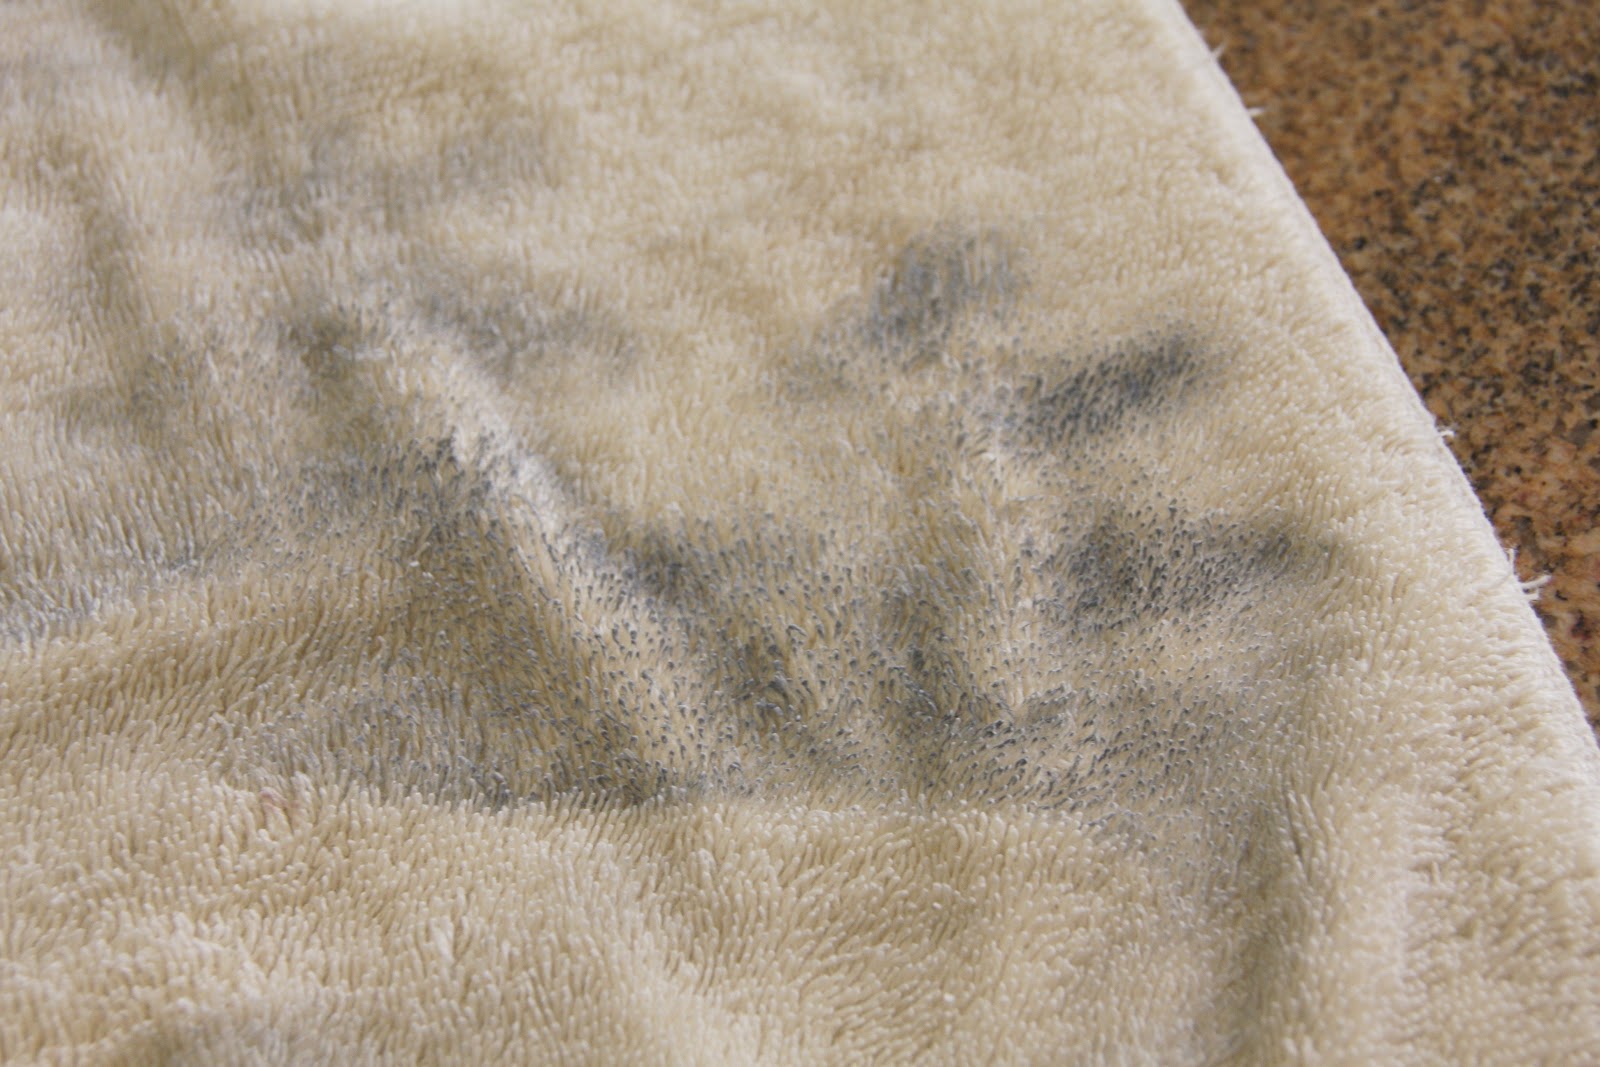
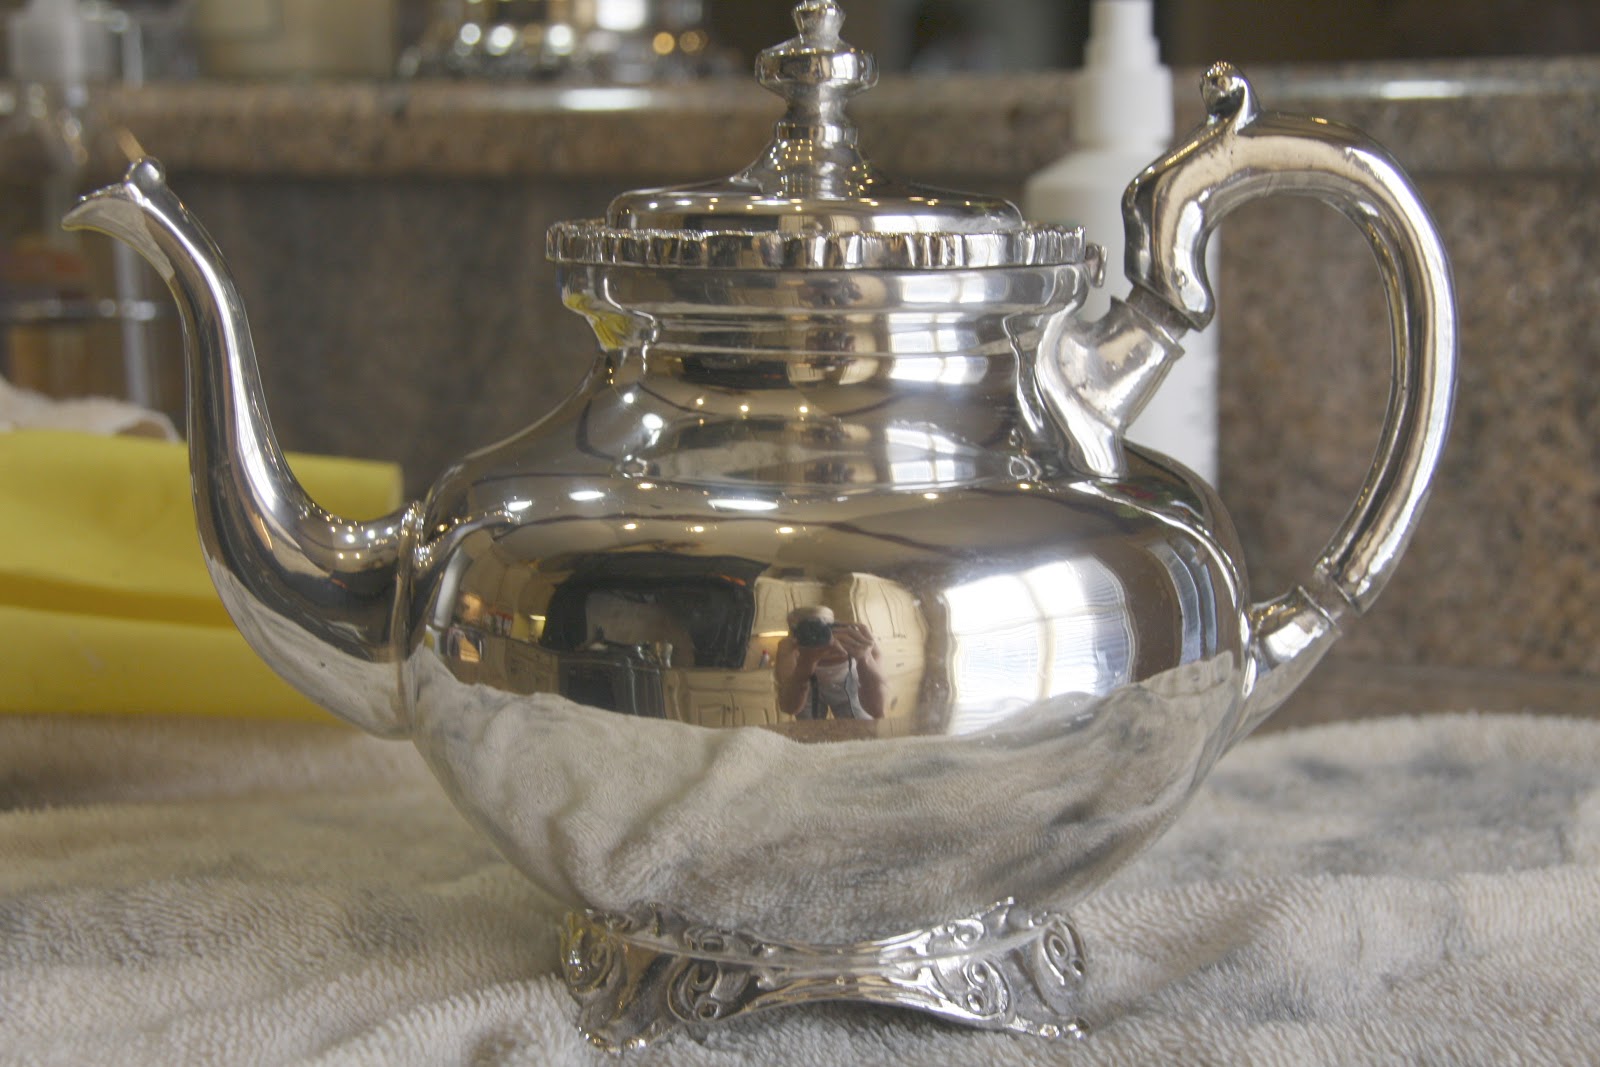
After one more application, look at that shine!…
Had the same, easy success with each remaining piece. The cloth after one application on the sugar container…

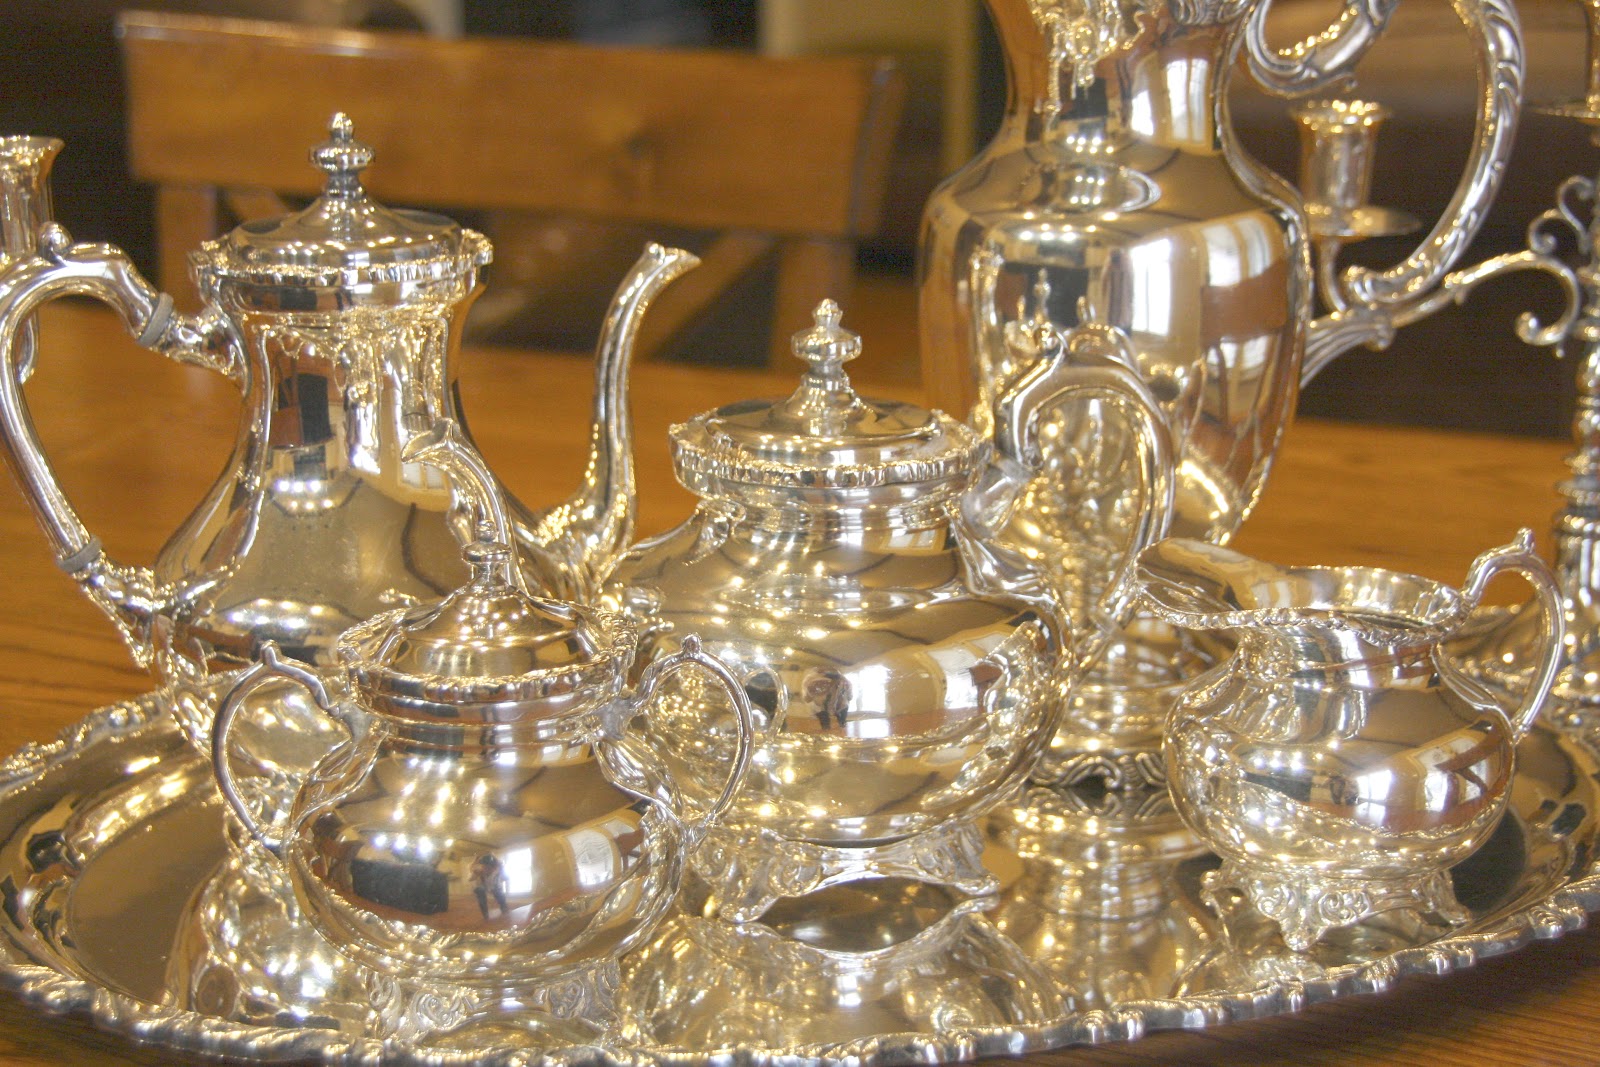
And the end result…

Here is the end result of the water pitcher too…

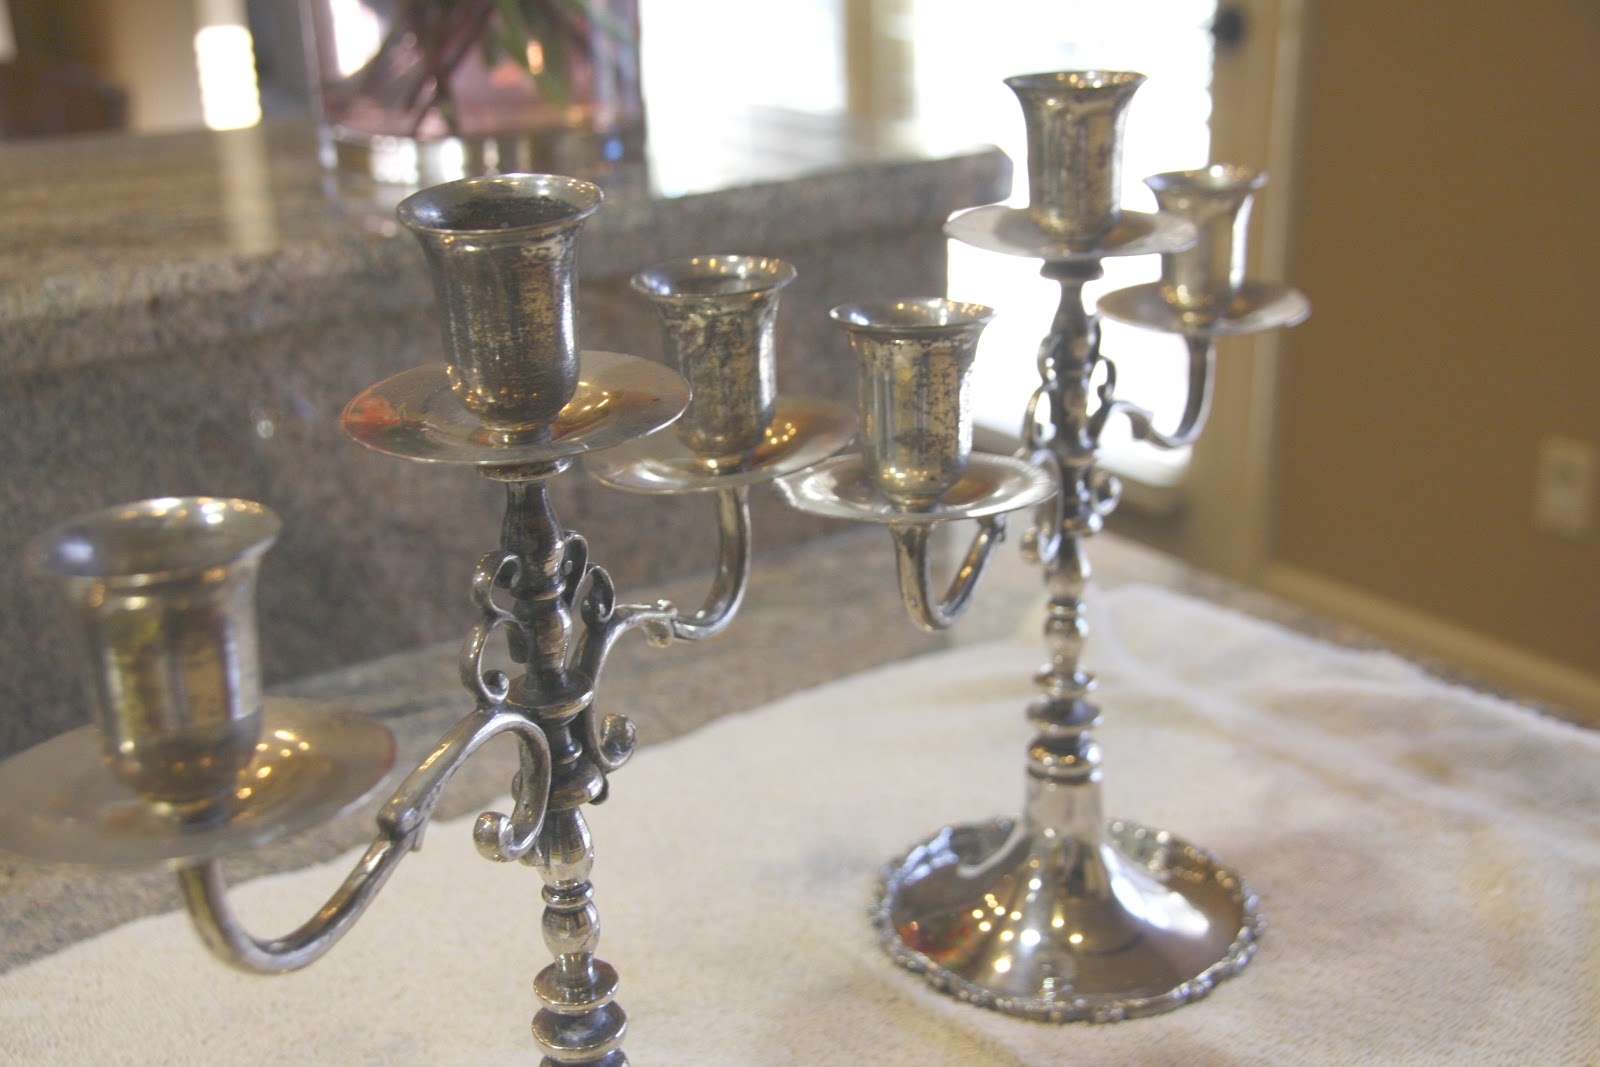
Have no idea how I would have cleaned those candlesticks by applying the cream with that large sponge. The job would have required endless amounts of q-tips. The dirtiest job yet was the tray…

But it was made easy because the spray worked so well!…


Not only did it work well, the job went SO fast!
**happy girl**
Finally, after 5 long years in a moving box, I can share this lovely vision with you…
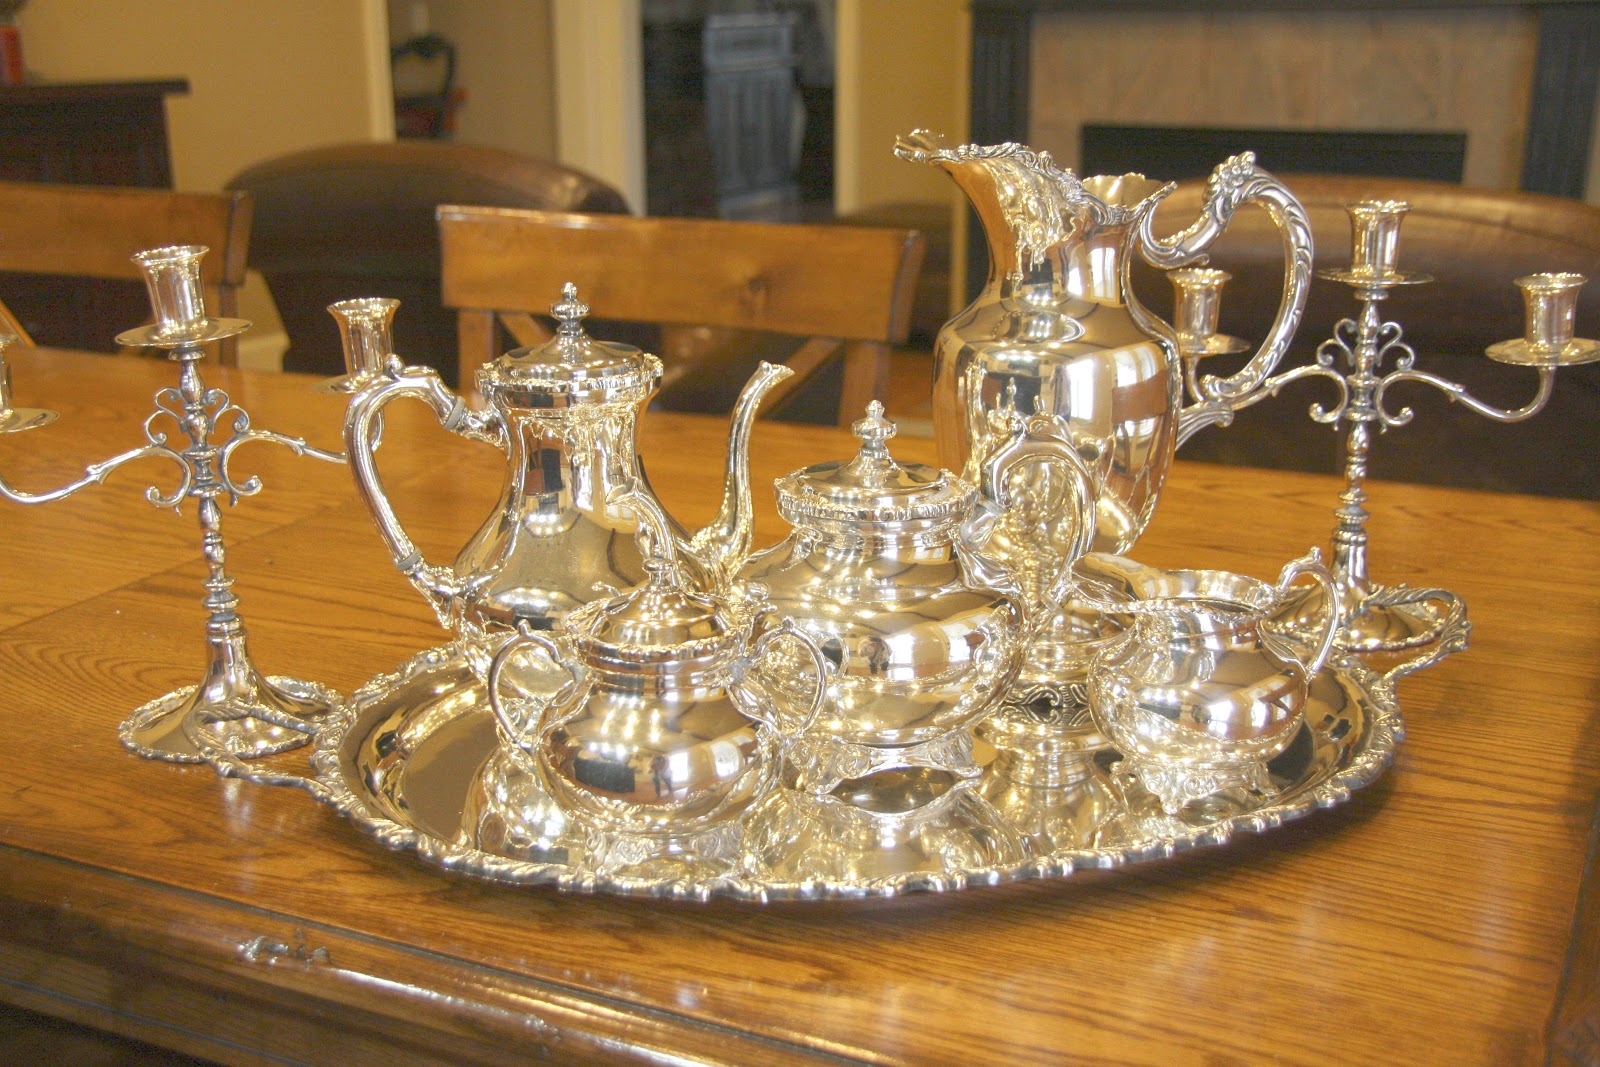
Can you believe that shine??
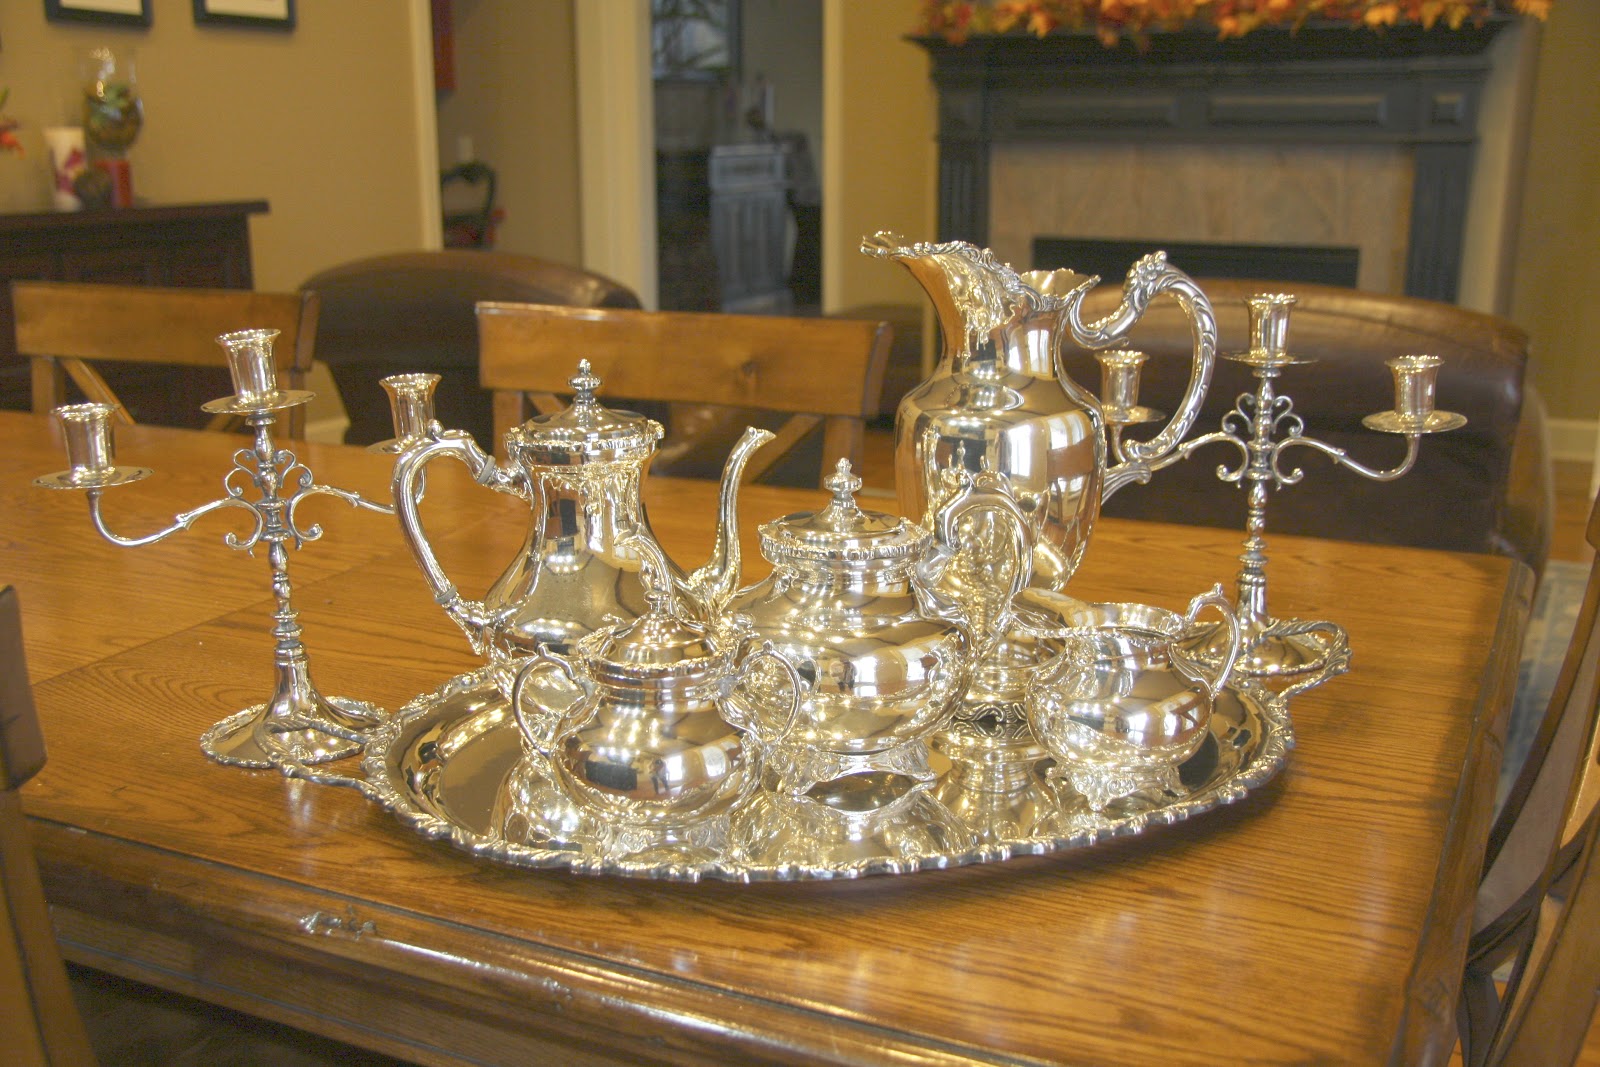
The sad before and happy after…
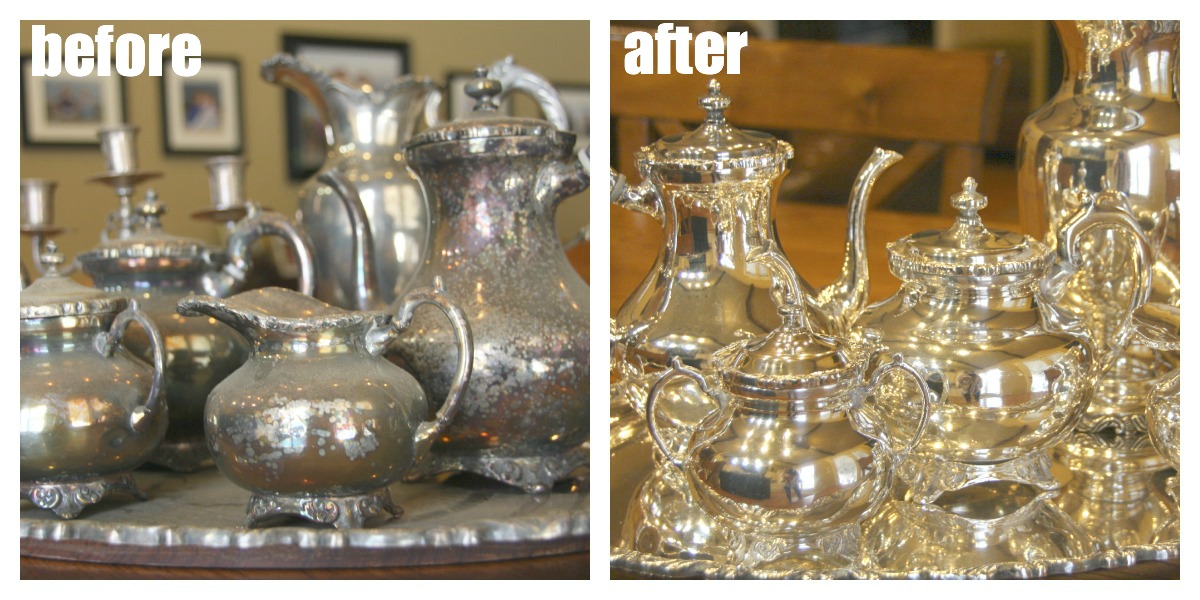

So the Pinterest challenge, while not a complete fail, didn’t quite cut it. If you need to clean your silver, I highly recommend Tiffany & Co spray silver polish. It can be purchased from a location near you or from their website. The bottle is 8.5 fluid ounces and costs $20.
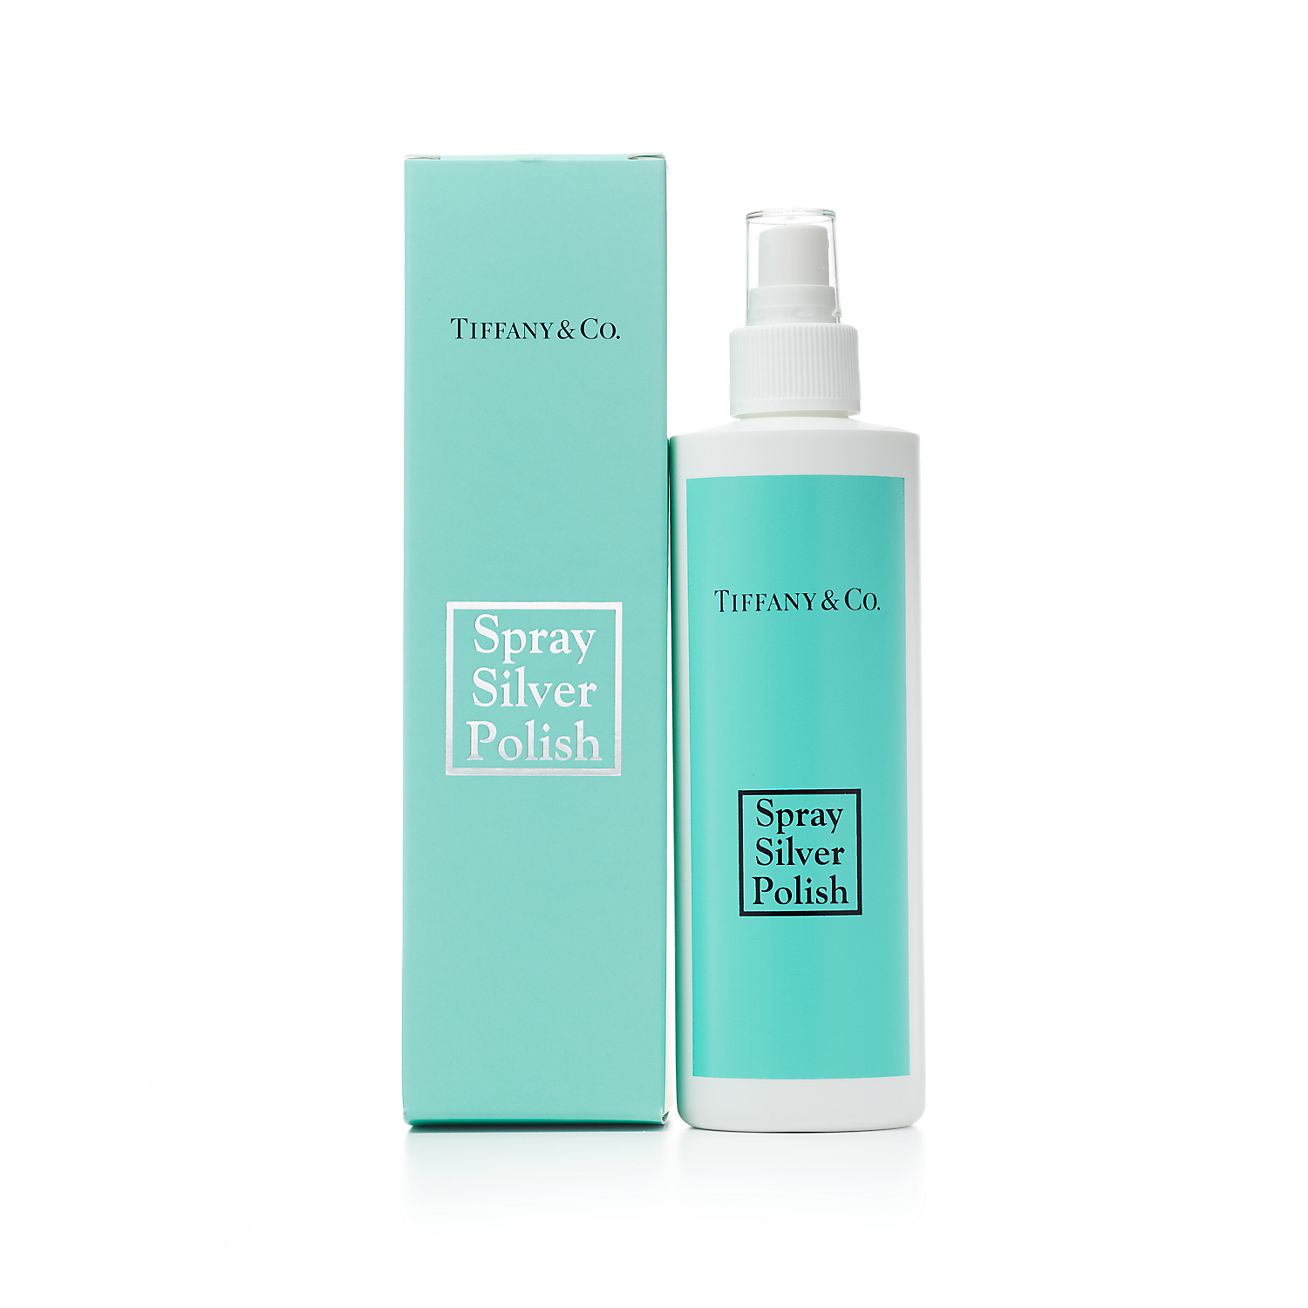
To give you an idea of the life of this $20 bottle, I was able to clean the entire set shown above and have more than 3/4 remaining. Not an expensive product, actually, when you think about how long it will last.
Do you have a set of silver? Have you tried cleaning before with a positive outcome? Please share it with us in the comments!
it's too bad the baking soda/foil didn't work for you…my recipe also called for salt and dishwashing liquid and it worked like magic!! This is what I did: 1 tablespoon salt 1 tablespoon baking soda 1 tablespoon dish detergent 1 cup water 1 piece aluminum foil Directions: 1Heat water in the microwave for 1 or 2 minutes.2Cut a piece of aluminum foil that roughly covers the bottom of a small bowl (like a cereal bowl).3Pour hot water into bowl. Place salt, soda, and dishwashing liquid into bowl. Place jewelry on top of foil and let it sit for 5 to 10 minutes. Rinse jewelry in cool water and dry jewelry completely with soft cloth. Discard .
I saw a picture of ur sink…how do u get it so shiny n clean…I have the same sink in stainless but its not as shiny as urs..can u give me ur secret
thank u
felicialetran@yahoo.com
I think this has been the most useful information I have come across since blogging. Thank you. I am going to try all the steps you mentioned.
I have a set similar to yours and it is silver plate – very heavy and ornate. I hate that it lives all tarnished, in a closet, but I have literally no where to use it. Maybe I will pull out a piece or two over the holidays. Thanks for the great tips!
You worked REALLY hard, and it certainly payed off: look how shiny they are!
Well, it looks like I will be skipping the sink-method and I will go straight for the polish. I don't have that fancy spray kind, but perhaps mine will do OK>>>
thanks for posting…
Love the photo's with your reflection in them…. 🙂
hugs x
Crystelle
http://www.crystelleboutique.com