One of my very first organization shares here on the blog were these cute little caddies found in the $1 spot at target. That post was over a year ago and the caddies have continued working hard during that year.
Although, in the last few weeks I noticed the need to update the storage a bit in the art cabinet. My 8 year old is the artist in the family and the crayons and markers are really cutting it anymore. He’s into thin colored markers, colored pencils, glitter glue and more. My 2 younger children love to color and craft as well. But after a few art sessions with them, found I had to re-organize or clean up the supplies. Which is fine….that’s what mom’s do, right? But I was trying to find a solution to lessen my clean-up load.
Sooooo, it was time to update the storage a bit so we could invest in more art supplies and yet still stay organized. I spent a few hours looking around online for art supply storage. Big surprise (not!) that I ended up finding the solution on the Pottery Barn Kids website.
Who doesn’t love Pottery Barn Kids? I could live in that catalog…forget about the kids…just let ME move in.
I fell in love with 2 specific items. First being this colorful Mini Lazy Susan…at the painful price of $31 each!…

Check out this adorable caddy, which starts at $29 and goes up to $59…

Or even better…this one!…

So cute!

Sorry, I don’t have photos of the process used putting the pieces together (I’m a bad blogger!)…it was hard to snap photos AND assemble the caddy at the same time.
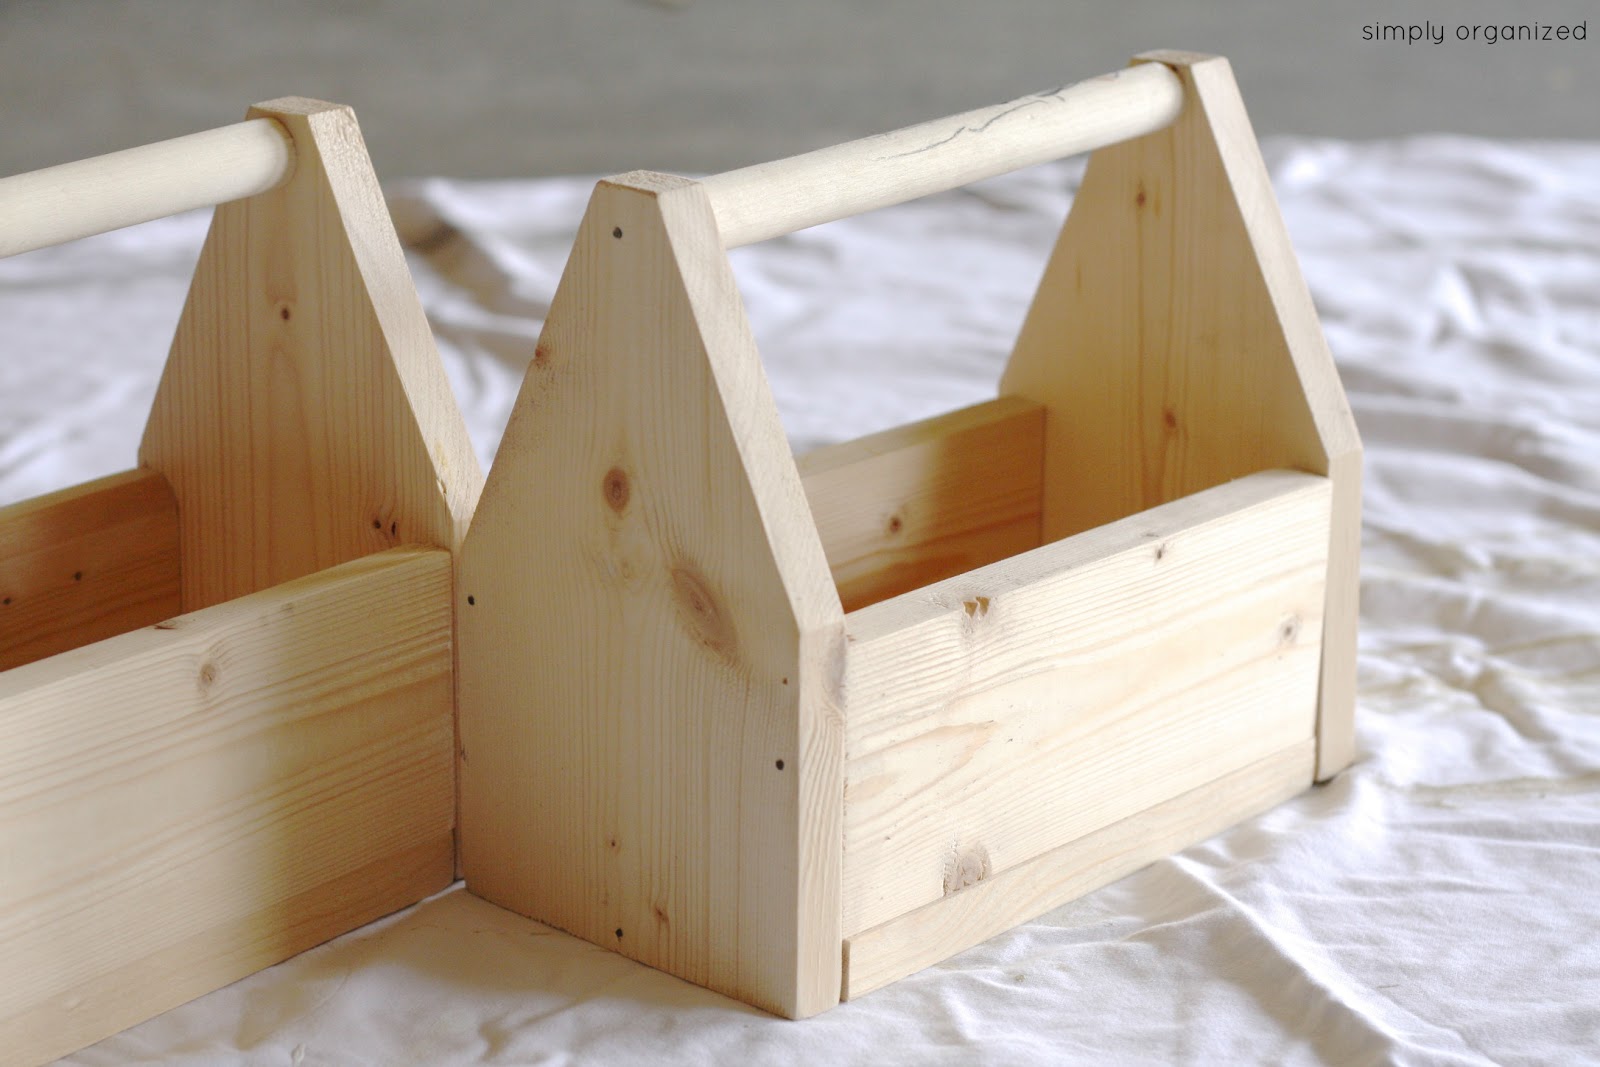
You can see again how easy it is to put those pieces together with a few nails…
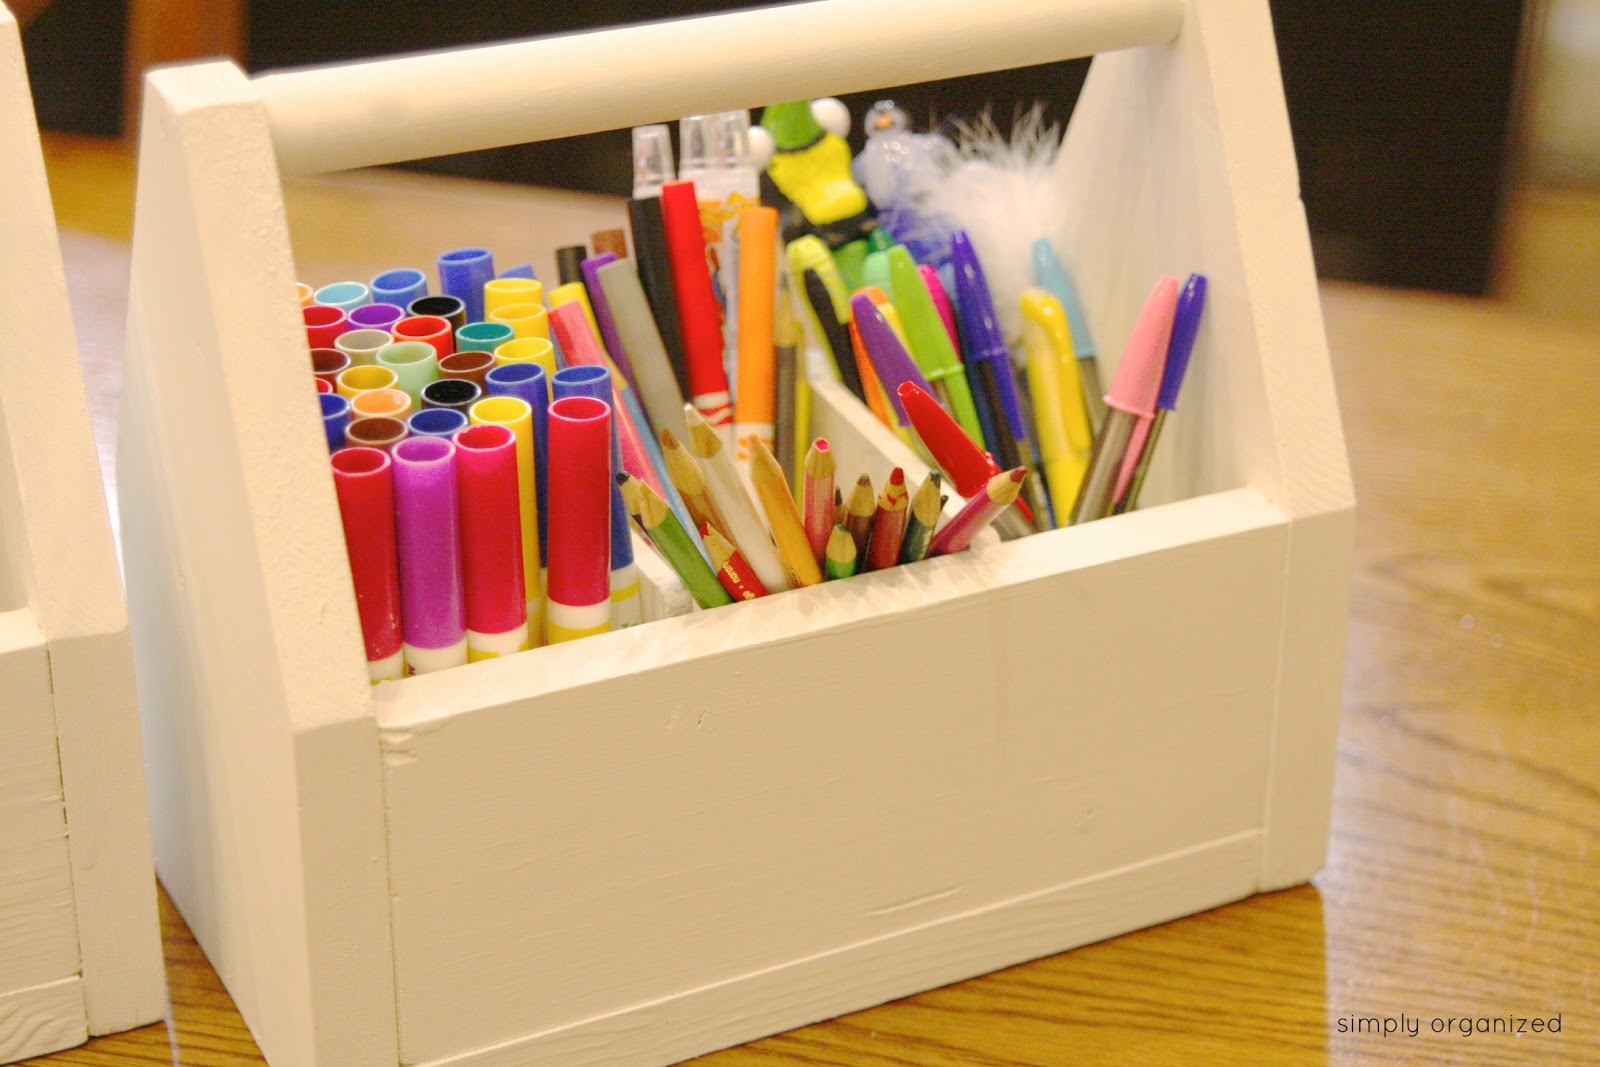
I was planning to stop at that point, but then remembered how annoying it would be to have art supplies falling down and clumping together on the bottom. So, I measured the inside and headed back out to Home Depot to grab an inexpensive piece of wood…
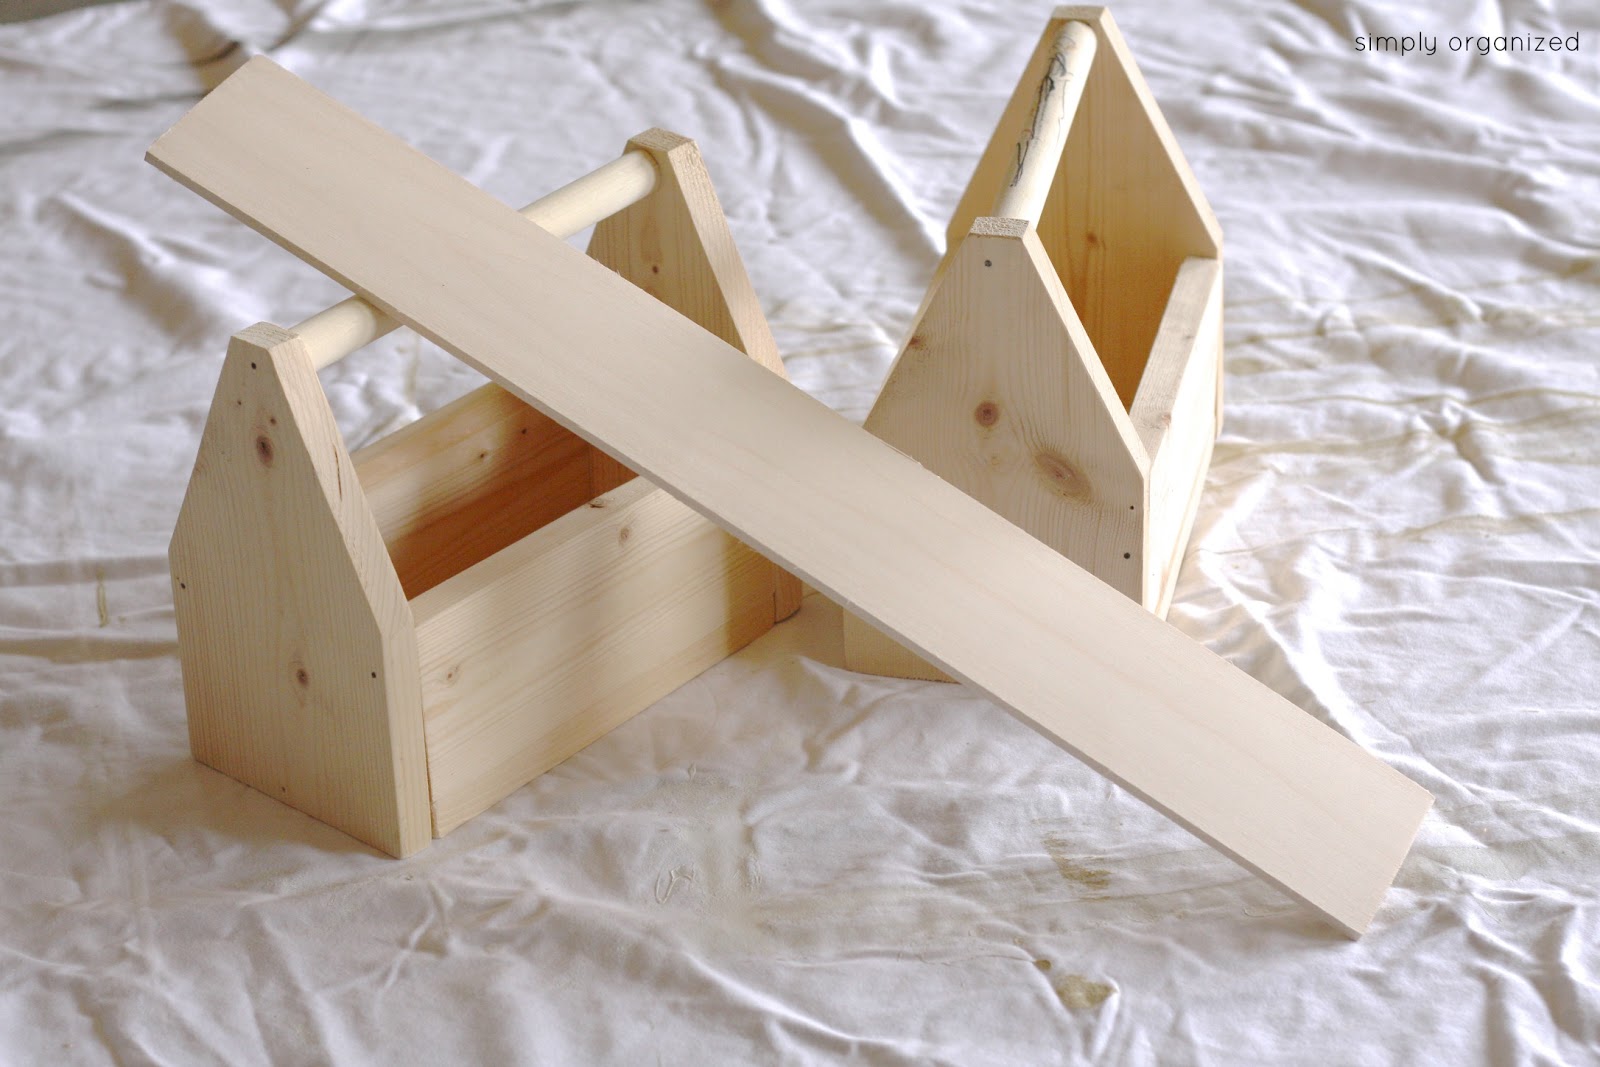
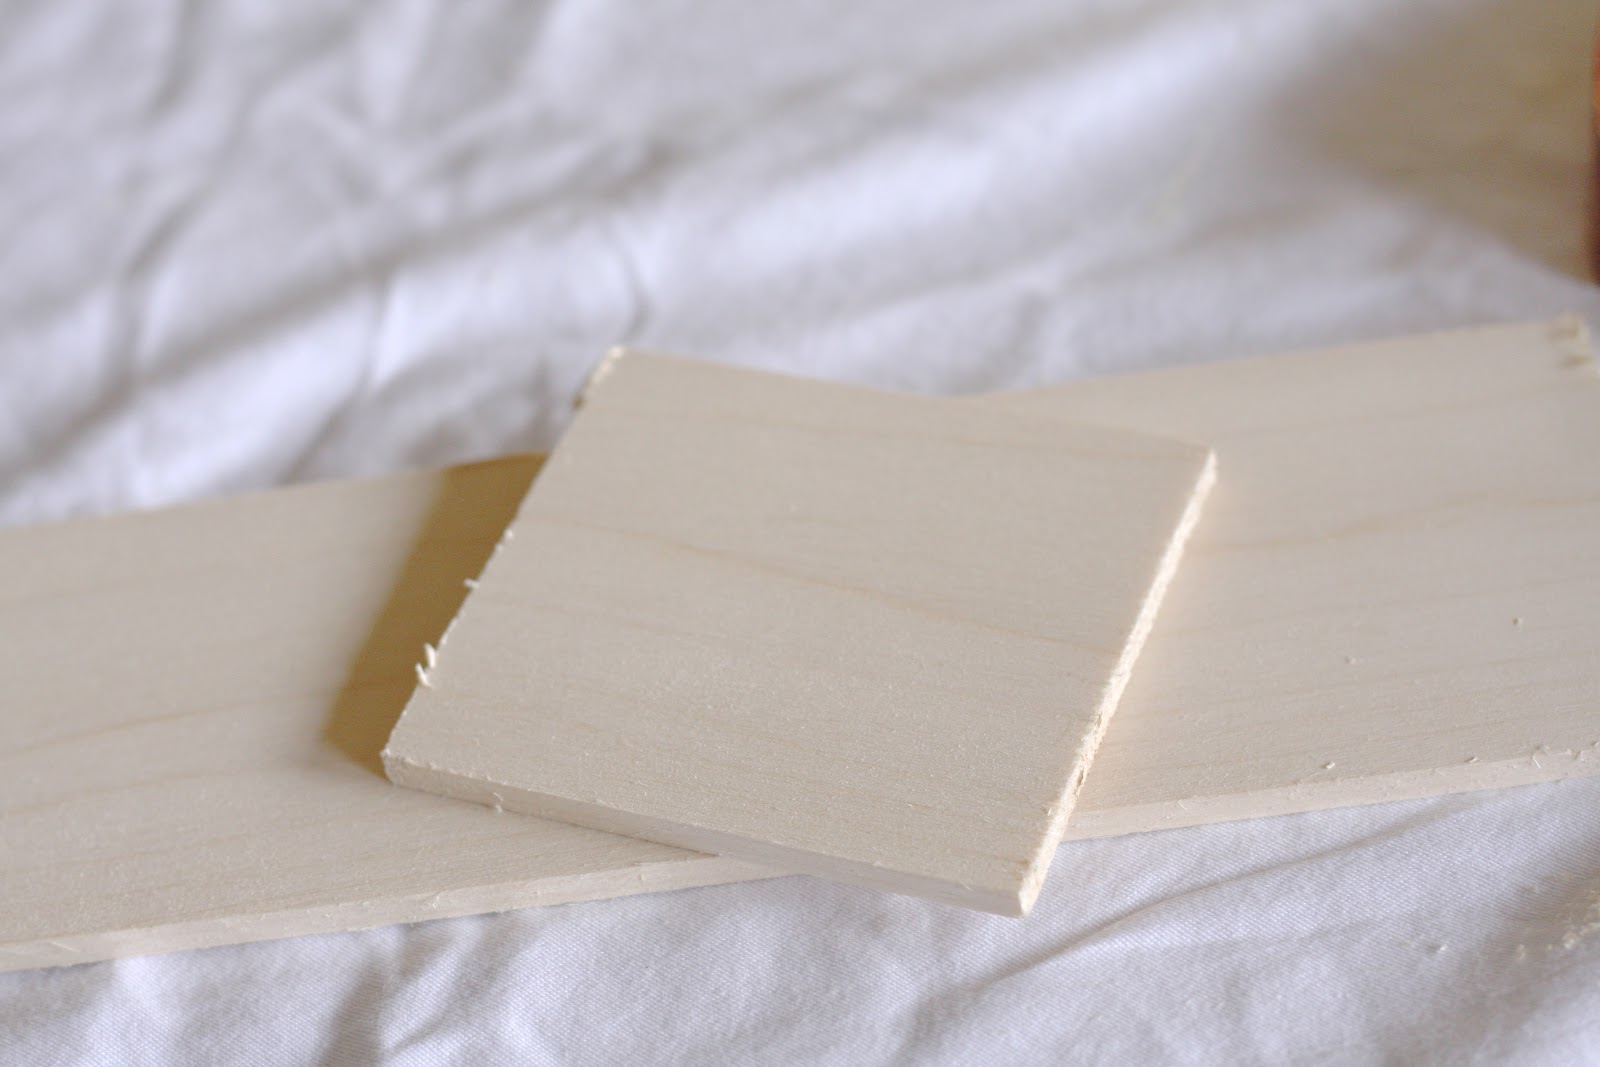
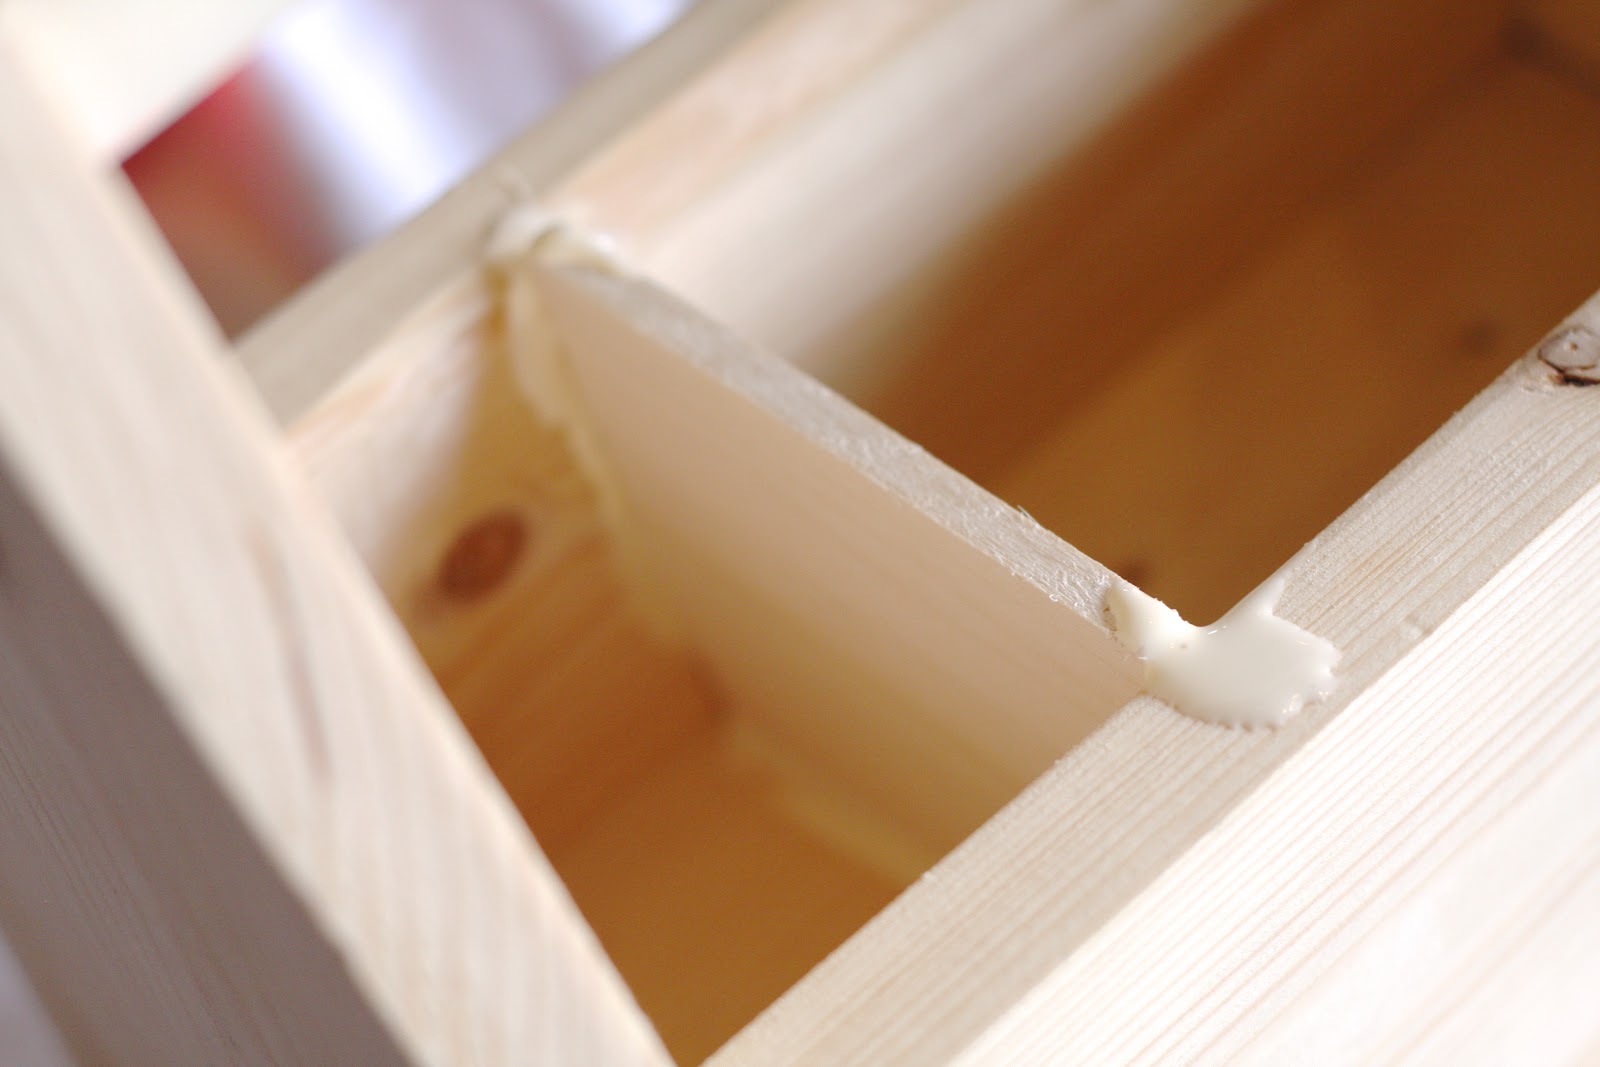
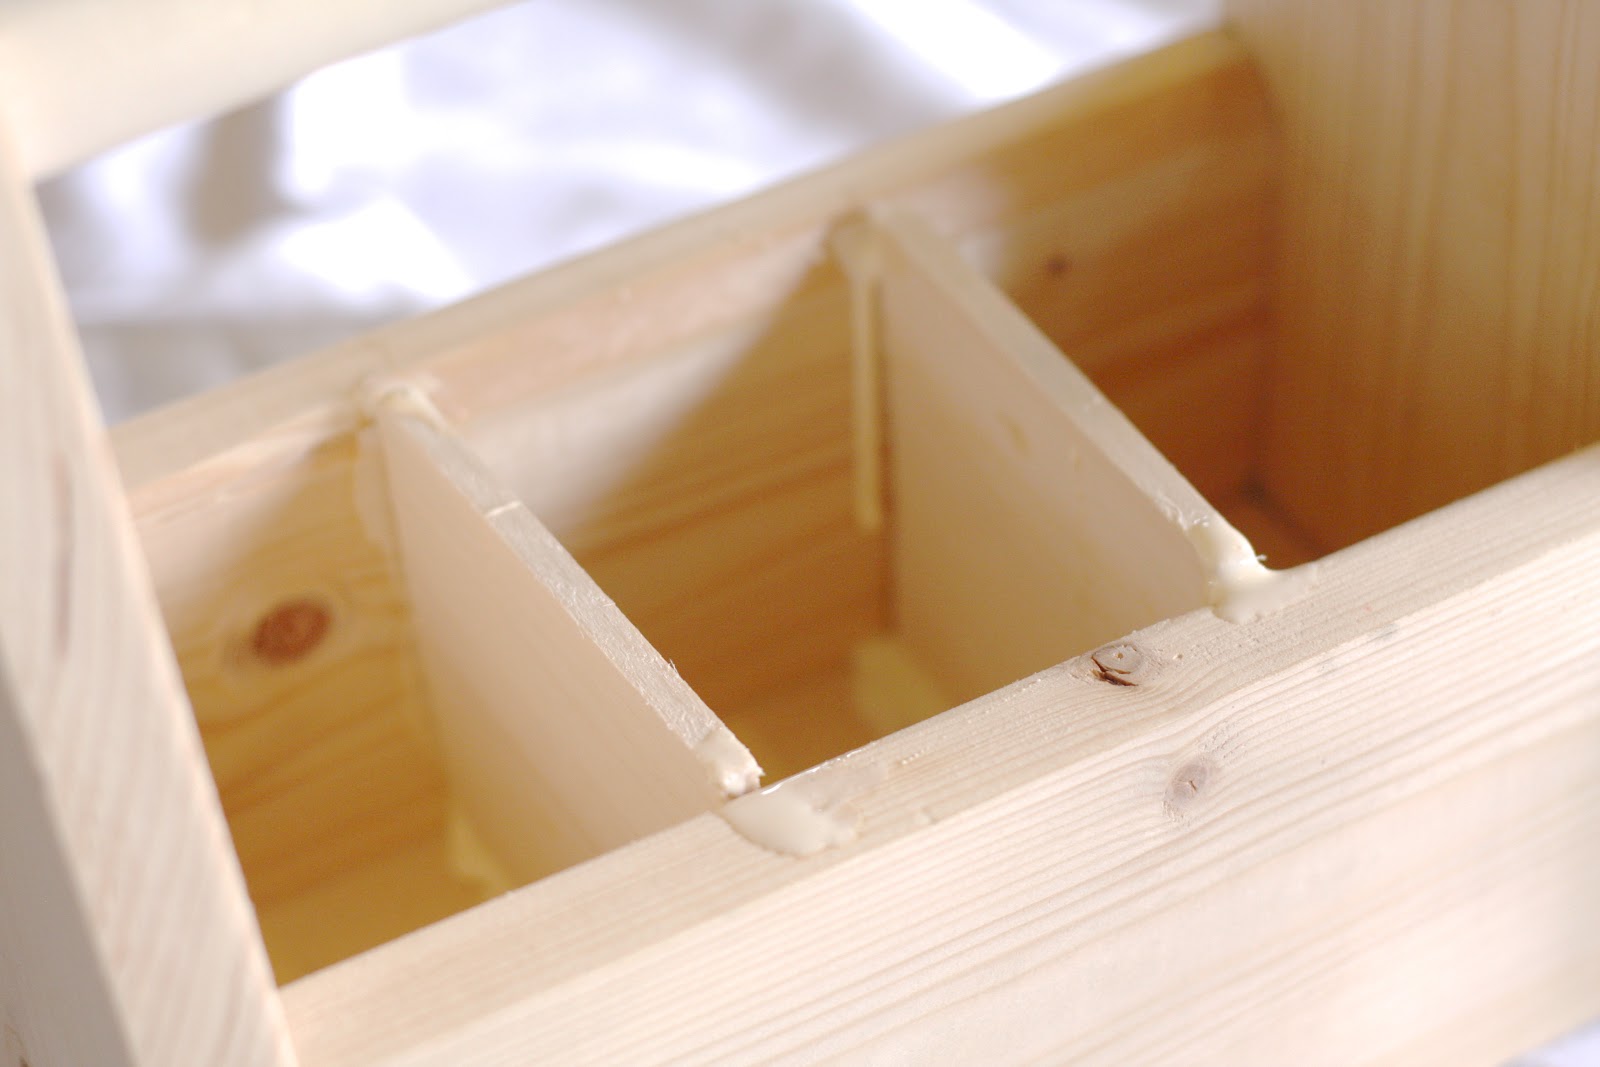
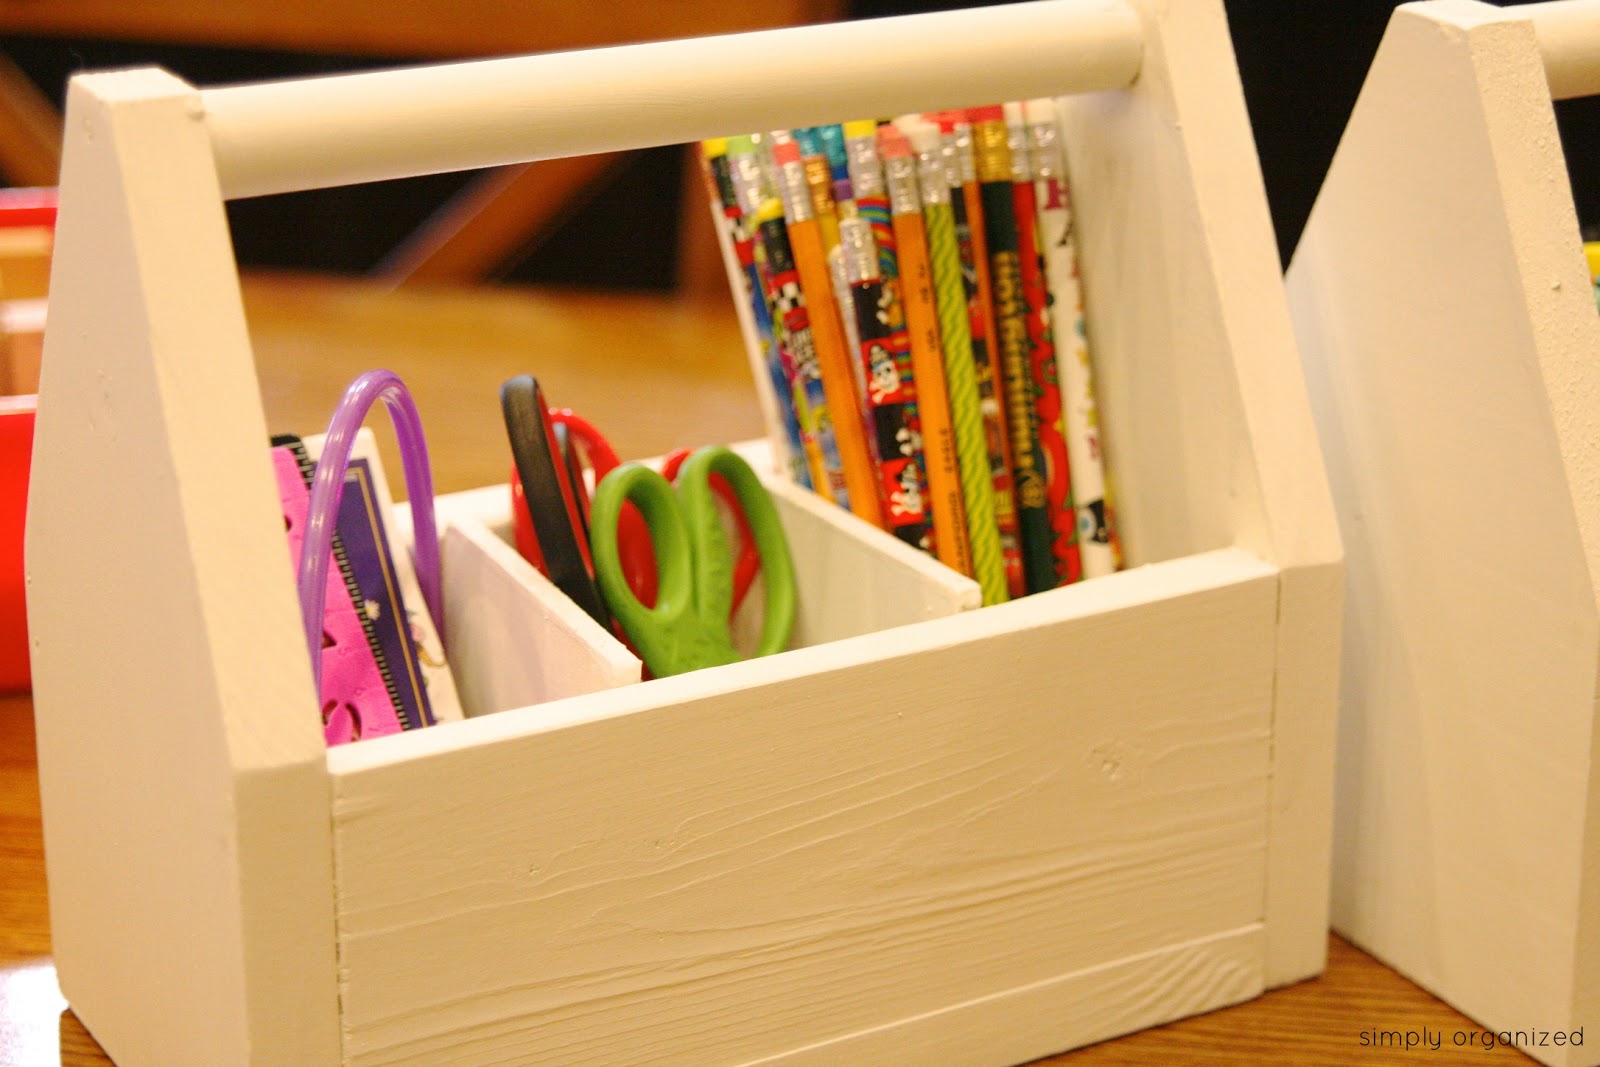
Once assembled, the inside of the caddy is 9″ long x 4″ wide x 3 1/2″ tall. I took the thin 1/4″ piece of wood and cut it down to create small squares that fit snuggly inside the caddy…
Putting them inside did not require nails because the dividers fit snuggly….
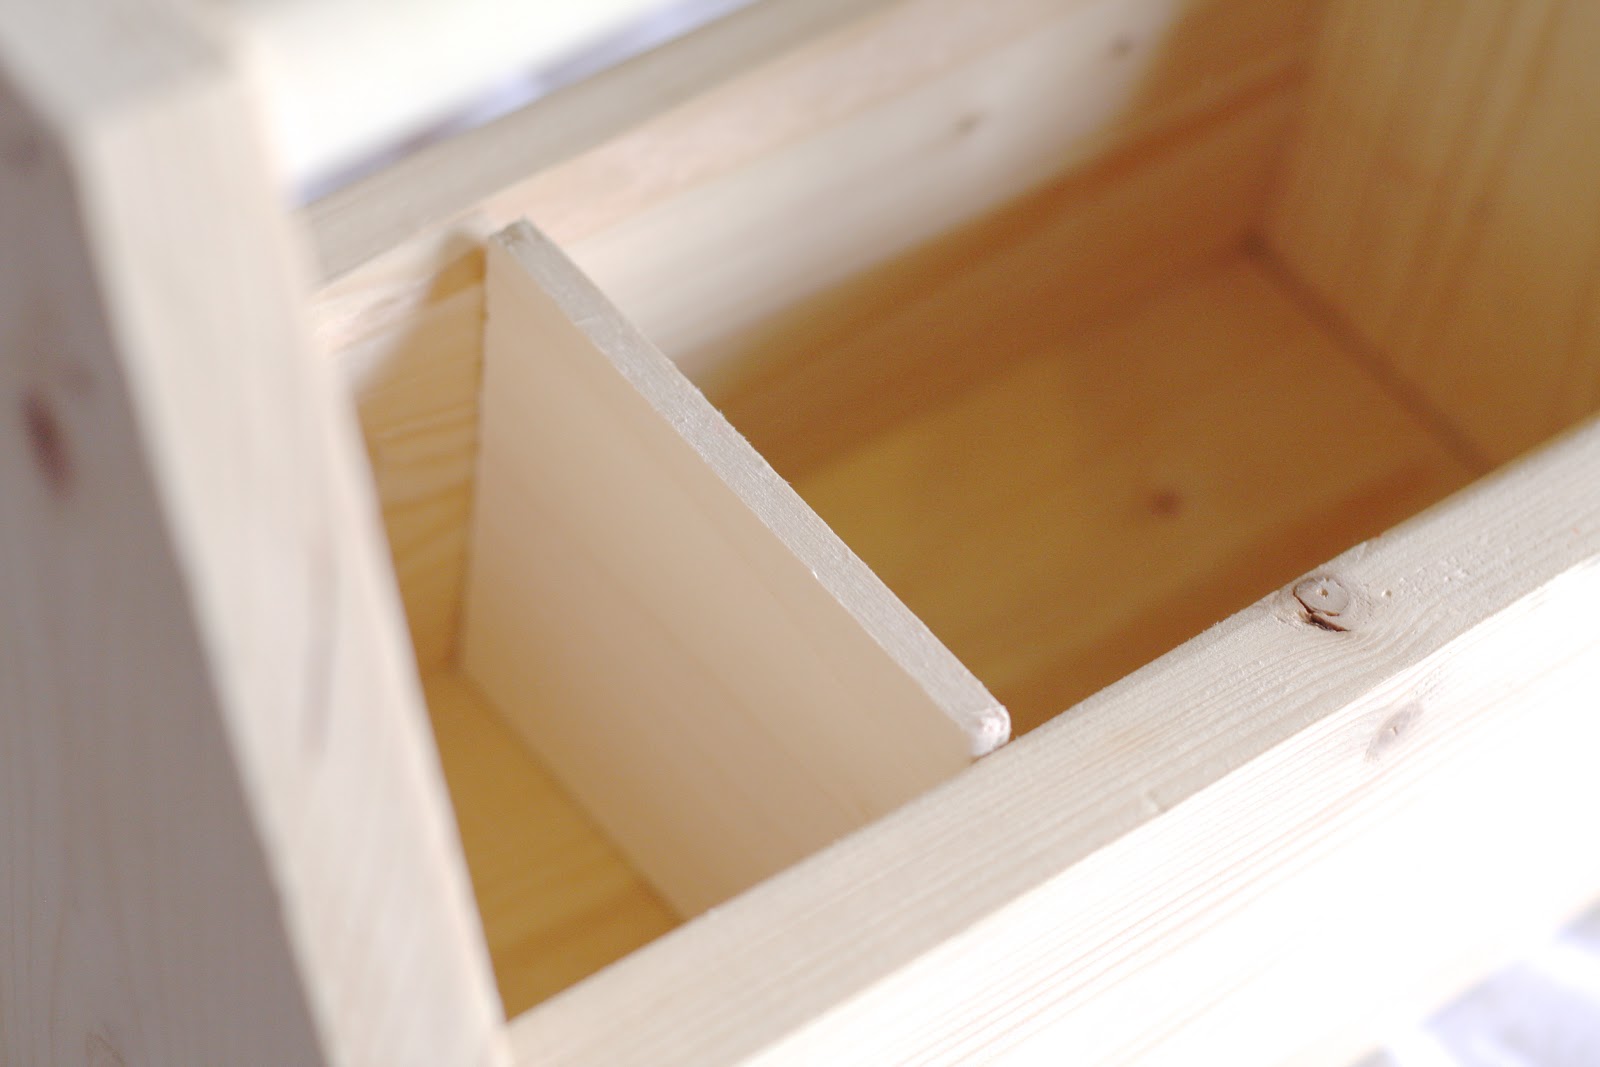
All it took to keep them in place was a bit of wood glue…
Let the glue sit to dry for about 24 hours before priming…

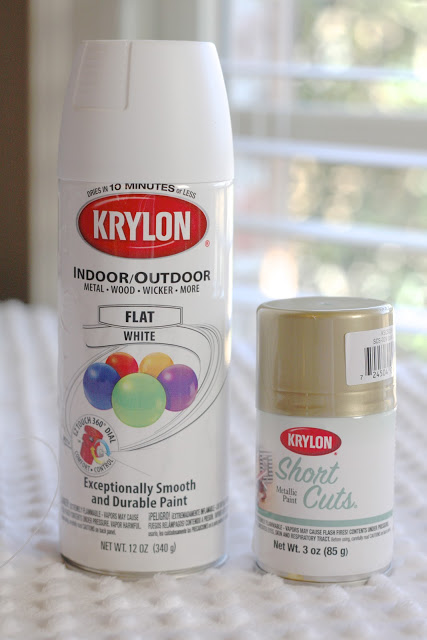
I tried using spray paint on a small section to see if priming was necessary and it didn’t look so hot. Likely because I used inexpensive wood for the caddies. So, I would recommend priming this job if you go with a lesser-cost wood.
After the primer set for a day…

I painted the caddies white with the same white flat spray paint I’ve had around for several months….
so cute!!! I just might try it. Huge fan of PBK too : )
I think I'll have to try this too… I'll let you know how it goes!
These are really cute!! Stopping over from TidyMom's Link Party!
Even though this caddy has been shown to be used in a child's room, I could see it being used in lots of areas and for many purposes. I would use it for displaying geraniums or other annuals in 4 or 6 in.pots..Be sure to place a plant saucer under the flowerpot to catch the water. One could even use silk flower arrangements in pots, if you didn't want to use real plants. I could see this being used for holding plastic silverware, maybe sitting in or stored in a round container or small bucket. I could see it being used for picnic supplies too. Even cleaning supplies..