I knew this would be a “top of the list” organization project long before moving into this house. With the painter here for a month and the amount of paint left behind, this was bound to get tackled right away. Truth be told, I wanted to do this project in my previous home…And the home before that. But as we know, organizing or sorting through paint isn’t a priority. By the time you get around to it, can you even open that crusty can lid?
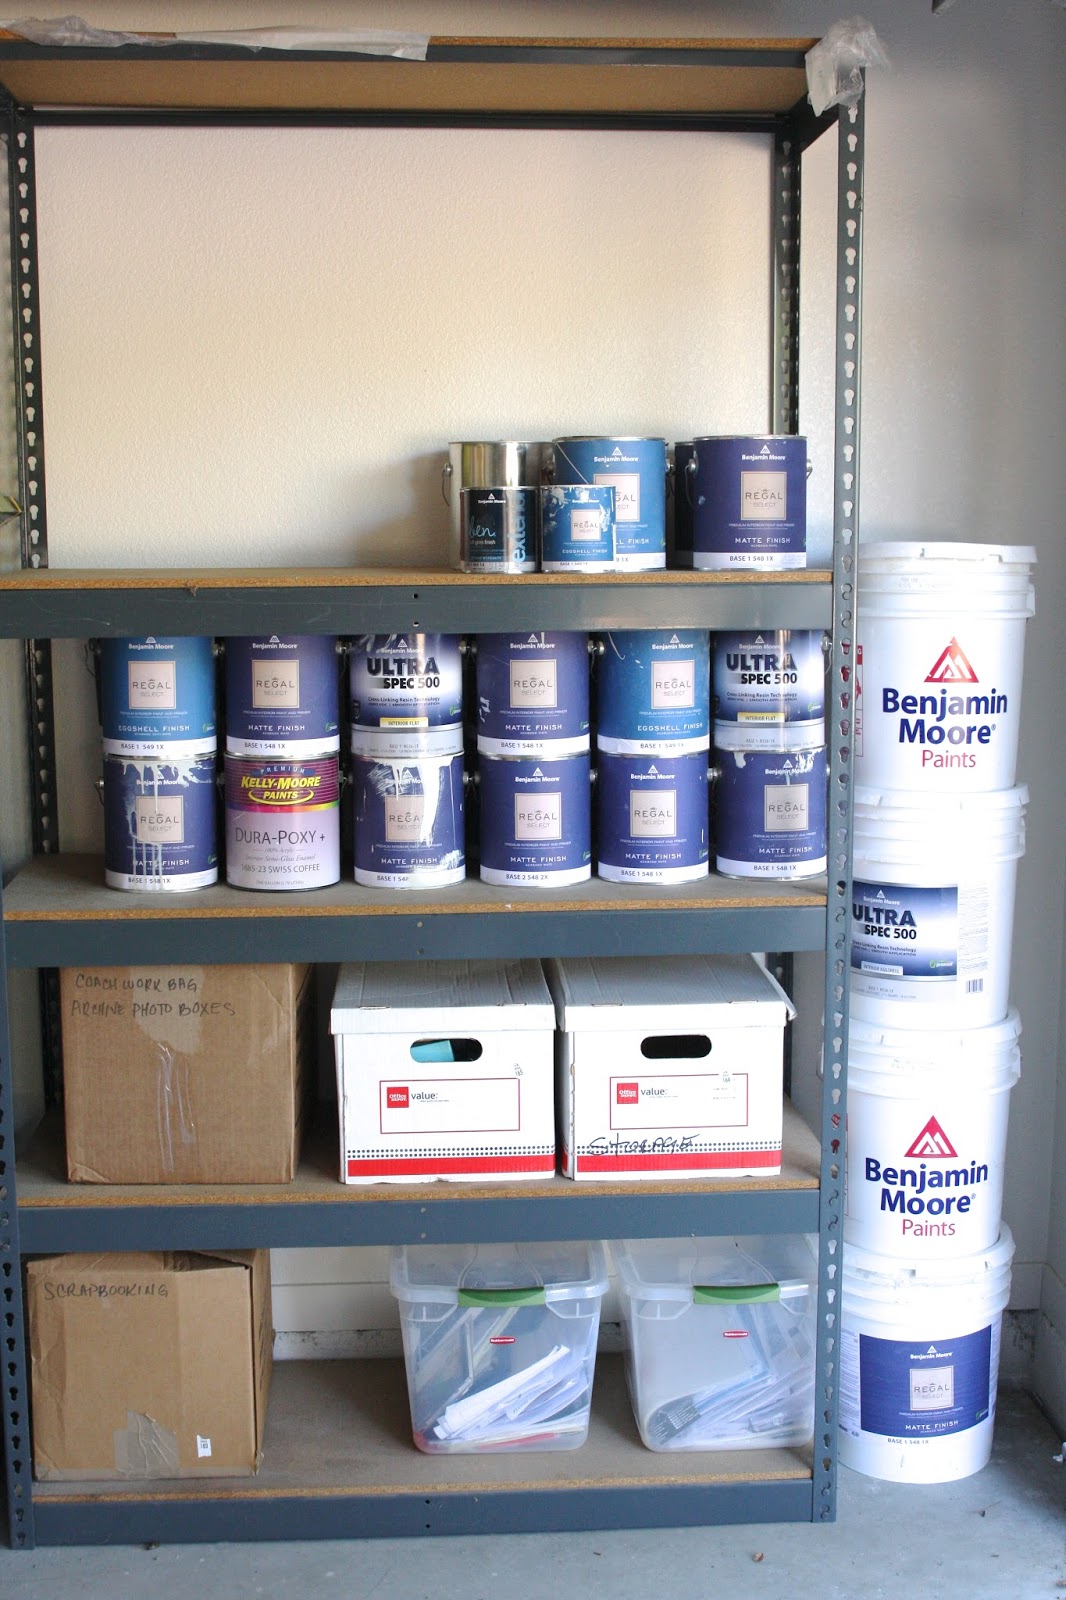
In my case, my painter left all of this (and more) smack in the middle of the freshly painted garage last month. When he left, I neatly stacked it on these shelves to get them out of the way for the movers…


I made myself a promise to get ahold of this job right away. Then I made good on that promise yesterday and have to admit, it was a whole lot easier and stress-free than anticipated. As easy as picking up the paint cans yesterday morning and knocking out the entire job yesterday afternoon. Took me about 2 hours total, including a quick label whip-up.
Oh yea!
I found the quart-size paint cans at home depot for $3 each…

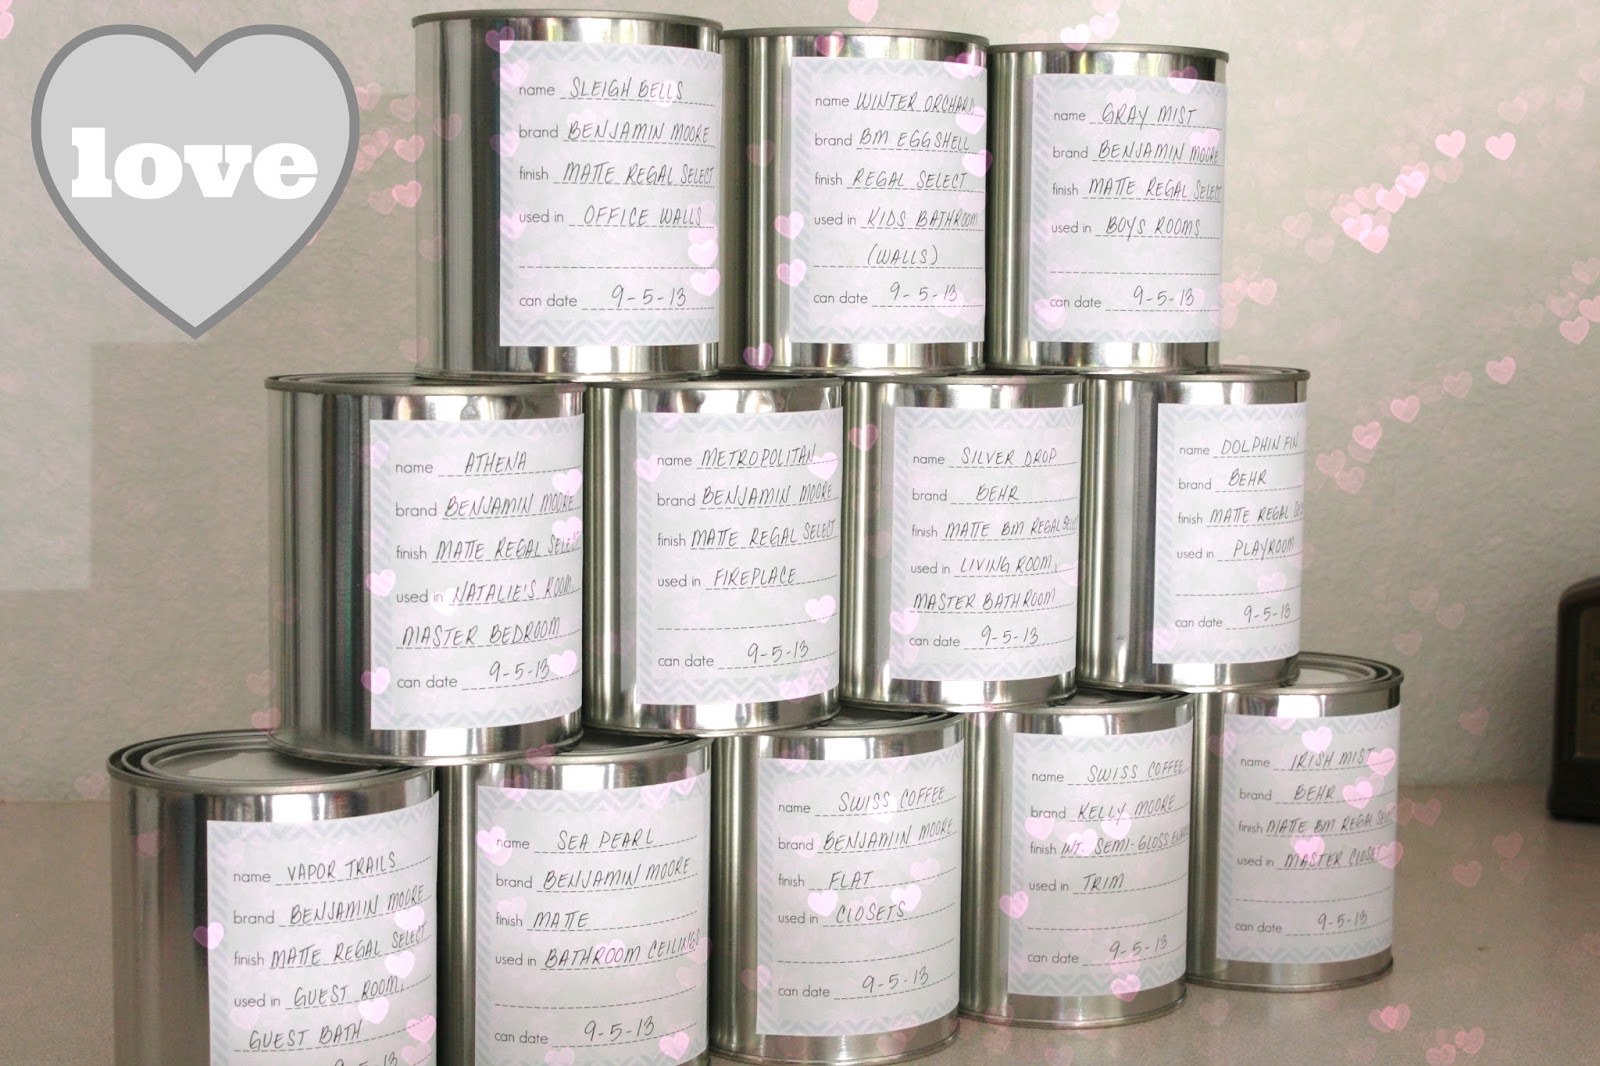
Look at them all shiny and sitting pretty on my garage work table…

I also whipped up some pretty labels with the quickness…
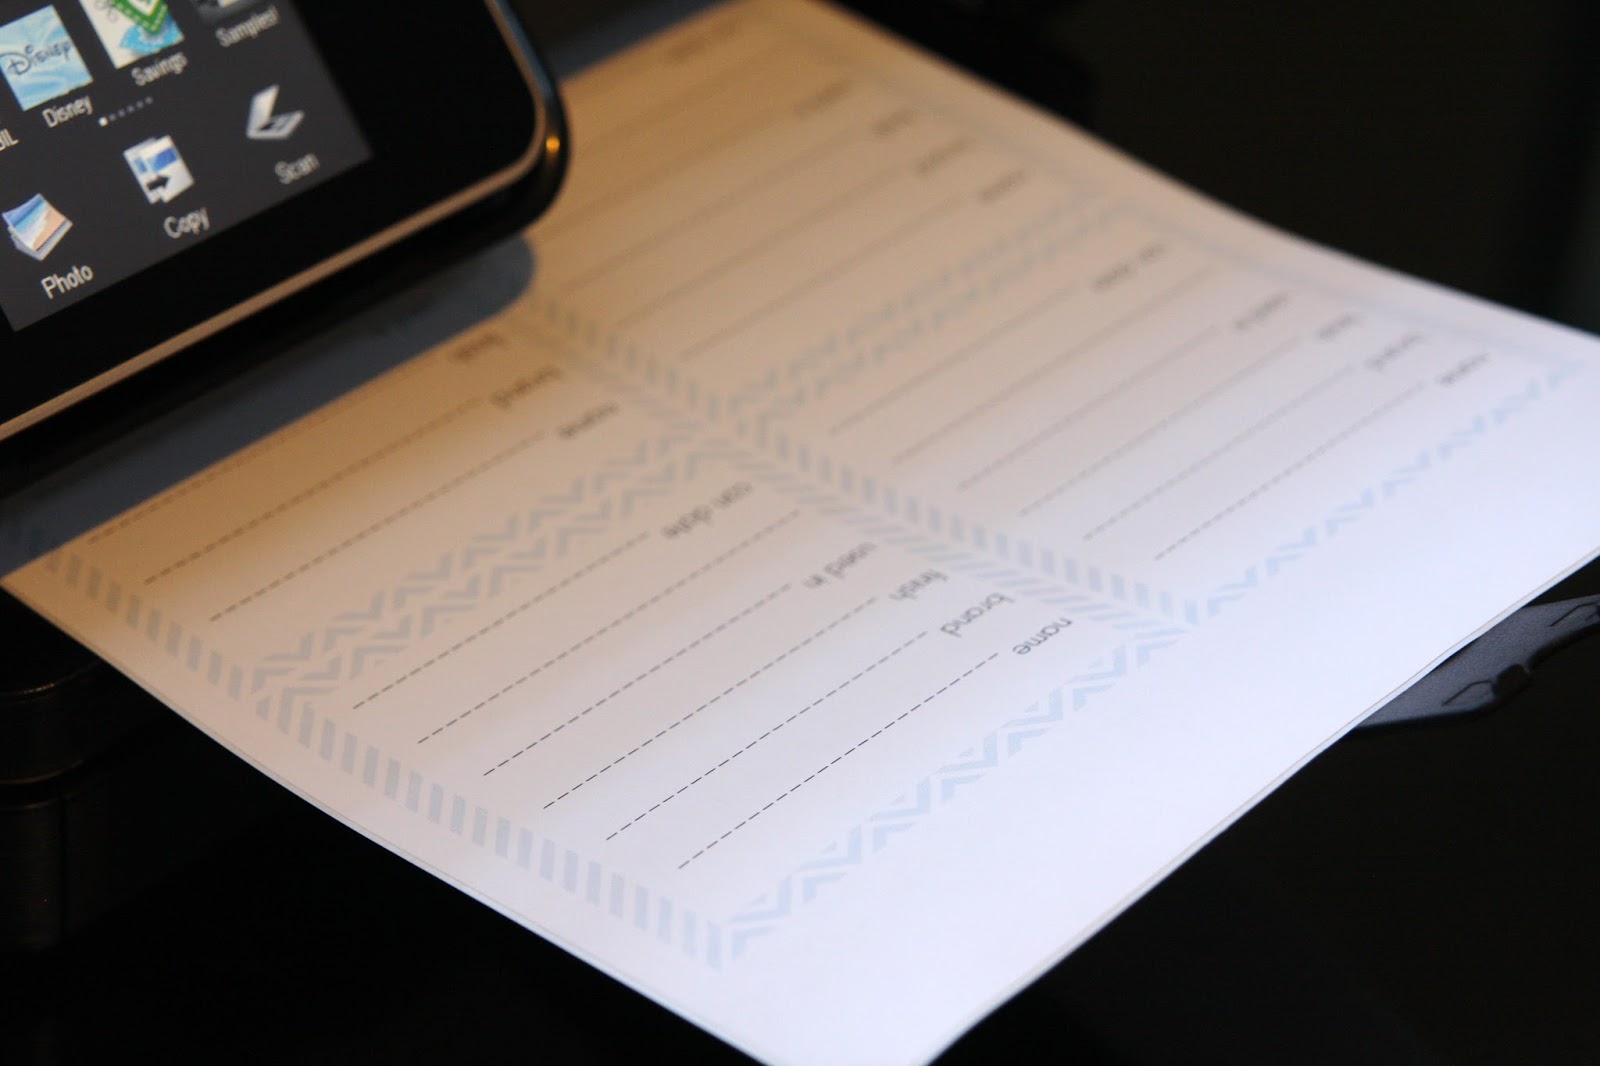

Even created a blank version…

I printed them (4 to a page) on full sheet labels…


To get this job done, I emptied the shelf and stacked the paint near my work table…

To make the job easier, I also made sure the additional supplies needed were on hand…

Supplies needed:
* Empty paint cans
* Labels (print for free HERE!)
* Pen
* Paper cutter
* Small paint brushes
* Paint can opener
* Paper towels or old rags (to clean your hands or workspace)
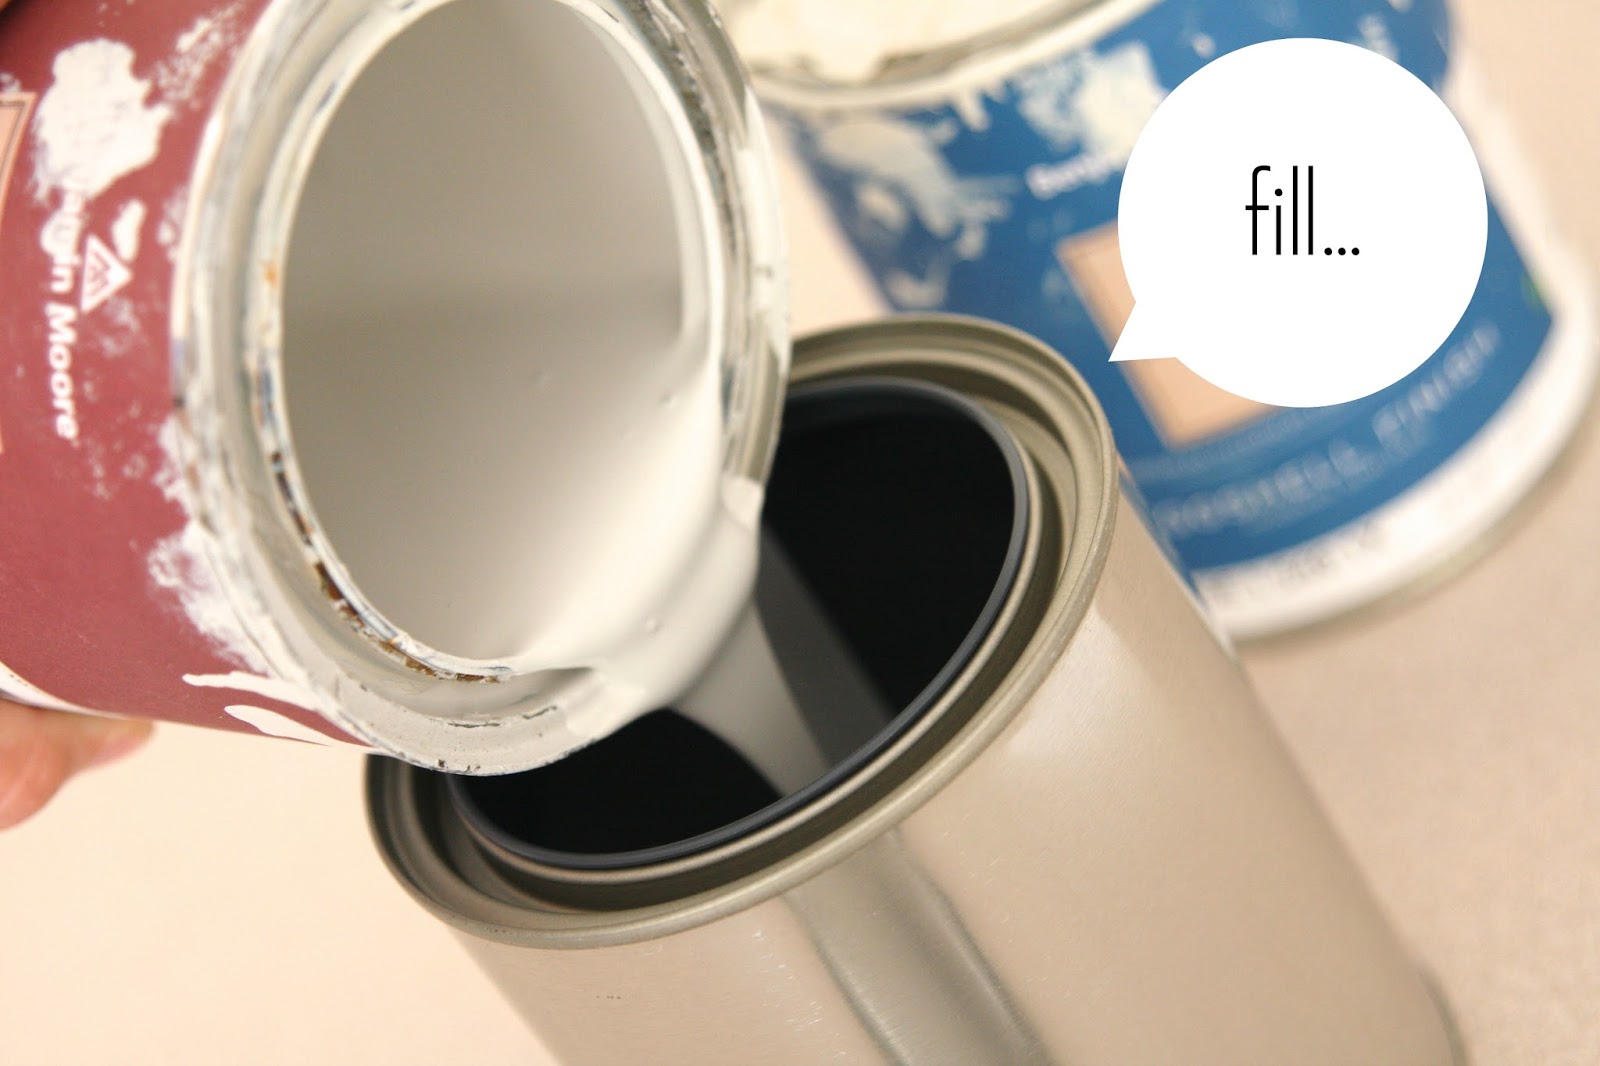
Starting with the first can…
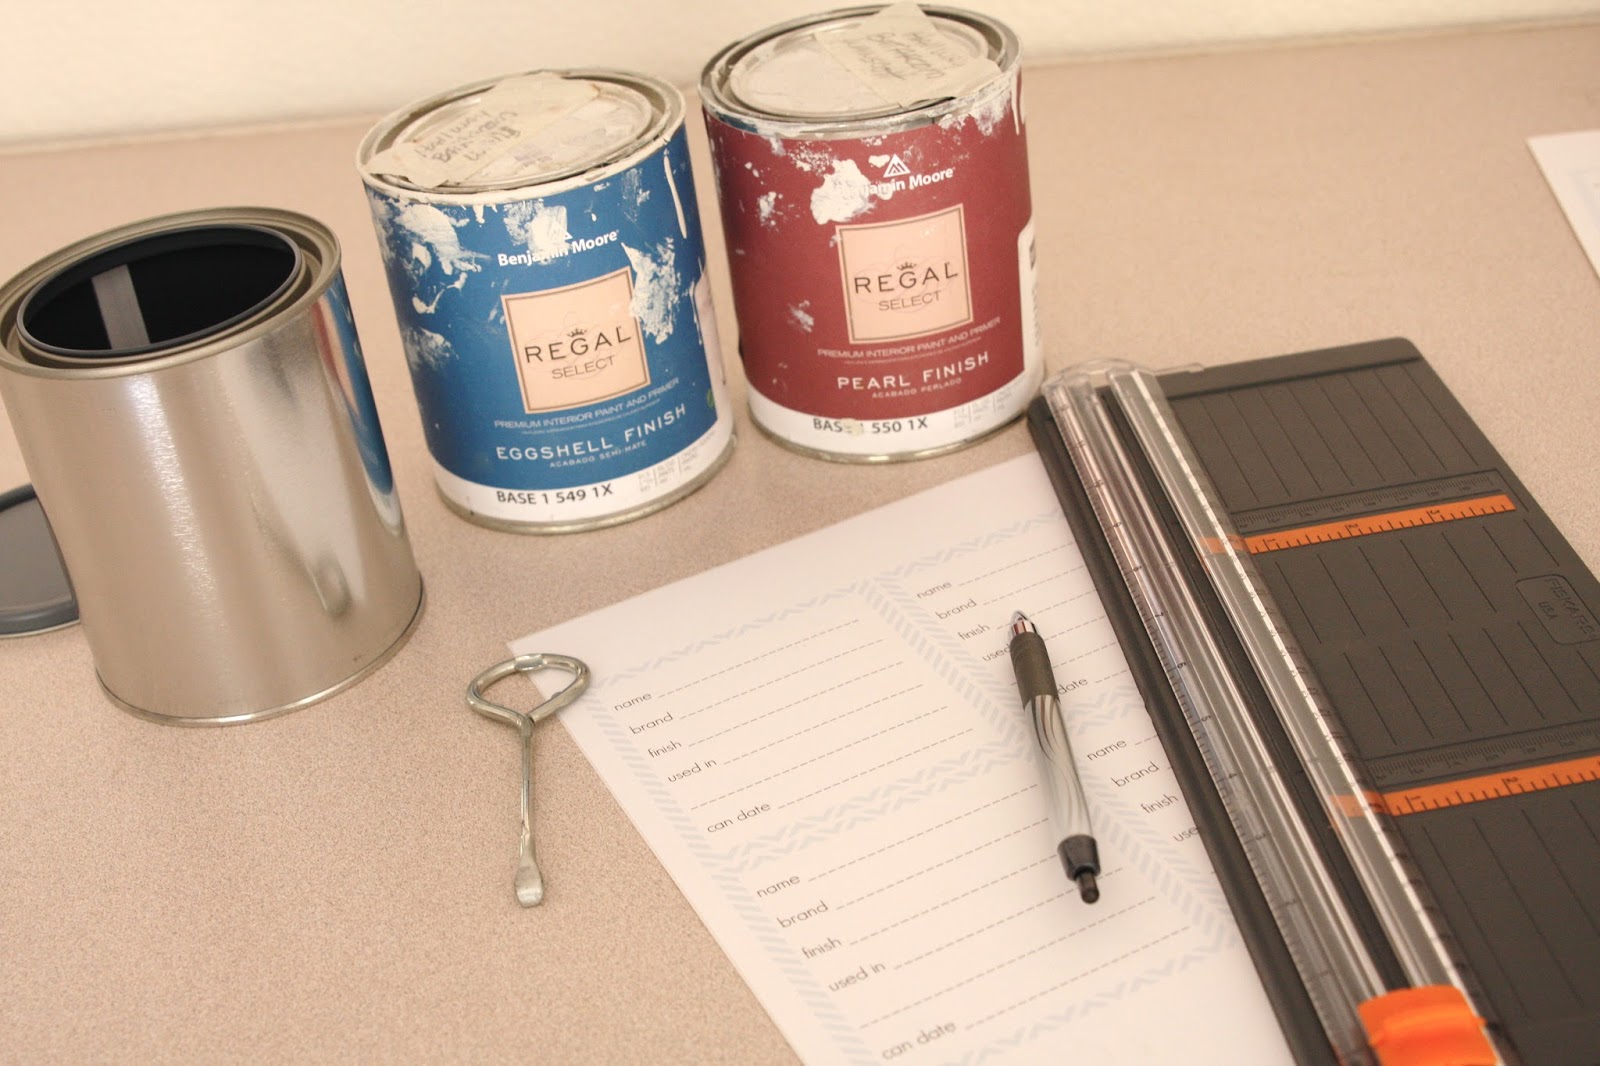
I filled it with paint…
Hammered the lid on tight…

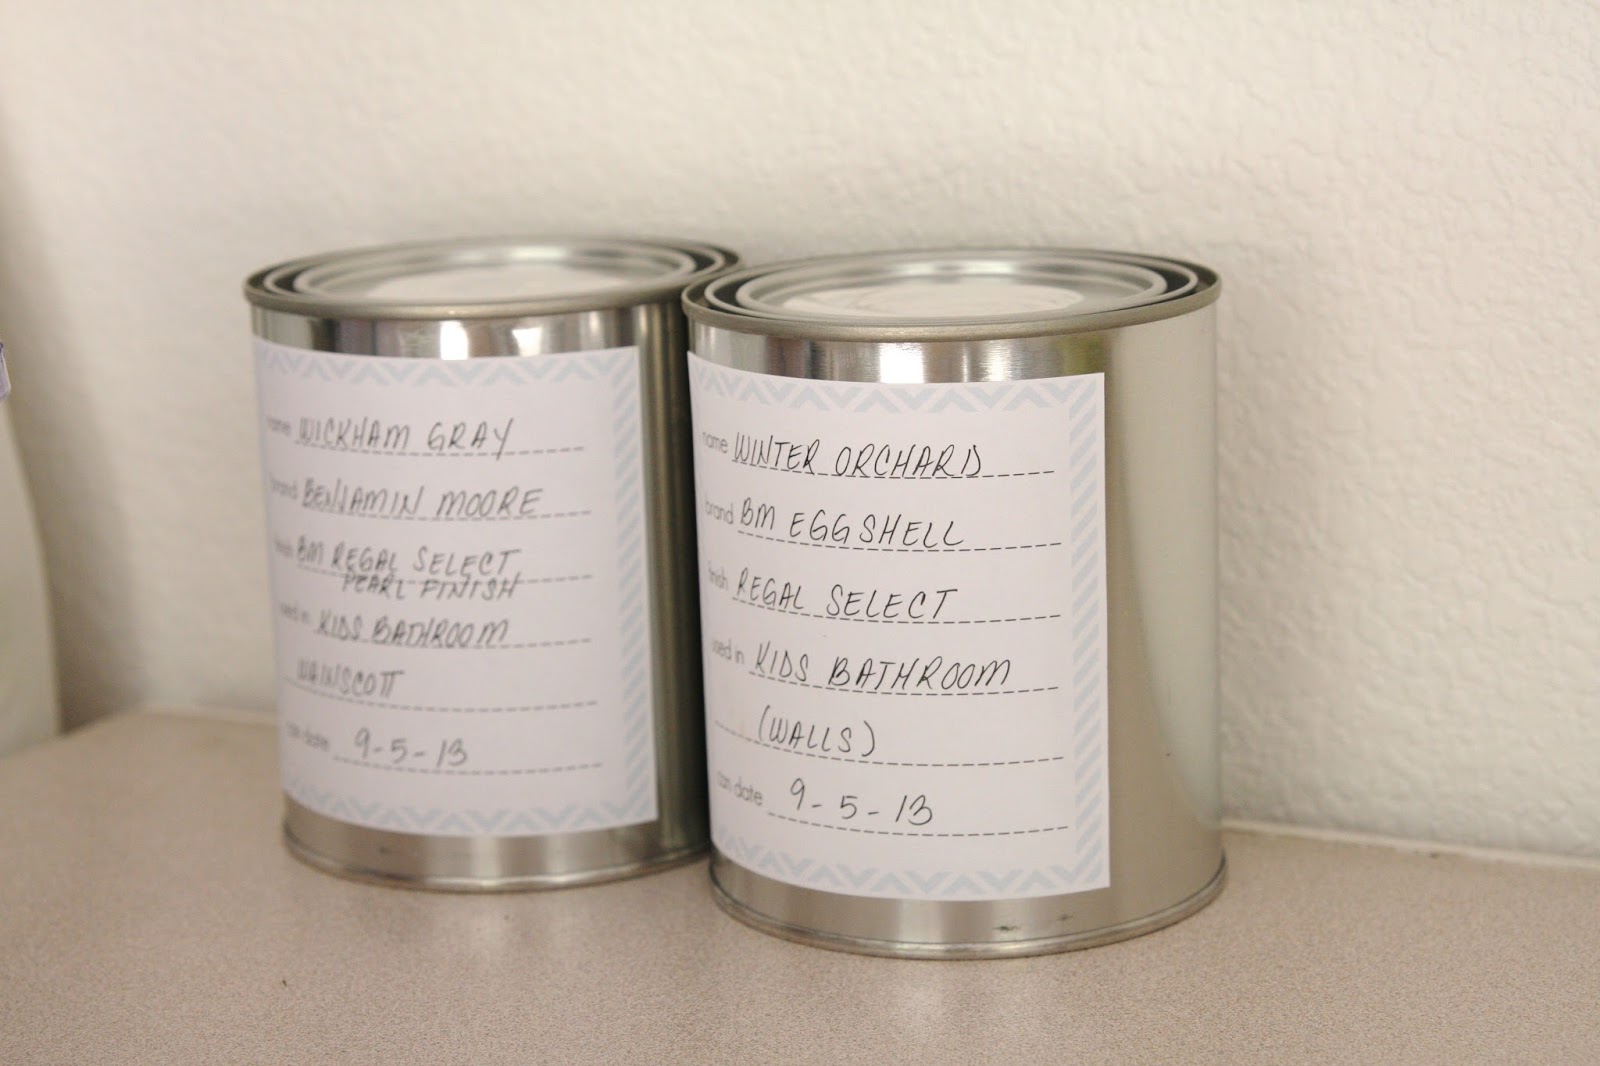
Completed the label and applied…

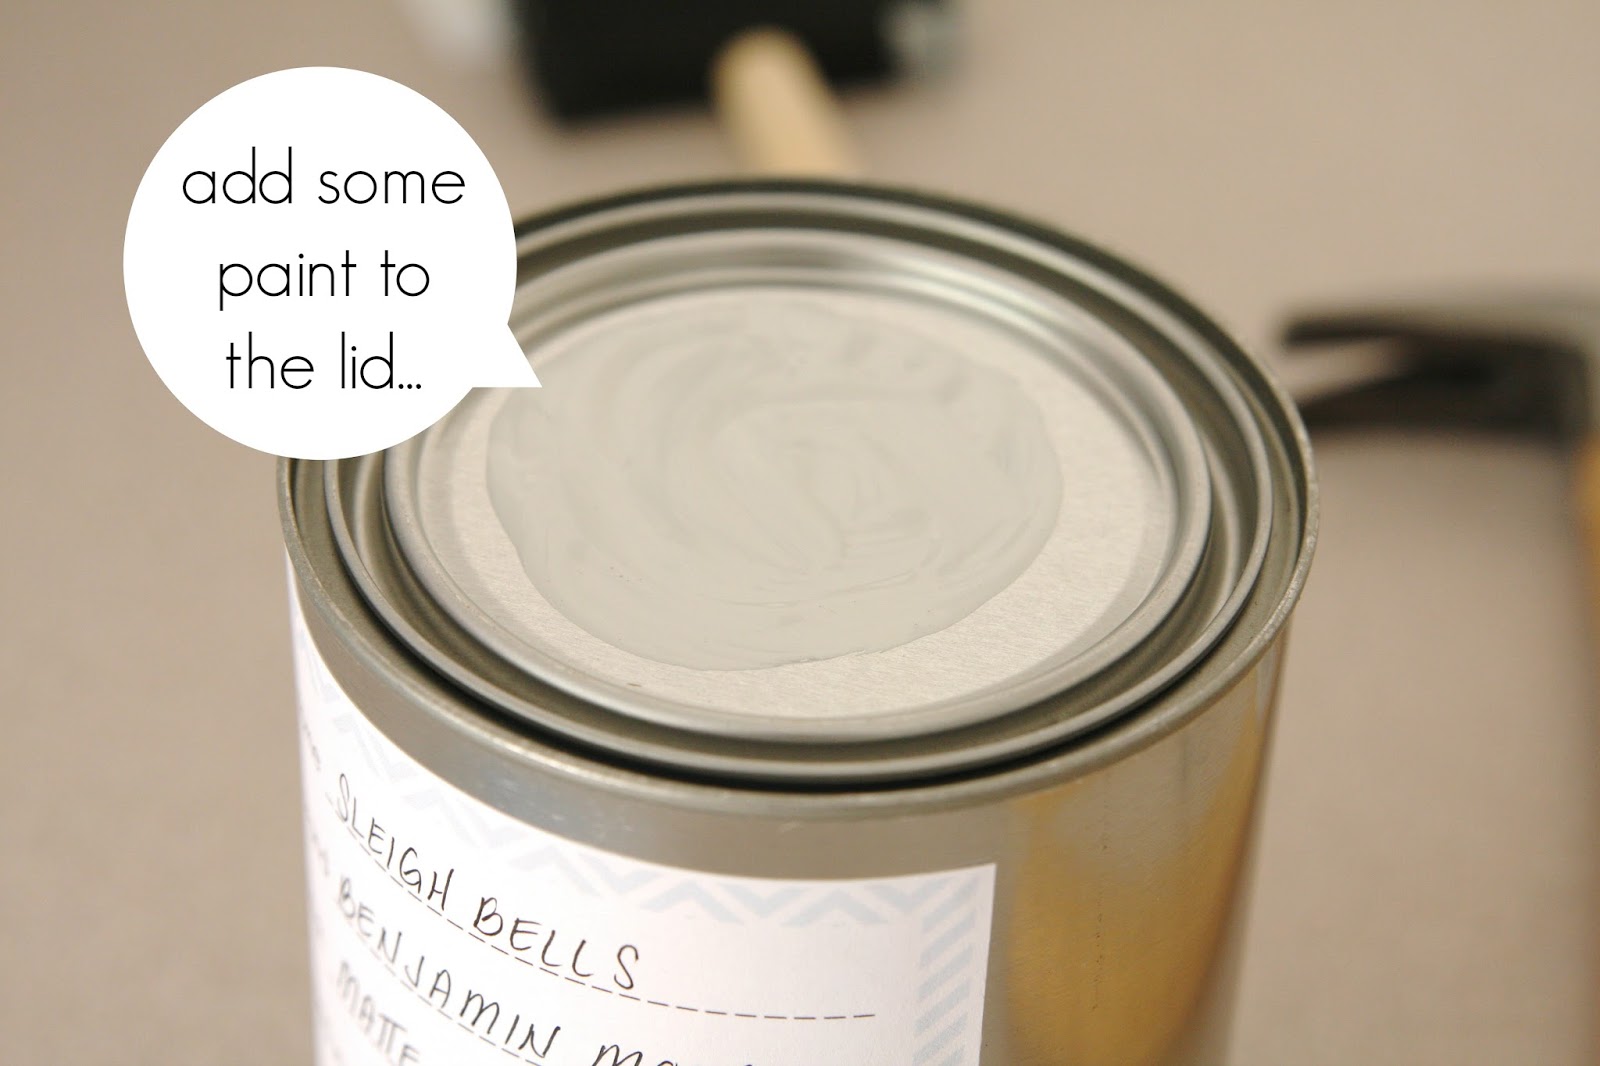
I added a swatch of paint to the lid, but this is optional…
Done!…
There were several cans of the same color/finish paint. Those were combined when possible. There were also cans with very little paint remaining or cans of paint that looked “off”. Yes, already! This is the time to sort it out and get rid of anything you wouldn’t use anyway – Whether good or bad.
I quickly repeated the process until done…

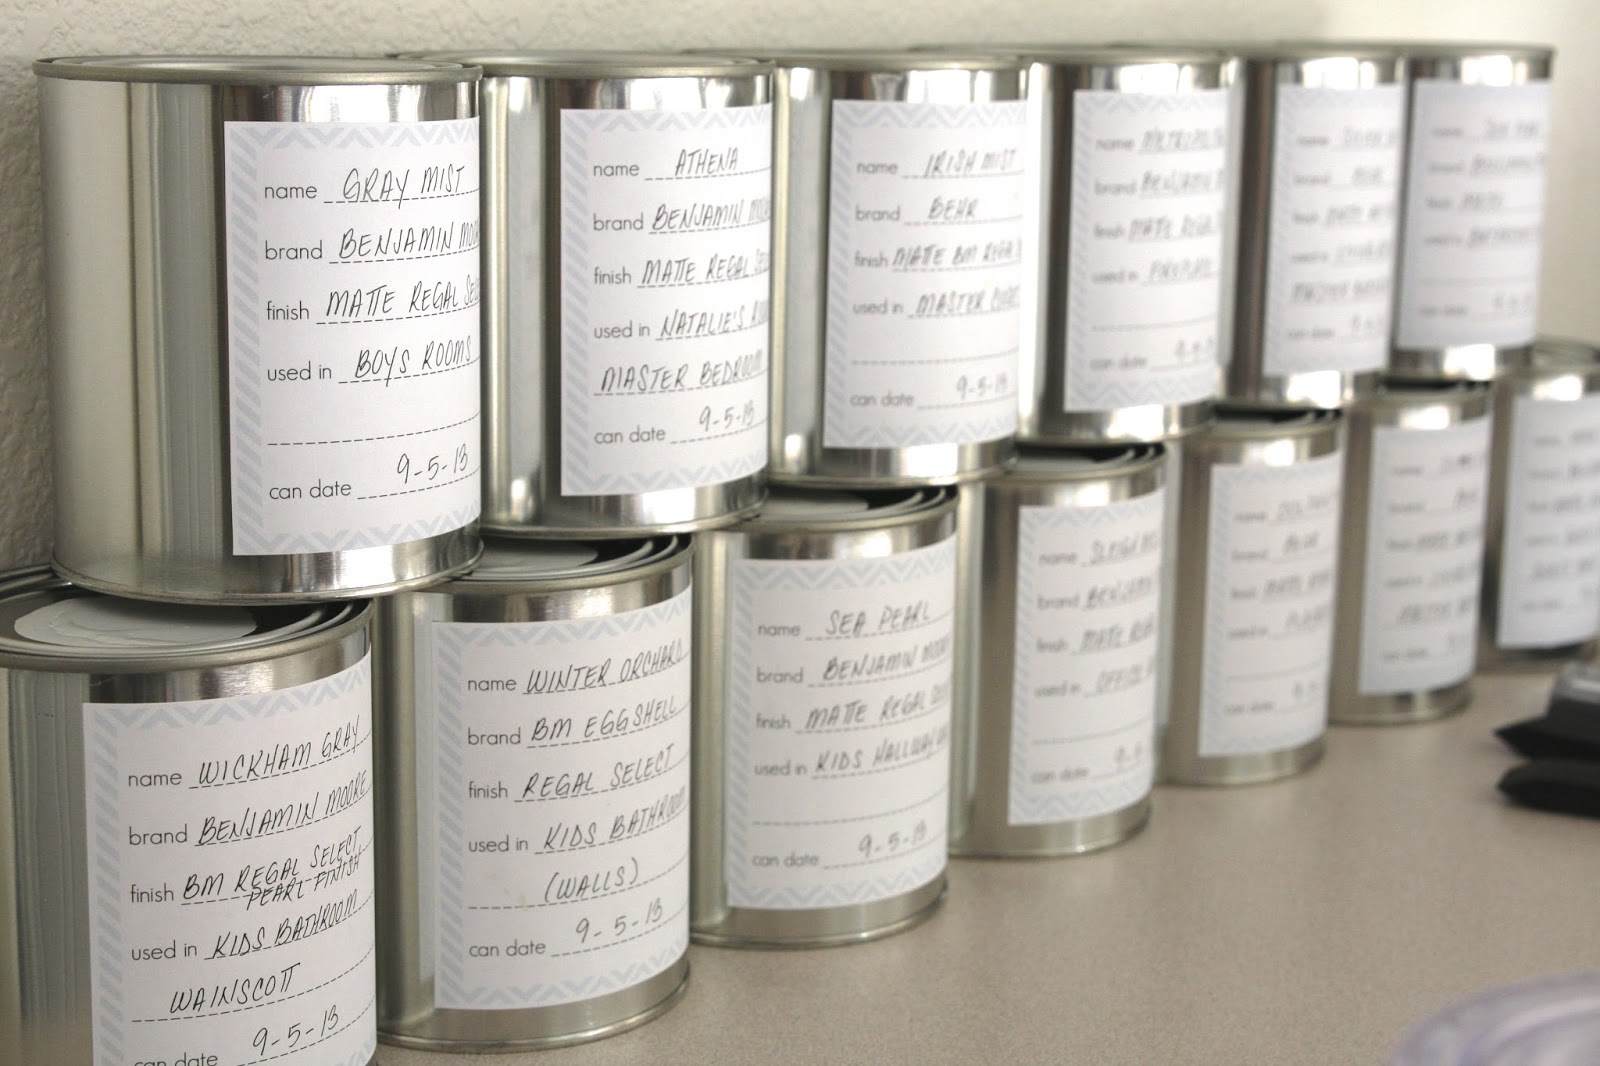
Now my paint is easy to locate when it comes time for those touch-ups. And those touch-ups will be happening soon. Between the 3 movers loading items into the house and 3 little people doing a good job being little people, there are quite a few touch-up areas in the house. All I need to do is grab a can, shake it up, touch-up = done.

…Well, sort of! 😉 I still need Martha in my life.
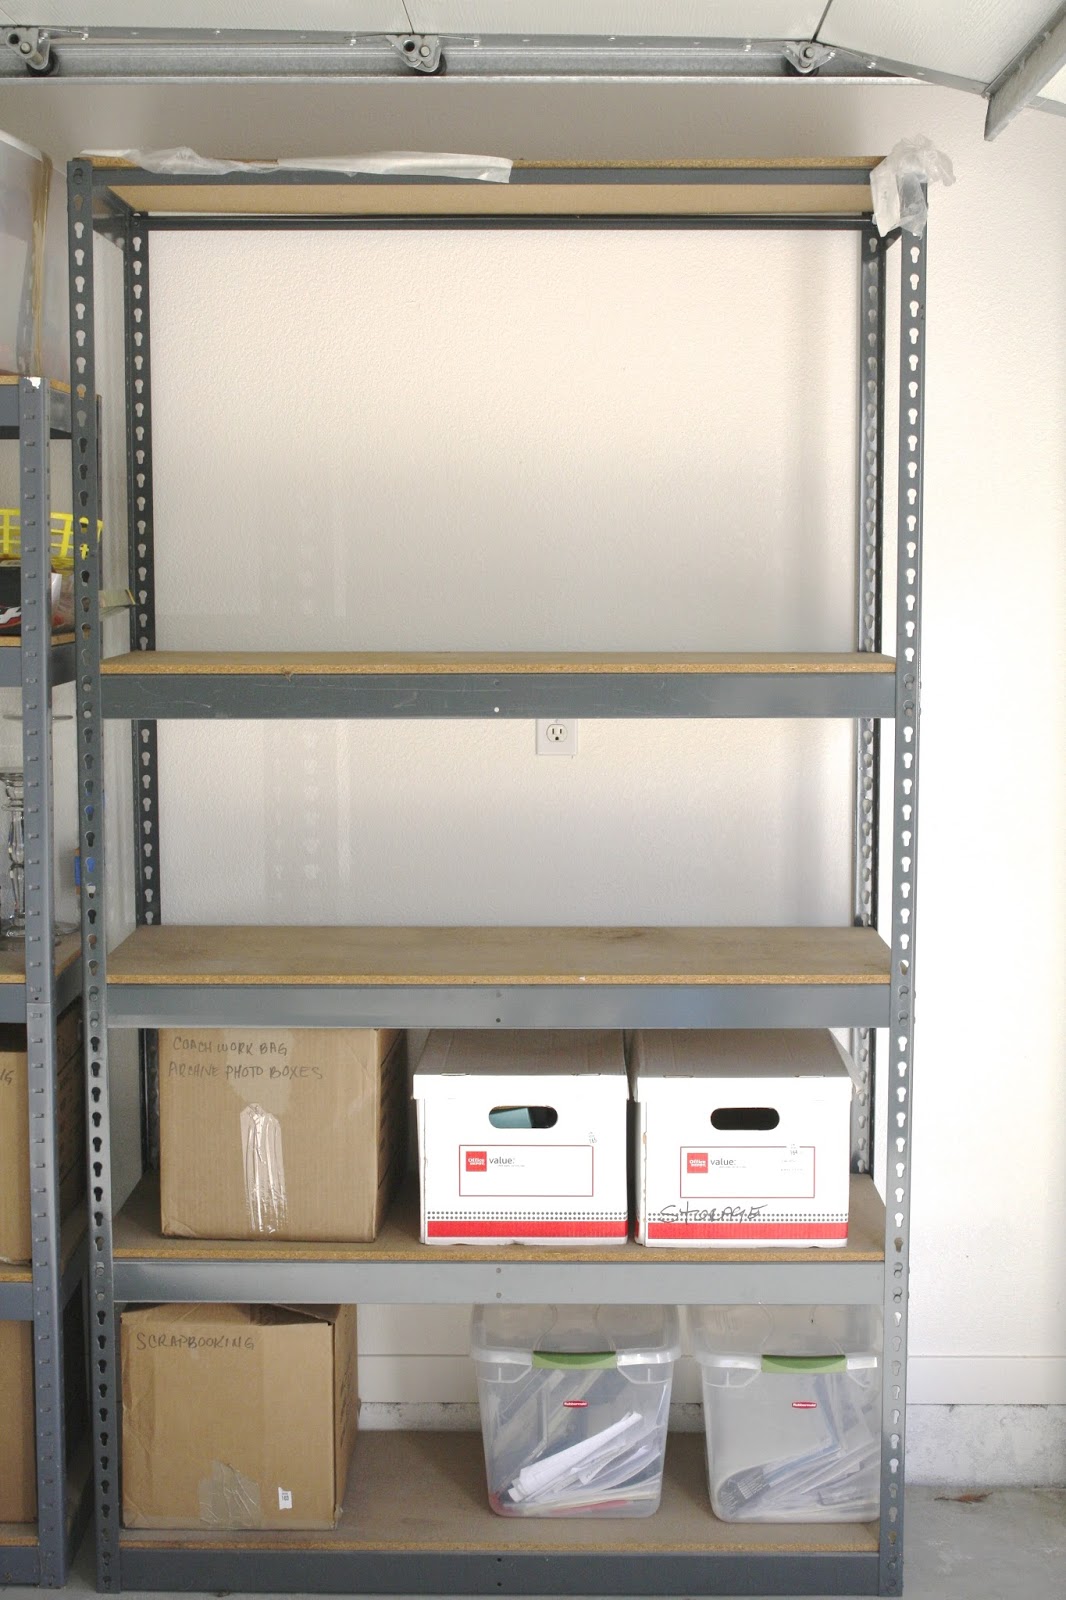
When the job was complete, I used the same cardboard carrier that came with the cans to corral my paint stash…


And stacked them neatly on the same garage shelf…


Can you believe the space saved by condensing?…


Pure heaven for this organizer!
The remaining paint is being disposed of in the appropriate city location. In the meantime, I walk past that shelf and fall in love a little deeper each time…
If you’d like to fall in love too … or just be happy to have organized paint in your life … You can print the labels right here.
And maybe tackle your paint stash today or this weekend! Enjoy!
In case you missed how these paint colors look on an actual wall (we all know that helps a ton!), I shared my interior paint colors right here!
Have a great weekend, peeps!
love this!
I seriously cannot believe on how much space this gave you!!! love this idea.
This is a GREAT idea! I was just in my garage putting something up yesterday and noticed the large amount of paint cans that I have let sit there since we moved in! I'm definitely taking on this project!
I can't believe how much space this gave you! wow!!! love it.
Great idea!, I put mine in canning jars to make touch ups simple. Has so come in handy on my main level. I grab the jar and a little brush, shake it up, and go! Nice and clean!!
Great idea!! My BIL recently bought a house and the previous owners had done something similar, very helpful for us to fix any scratches from the move.
I love an organized shelf! Have been meaning to get my paints in order as well. Love how you've tackled yours. ~M.
http://redesignedbym.wordpress.com/
I love this idea…Thanks for the printable!
This is awesome! I love it! 🙂 And what a great printable.. pinning thanks! x
Just one recommendation … use a rubber mallet to close the tin. A steel hammer can cause a dent in the edge of the lid that can prevent a seal, allowing air in to harden the paint.
I finally did this! Thank you for the inspiration and direction. I had shipping labels on hand so used those instead and bought my cans on eBay. I had 17 gallons of paint (including one labeled “upstairs hallway”, we live in a single story ranch-style home) and a half dozen quart and sample sized cans as well. Now down to about 8 little neatly labeled quarts. I don’t know how to provide a pic, but it is gorgeous! Thanks!!
OMG – i love hearing this!!! Congrats on completing a huge project like that. I am sure it looks amazing…and the space you saved…that’s huge! So so great and thank you for sharing with me!
xo,
Sam