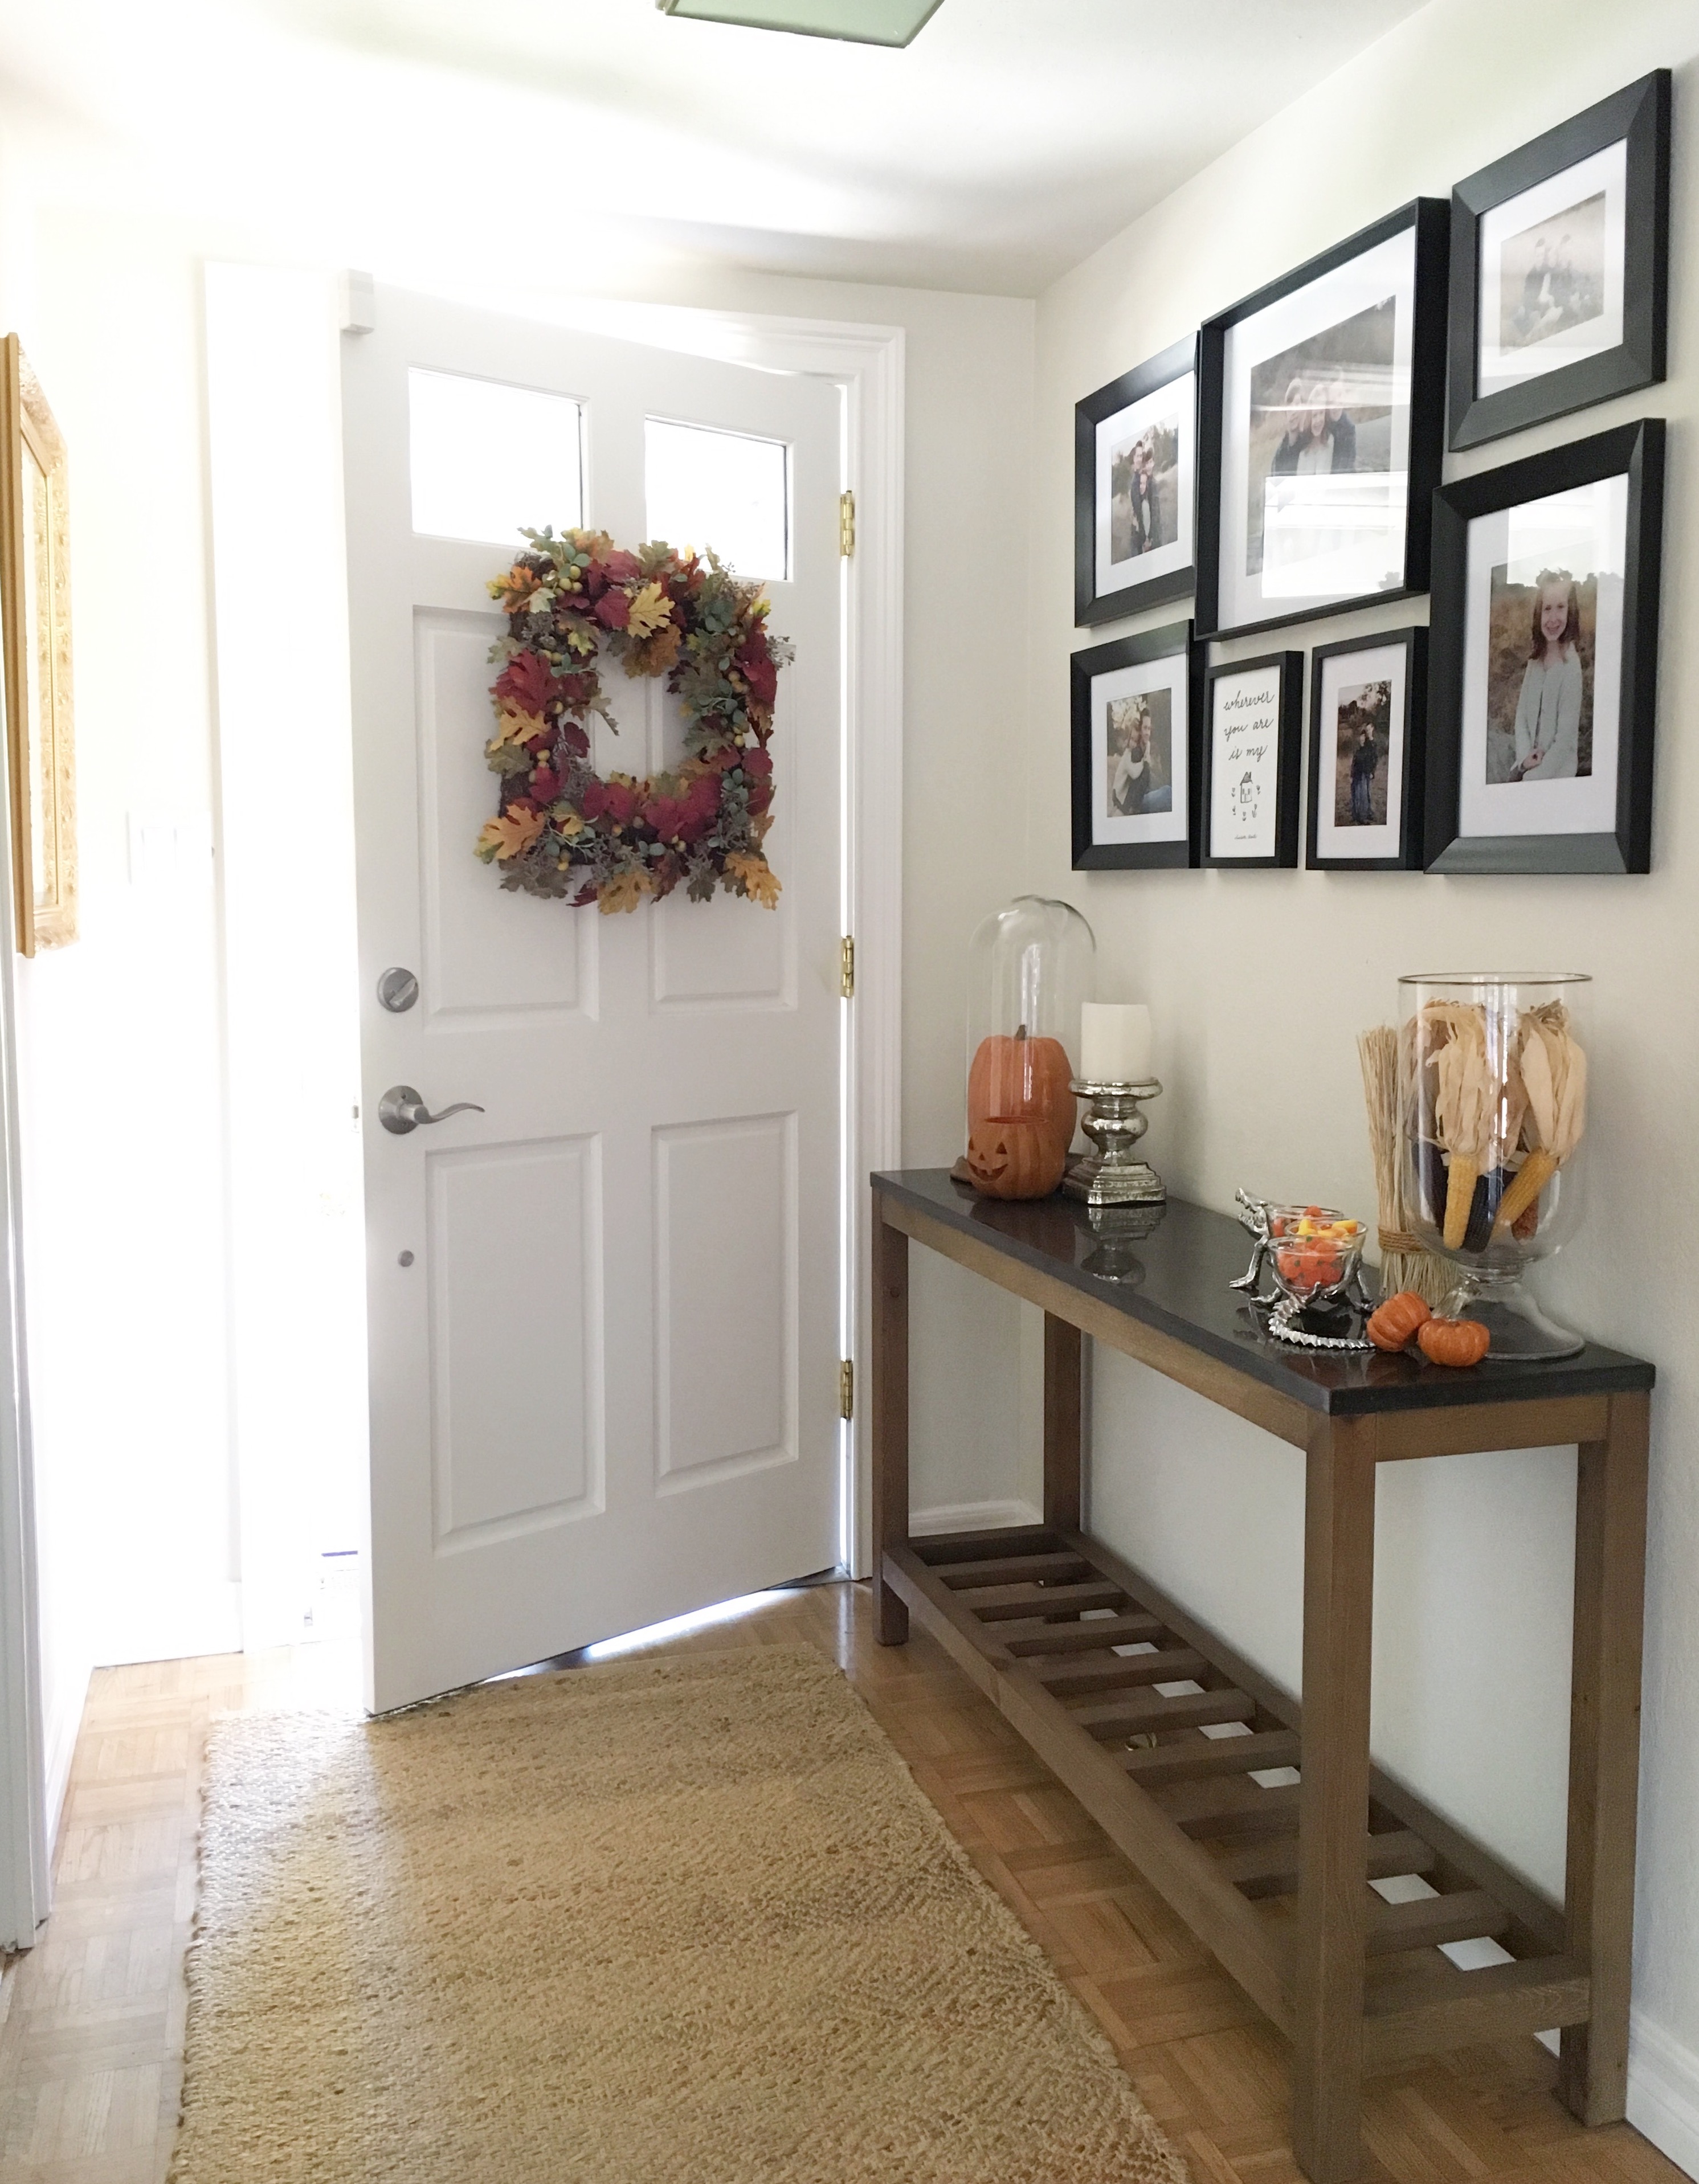
That wall gallery I’ve been dreaming of the last couple years? It finally happened this week!…
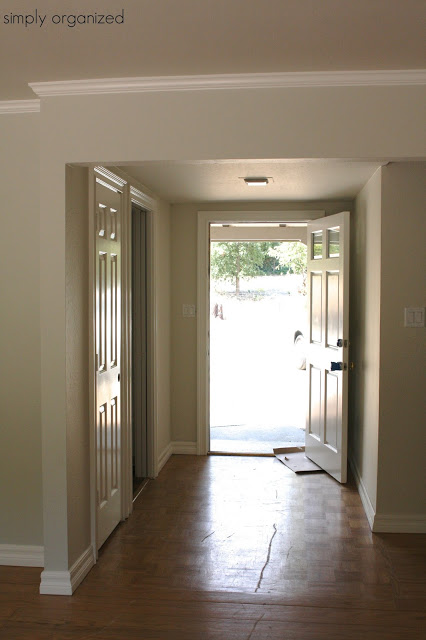
That’s the same entry that began here 3 years ago…
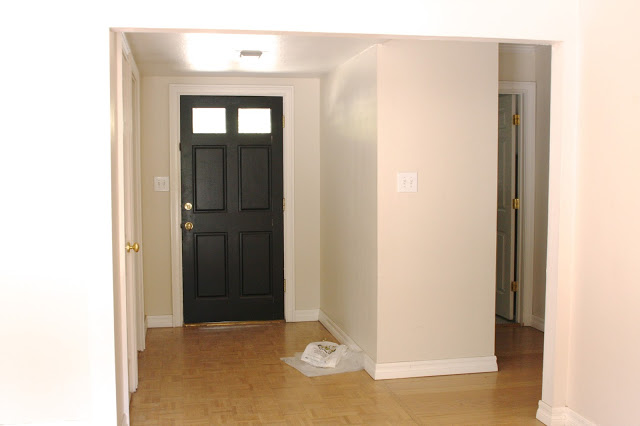
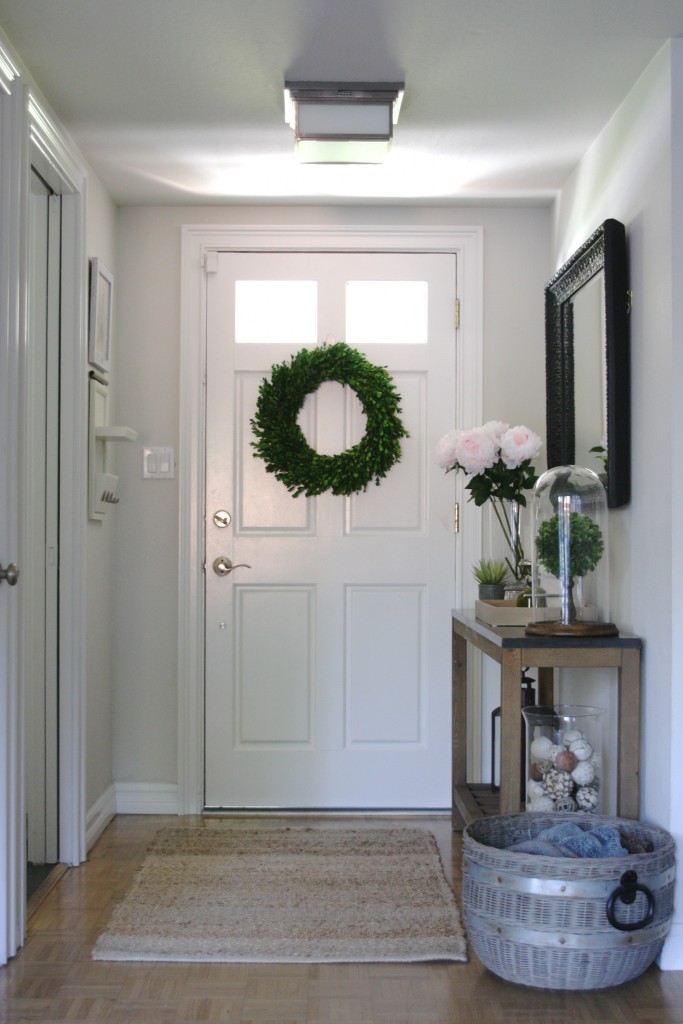
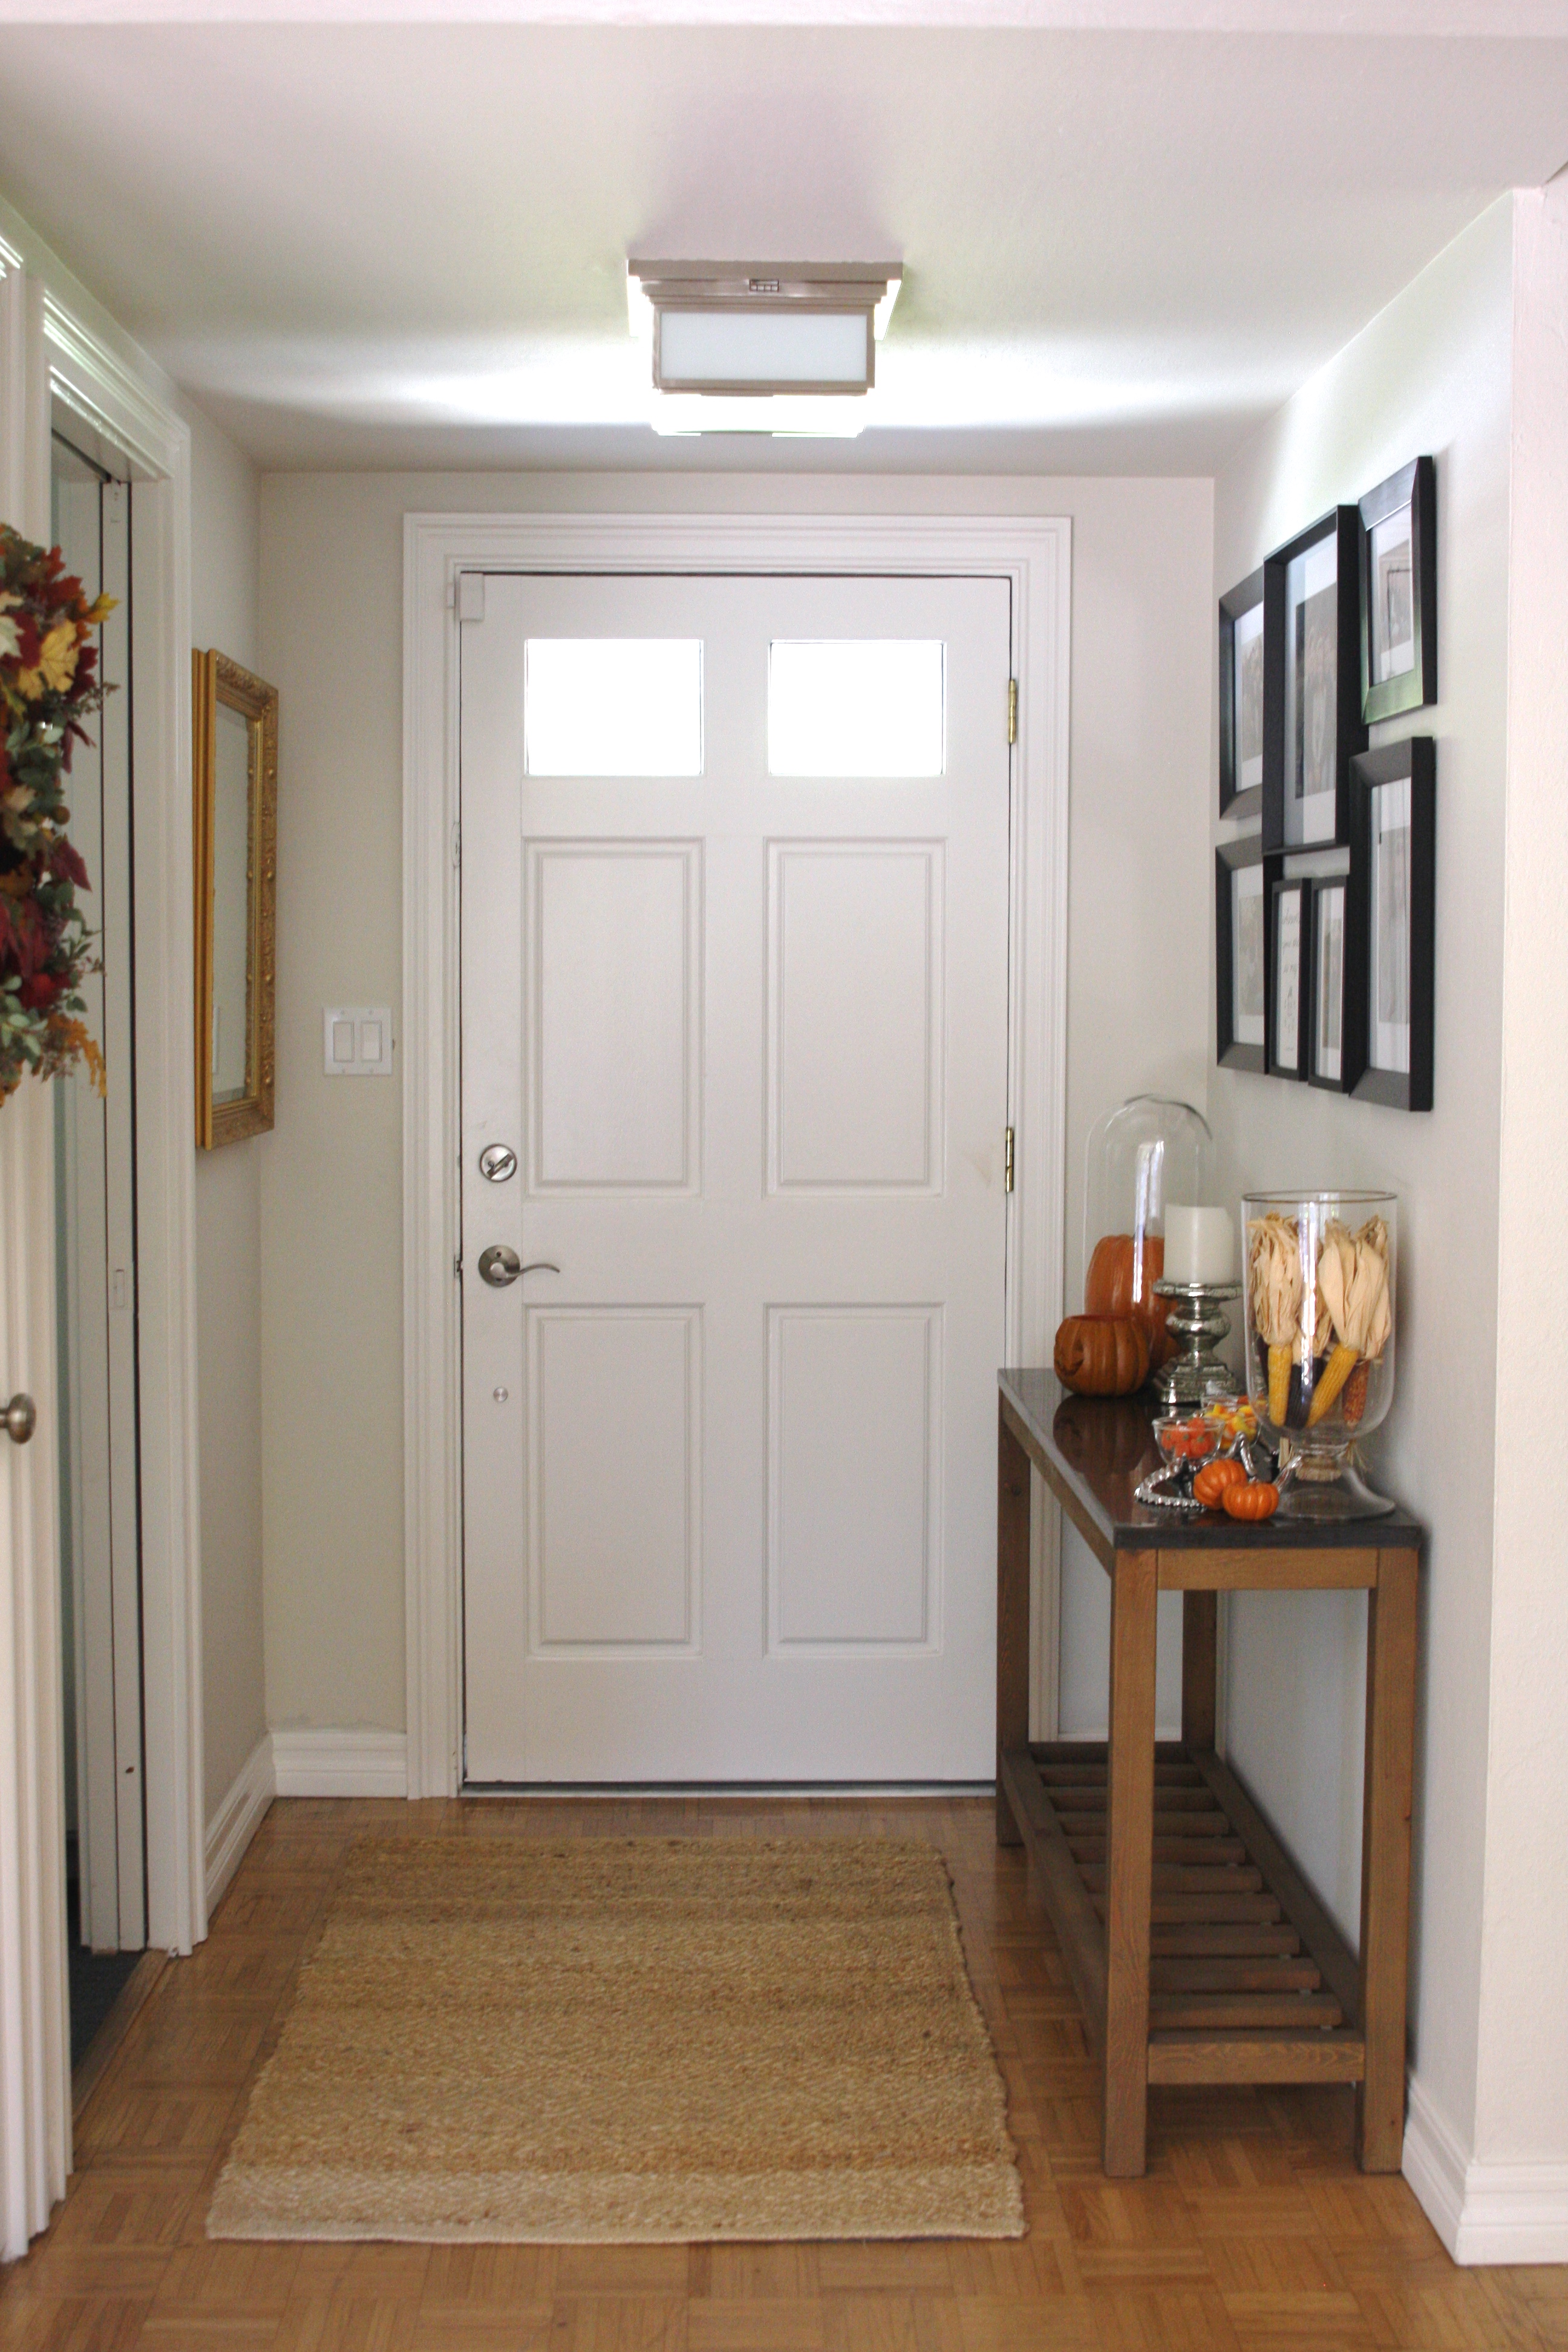
Was then updated with paint (Behr – Silver Drop) and a new light fixture…
Last year, I finally found a console table narrow enough to fit behind the door…
While I loved the mirror above the entry table, what I really desired was a photo gallery wall. The photos were taken last fall, but like most busy moms, they weren’t printed right away. When I did get around to printing, those sat around waiting for frames. After hanging a gallery wall for a client last week, I had enough. Here I spend my time hanging beautiful gallery walls or organization systems for many people, but not for us. I have no excuse either because I have the ability AND the tools. The additional push also came from the urge to start Fall decorating. I challenged myself that when a gallery wall was finally hung…only then could I begin to decorate.
No pumpkin spice for you, Sam…not until you get to hanging!
Over the weekend, I ran into Home Goods and grabbed a variety of frames. (This is not a sponsored post!) Home Goods can be a tough place for this lady. The shelves are crammed and it’s hard to find anything. I gave it my best shot however because I really wanted a mix of sizes and frame thickness, wanted to save some money, and didn’t want all the frames to be exactly the same. Also, I didn’t want to travel to a variety of stores for that mix of frames. I knew a place like TJ Maxx or Home Goods would have a solid variety. Thankfully, I found enough from just one store location to put together a nice gallery. As I was preparing to hang it, I thought this would make for a great blog tutorial.
What keeps us from hanging decor or photo galleries on the wall? Here’s a few reasons I hear from the moms I work with…I’m afraid they won’t hang straight. I’m afraid to make holes in the wall. I’m afraid the frames will fall because I didn’t use the correct hardware. I’m afraid to mess up a gallery wall and not have everything line up. I’ve heard a lot of reasons, all of which are valid and real concerns / roadblocks. If you don’t know how to hang wall decor correctly, you won’t do it.
First thing I want to encourage you with is …. it’s just a wall! Who cares if you bang a few extra holes. Holes can be hidden or patched/painted. You won’t learn unless you make a few mistakes. Trust me, I’ve made many and there are lots of holes around here. But I’ve learned how to hang wall decor and framed photos by simply trying. Failing too. But for sure, trying. Just getting to it. And when I’m really stumped, I learn by sometimes asking the guys at my local hardware store or my favorite handyman.
To begin hanging a gallery wall, my first tip is to have all your tools ready to go…

( nails / measuring tape / hammer / level / pencil / coffee / lots of coffee )
Next, lay out your design on the floor…

I played around with the layout quite a bit. There’s 2 additional 8×10’s of my boys alone, but they wouldn’t fit into the design. Instead of have those on an adjacent wall. But this was the layout I came up with that made me happy.
Once you’ve got your layout, measure the width…
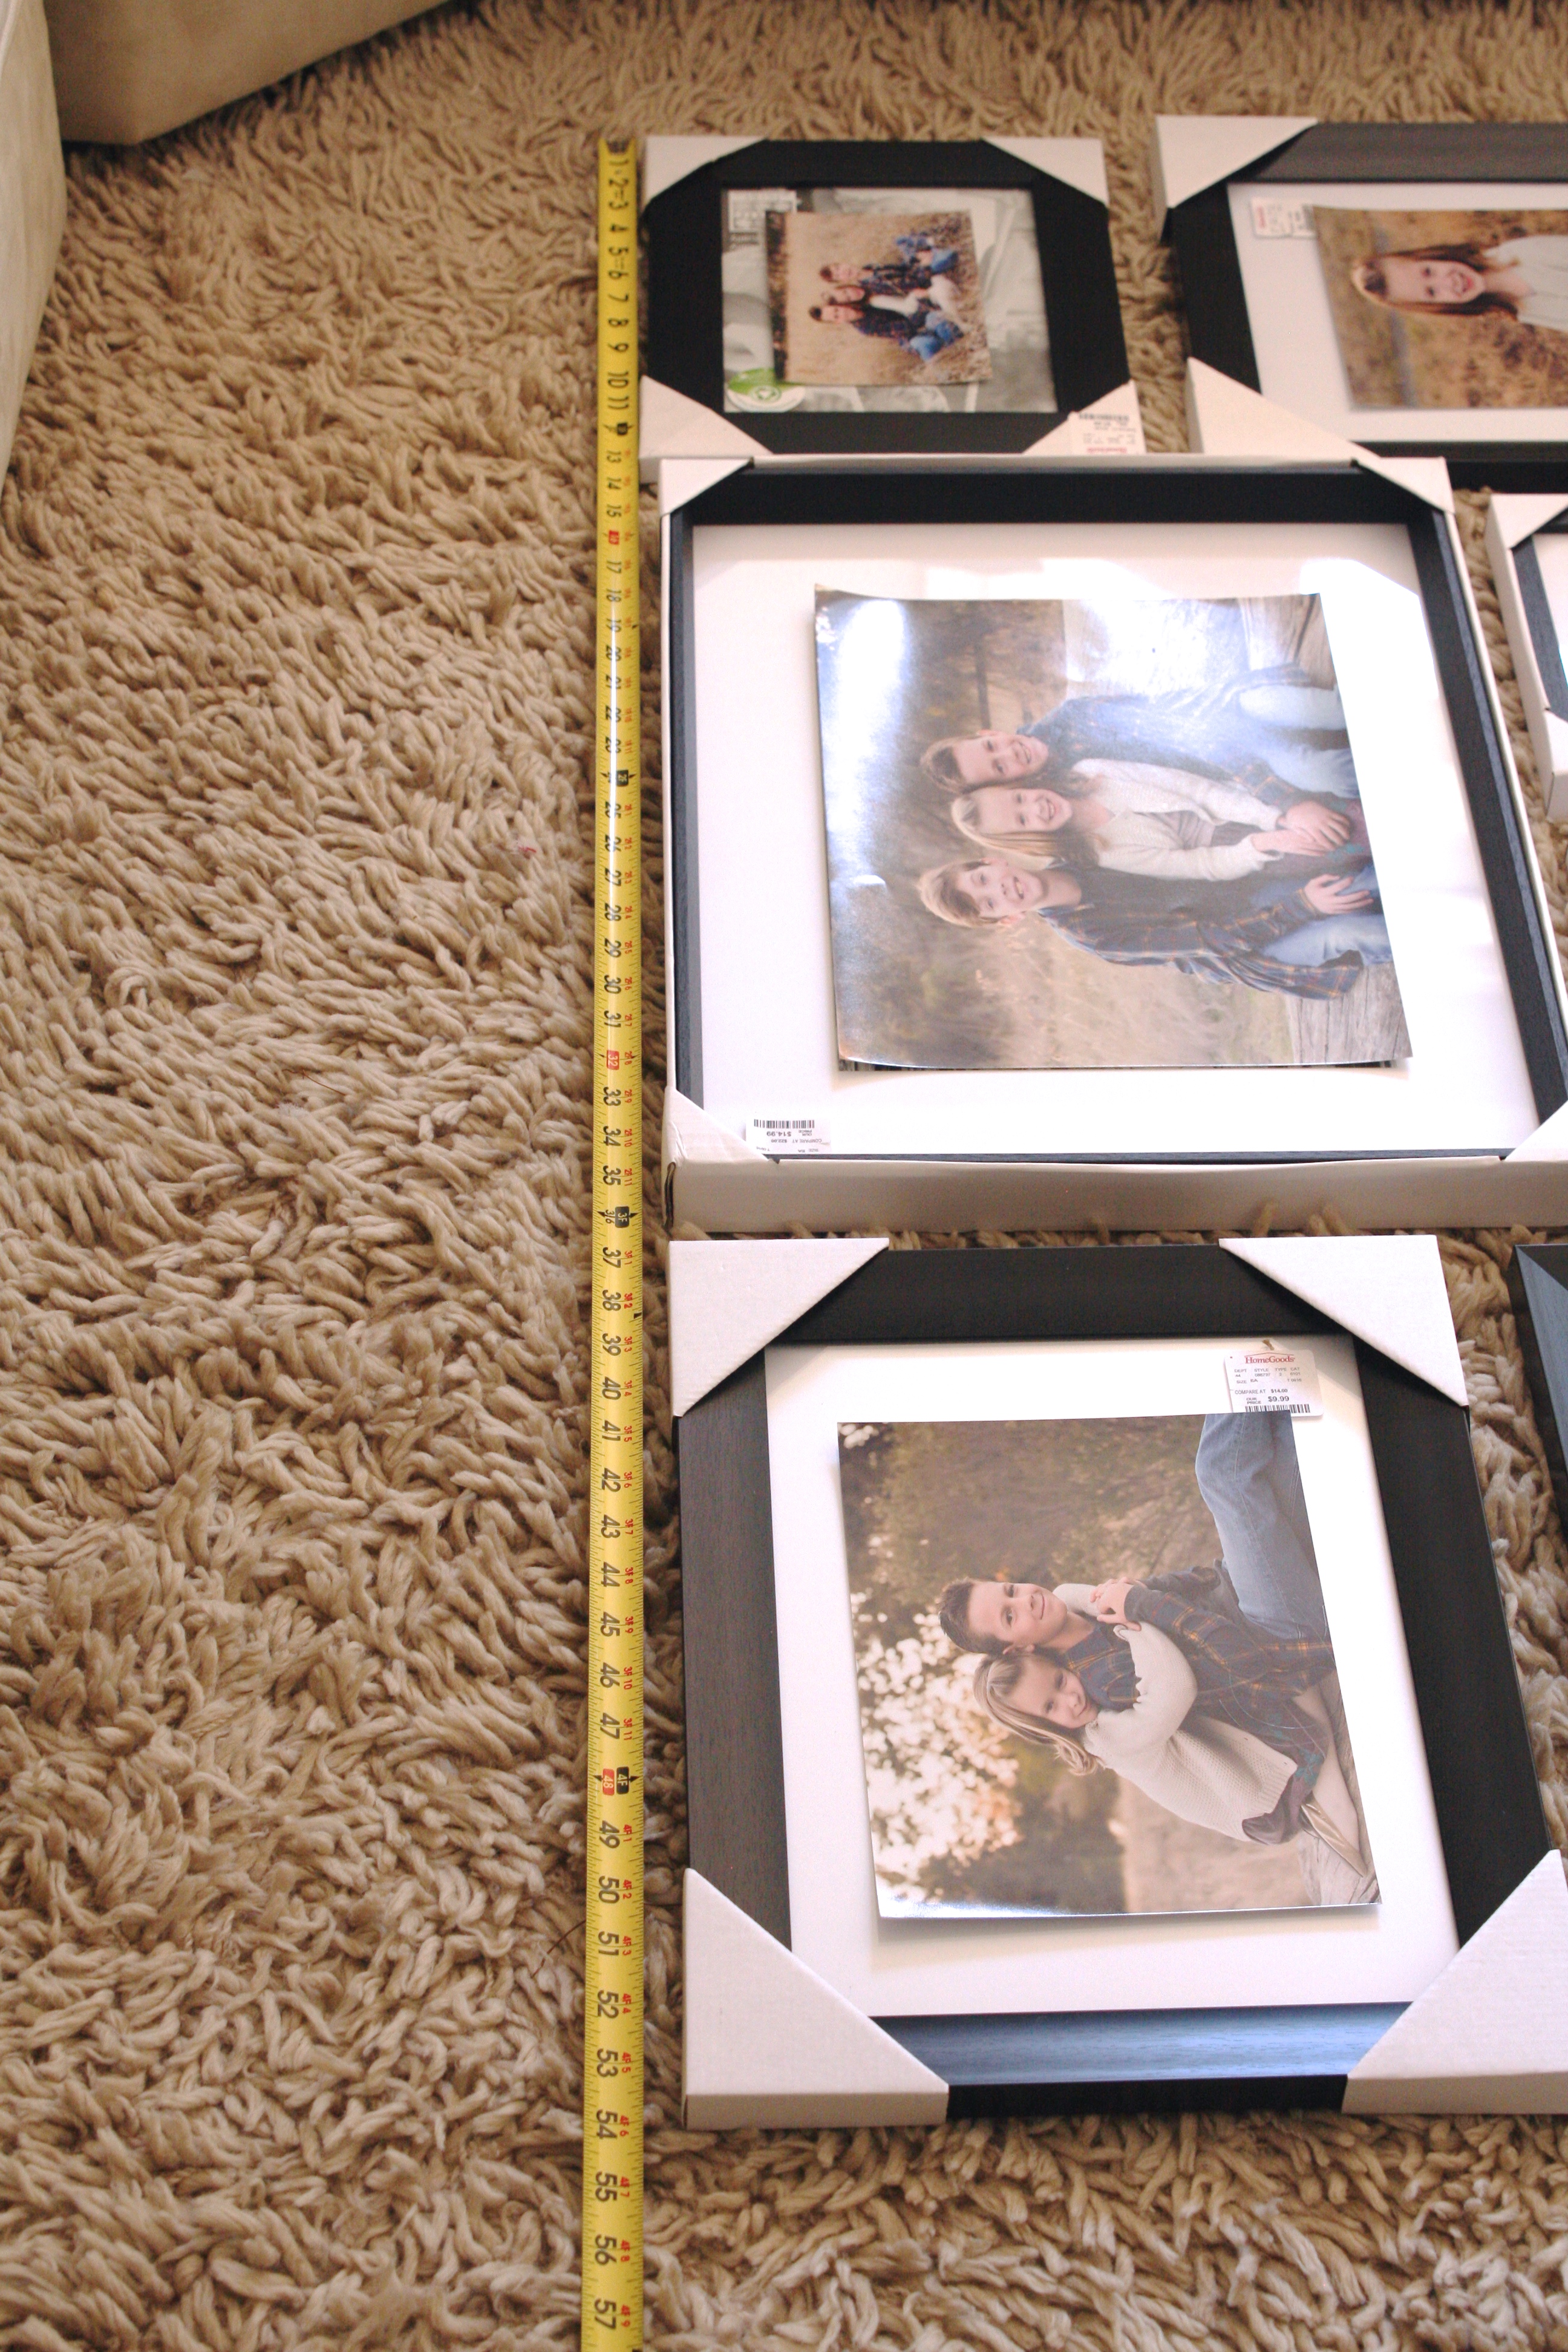

This ensures you have enough room on the wall. In my case, since this was hanging over a table, I wanted to be certain that what I designed wasn’t too wide. Just check the wall to confirm…
Looks good!
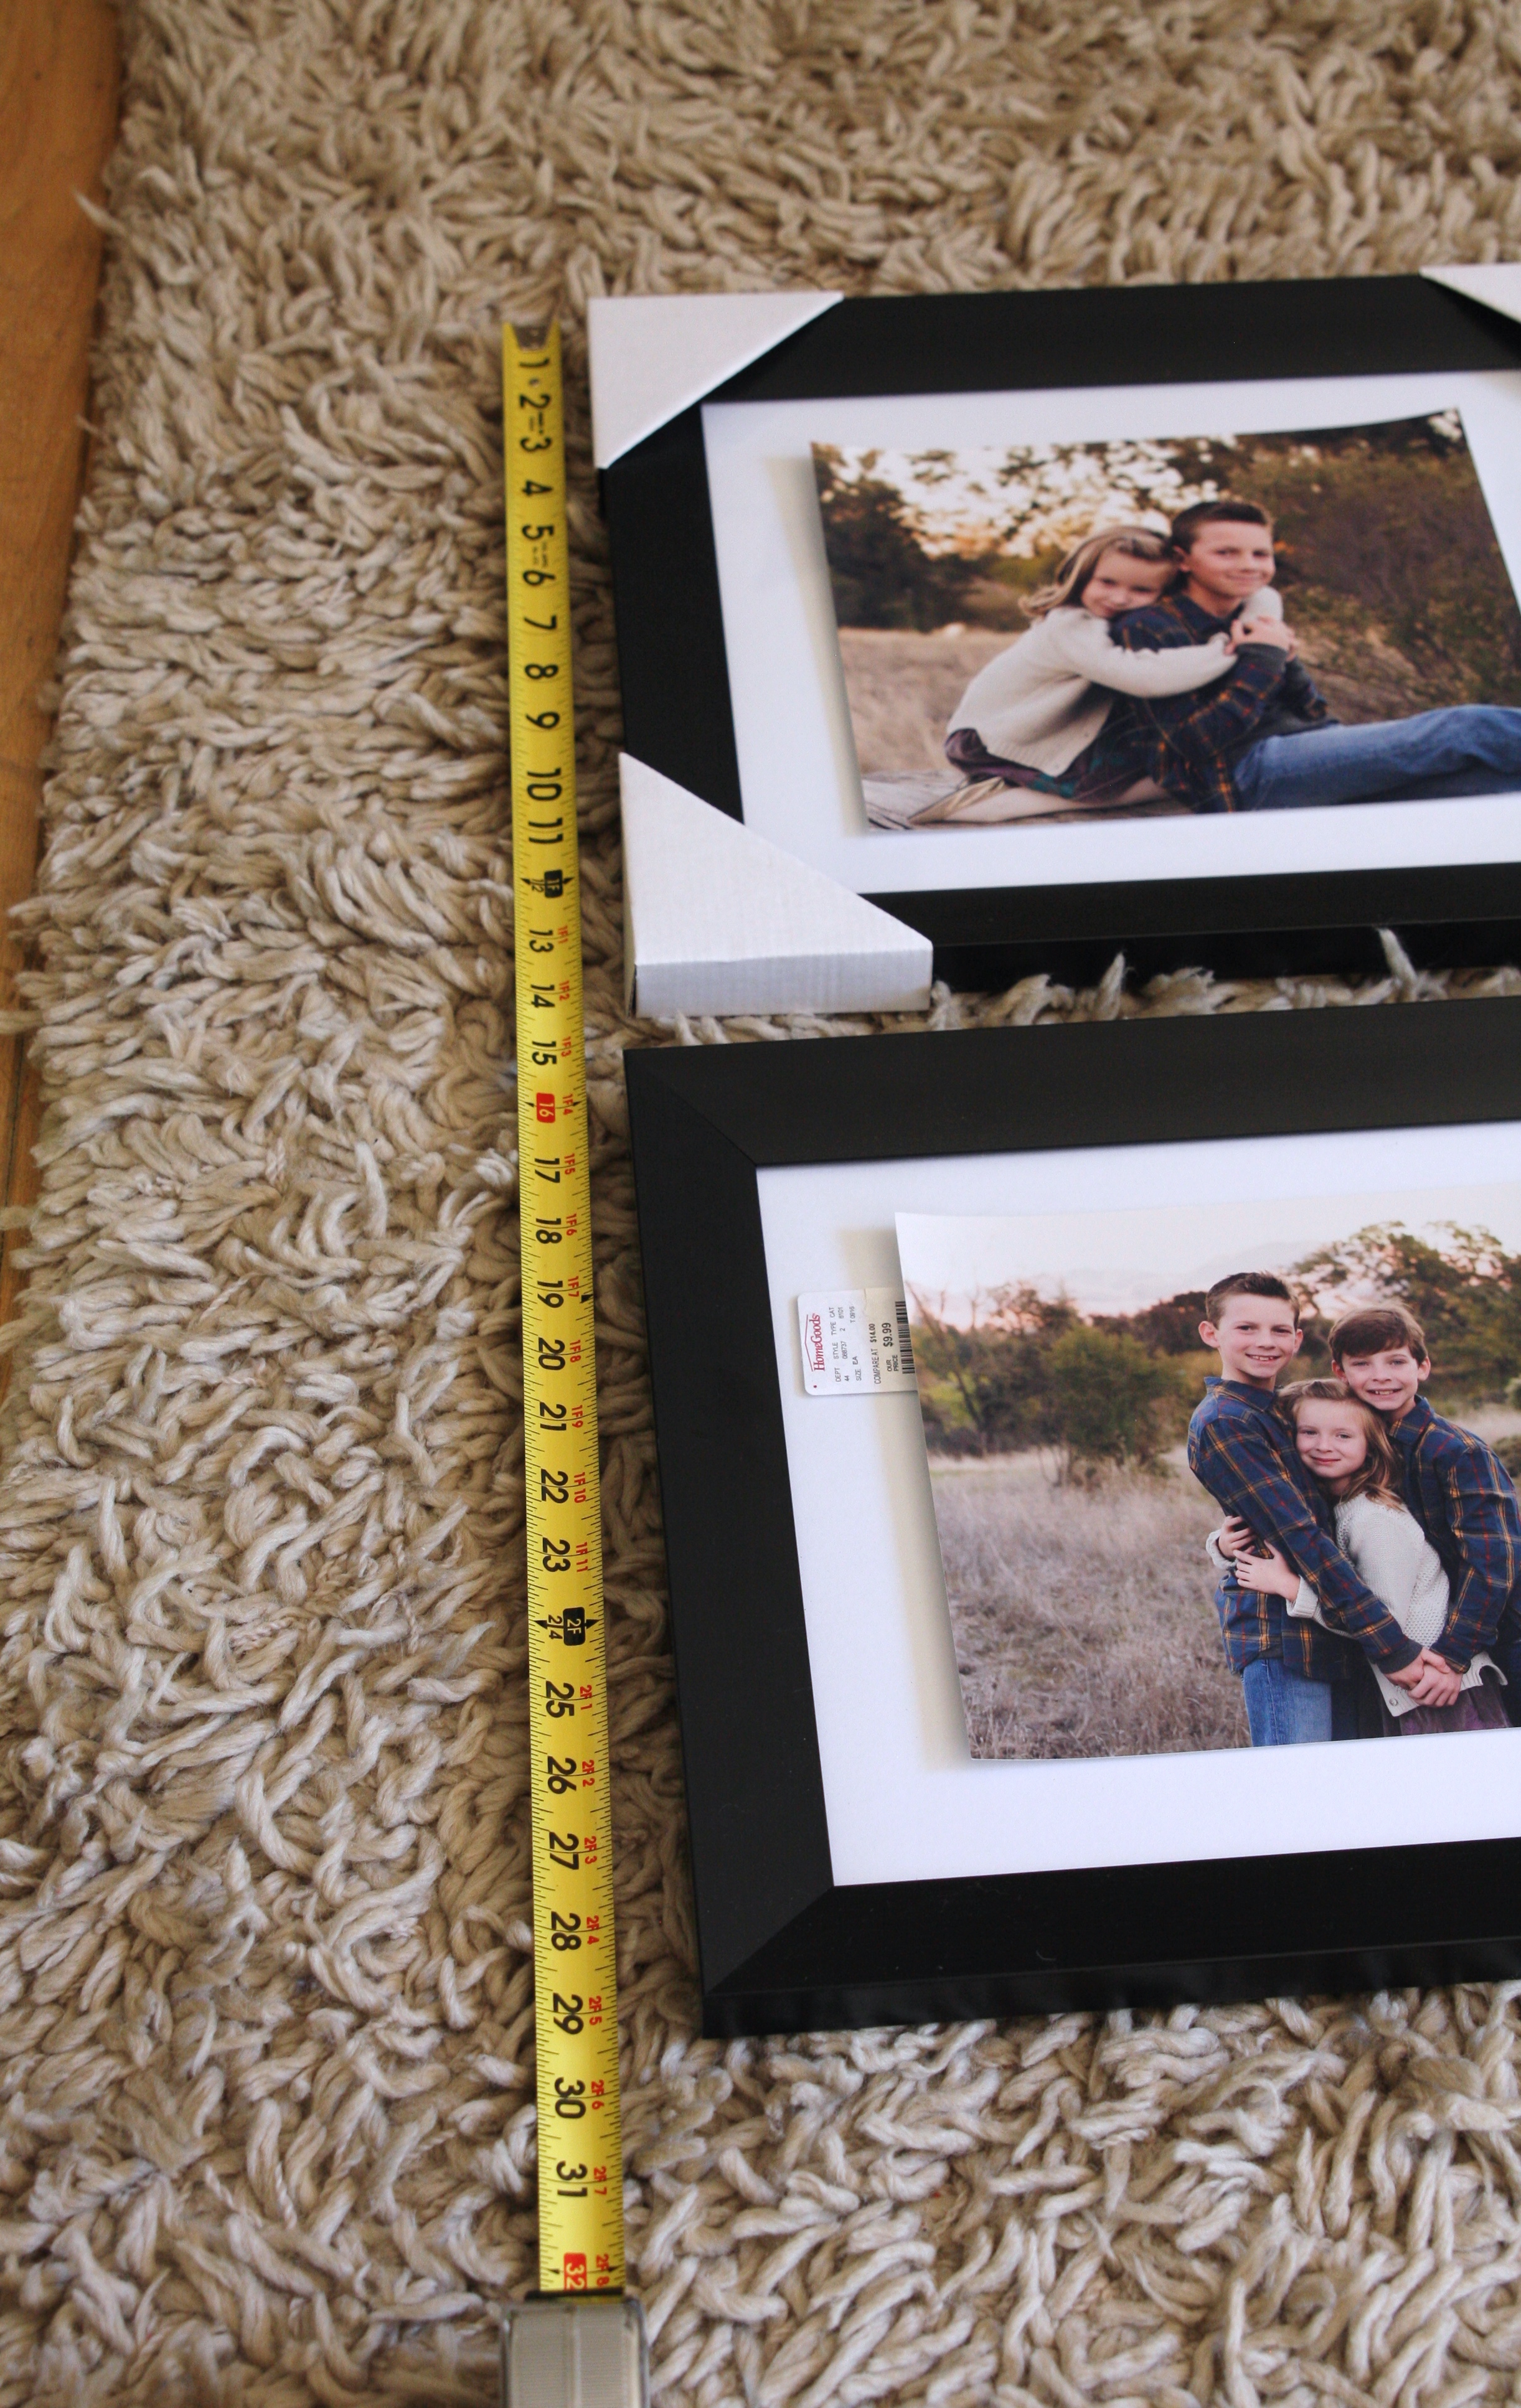
Next step is taking a photo of your layout…

You’ll need a photo to refer back to once you start picking up frames. Trust me!
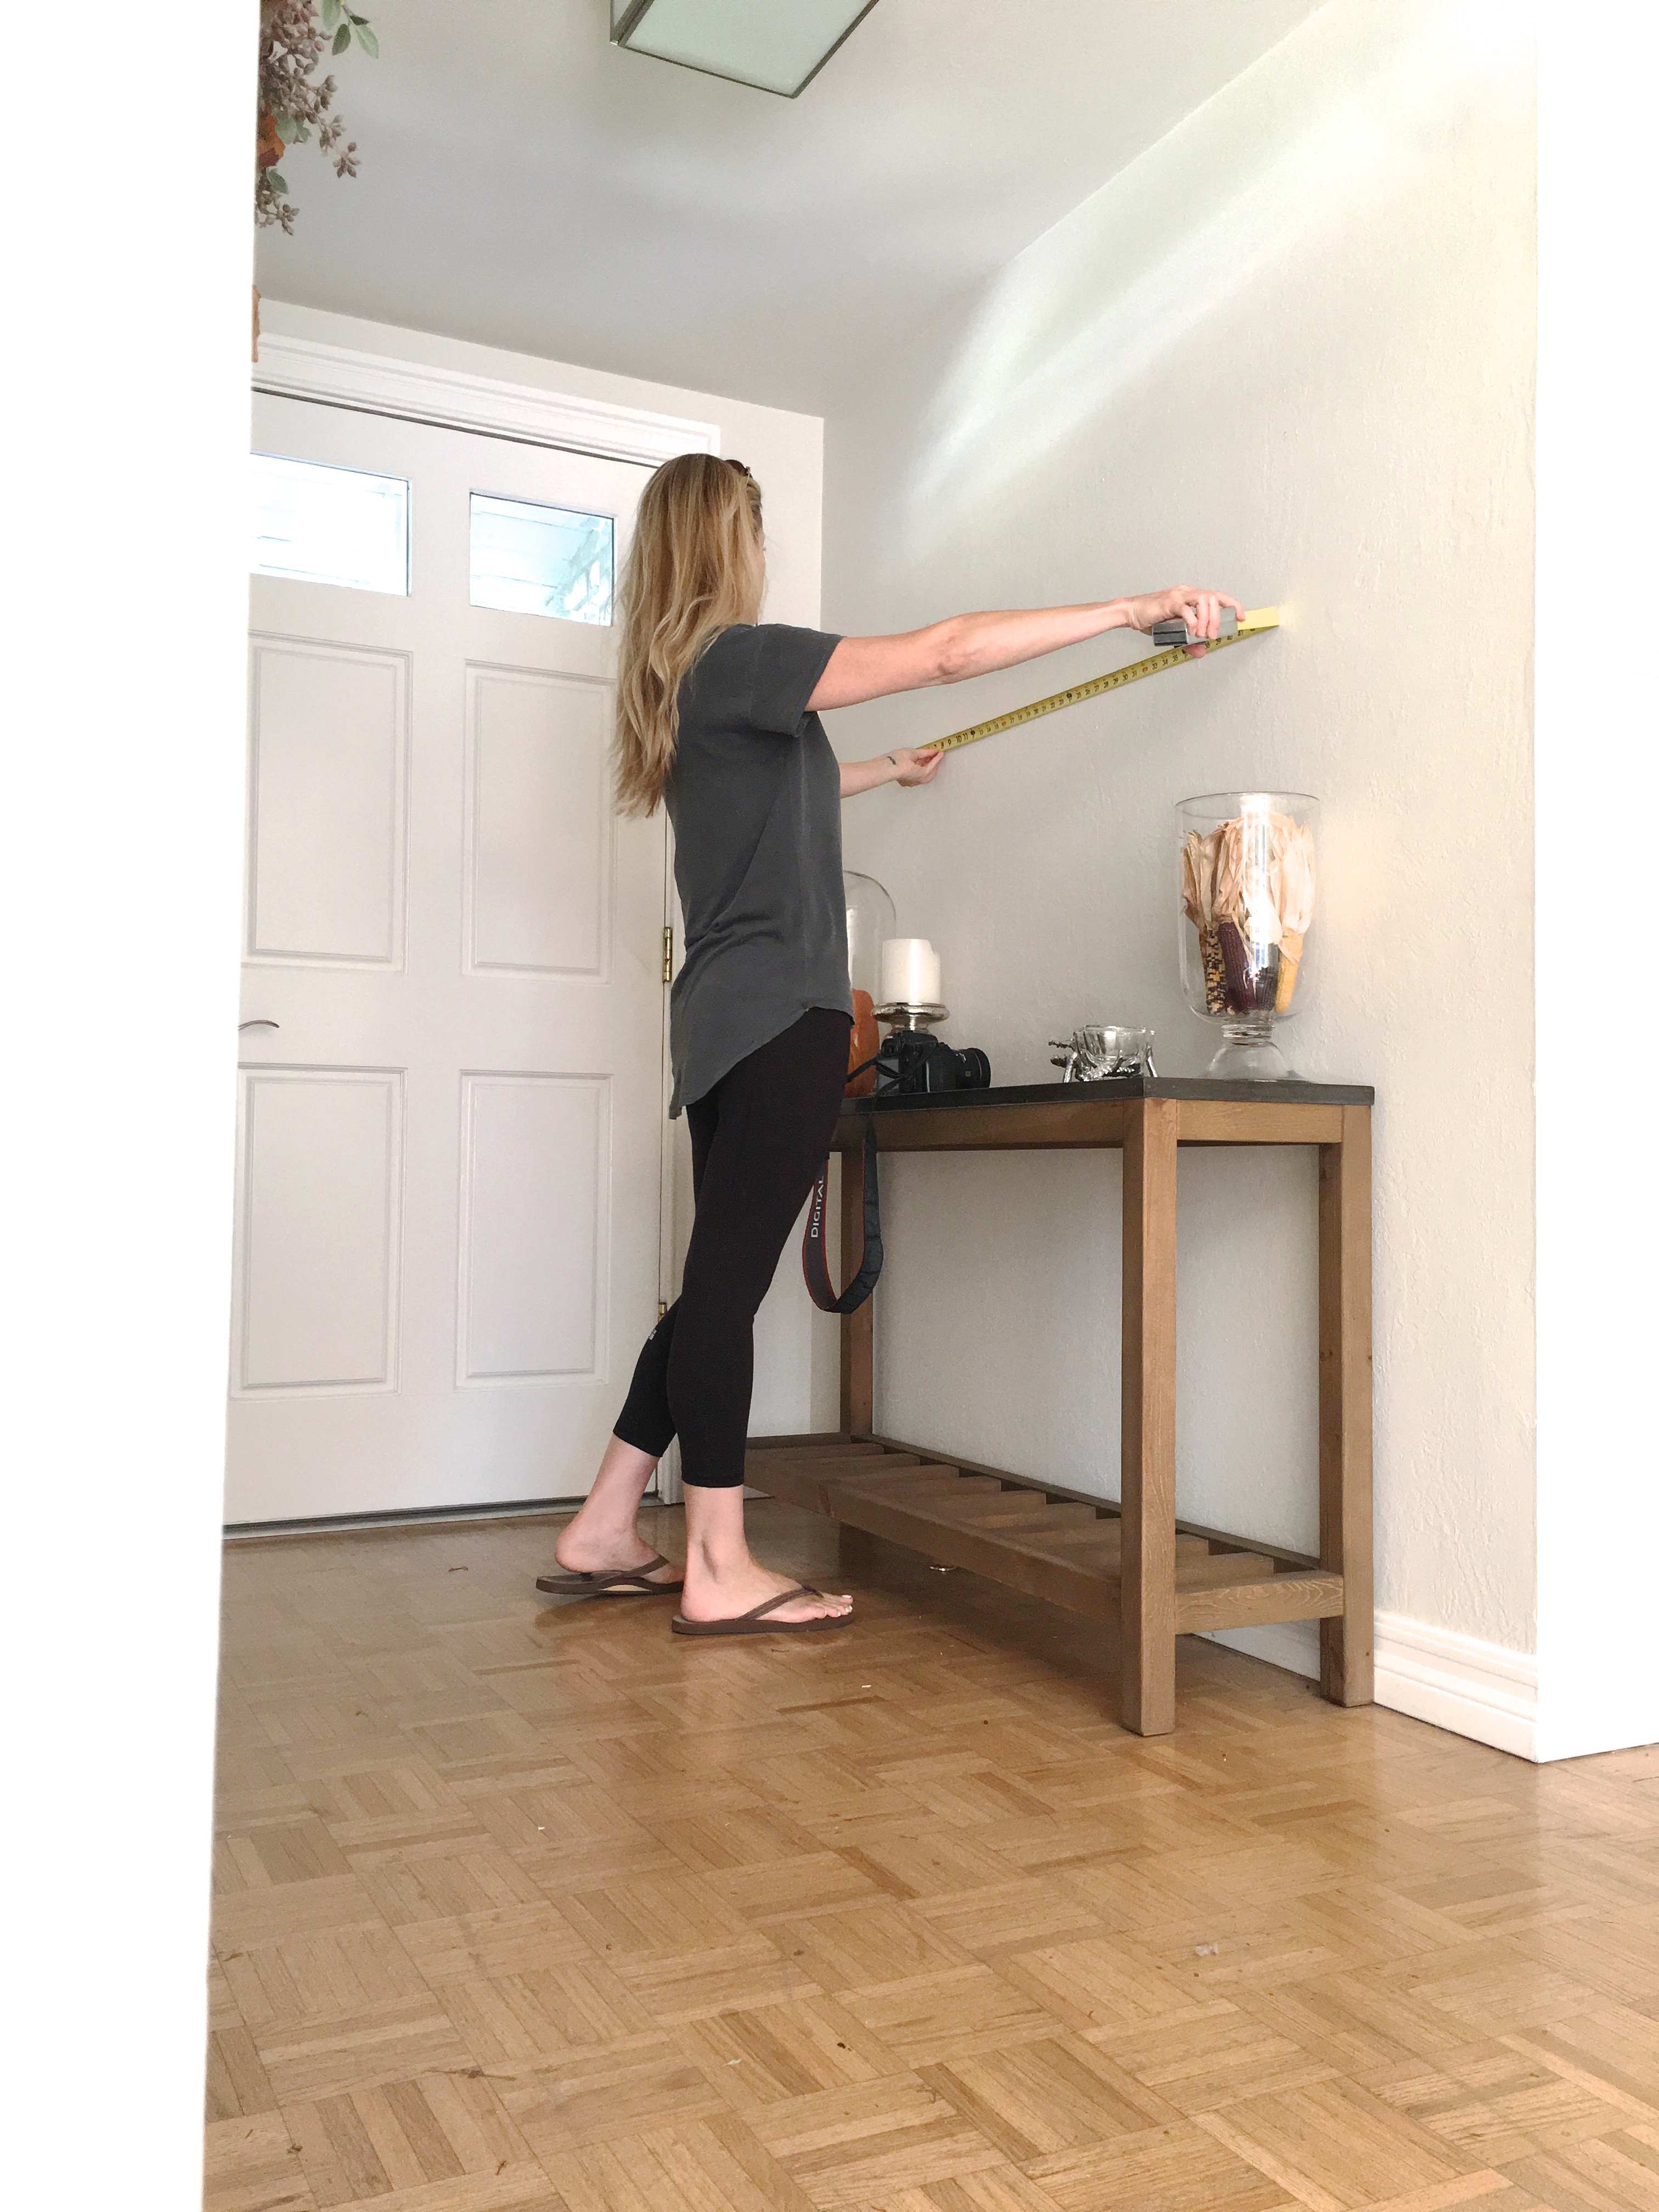
Next step – measure the height of your gallery…
This measurement is your guide for where to begin the top of the gallery wall. My entire gallery wall is about 30″ tall. I start by placing my tape measure against the wall to make a pencil mark where I want the top to begin…

In general, I begin my gallery walls from one side and work my way across. There’s no particular reason for this other than the fact it’s just what works best for me. Some people may choose to start from the top and work down. Or the bottom and work up. I have found that my galleries are totally aligned and straight when I’m working from left to right…or right to left. And in some variation of that. For this gallery, I started on the left and then completed the middle before finishing the left and wrapping up on the right. I did this to ensure the frames met up exactly where I wanted. And I referred to my photo of the gallery wall mock-up a few times as well!
Moving on to how to hang the frames…
Frames come with a variety of hardware already installed. In some cases you can add the hardware yourself, but for the sake of keeping this post basic – today I’m talking about the hardware you’ll find on the frames you purchase. A few of my frames came with these picture hangers…

These are known as “d ring picture hangers” but sometimes they are shaped like triangles, not D’s. Also, depending on where they’re placed on the frame, you can hang them a variety of ways. Since mine were placed close to the top, I chose to hang using professional grade picture hanging nails…
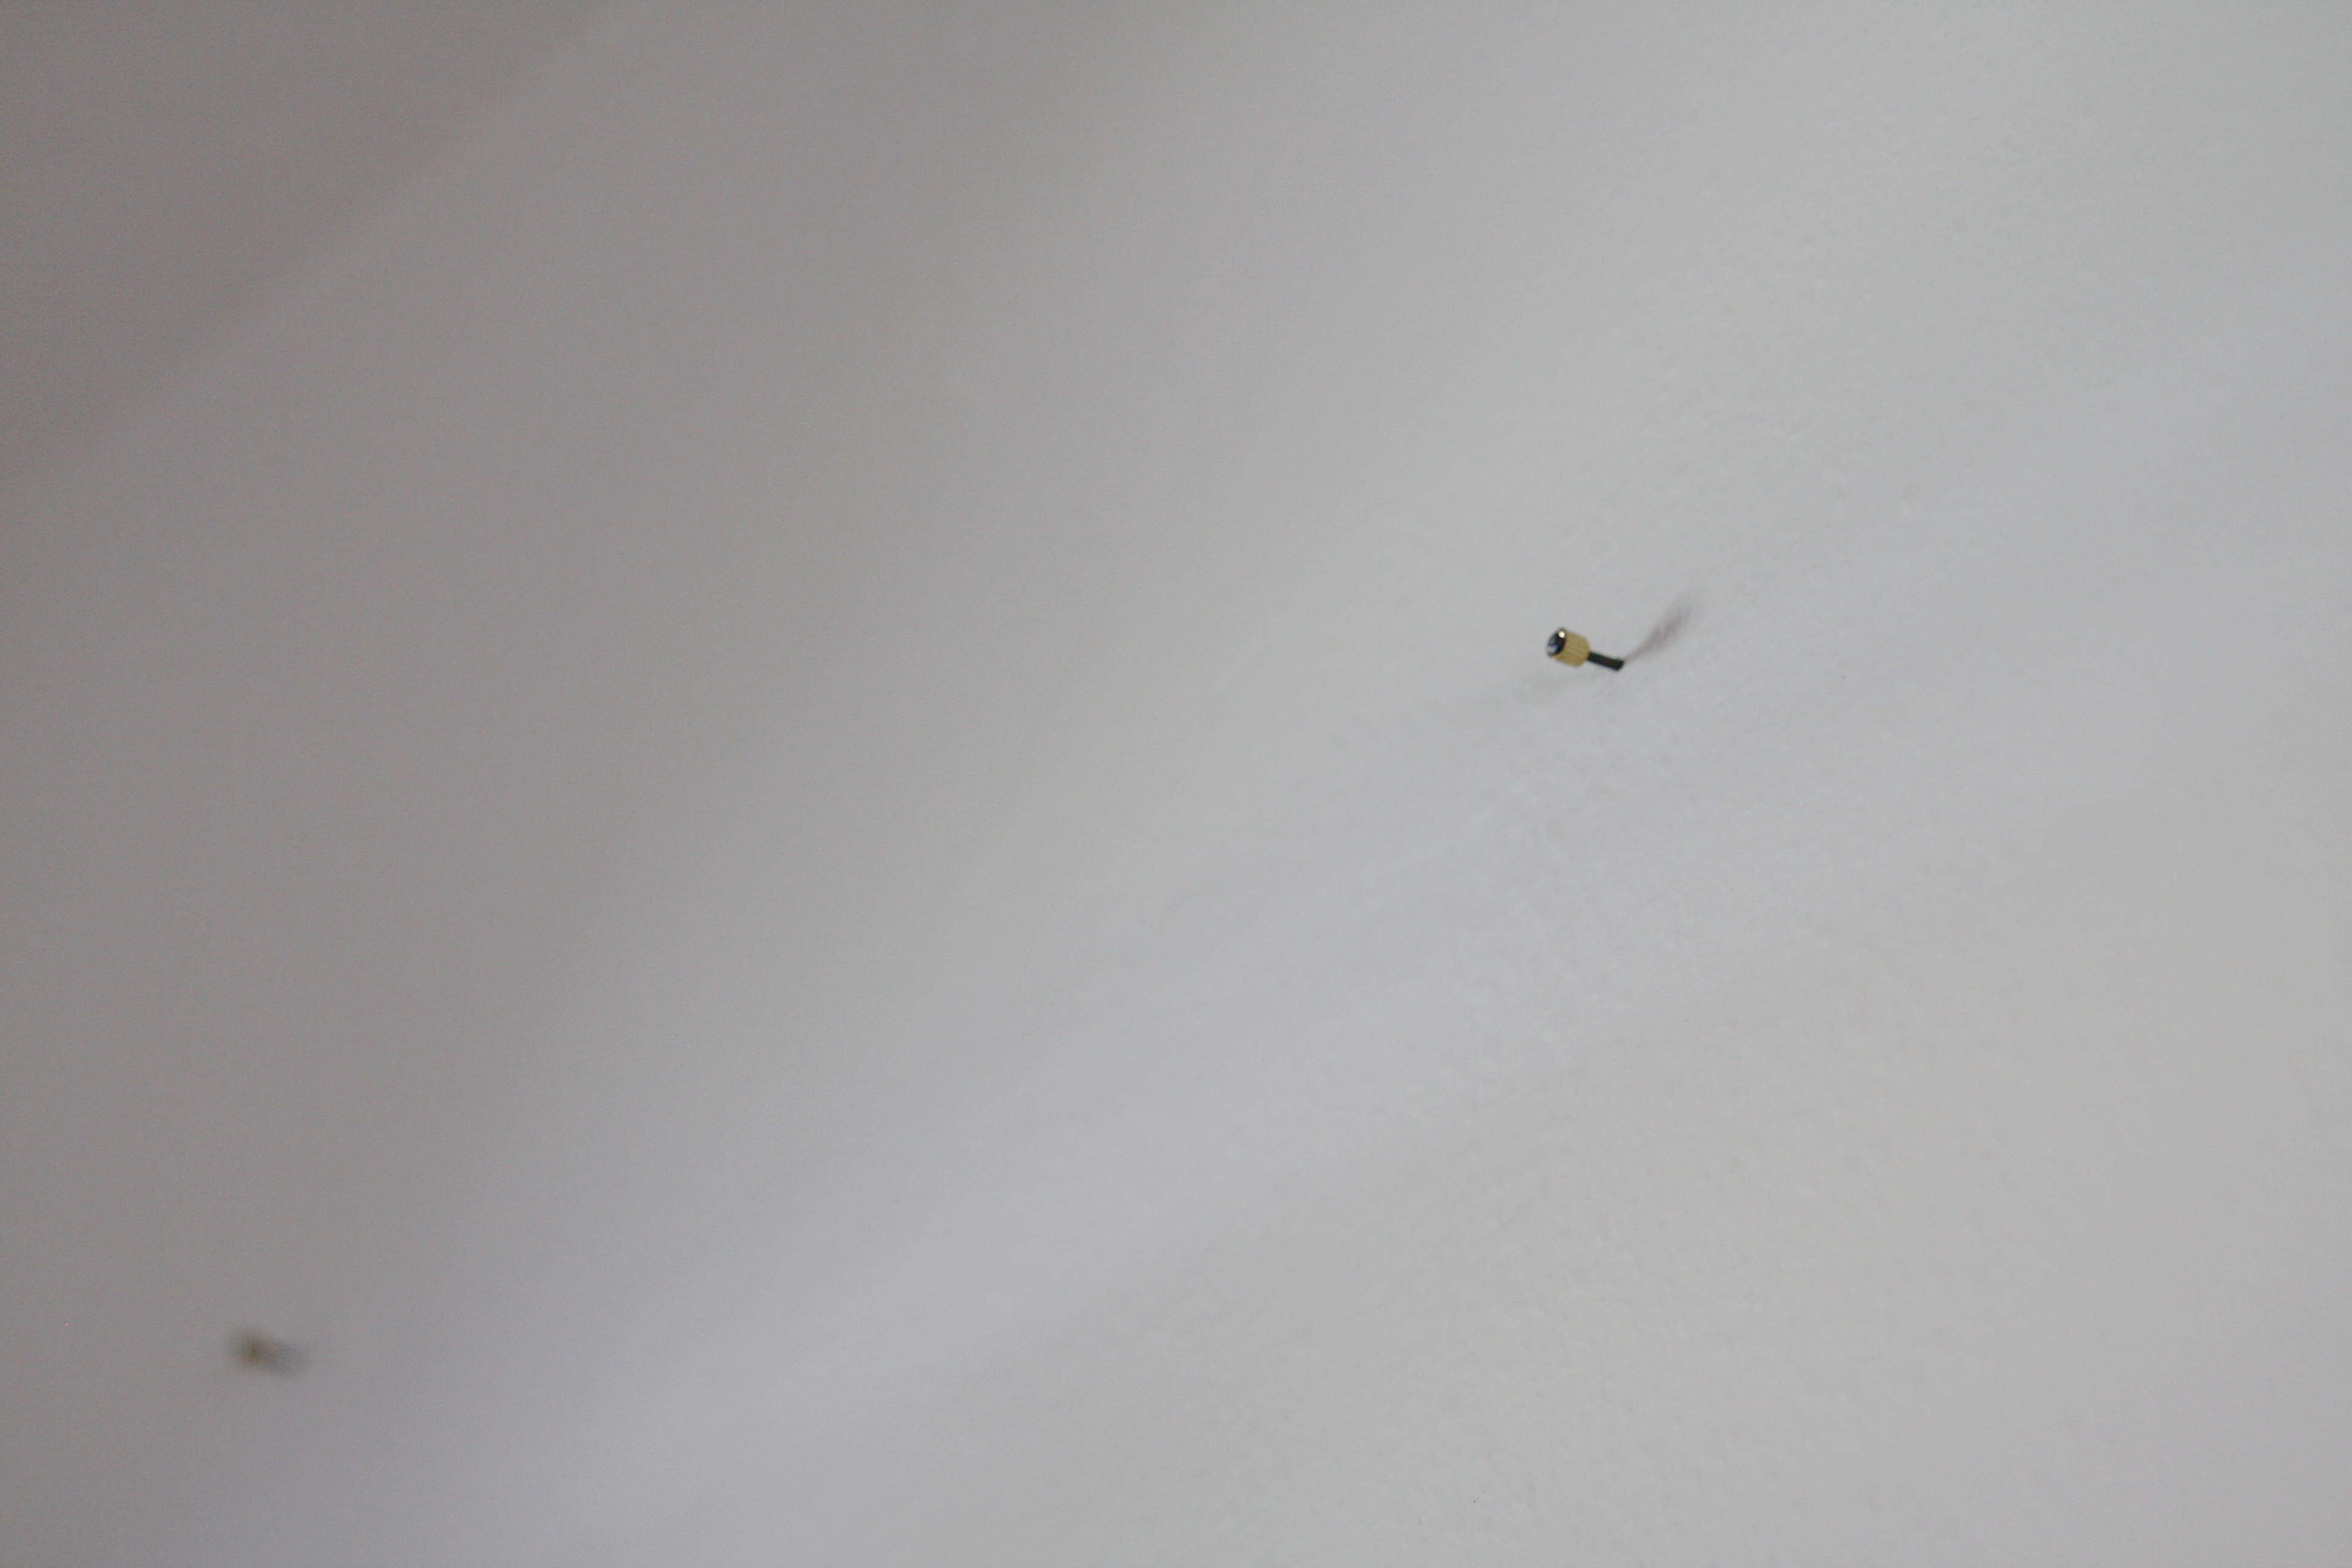
They look like this and can be found here or at a hardware store…it’s the one of the far right top corner…
I wanted the head of the nail to grip that little triangle.
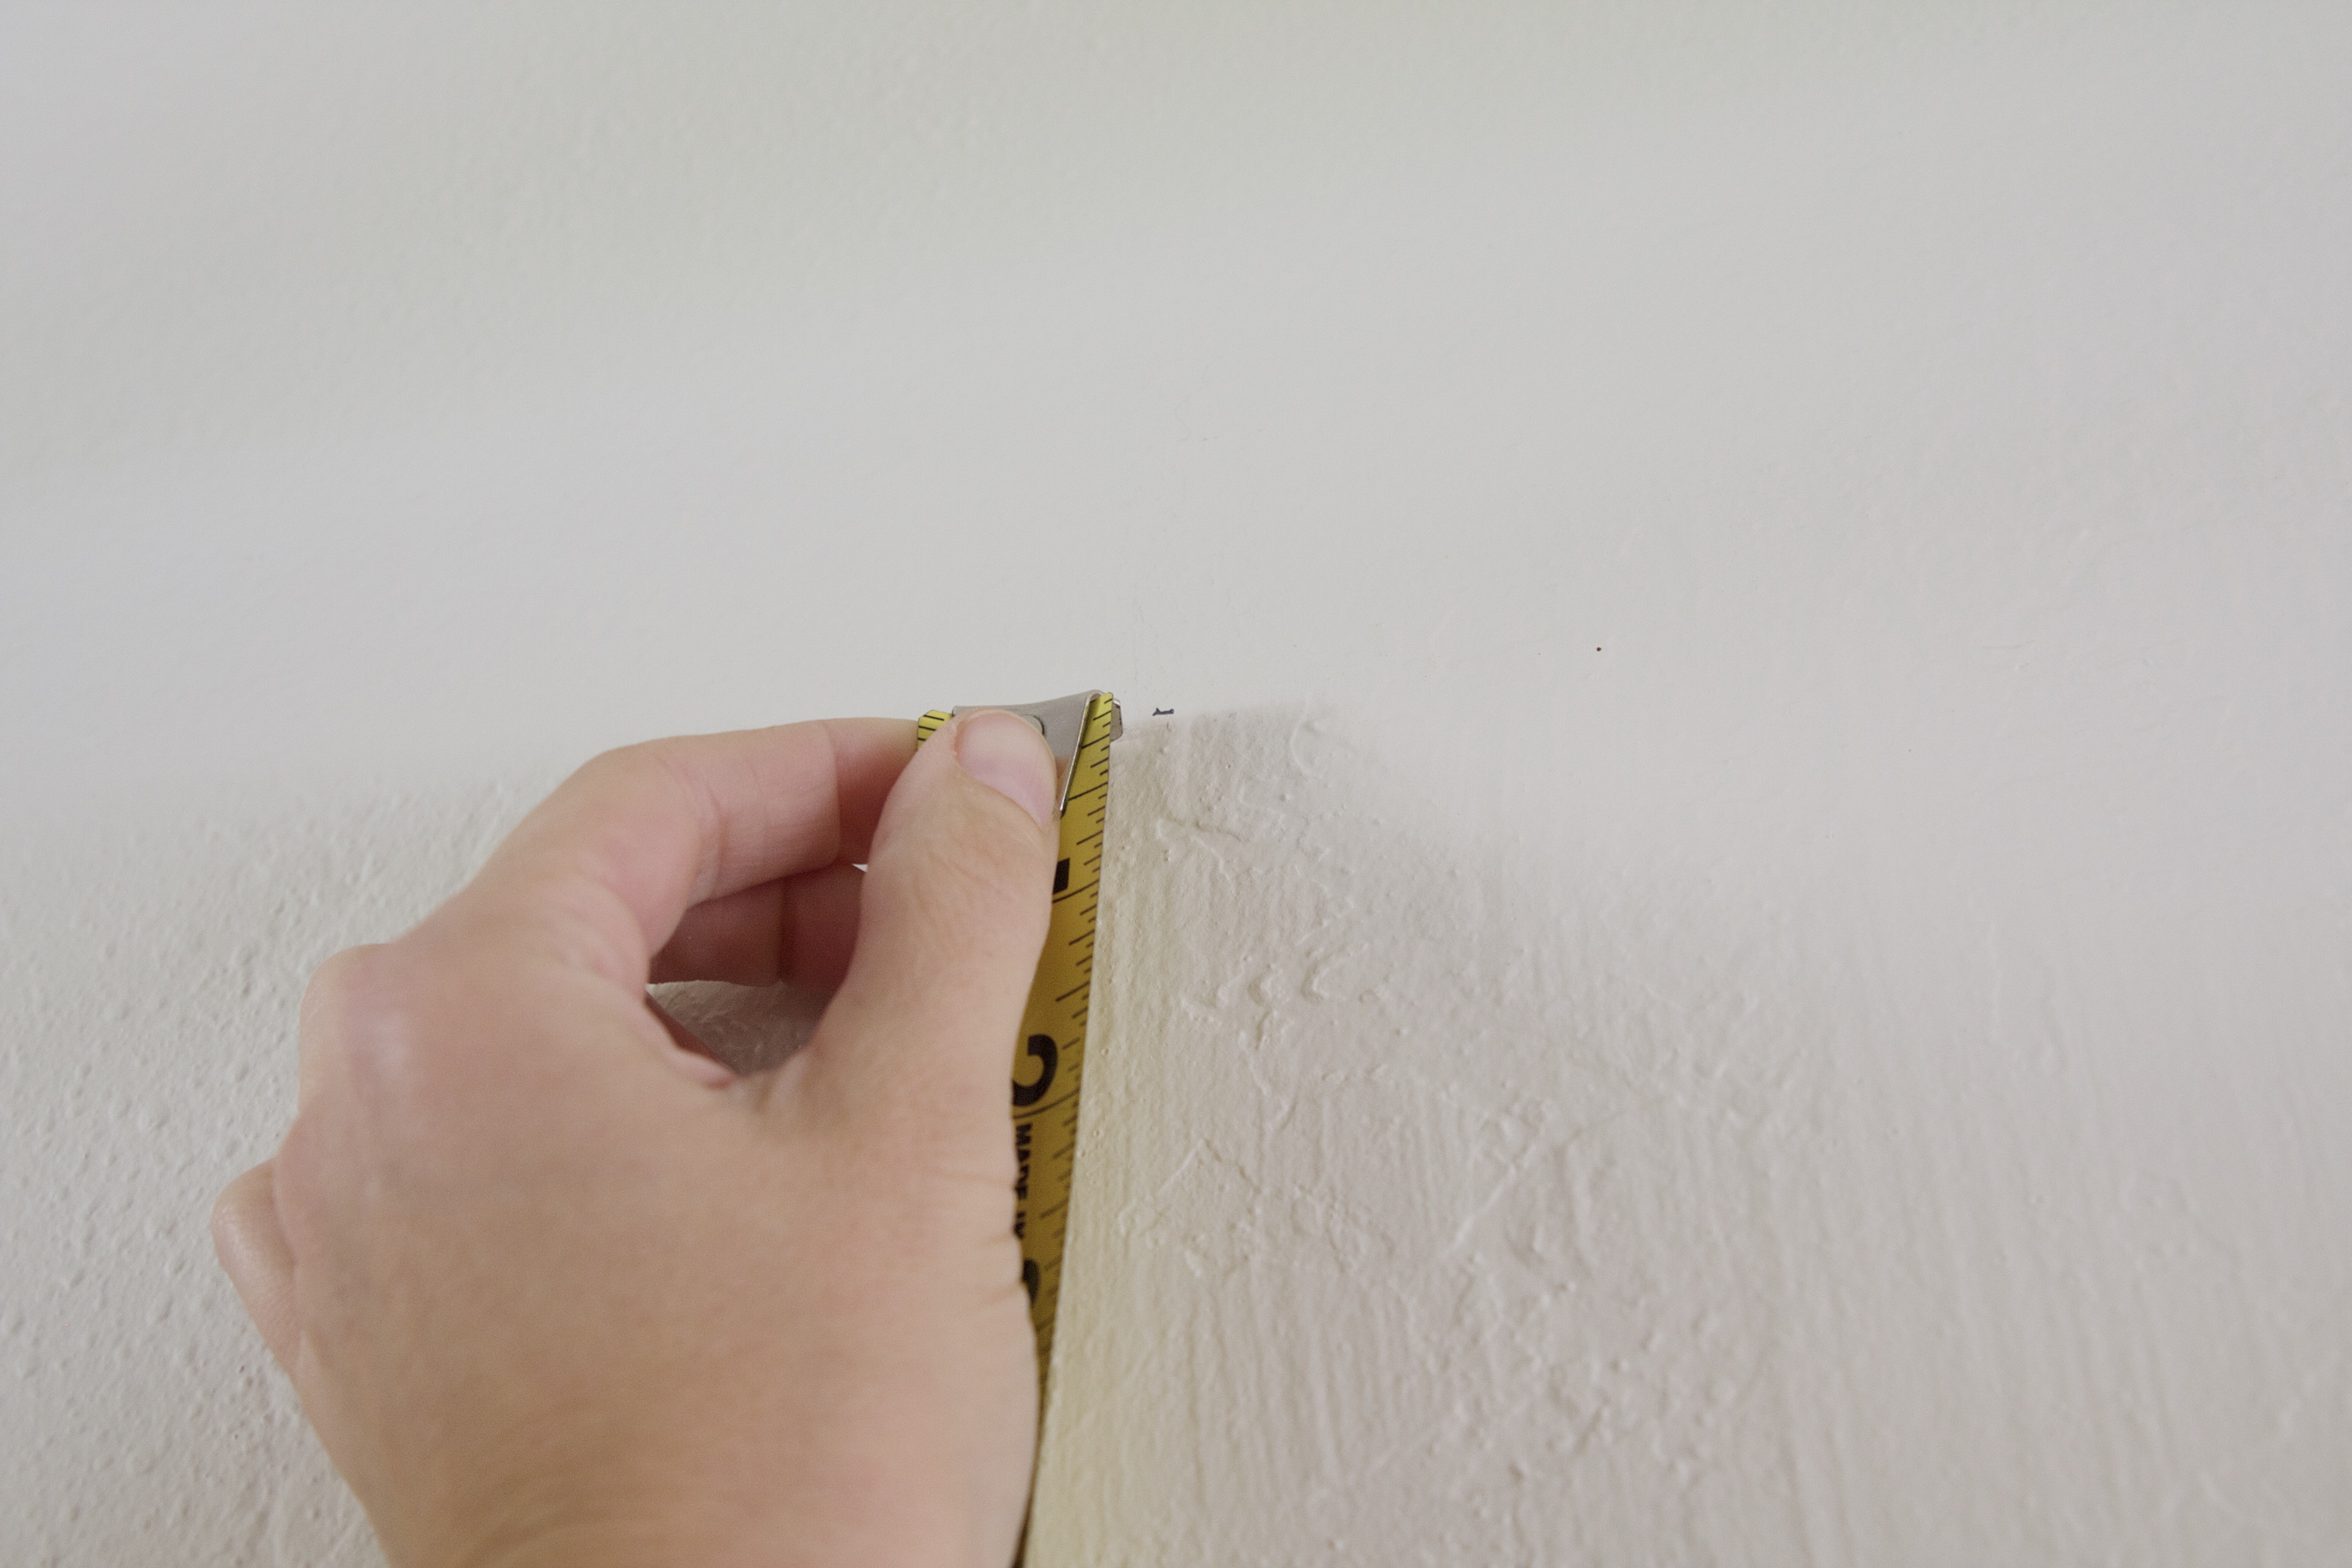
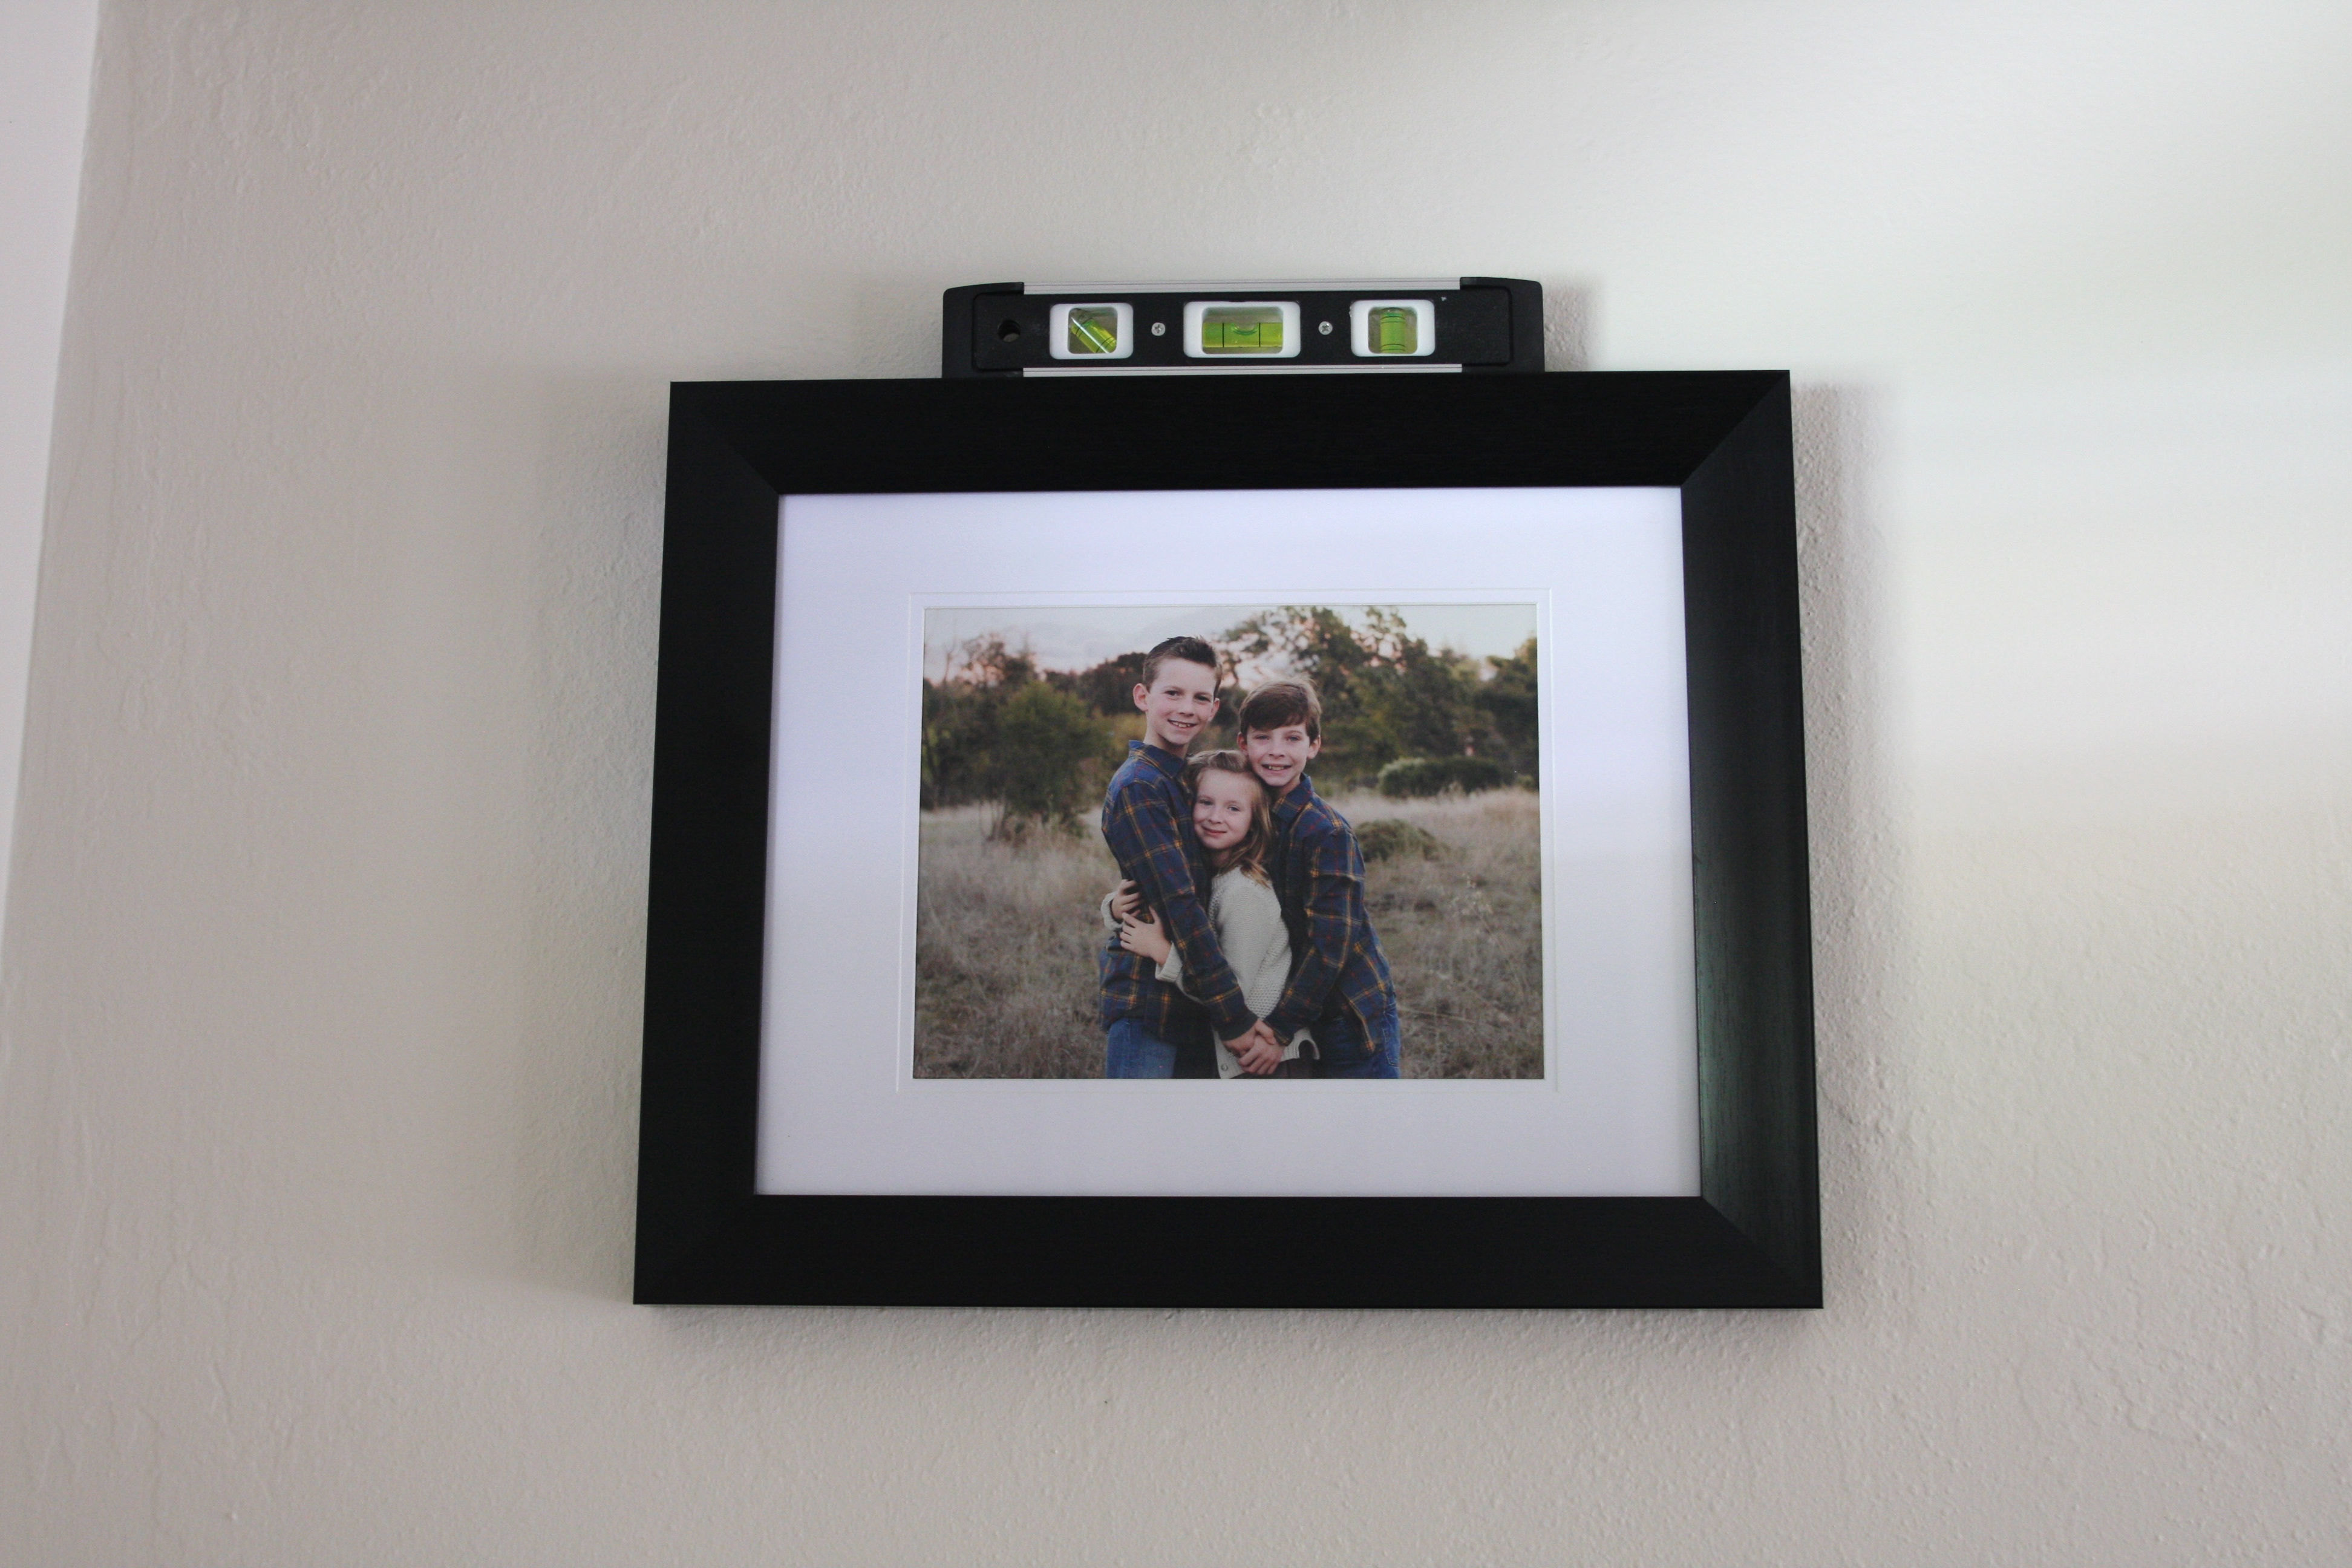
To get the frame on the wall, my method is not technical. I always hang this way and it’s no fail! I turn the frame around and place my level on top…
Once level, I use my pencil to mark directly above the 2 triangles. Then bang my nails into the wall where the pencil marks were and it’s perfect…
On very rare occasions my frame has been slightly off-level. In general it’s because the picture hanging hardware attached to the frame wasn’t level. Depending on how much time I have, I could either fix the hardware on the frame or just bang a new hole in the wall. It’s really very rare when I have to do that…but as you’re learning / experimenting, it may take a few tries. Again, don’t let this keep you from hanging a wall gallery!
One down, six to go!
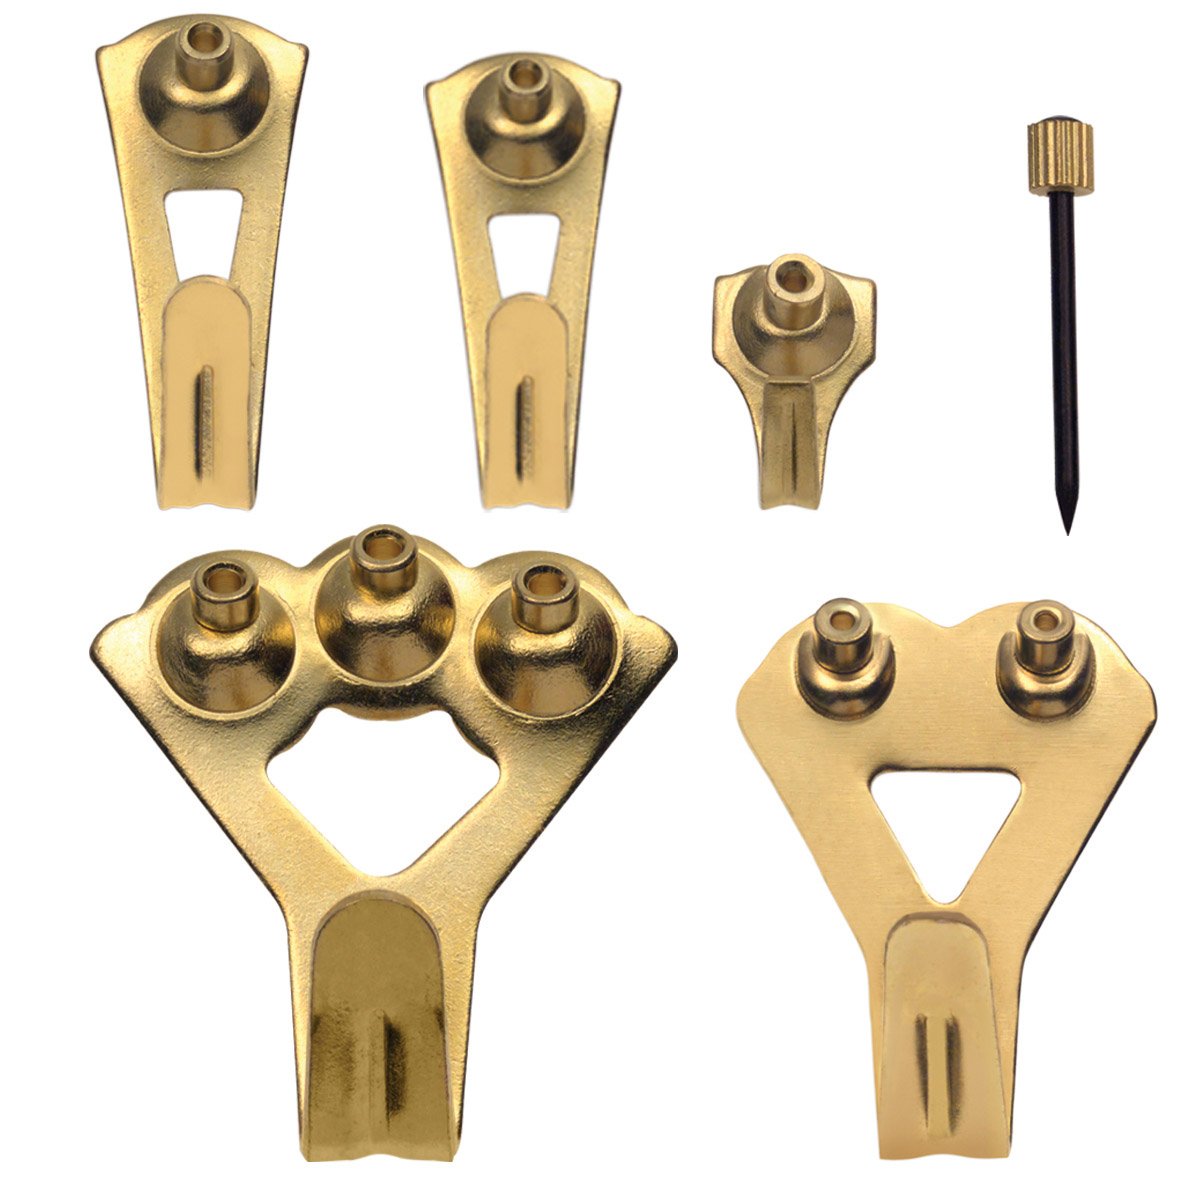
The next frame had different hanging hardware…

Whenever there’s one hook in the middle or a string on the back of a mirror, for example, I always use a standard picture hanger like this…

These are my go-to’s for hanging nearly everything – frames and wall decor. They come in a variety of sizes to hold varying amounts of weight. My heavy 50 pound wall mirror is even hanging thanks to these.
Using the same technique, I turn my frame around, place the level on top and then make a mark directly above the frames hardware. Since the hardware on this frame is a few inches below the top of the frame (where I made that pencil mark), I also measure from the top down to where my nail would go…
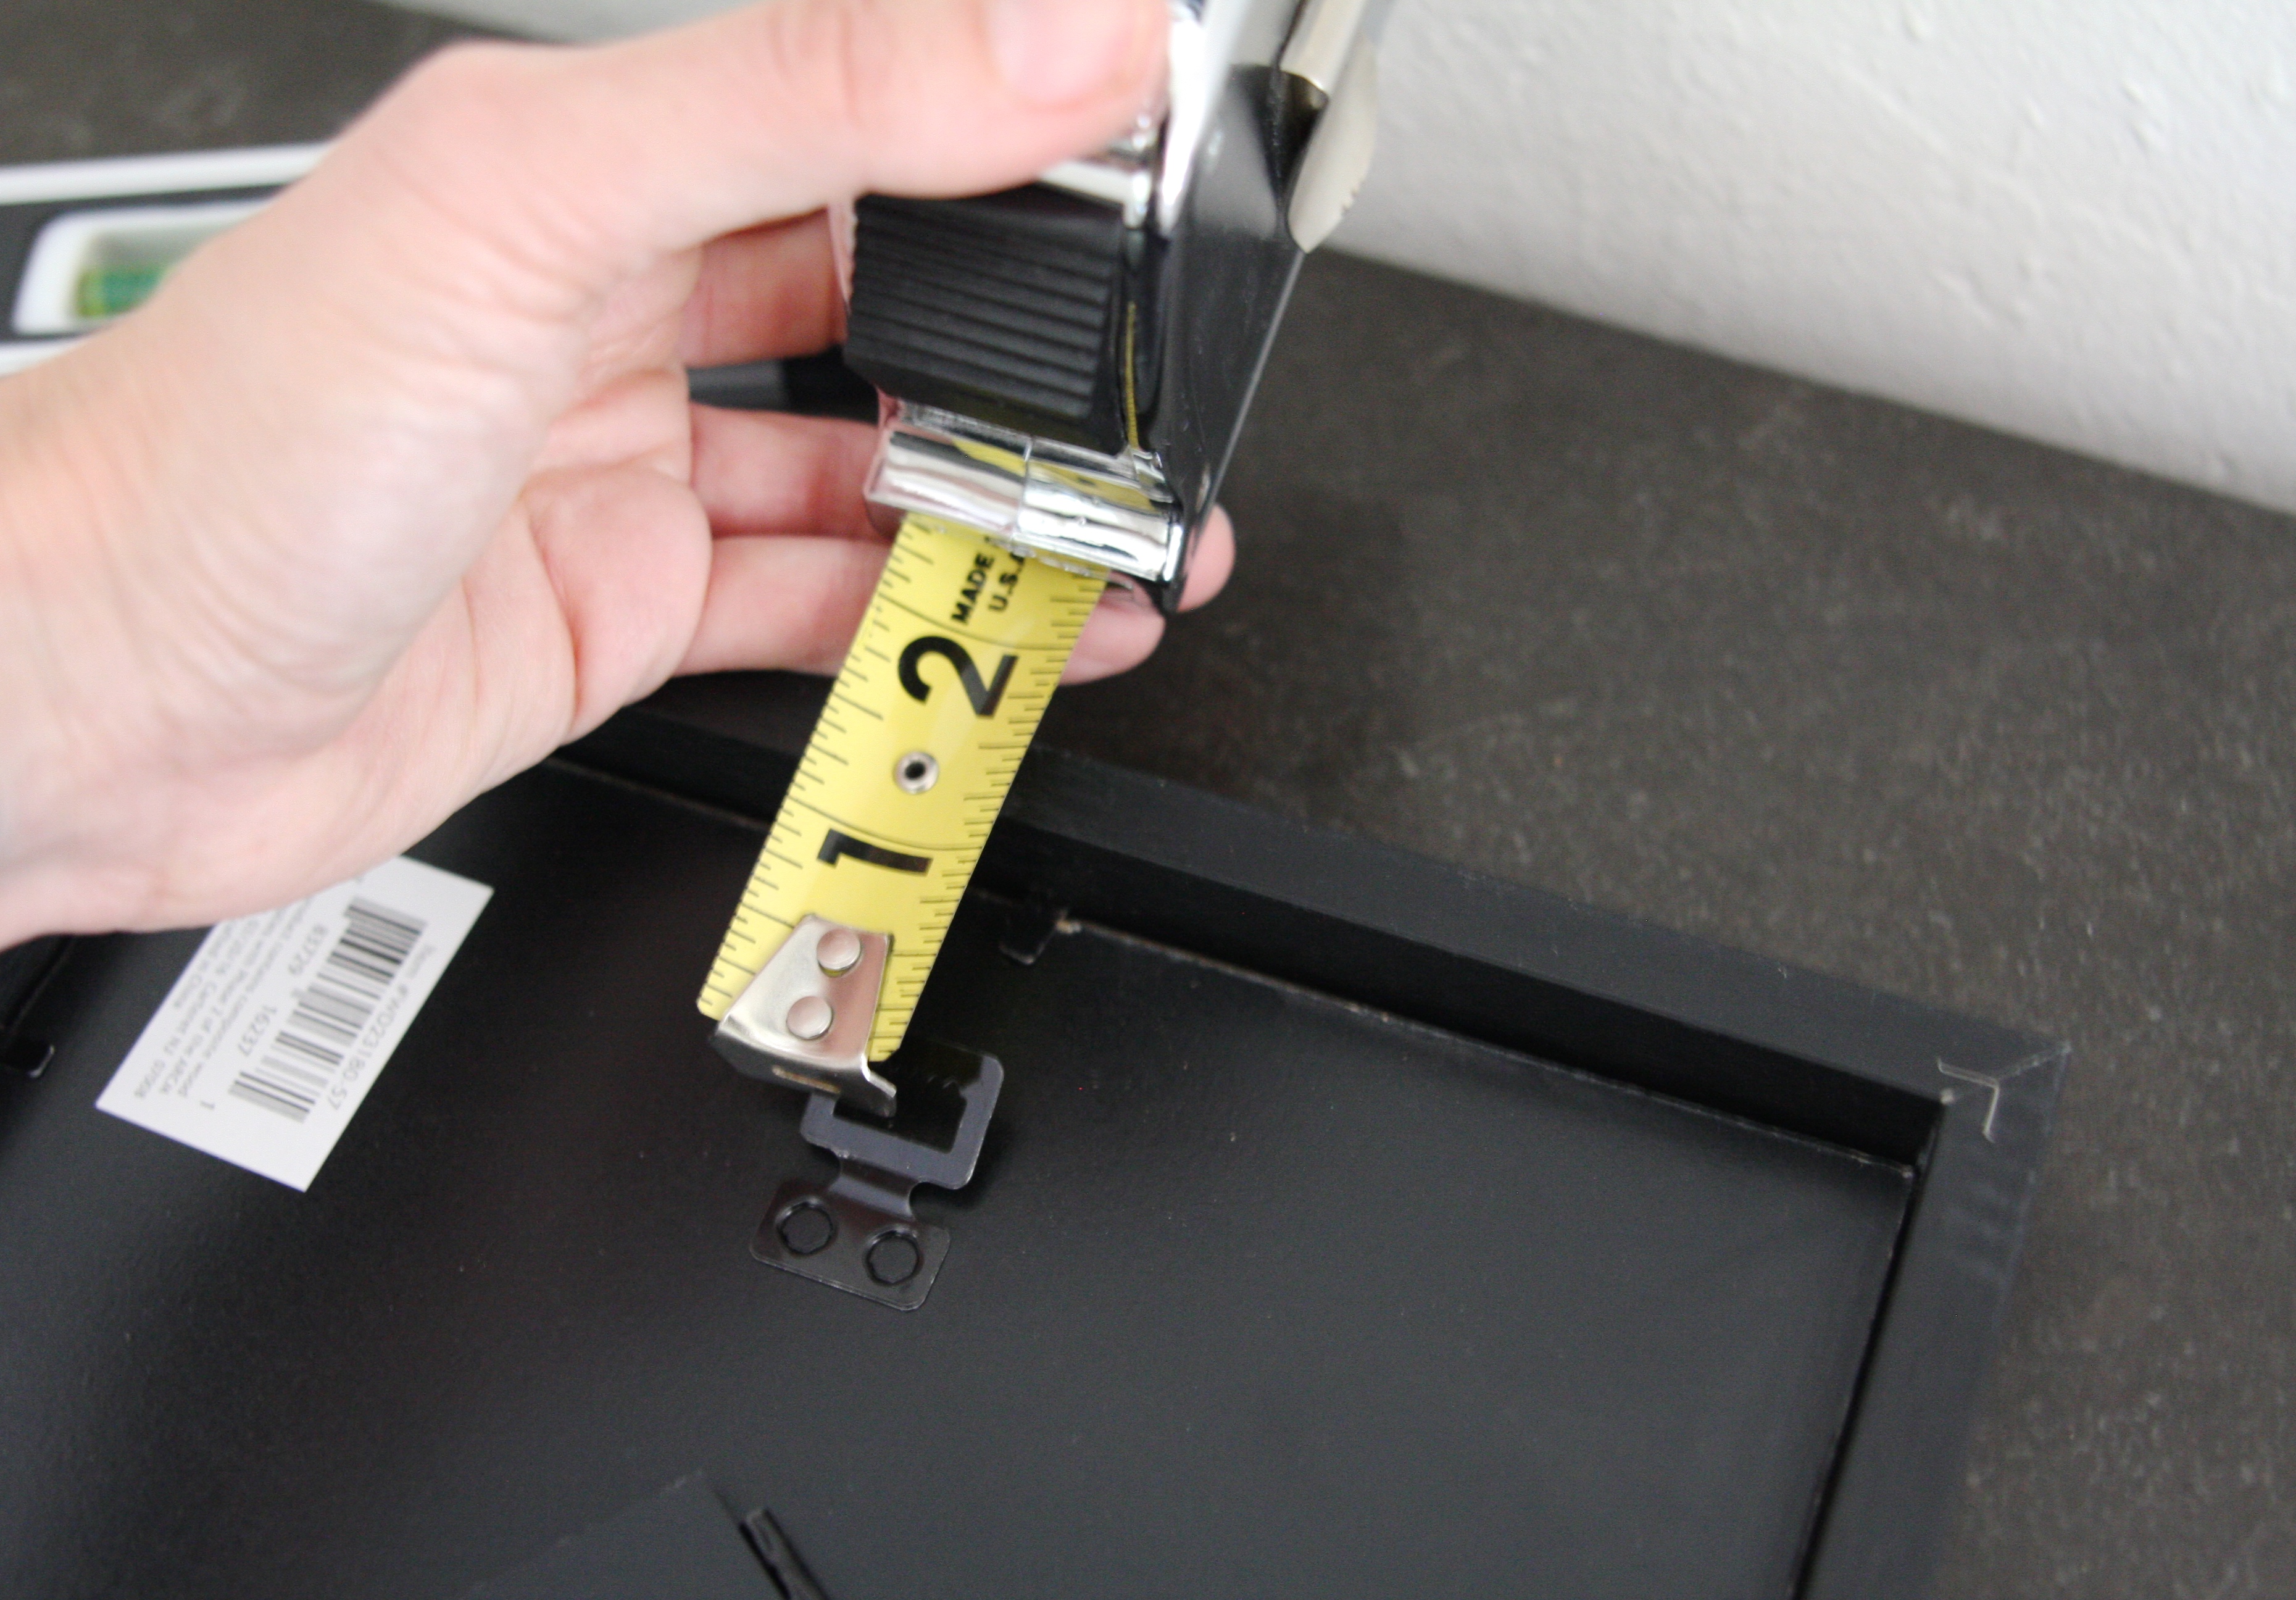
Then use that measurement to measure DOWN from your initial pencil mark…

In case I’m confusing you: top pencil mark = where I marked over the top of the frame)….bottom pencil mark = after measuring from the top of the frame to the hanging hardware on the back of the frame…


All of my frames had the same varying hardware on the back. So I continued along, putting my photos into the frames and cleaning each as I went…
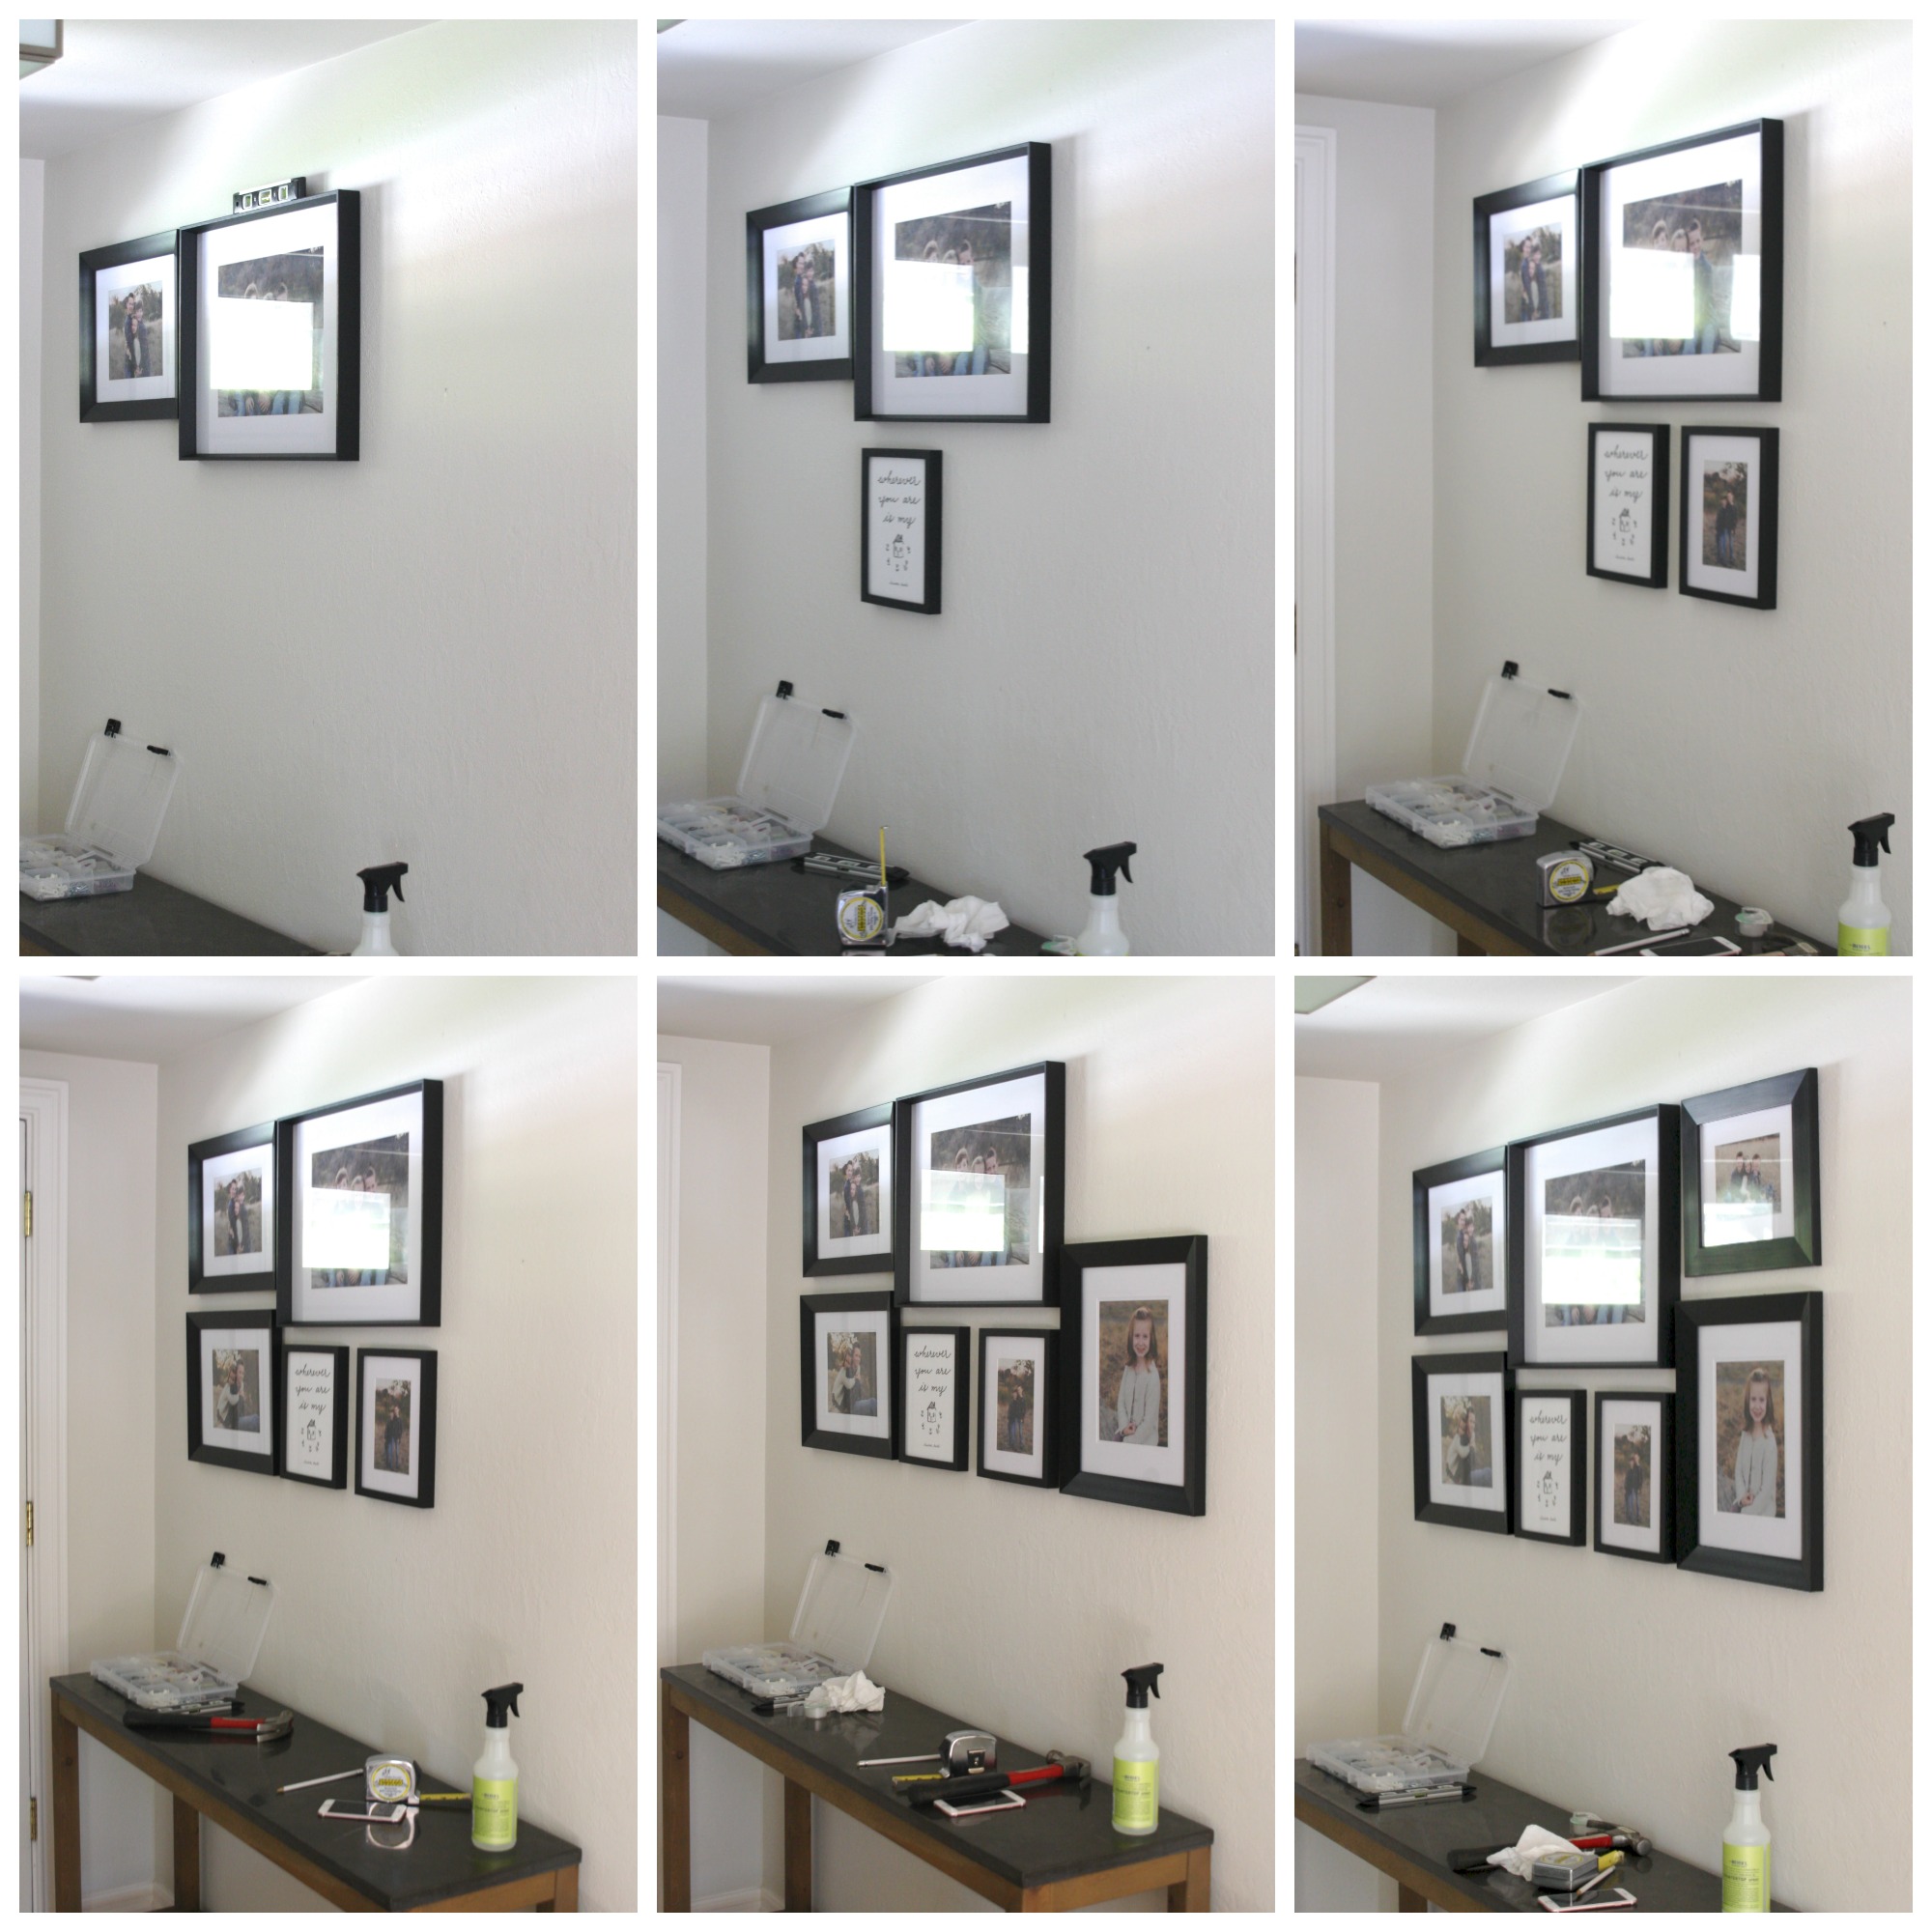
Until all 7 frames were complete…

Exactly how the layout was on my floor!…
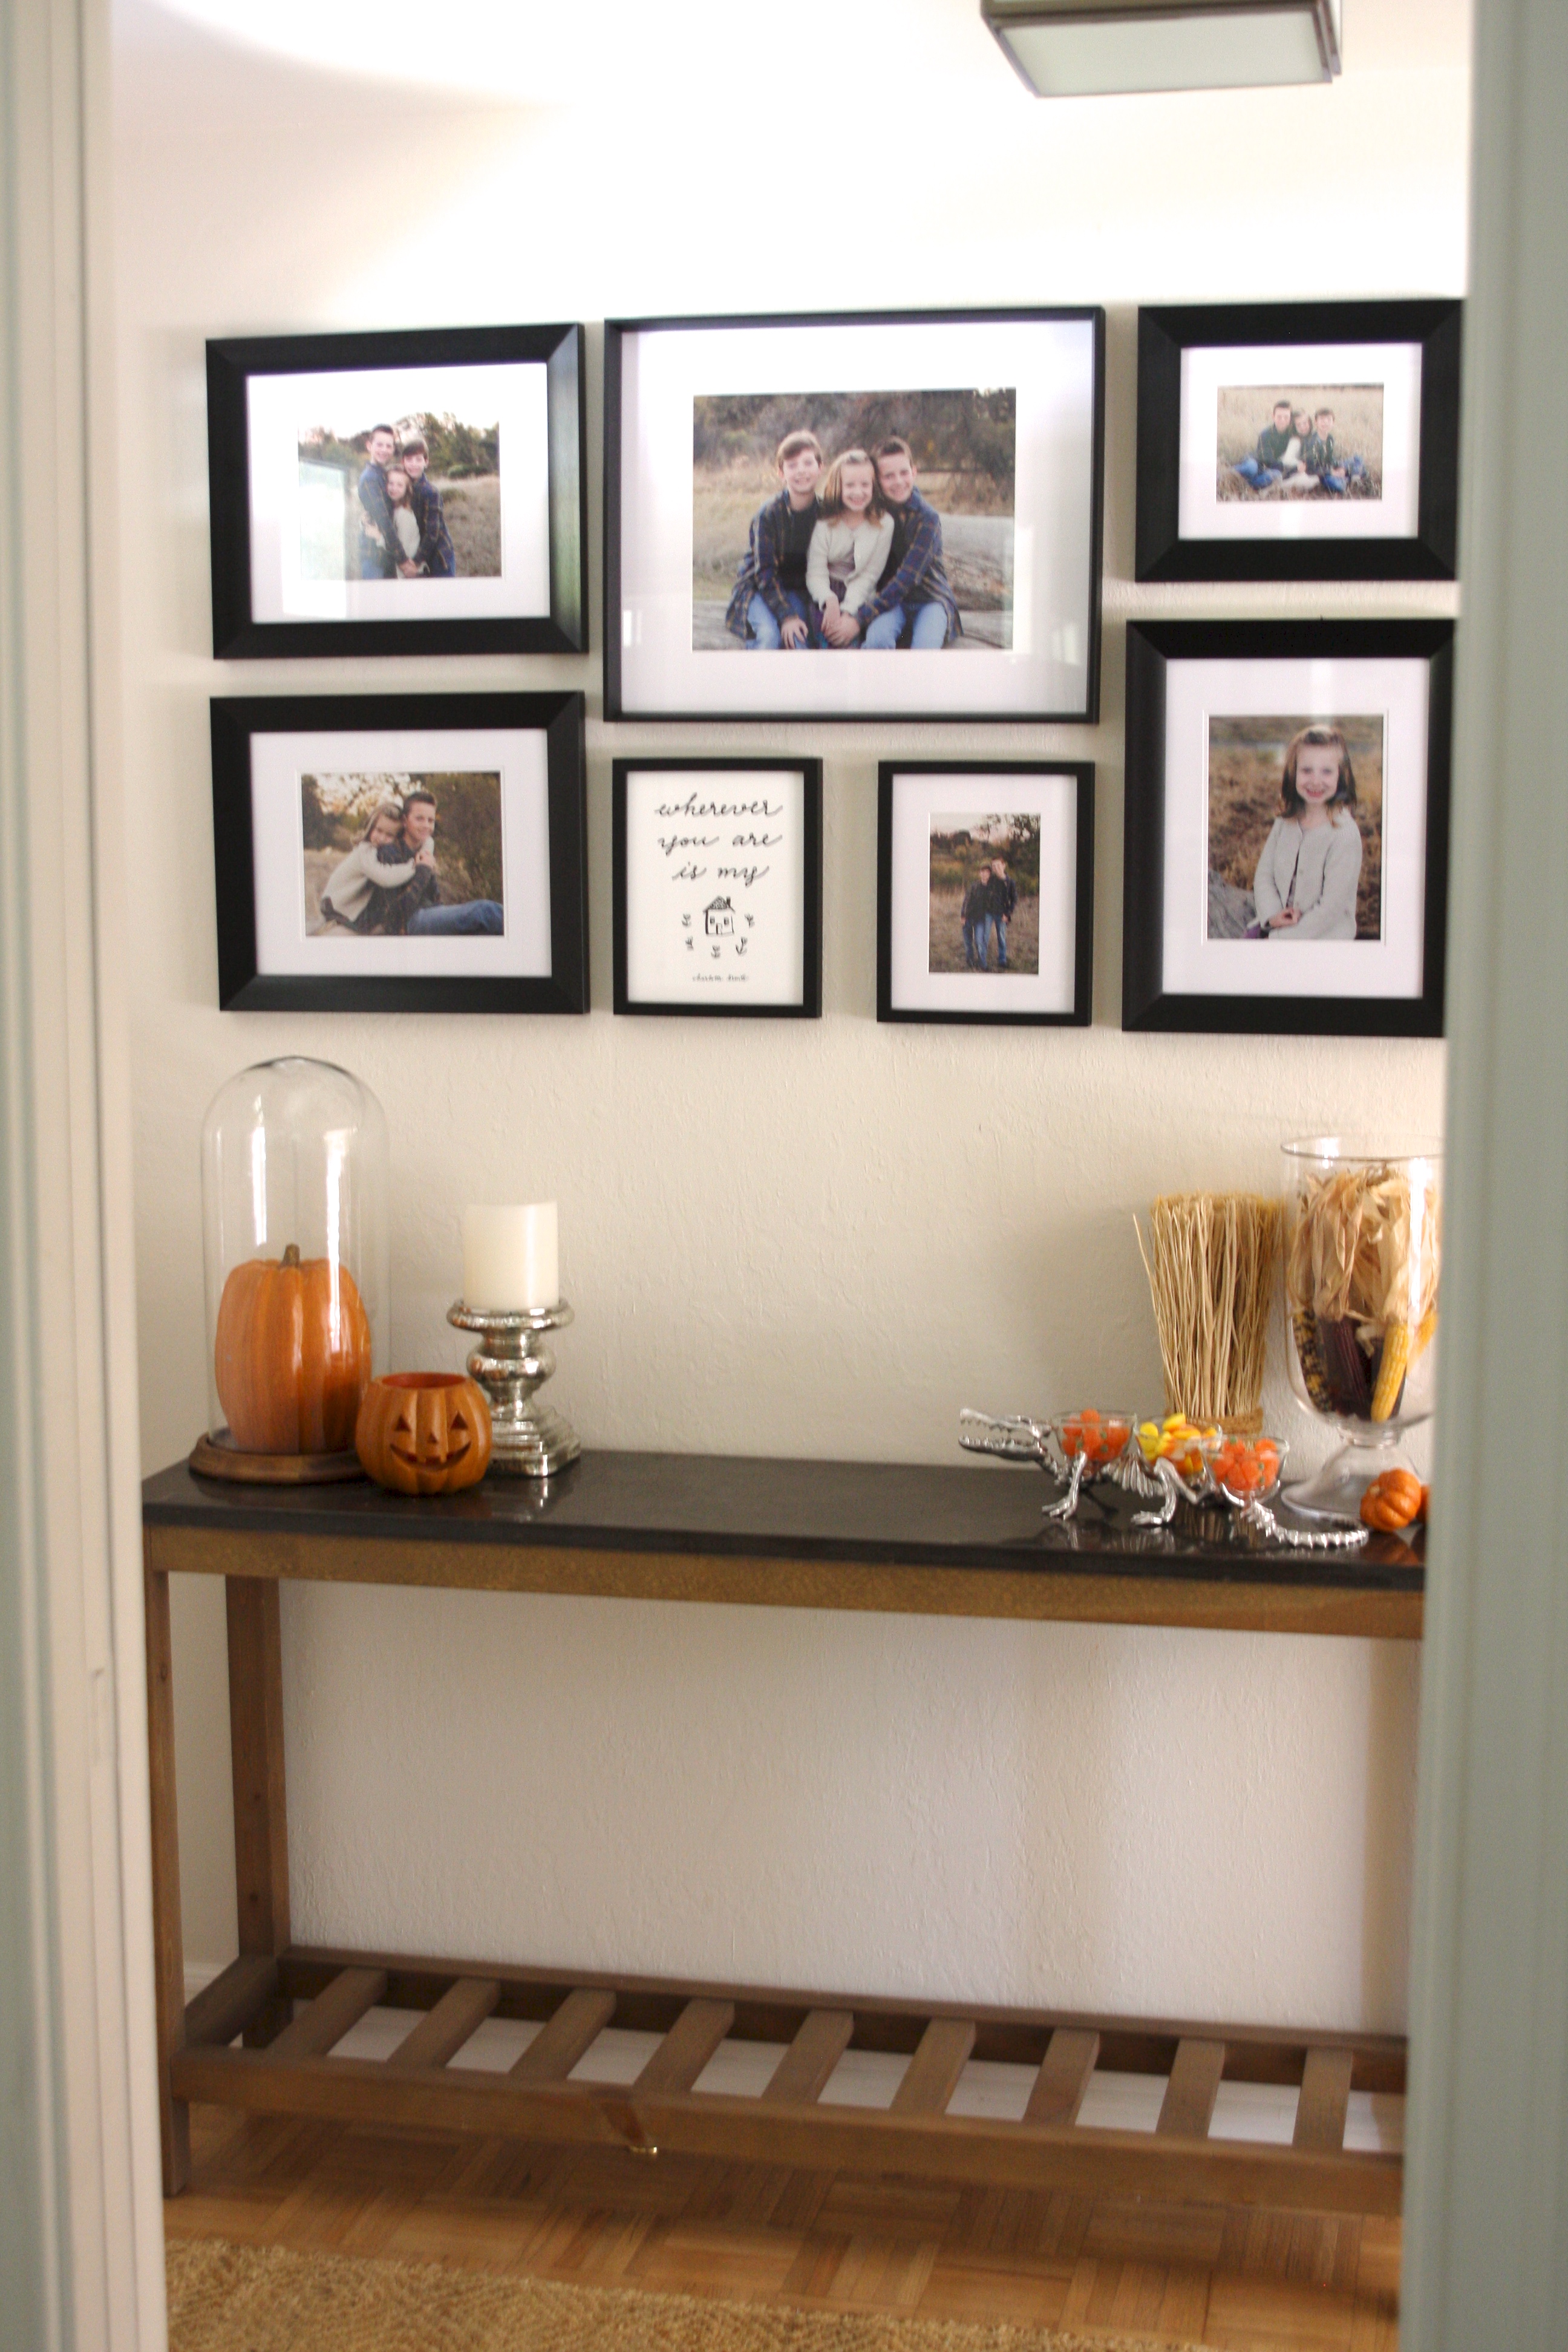
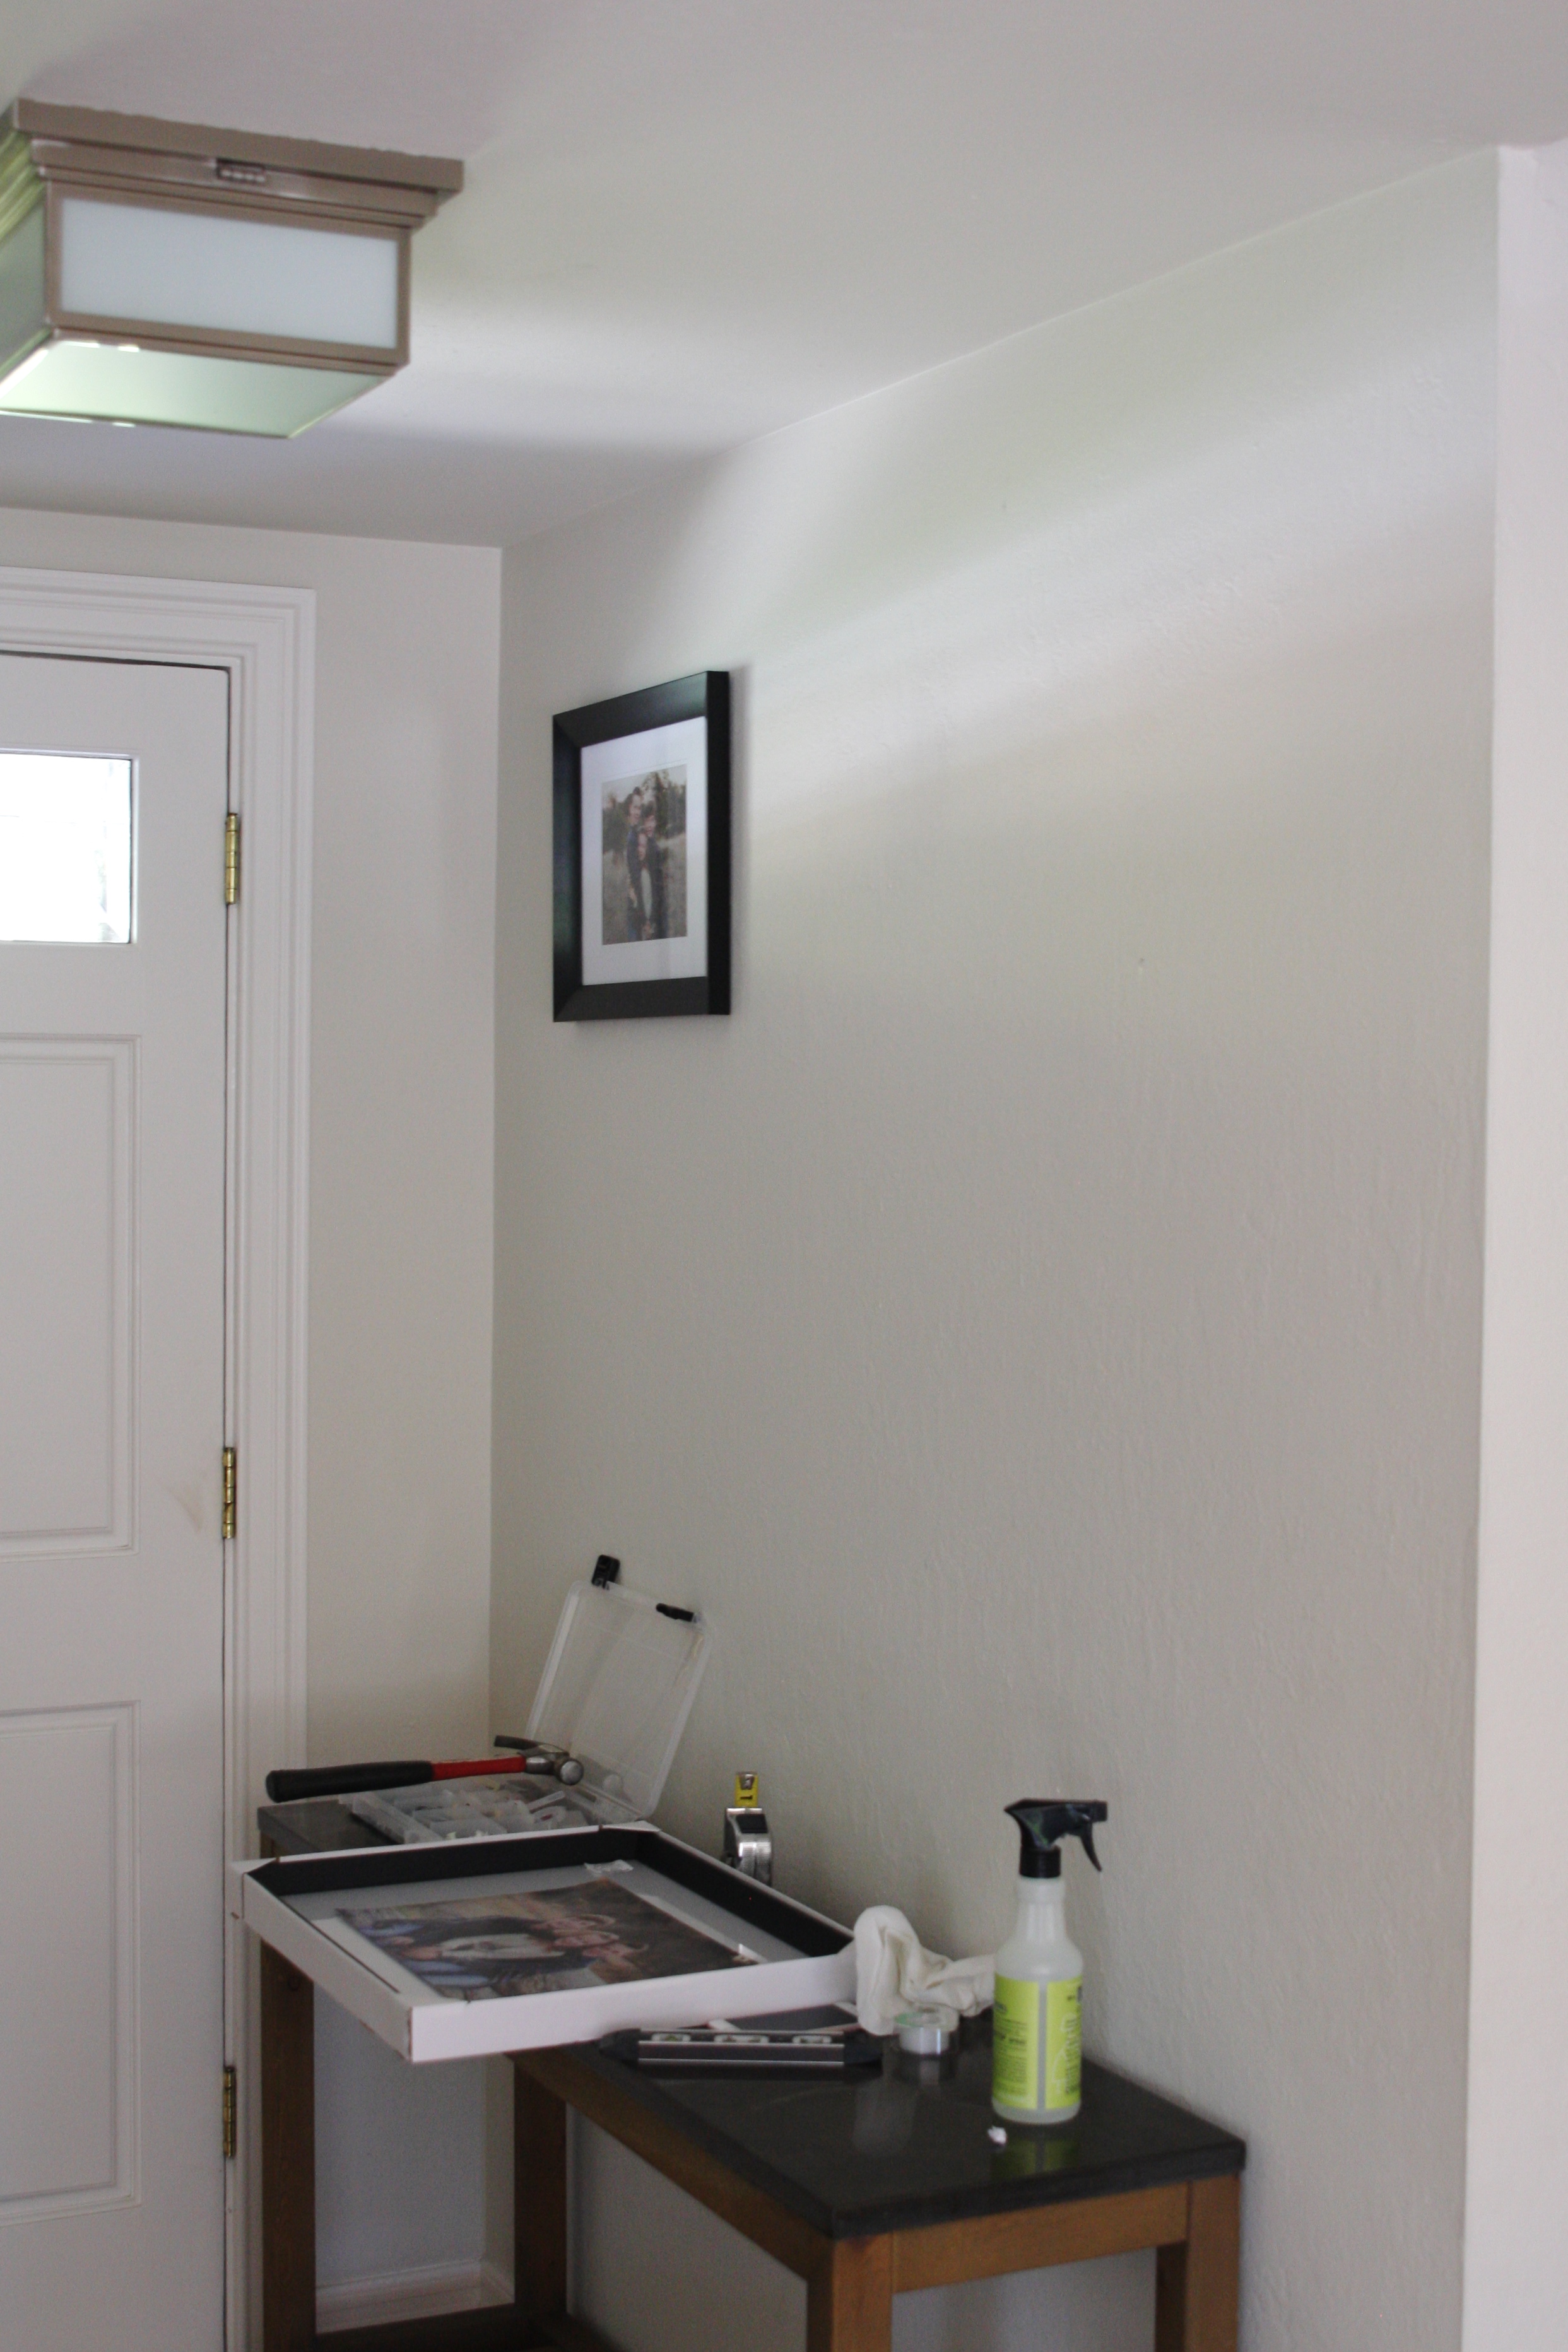
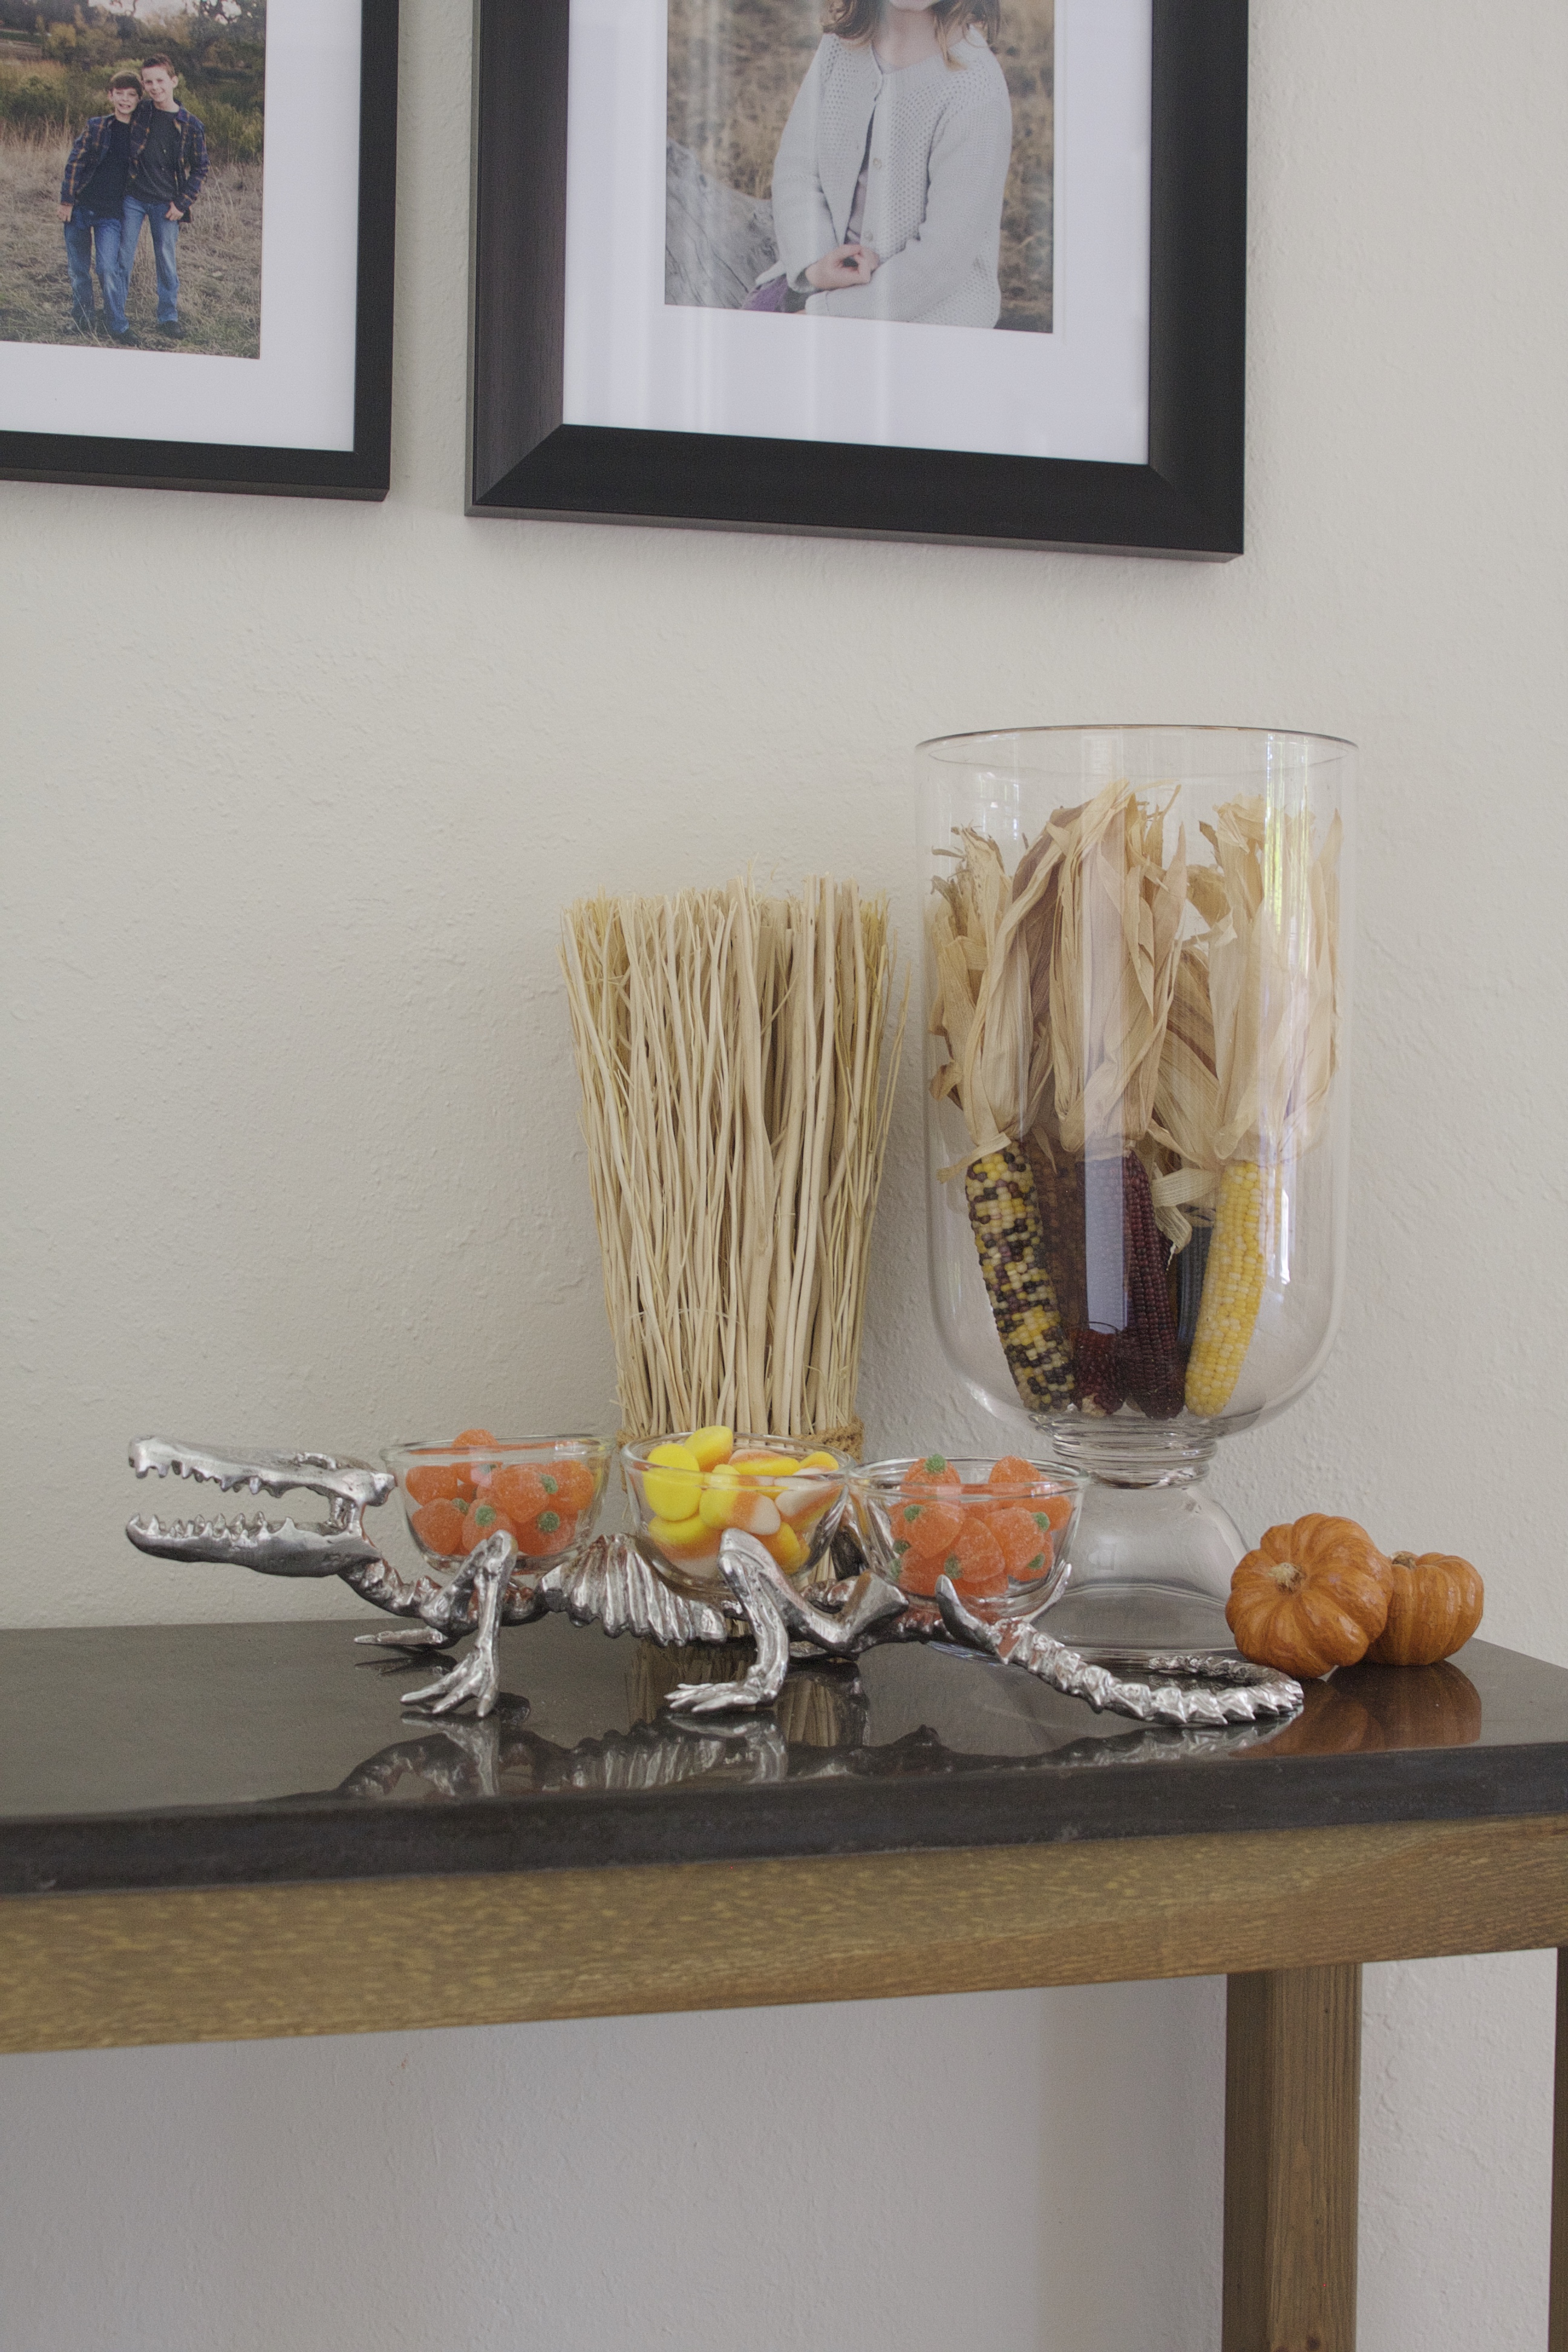
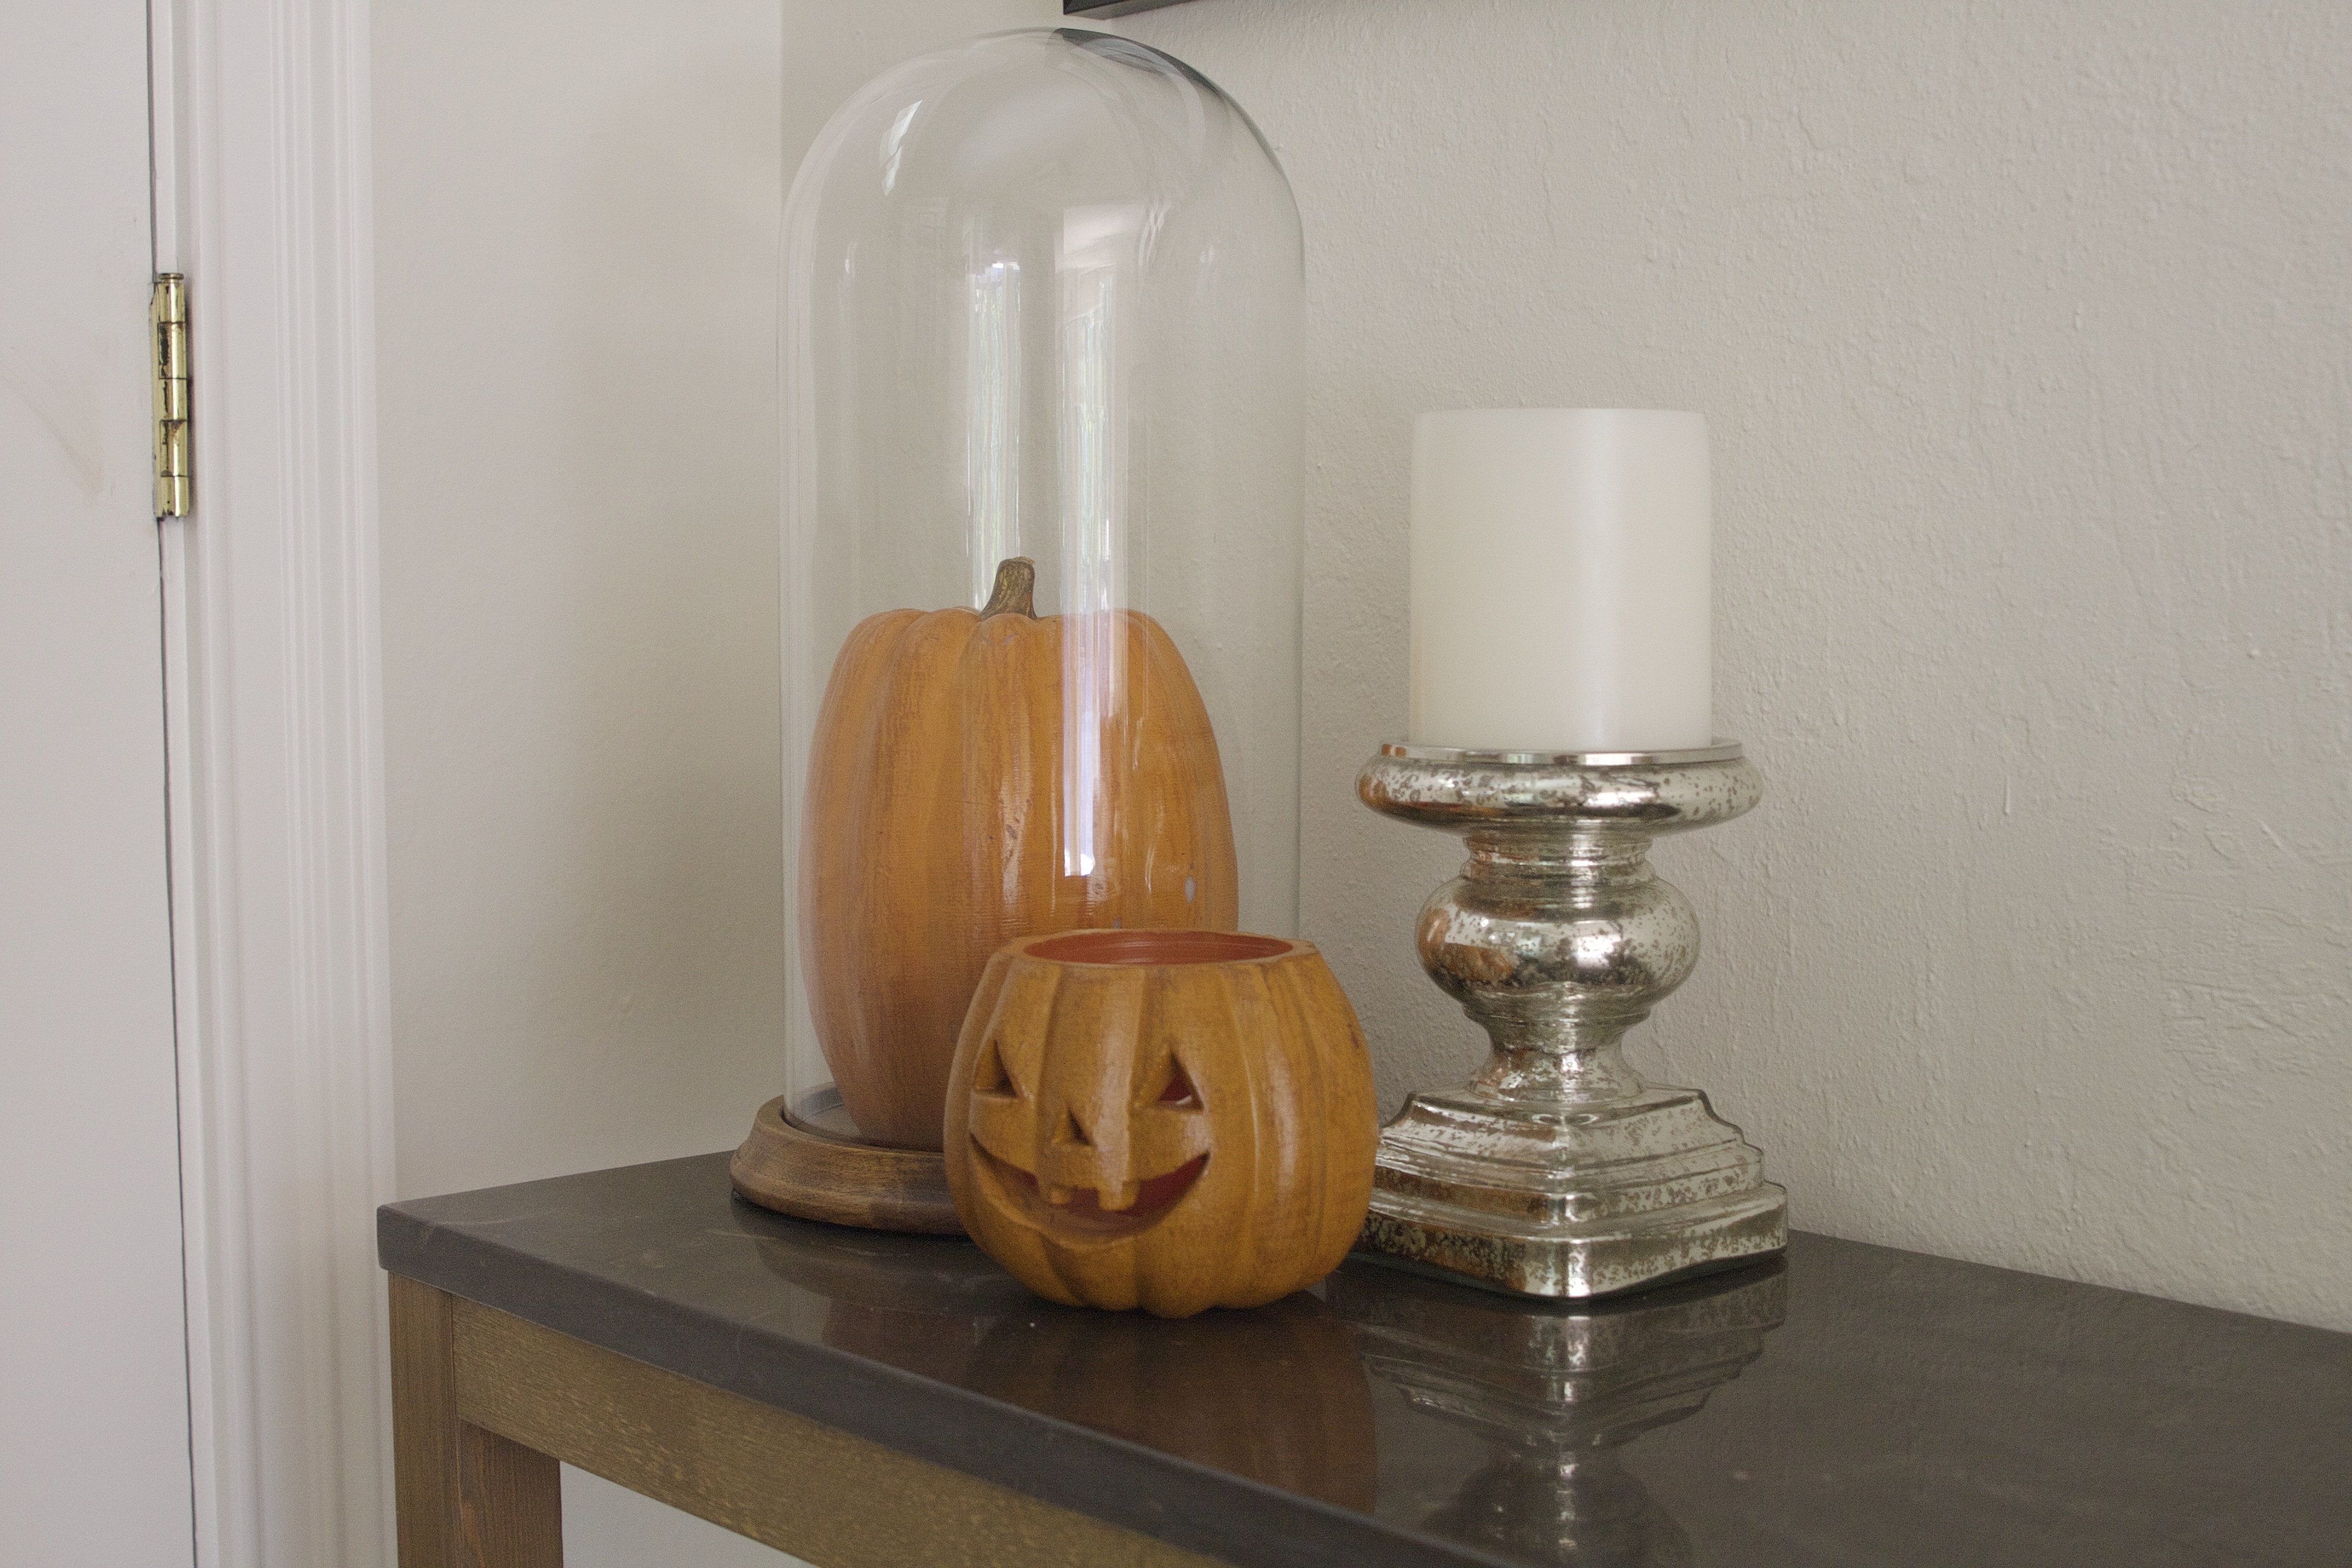
Once completed, I cleaned the floor and table then added some Halloween / Fall decor as my reward…
Most of my holiday decor seen here is old. The only new item is a print I picked up from Anthropologie last week…
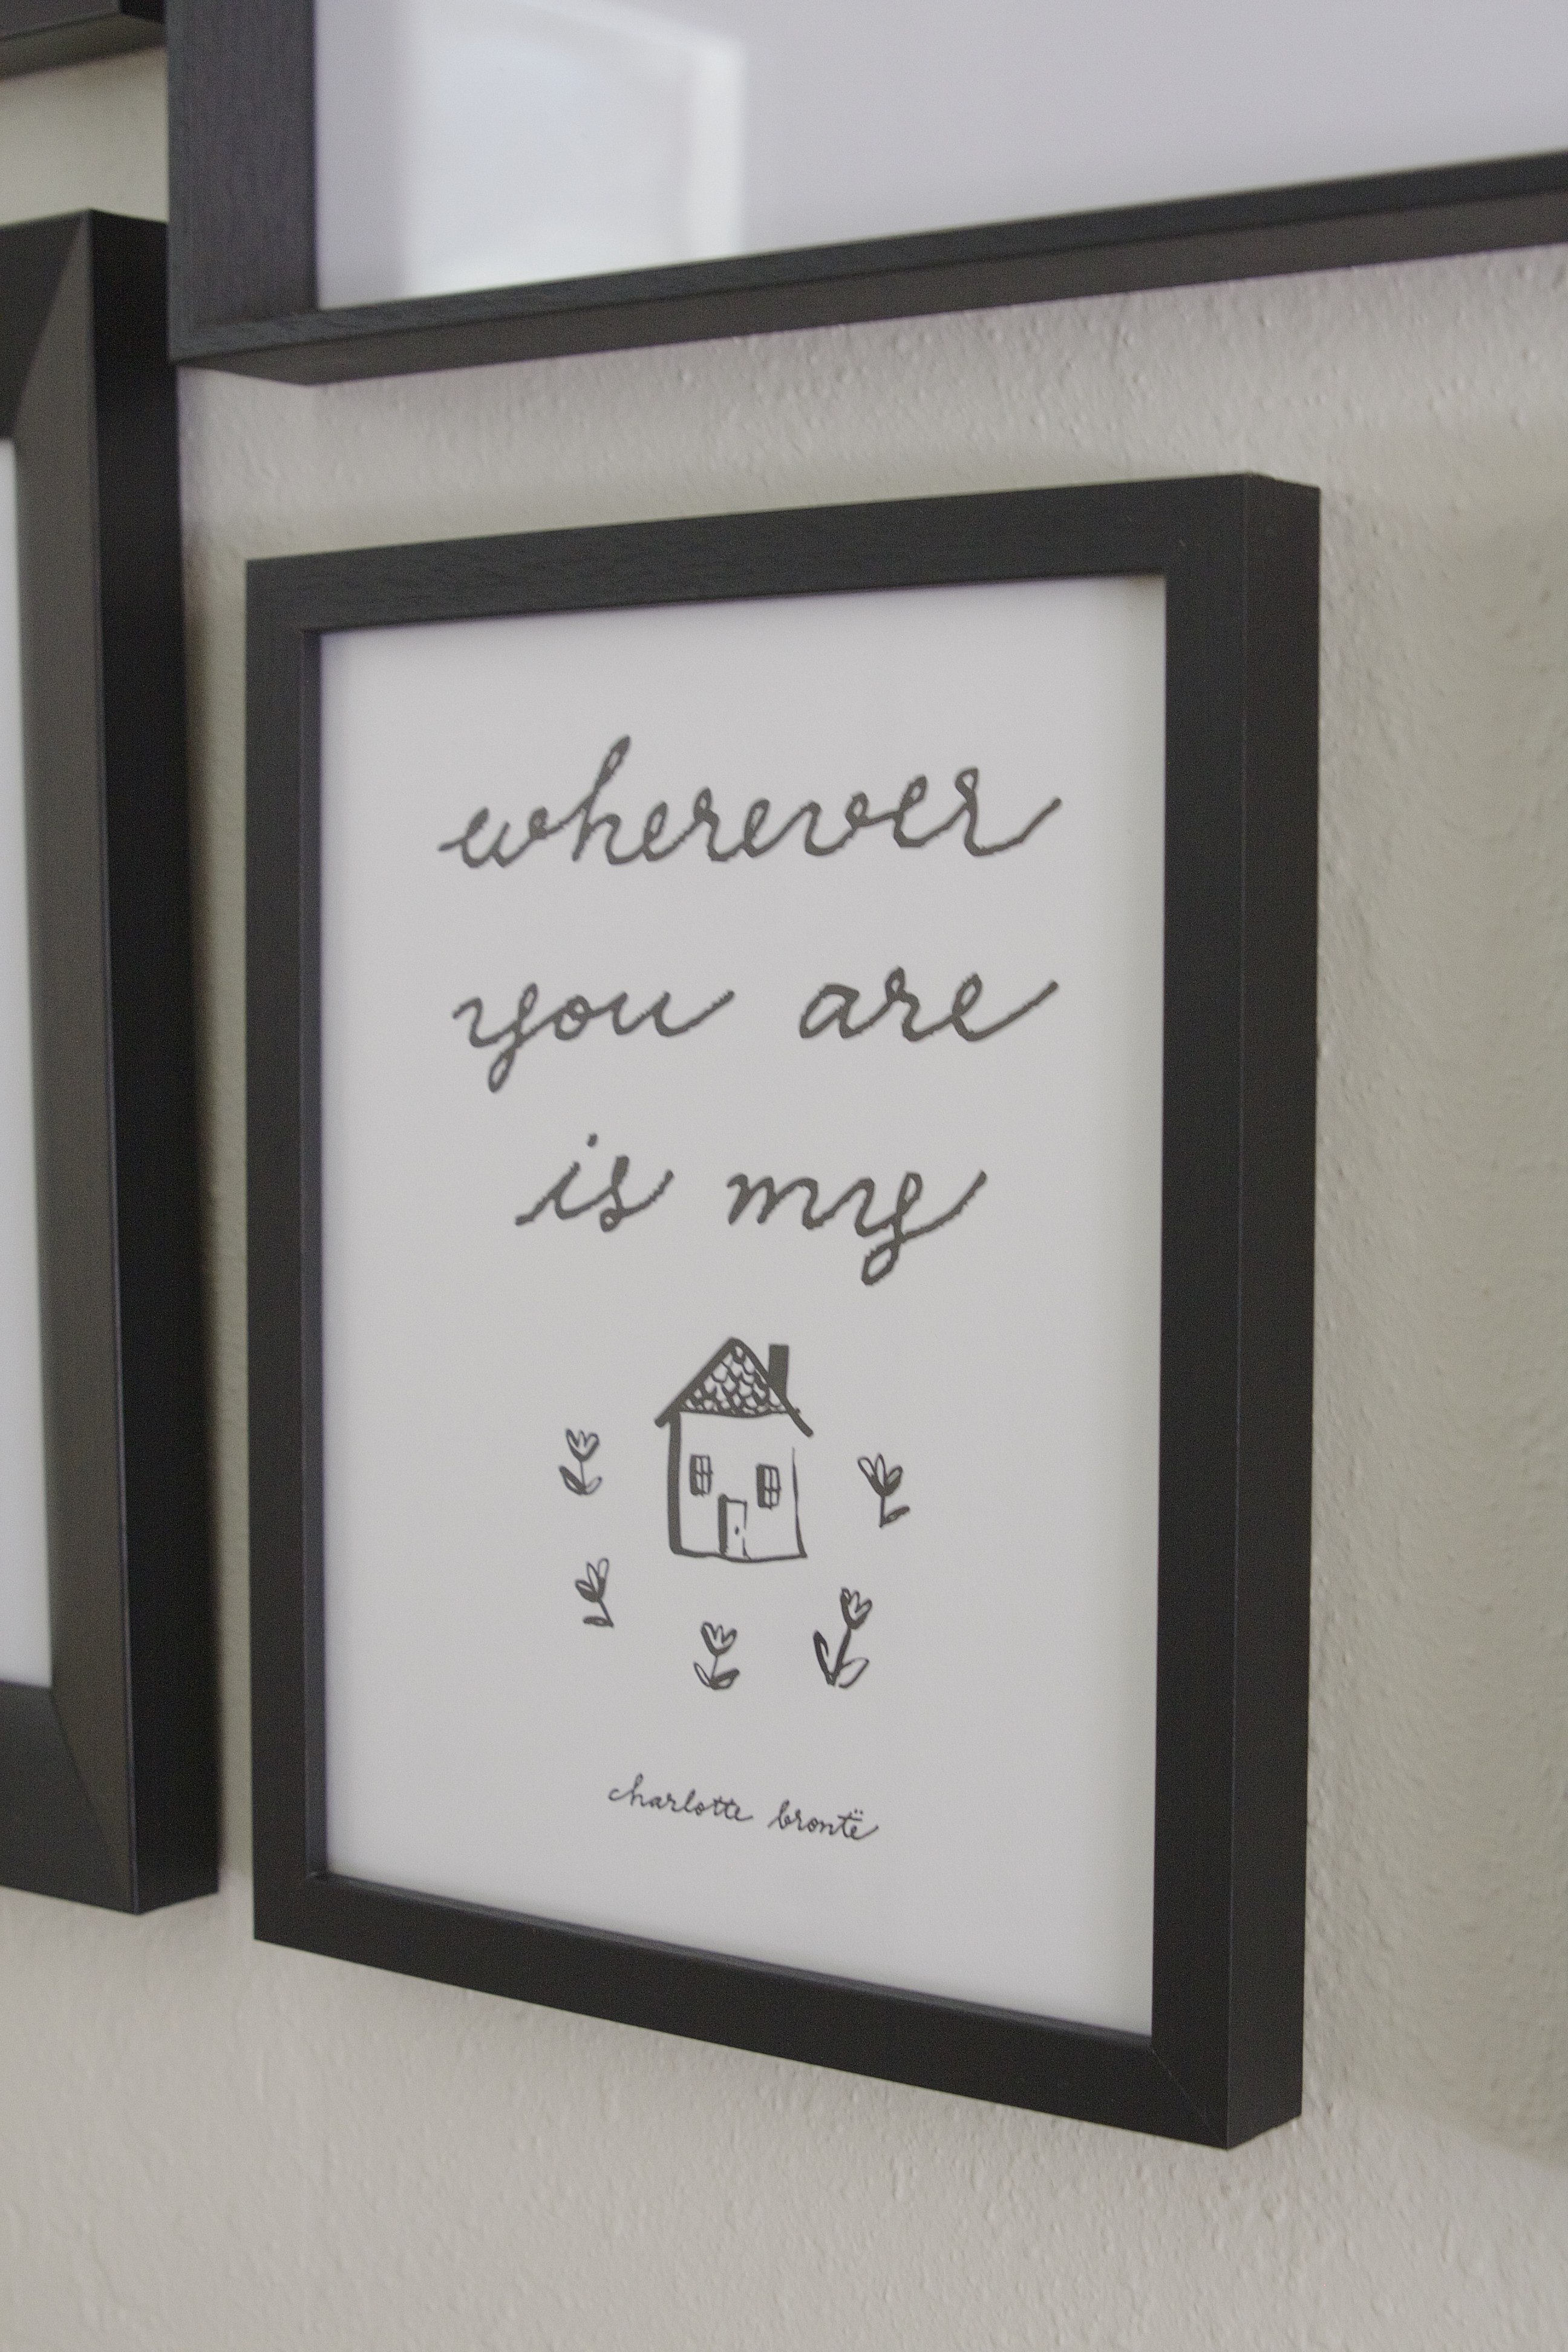
My local store had a grand opening at a new location and I was invited to attend. So grateful – it was a very fun event / night! It’s a one-of-a-kind Anthro that is completely over the top, to be honest….in every possible good way! The store has a bridal section, lingerie, a beauty section, a full home section with indoor and outdoor furniture and even a floral section. So so amazing!!!
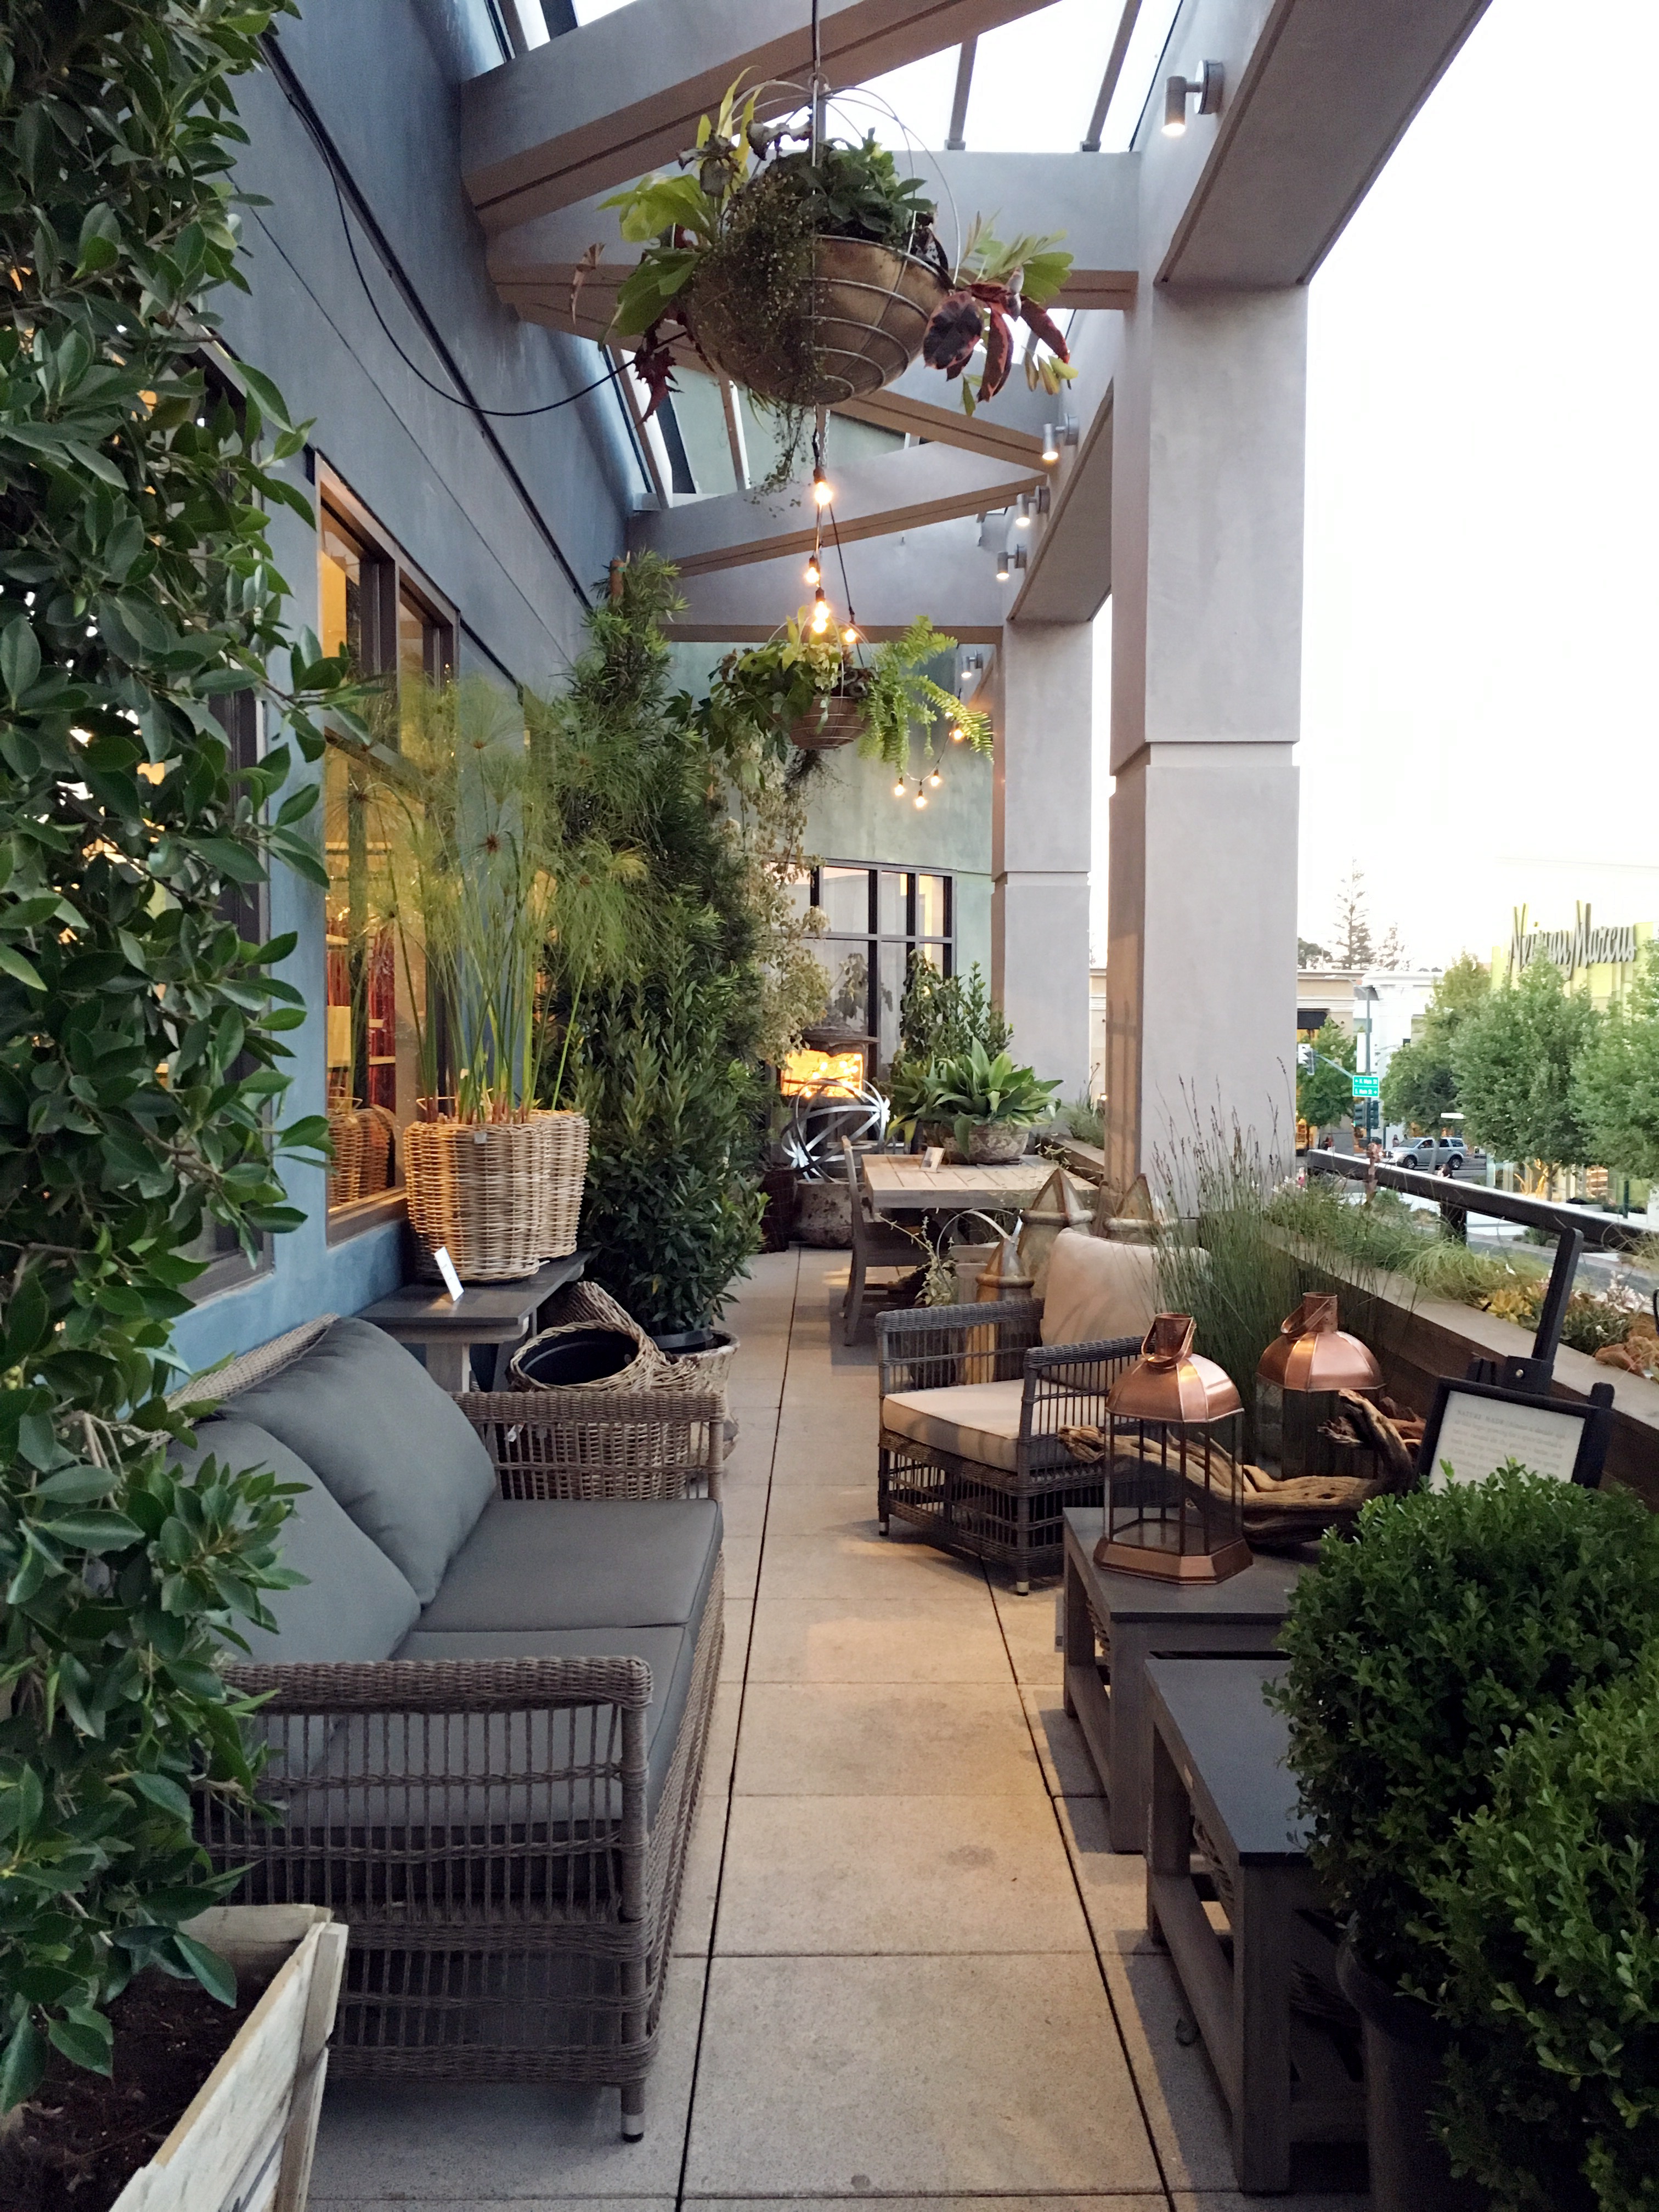
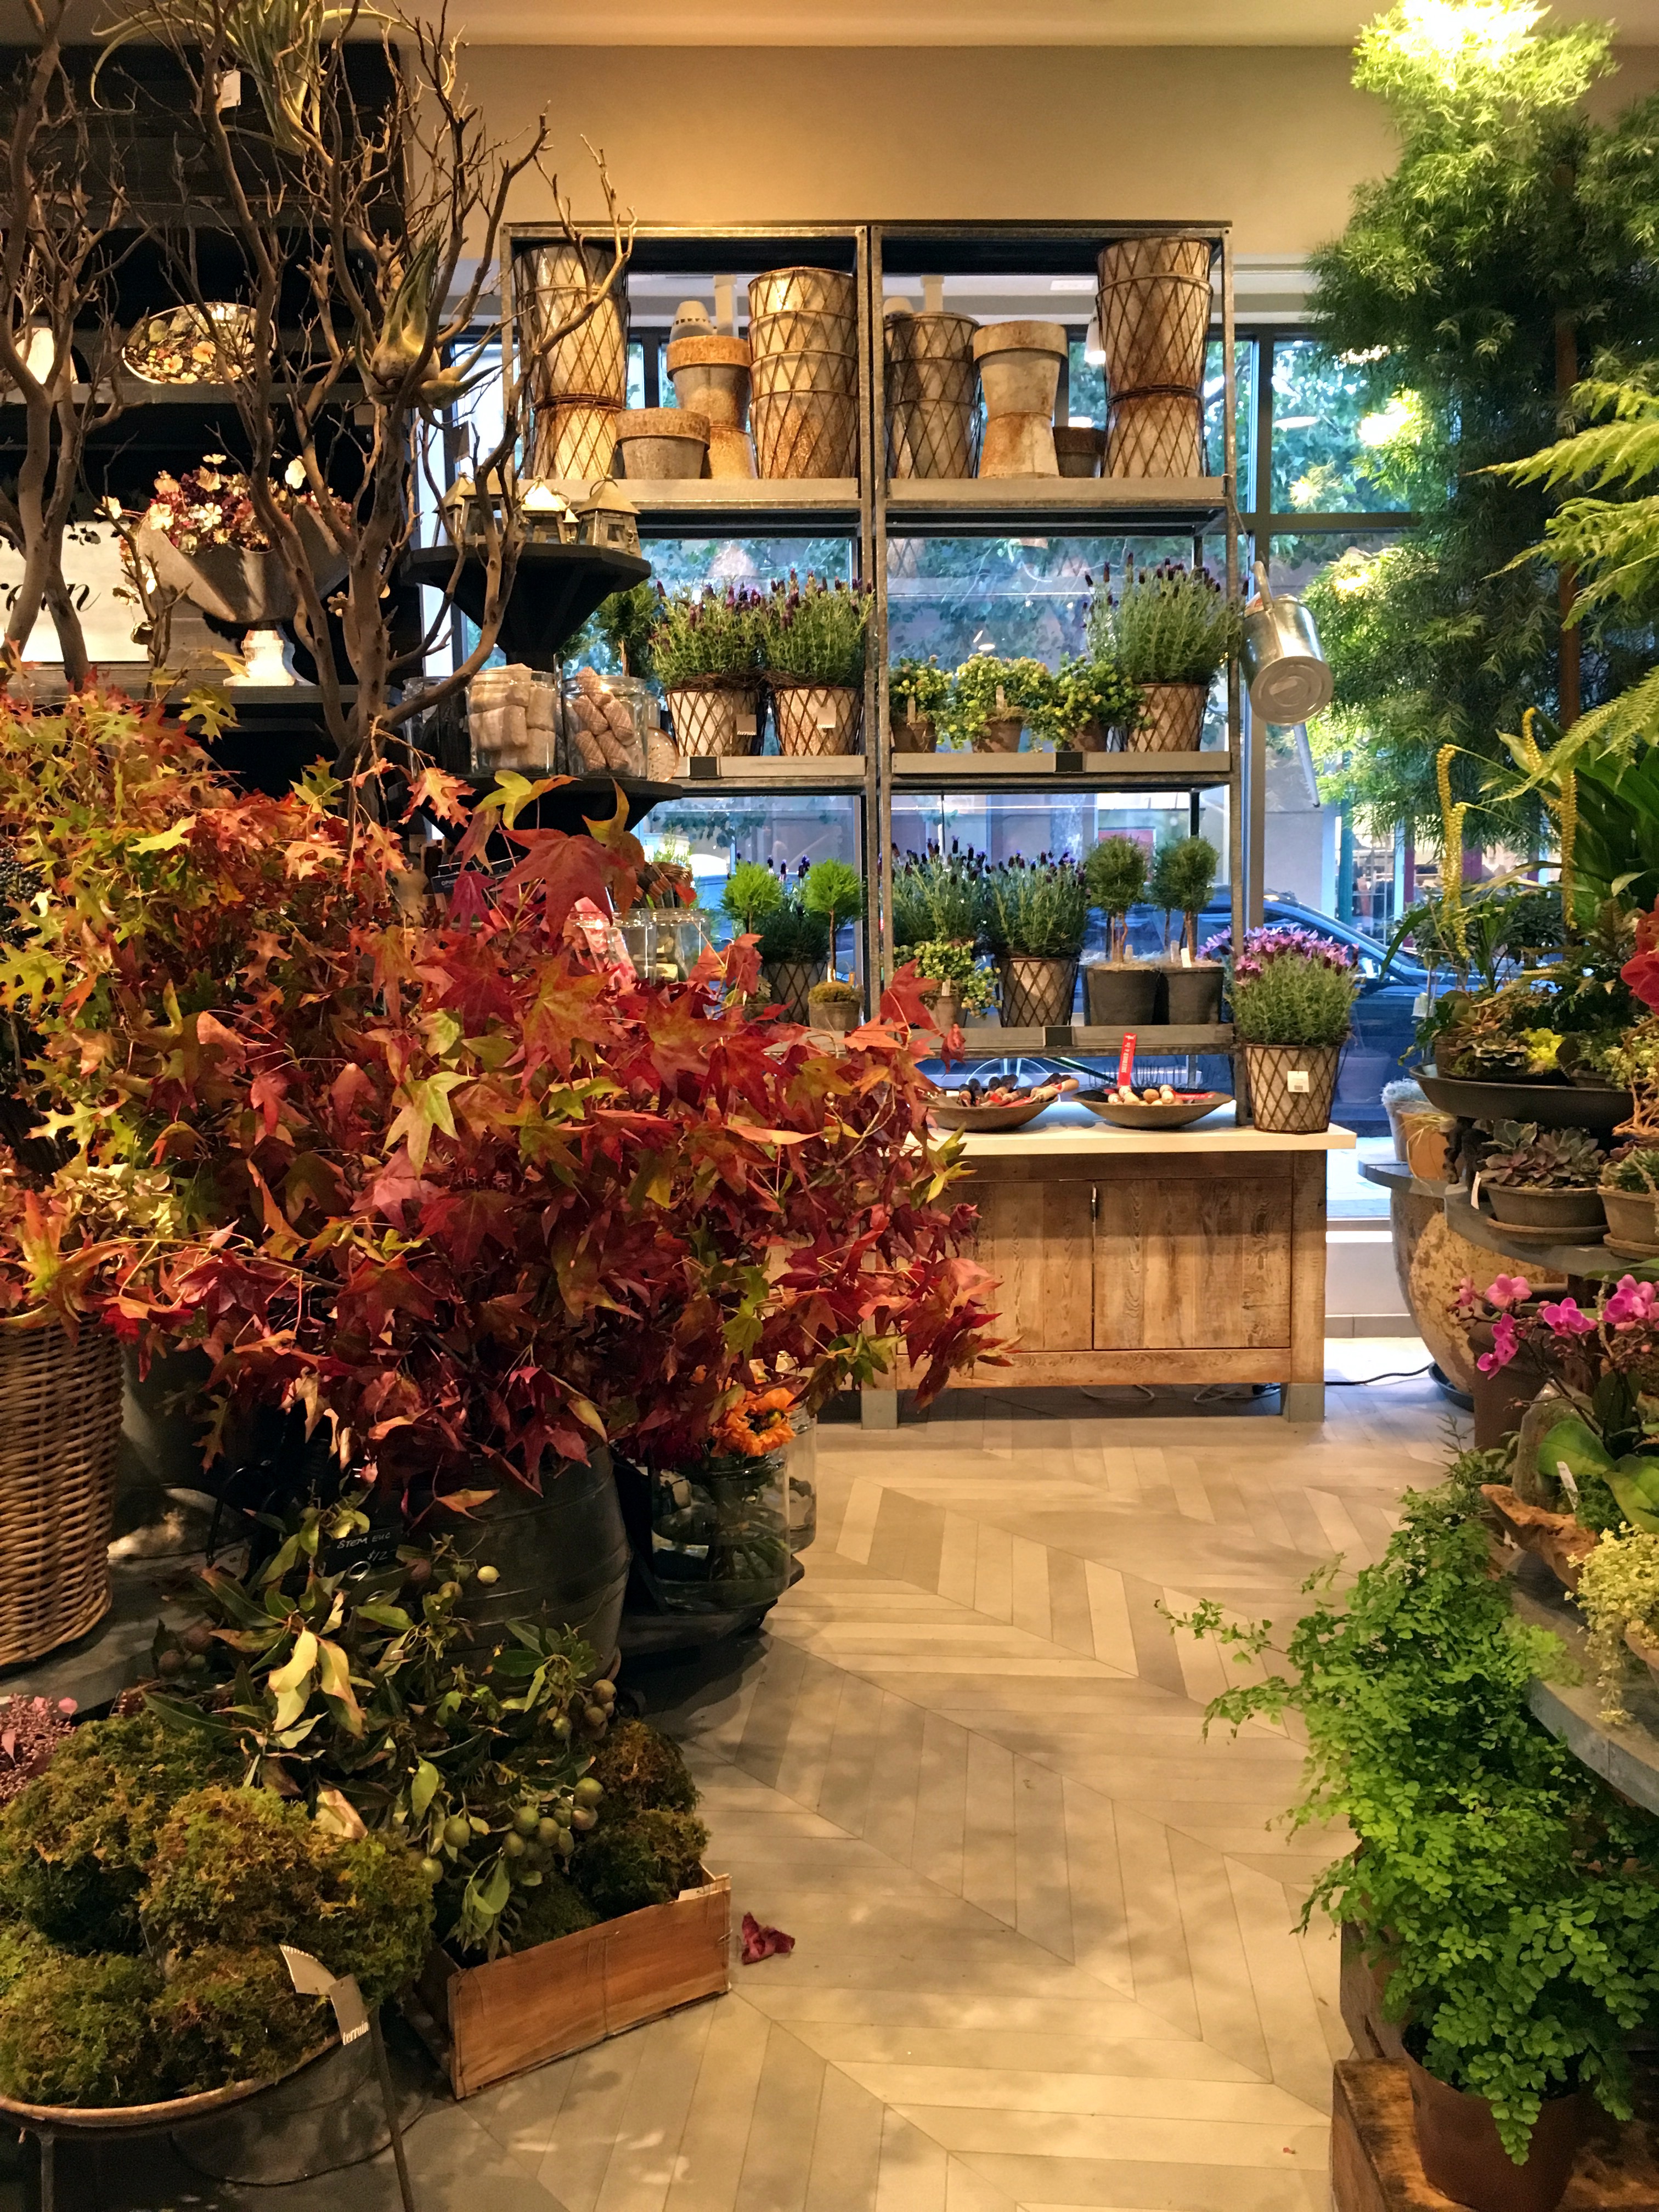
This is going to be my one stop shop for any type of gift – big or small. They really have some unique and beautiful items.
Anyway, this print had to come home with me that night and love it mixed in my new gallery wall…
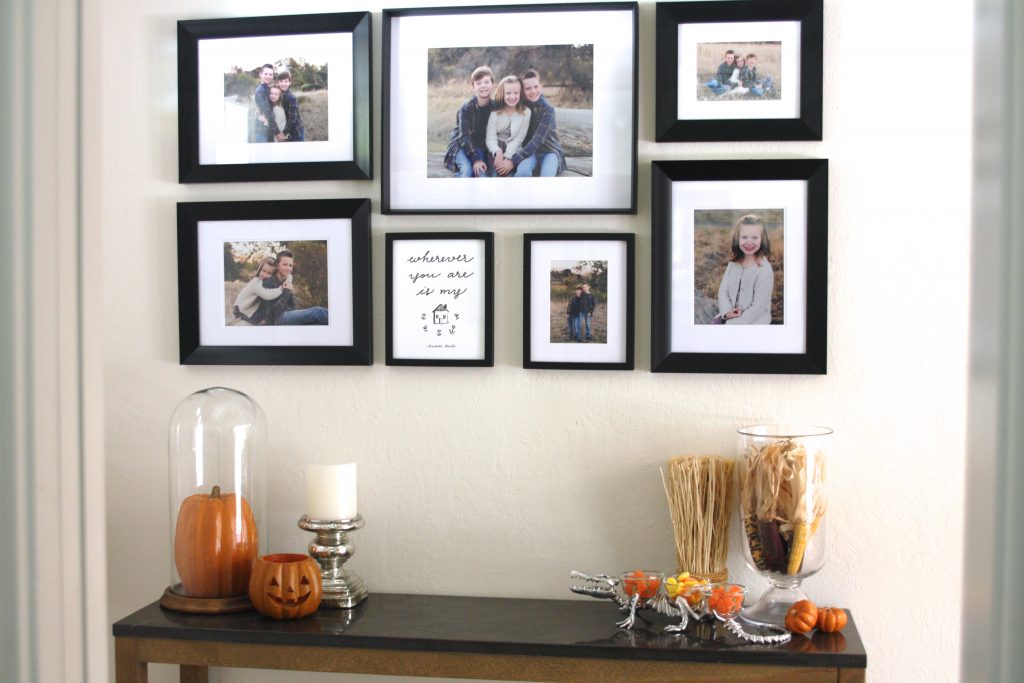
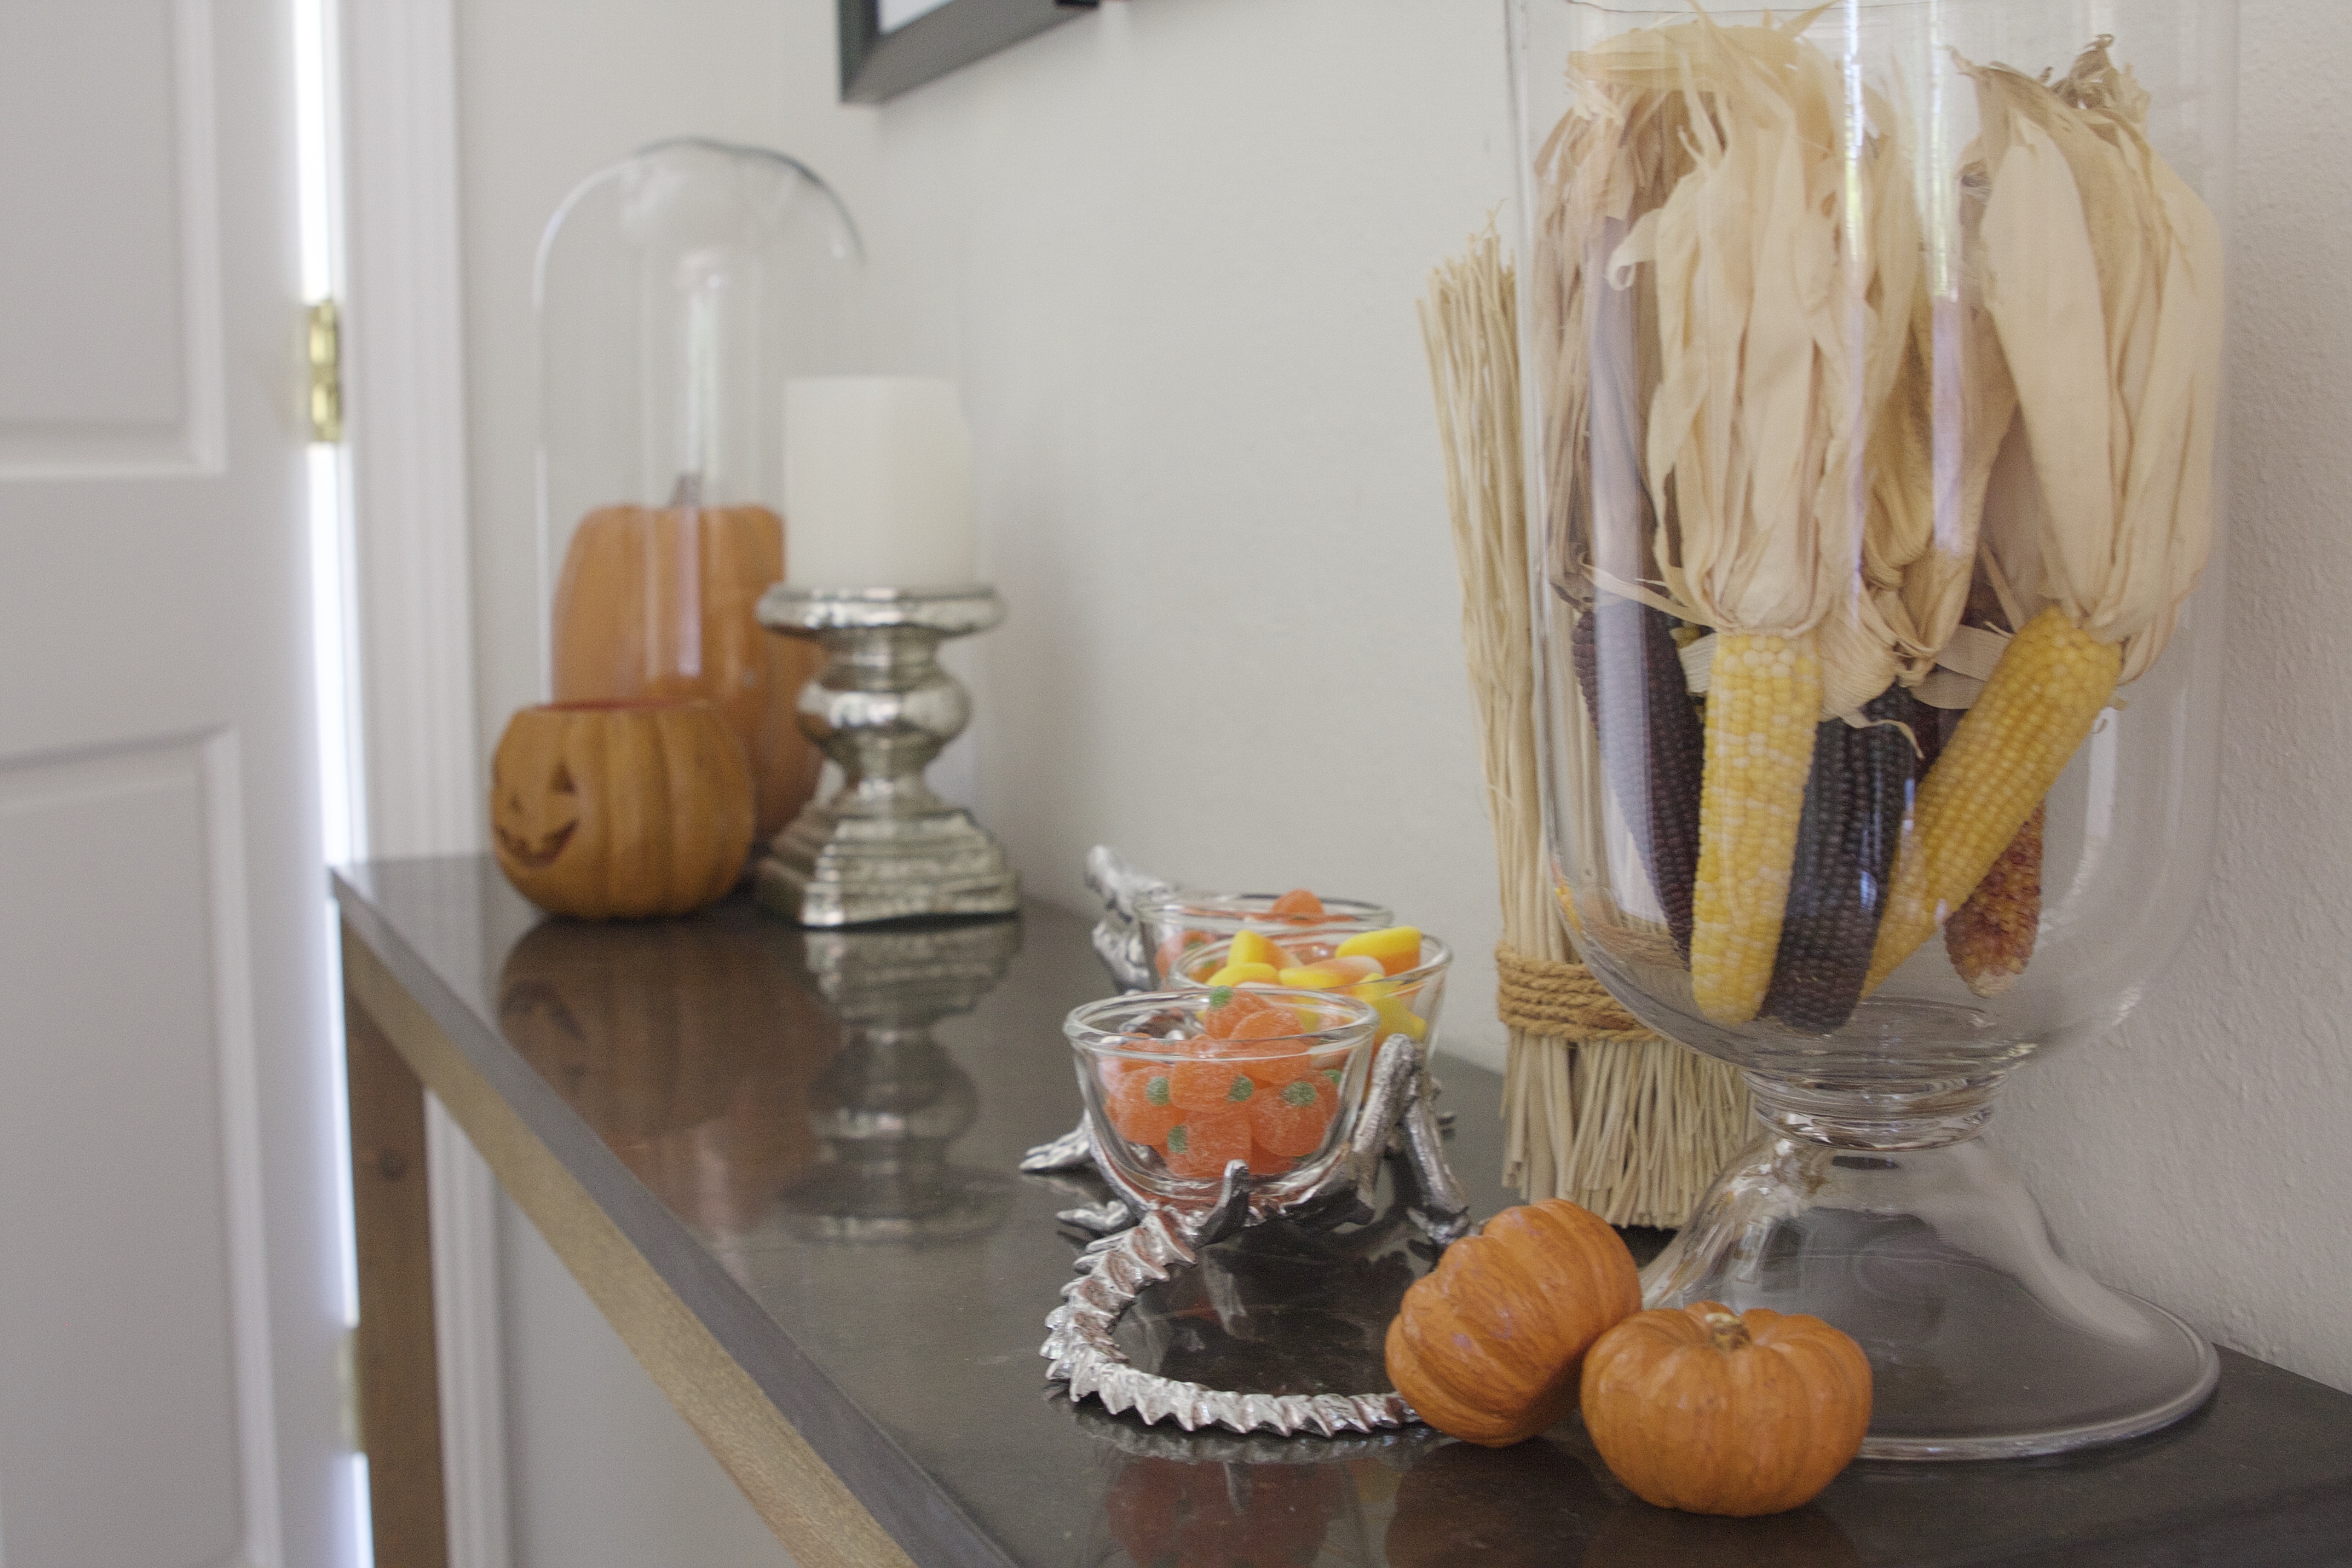
Had to add a few treats for the kids…

The kids were obviously excited to see the treats! And the pictures too…I hope!…
The wreath was hanging on my wine closet door…
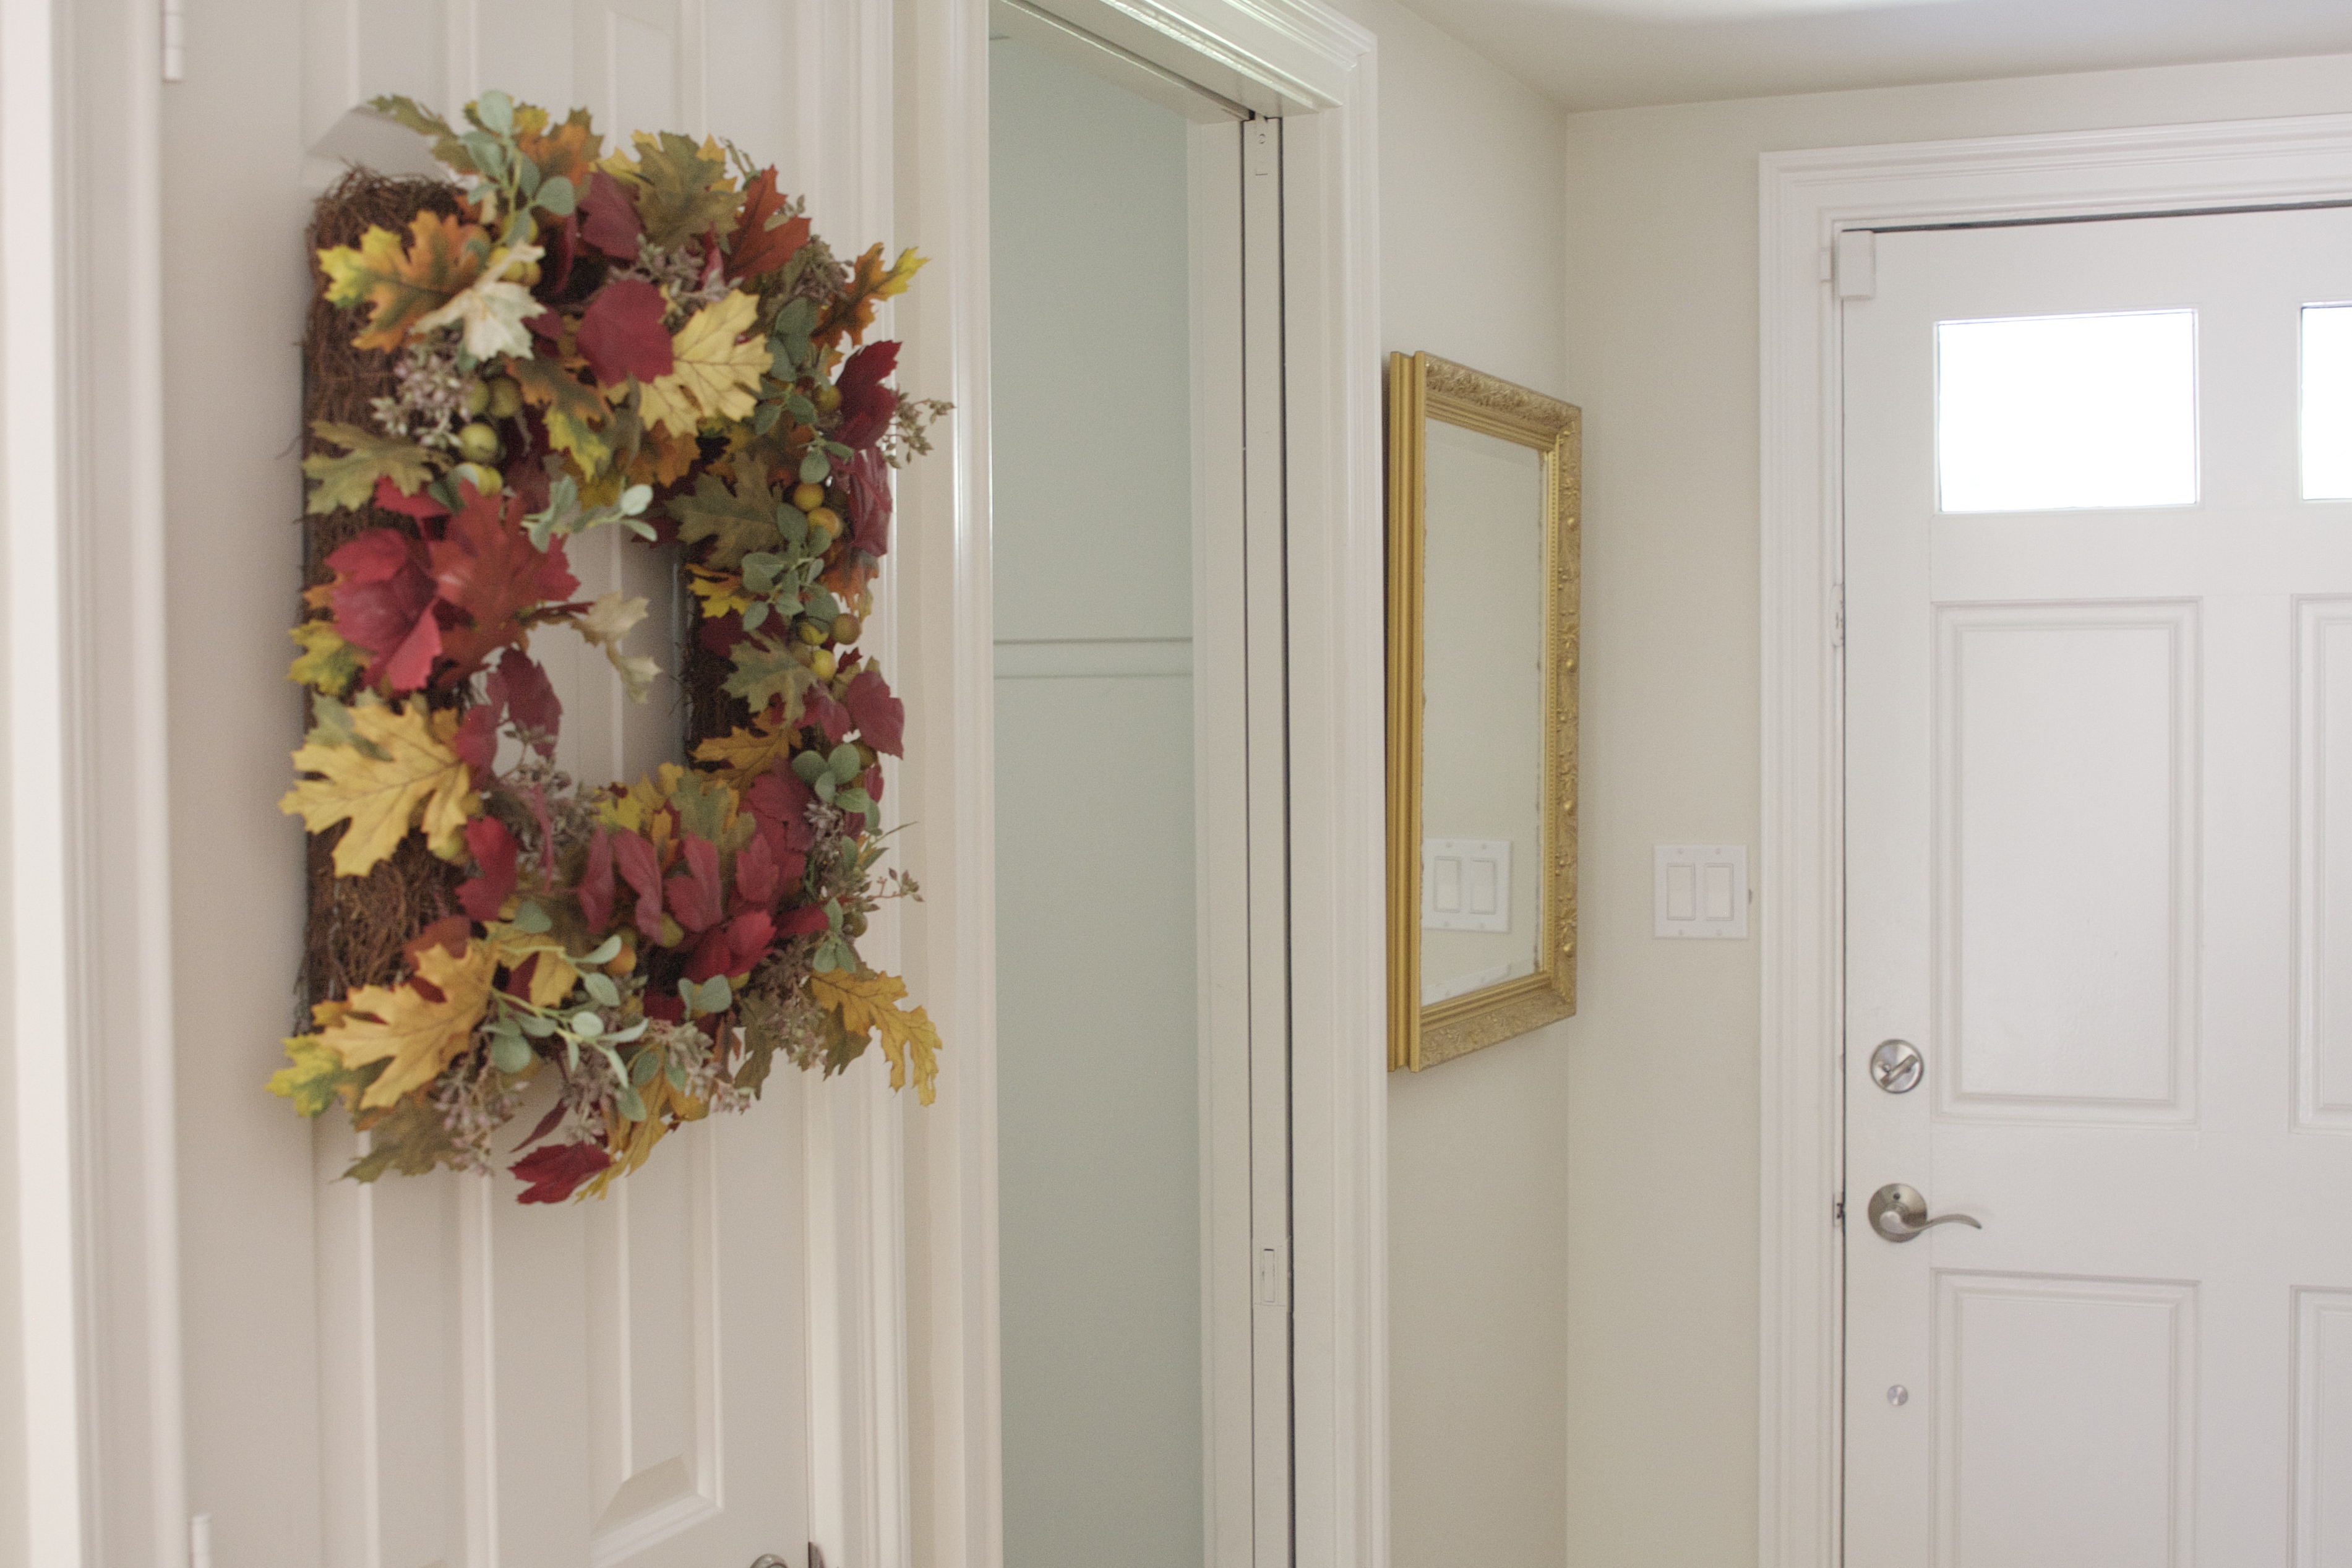
But has since moved to the front door for a little added color to the space…
Am so excited to finally have this gallery wall on display. These photos are precious to me and deserved framing / hanging. Not sitting in a sad pile on my project table.
Hope this tutorial was helpful and made sense. This is only one of many ways to hang a gallery wall or really anything in your home. And I look forward to sharing more of those techniques in future posts. As always, feel free to ask questions! I’d love to make a video for you – a video would help a lot. I want to help every mom in the World get those photos off the floor and up on a wall!

Thanks so much – your description is very helpful. Now, where did I put those photos …. 😉
Hahahahaaaa! Love this!
xx,
Sam